

The Salarian homeworld of Sur’Kesh.
Make your way to the Annos Basin ** on the galaxy map and fly over to the marker in the Pranas ** solar system (there’s also a fuel depot here should you need to buy any).
Depending on how you want the mission to go, decide from the start if you wish to gain Paragon or Renegade points as there’s a few decisions to make before you even begin the mission proper (as this playthrough is based on pure paragon, we chose to keep Wreav at bay). You can now have a chat with Wreav that can alter slightly depending on who you picked to join you from the Normandy.
There’s a Lieutenant Tolan standing near a machine in front of the lift that can prove to be an interesting conversation if you choose to engage in it (there’s nothing lost other than the chit-chat if you don’t). Speak to Padok Wiks to gain the permission to see the female Krogan, then head inside the elevator to start this mission proper.
Once all of the multiple cutscenes have finished, turn to your right, enter the lift and after it explodes, turn around and run towards the emergency exit, but before leaving, look to your left on a shelf and grab the Assault Rifle Extended Barrel .
Level One
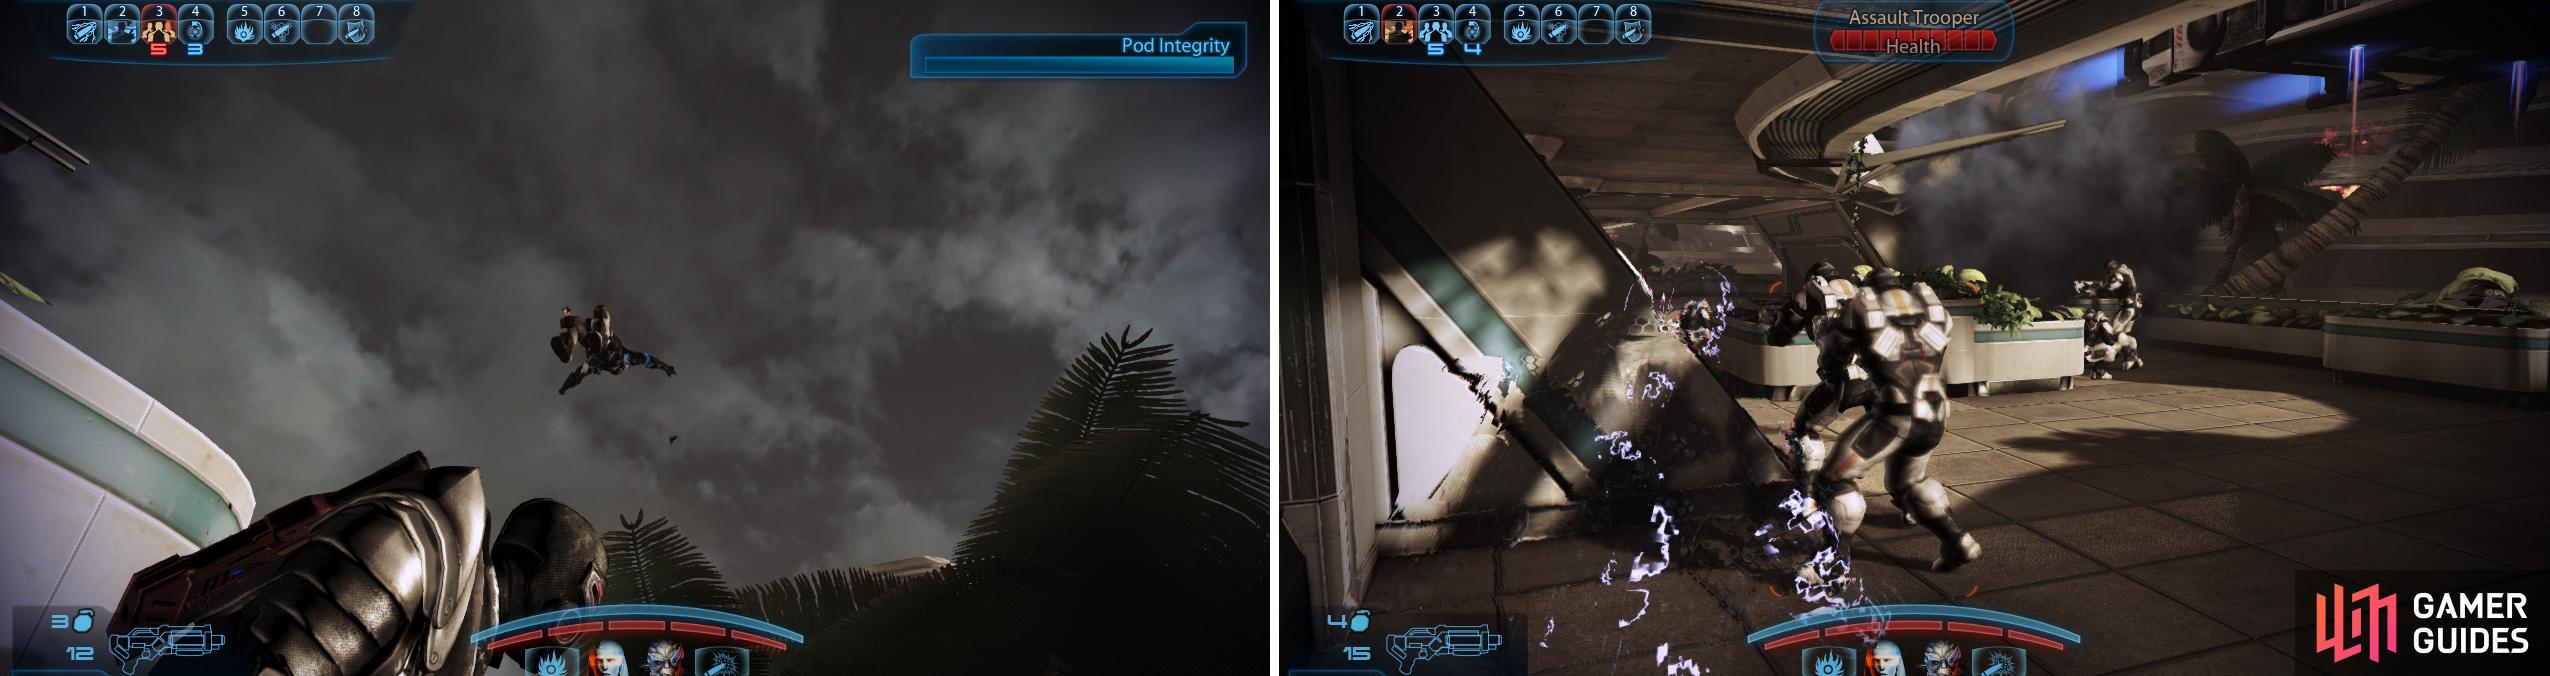
Shooting Cerberus Troops whilst they’re still inside their shuttle can provide some amusing results (left). Infiltrators can use cloak to get behind the enemy and decimate their ranks (right).
Exit via the emergency exit and climb the ladder in front of you, open the door, run around the corner and then dash quickly up to where the Salarians are. You have a couple of tactical choices here depending on the style of character - and weapons - you’ve chosen.
One option - if you’re an infiltrator or just plain prefer to flank the enemy - is to run down the right side of the balcony and as long as the troopers don’t see you, you can pop up directly behind them and give them a surprise party they’ll never forget.
The other option is to hang back and use a combo of powers to pick off your targets one-by-one. As the pod hasn’t been reached yet, there’s no time limit on how quick you need to be, so just stay in cover and wear them down. A second wave of troops will drop down a bit further back; again infiltrators can equip a powerful gun and sneak up behind them, otherwise continue to pick them off from a medium distance and use all combo powers available to you.
As soon as they’re all dead, check the right side of the room for a shelf holding a Shotgun Blade Attachment and there’s a Medi-Kit on a wall near the exit, so scan it for 100 XP and any Medi-Gels if needed.
Open the exit and slide over the wall to your left, jump over the gap and be sure to pick up the S hotgun Spare Ammo mod from the ground. Jump over the other side and run up the stairs to the next Cerberus encounter. This encounter forces you to focus on the guards who’re attacking the pod as it has a health bar (top-right corner of the screen).
You need to be more aggressive here with your tactics, so get your team up closer if you’re not up for flanking them. Infiltrators can run up to the other side of the troops (right past them), take cover and start killing them from behind, boxing them in to a central area. When they’re all dead, scan a datapad opposite the pod for 2,500 C redits. After the cutscene, use your colleagues’ powers on the two guards in the dropship and then proceed through the open window to the next fire fight.
Level Two
Infiltrators can use the cloak to - once again - dash past where the guards are being dropped off (the flower holder near the doorway is a great place), drop a grenade and then open up with some Assault Rifle firepower to watch them drop quickly.
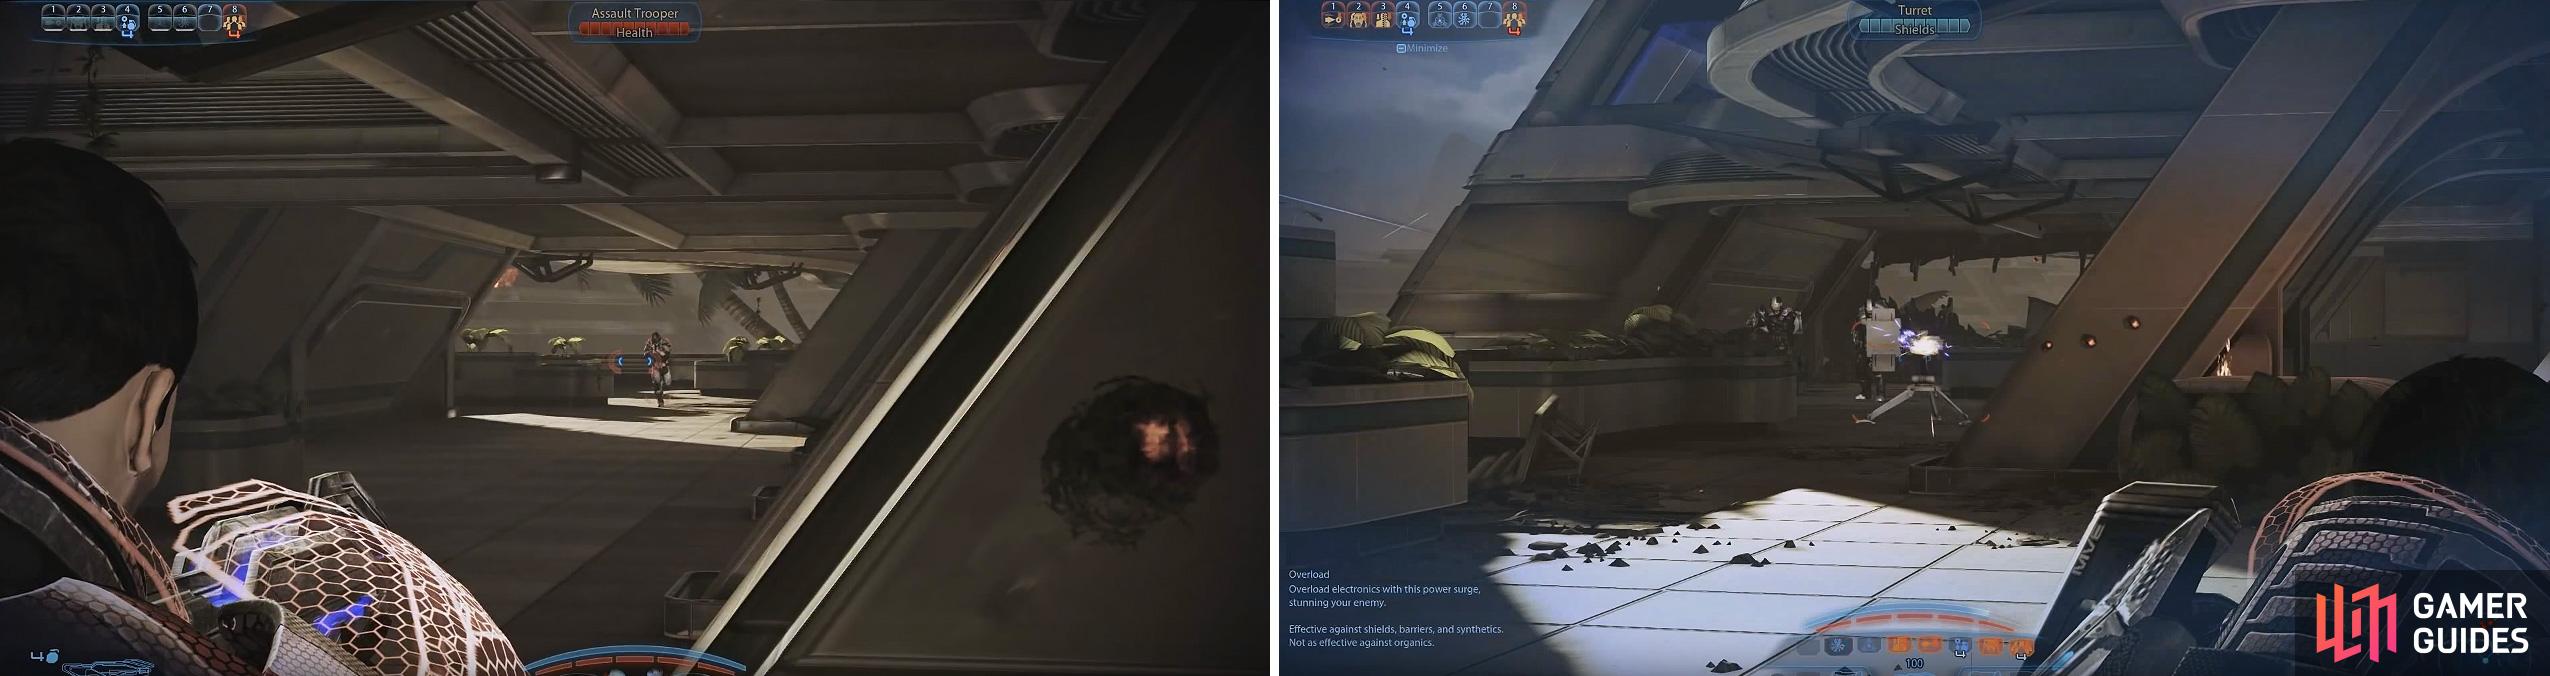
Troopers will assail you from every direction (left) and Engineers will place Turrets consistently (right) so look for them first.
Otherwise, get your team to take position about halfway up as you take control of the labs on the left (use the walls for cover). The lab is also holding a Pistol High Calibre Barrel on the left-hand shelf.
Your next battle is up against a couple of Engineers, two turrets and other troopers. Infiltrators can continue to cloak up and run right to the back of the pack, taking cover, then picking them off in the back. Non-infiltrators need to be much more careful as the turrets can pick you off easily.
It’s essential then to focus on killing the Engineers first so they can’t repair or rebuild any of the turrets, then focus on destroying the turrets, finally picking off the troopers. Again, as there’s no time limit to this, take it easy, stay in cover and wear their health bars down. When everyone is dead, look to your right for a salvage crate you can scan for 2,500 Credits . Your battles aren’t over yet; activate the scanner by the door, go inside and open up the Medi-Bay for 100 XP and any Medi-Gels you might need.
When you open the next door, run straight to the desk in front of you and immediately grab the Armax Arsenal Greaves Armour from the table and then pick off the troopers that drop down to the lower level with you. A couple of Guardian Troopers will appear over to your left in the distance, so either snipe them (if you have a sniper rifle on you), or get your colleagues to kill them as you head up top behind cover and kill any troops still up here.
Before going to the next area (which is on your left), slide down the ladder on your right to the bottom floor, go around the corner and pick up the Sentry Interface Armour laying on the seat and scan the salvage for 3,750 Credits . Now head upstairs and bypass the door lock for the second pod checkpoint (and another intense battle).

At each checkpoint you must protect the pod from Cerberus attacks and then activate the control panel (left). You may notice several monsters escaping, one of which will be the terrifying Yahg (right). Luckily, you don’t have to fight it.
The troopers will have their backs turned to you, so Infiltrators can cloak up and run to the back of the room (near the pod) and pick off the enemies from behind, boxing them in. Otherwise, assign your allies to cover and focus your fire on the guys firing at the pod directly (they’ll likely be furthest up the room). Pick the rest of them off quickly, grab the Pistol Scope from the top of a table and now run to where the power relay is highlighted.
On a wall to your left there’s a Medical Station you can scan for 100 XP and any needed gel, on the floor there’s an ammo refill, in the opposite corner there’s a new pistol, the rather powerful Scorpion (which we equipped and gave to an AI buddy) before activating the power relay switch.
Another wave of foes will appear as you head back to the pod; Centurions and Assault Troopers on the left and two Guardian Troopers on the right. Snipe the Guardians first if you can, otherwise focus on the other guards and once the Guardians get close, give them the warm welcome of your shotgun. Now stock up on ammo before activating the pod.
A third - and final - wave of troops show up, pretty much the same deal as before and nothing too taxing. Pick off the Centurions first and let your team worry about the Assault Troopers. When the coast is clear, run back down the hall and open up the green door ahead.
Either pick off the troops below from behind cover at the top of the stairs (as in our video), or you can move from cover to cover, using your best mid-long range weapon(s) to pick each trooper off in turn. Like always on this mission, your top priority is to kill all the enemies shooting directly at the pod and then you can set your sights on the remaining foes afterwards.
Watch out for anyone trying to outflank you around the edges of the arena; they’ll go up high and hide behind cover themselves. Restock up on ammo and switch on any armour-piercing rounds before you activate the pod switch.
Immediately after the cutscene ends, an Atlas Mech appears at the top of the stairs! Hopefully you’ll have saved any grenades (or similar fragmentation-like ammunition), so get these focused on the cockpit straightaway. Infiltrators should always cloak up before firing at the cockpit with their sniper rifle for the additional 40% damage boost, otherwise pick the most powerful armour-piercing weapons/biotic combos you’ve got and go to town on the mech.
Stay behind cover though, as there’s still a few crack shot Assault Troopers hanging around the upper edges of the battlefield. But keep focused on the mech and do your best to stay out of its line of sight. If it gets too close, switch to a shotgun (if you have one) and unload it for some serious damage. Pick off any remaining Assault Troopers once the mech has been taken care of to finish the mission.
No Comments