
The Darkness Cannot Be Breached
Activate the Galaxy Map and return to the Mass Relay to revisit Bryson’s Lab. You can examine various objects in the lab if you wish but the real info lies on Bryson’s terminal upstairs. Here a message awaits from Ann Bryson.
Go downstairs and examine the telescope where the Eezo was. EDI mentions the Project Requisitions Locker. Next, examine the datapad on the table on the right. You need to find information on the ship Icarus . Behind is a computer with ship specs on it. Cycle through to the Icarus and examine the computer. Ship Schematics will be added to the map.
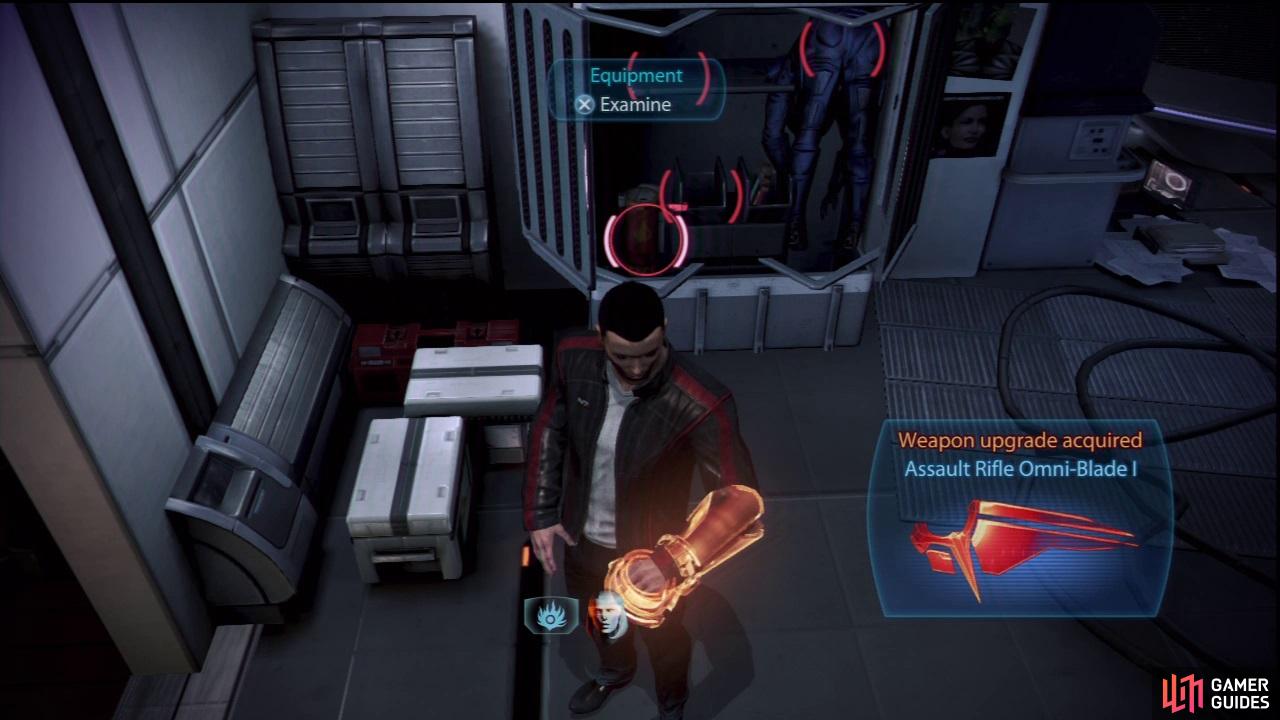
Go back to where the creepy Husk head was and open the drawer. A PDA opens the locker to the left of the Galaxy Map. Make sure to pick up the Assault Rifle Omni-Blade I before examining other things, as you won’t be able to get it later. Examine the Equipment at the bottom then the Missing Equipment. Equipment will now be added to the map.
You must return to the lab and search it for more clues.
Head back to the map and add the two filters. Time to leave and find Ann. Jump to the Pylos Nebula and head to Zaherin . You need to scan near the planet Namakli . Use the scanner to probe for the dig site and dock when you’ve found it.
Find Ann Bryson: Dig Site

Namakli holds the dig site where Dr Bryson can be found. It’s quite an inhospitable place.
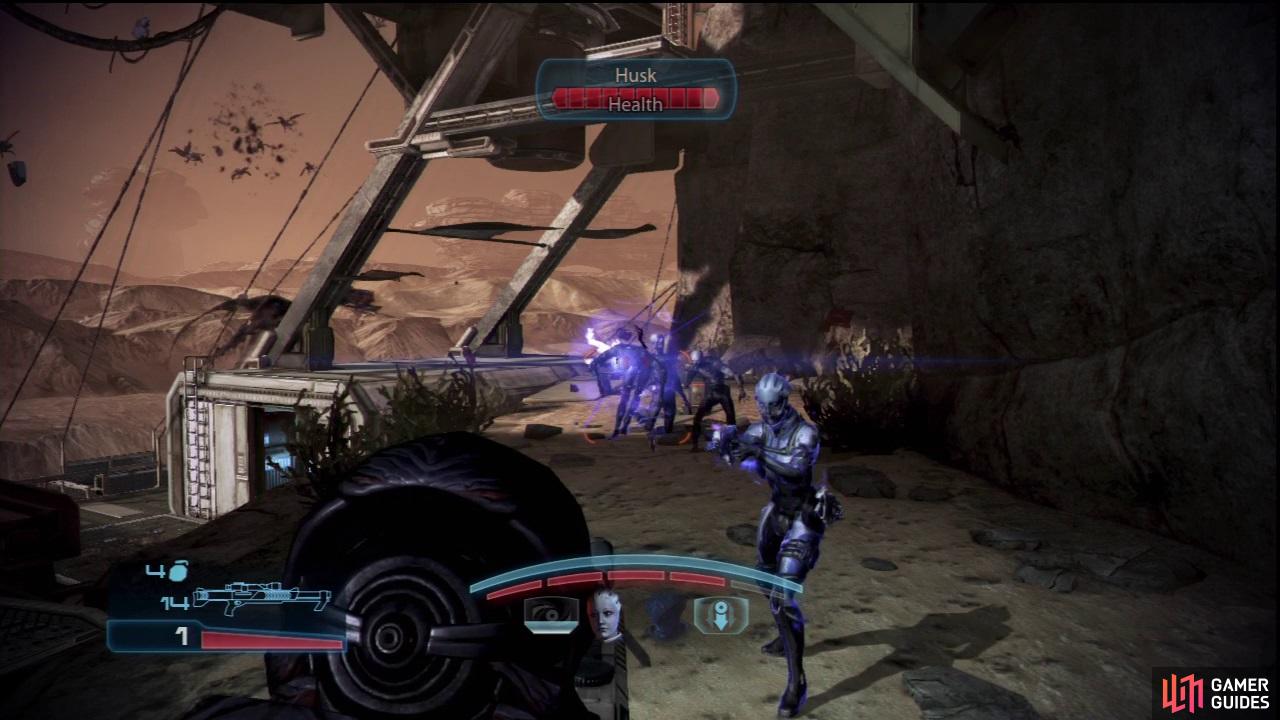
Once again you will be fighting swathes of Reapers so a biotic team works wonders. Be ready because as soon as you land, Husks will arrive. Deal with them swiftly and enter the room ahead. Keep moving forward and a room will crumble in front of you. You need to reach the elevator.
Kill the Husks ahead then jump the gap. Another room will explode and fall but you must keep moving forward. Drop down into the wreckage and turn around. Move to the edge of the building and you will see a Cannibal chomping on an unfortunate soul; take him out.
There are more Cannibals off to the right so take these out while you have the high ground. Go down the ladder and beware of more Cannibals that appear from the building in front. Use canisters to blow them up with ease. Make sure all Cannibals are dead before moving on.
A Harvester will turn more buildings to rubble but before you go, turn back to where the first Cannibal was to find the AT-12 Raider Shotgun . Go into the room to find the SMG High-Velocity Barrel III. Now, climb the ladder outside but watch for Husks and Harvester fire. They love to shoot you when on ladders.

The Raider is a good weapon but has nothing on the Claymore.
Jump across the gap to the right and run to the Bridge Controls. One of your crew will repair it so you and the other teammate must hold off approaching Husks and one last surprise. If you have Liara just set up a Singularity between the barrels and funnel them through. Or you can blow the barrels up.
A Banshee will show up once the Husks are down. She will take a while to get across the gap so pummel her before she does. Use Warp/Reave/Dark Channel or even Overload and Disruptor Rounds to strip her of her barriers. She won’t last very long.
Climb the ladder then drop down the one on the other side. As soon as you’re down, a Husk will appear. Kill it and ascend the slope to the elevator. Ann will open the door for you so go through there. Inside is an SMG Mass Pulse Recoil III. Go outside, over the gap and up the stairs. Take cover immediately.
Husks will rush you here so use some biotic combos and explosions to knock them off their feet.
A bunch of Cannibals and two Ravagers will spawn. The best place to take cover is the left side of the doorway as the Ravagers can’t lock onto you. Make sure the Cannibals don’t sneak into the building to flank you. Kill them first to make sure.
Dispose of the Ravagers then collect the data inside the building for 2500 Credits. Go up the ladder in front of you and kill the Cannibal in the next room; get the Med Kit if you need it. Continue outside but your progress will be blocked so turn around and climb the ladder.
Turn around and climb the wreckage but watch for the Cannibal ahead. After ascending the next ladder, take cover and dispatch the Cannibal. There is yet another ladder to climb. At the top, Husks will spawn. Don’t bother taking cover, just funnel them with a Singularity and then detonate it.
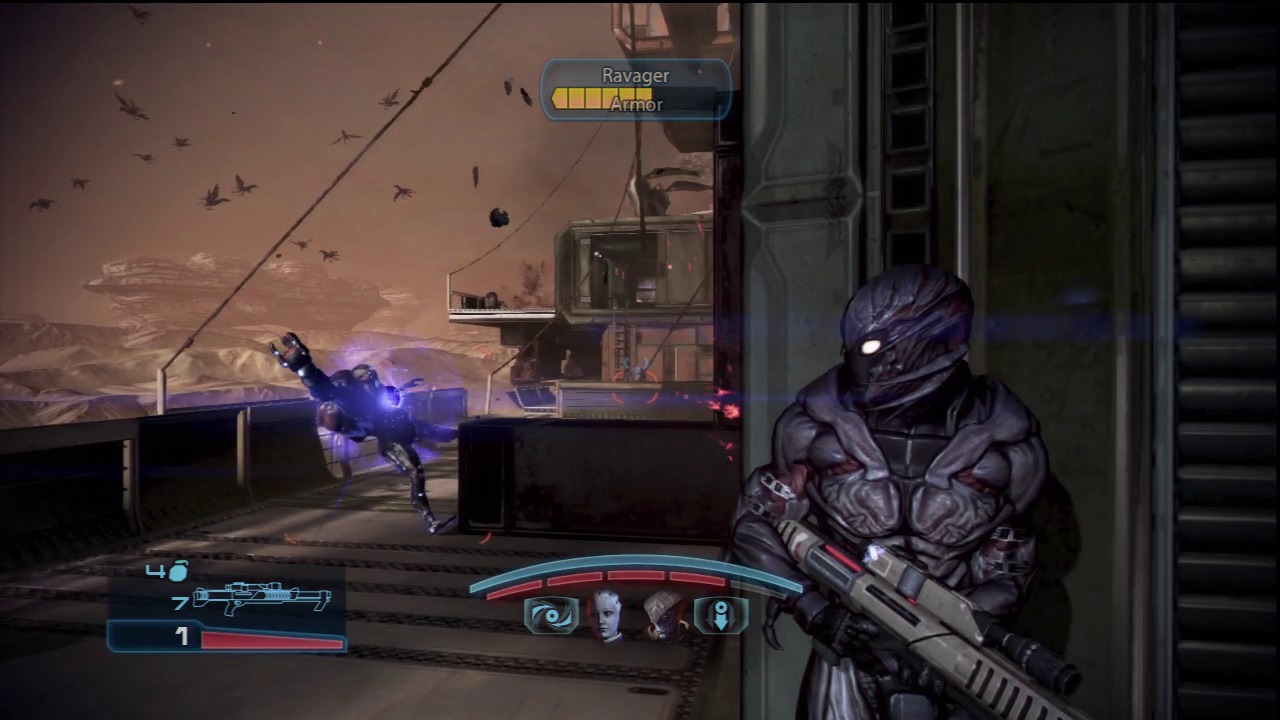
When the Ravager arrives, you will need to take cover to avoid its laser fire.
A Brute will spawn at the bottom but he will die quickly once you focus fire on him. Go to the end and around then down the ladder. Next, go to the edge of the building and take cover. Marauders and Cannibals will arrive but these should be easy at this stage.
Move forward a bit and take cover again as a Harvester decides to play for a while. Don’t bother trying to kill him as he’ll fly away eventually. Make sure no Cannibals are left before going round the corner. A Ravager will greet you so get in cover and take it out.
Inside the building more Cannibals will appear so dispose of them and look to the right corner to find an Assault Rifle Omni-Blade II. Inside the building before the elevator is data worth 5000 Credits. Enter the elevator for a cutscene.
You finally found Dr Bryson!
Dig Site Reaper Battle
Now the fun really begins as you will be faced with a Harvester and hordes of foot soldiers. Kill the Cannibals before focusing on the Harvester as they will flank you. If you shoot his eyes you can do massive damage. Make sure to have suitable ammo on. Cryo works wonders when combined with a powerful Sniper like the Widow.
Once the Harvester is down more enemies will spawn and they will continue to do so randomly around the battlefield. You have to wait for Cortez so keep dispatching the enemies whenever they appear. There are Med Kits scattered around if you need them.
Before you go to the shuttle, run into the room at the back for data worth 2500 Credits. If you kill enough enemies they will eventually stop spawning, leaving you with free rein to explore but after collecting the credits, there is nothing else of interest so rendezvous with Cortez for a cutscene and the “Family Matters” trophy/achievement.


Back In The Lab
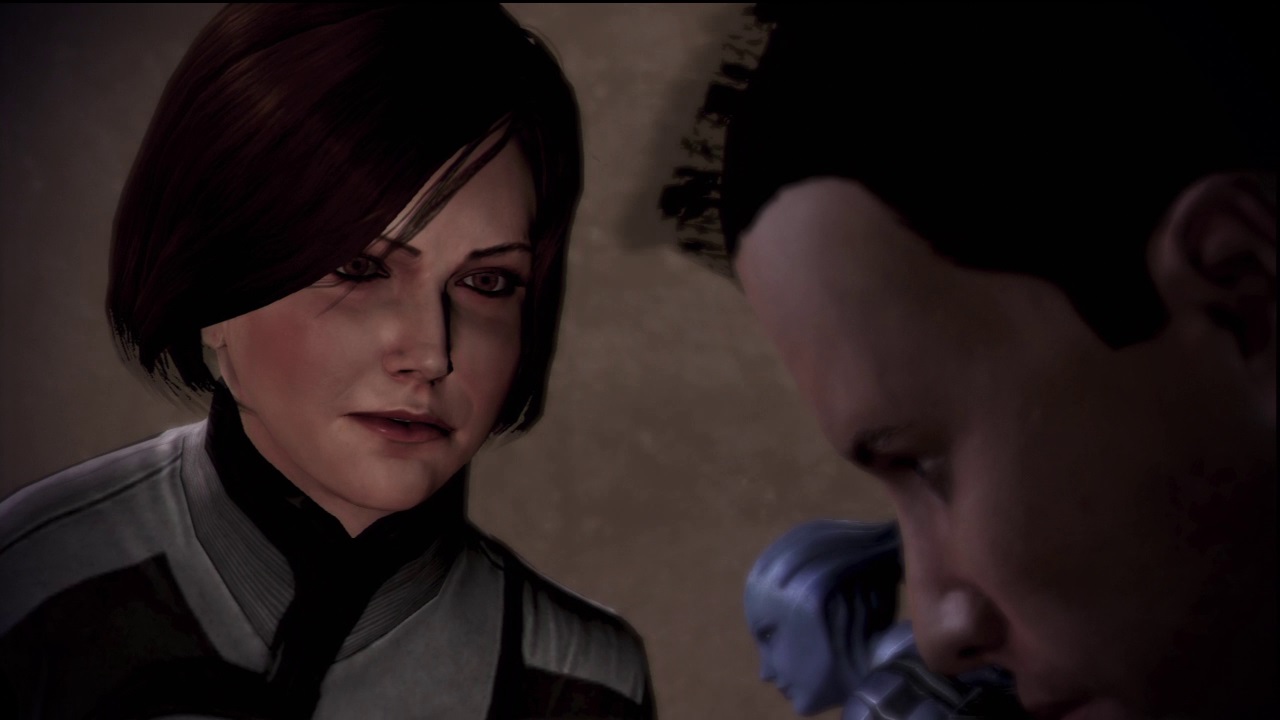
Upon returning to the lab, you will find a disconsolate Ann. Go down the stairs and follow Ann around the lab. When Ann walks to the other room, you will notice James stood by the Husk head. Keep talking to him to get the option to take the experiment onto the Normandy.
Talk to Ann who will try and trace Leviathan. You can actually pinpoint the exact location if you keep making Renegade interrupts but you will gain a lot of points this way. If you choose not to, you have the choice of two or three systems. Fortunately, we know just where to go.

Ann starts bleeding from the nose after one Renegade interrupt.
No Comments