
Jump to the Caleston Rift and then to the Aysur system. You need to scan near Mahavid in the asteroid belt down from the central star. You will need biotics for this. Liara and Javik/Kaiden are a good choice. Equip any armour-piercing and enhanced damage mods you have.
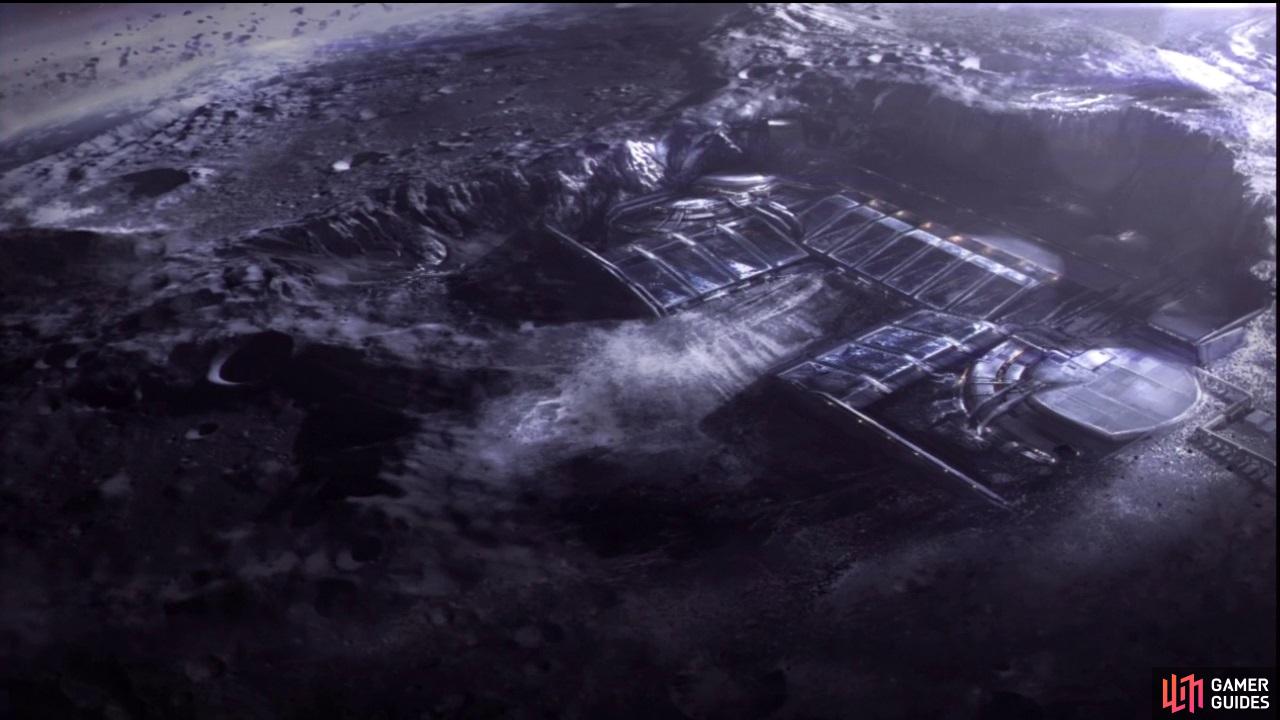
Mahavid - A place of creepy inhabitants.
Once you’ve landed, run over to the elevator in front of you. As you go down you’ll soon notice a friendly welcoming party consisting of some Marauders and a couple of Brutes. Strap on incendiary/cryo/warp/armour-piercing ammo to inflict plenty of pain upon them. The best tactic is to hide behind the large pillar as they are too embroiled with pounding the door down.
Focus on the Marauders by stripping their shields and you should be able to kill them before the Brute has time to react. Focus biotics on him like Reave/Warp/Dark Channel for biotic explosions. Only once he’s down will the other notice you. Send him to his death the same way.
The rest aren’t much of a threat at the moment so head on up the stairs and bypass the door. Time to meet the inhabitants of this cheery place.
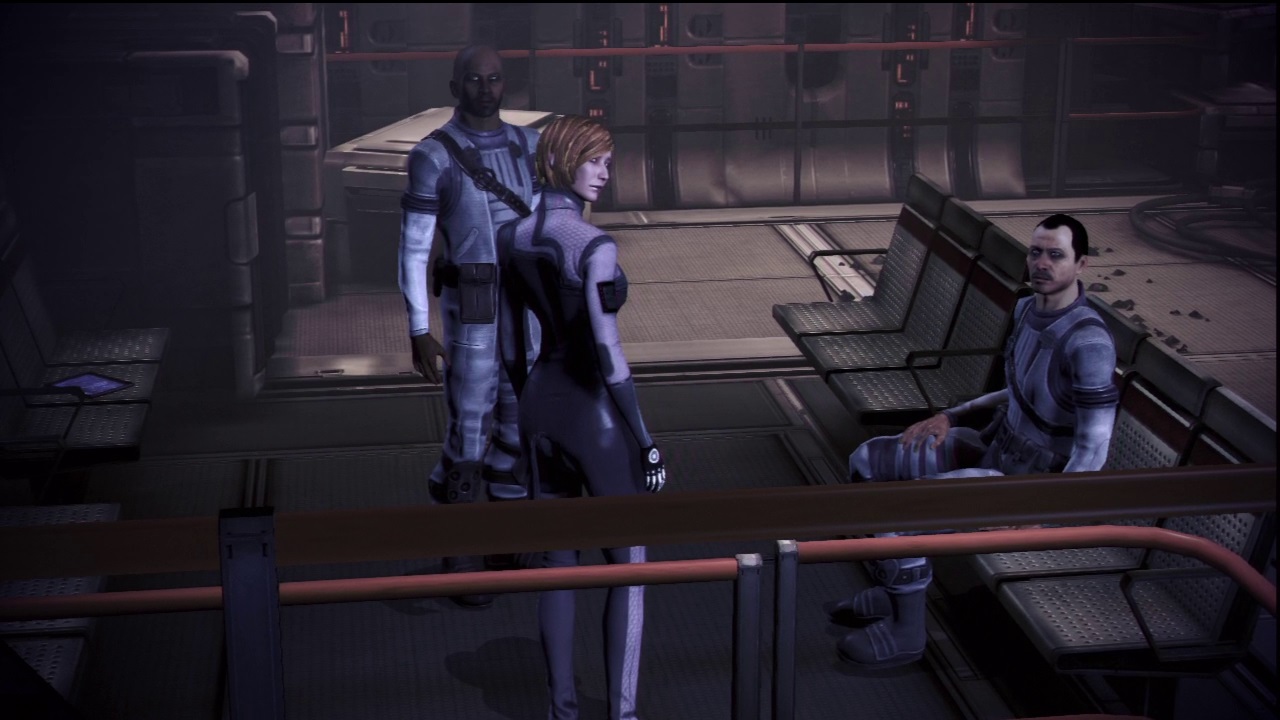
The residents here are quite suspicious of you and act rather strangely to your presence.
Searching For Garneau
After the welcome, go forward and examine the repair drone terminal. Move with the drone to the elevator (you must stay within the blue circle or the drone will stop moving). It’s time for some exploring. Go back into the guard station and examine the datapad for 2500 Credits.
Another datapad is on a seat near the trio of people with 1250 Credits. The elevator is now repaired so go there. Notice Dr Garneau has signed in? Head through the door and to the left for a datapad worth 1250 Credits.
Now go through the first door and turn right for a Terminal worth 1250 Credits. You will find another datapad lying among plants on a table with 1250 Credits in it. Go back the way you came and run to the bottom then turn right and bypass the door marked Mineral Lab.
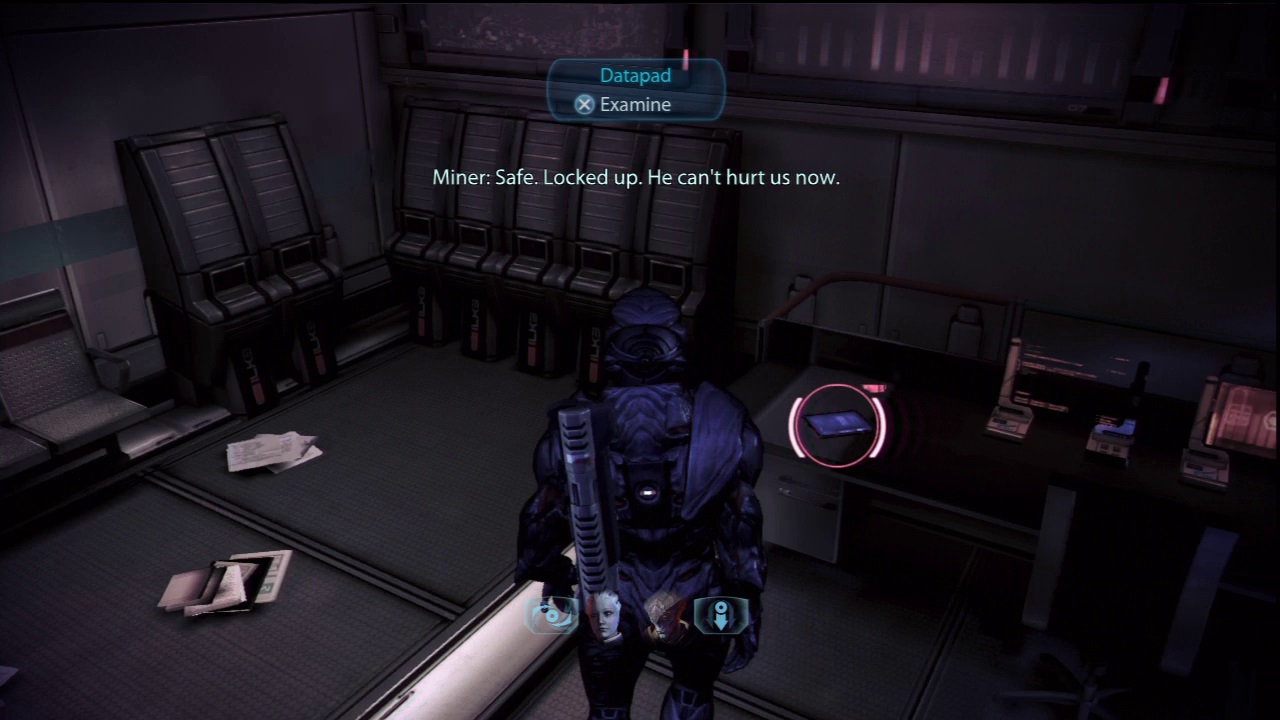
Datapads scattered around will slowly unveil the mysteries behind the inhabitants’ odd behaviour as well as give plenty of Credits.
Yet another datapad worth 1250 Credits lies on the table next to the rocks. Bypass the door facing you to find an SMG High-Velocity Barrel II and an important datapad. You also gain 2500 Credits.
You now need to find the Security Terminal. Run up the stairs, through the door marked Sector 4 and into the room on the right with the Turian. Another datapad is here worth 1250 Credits and a Personnel ID which will come in useful later.
Run all the way back to the Mineral Labs, through both doors and over to the door labelled Crew Quarters. This is where the Personnel ID comes in. In this room is the Pistol Ultralight Materials II. Run straight back out and keep going until you find a blackboard on the right.
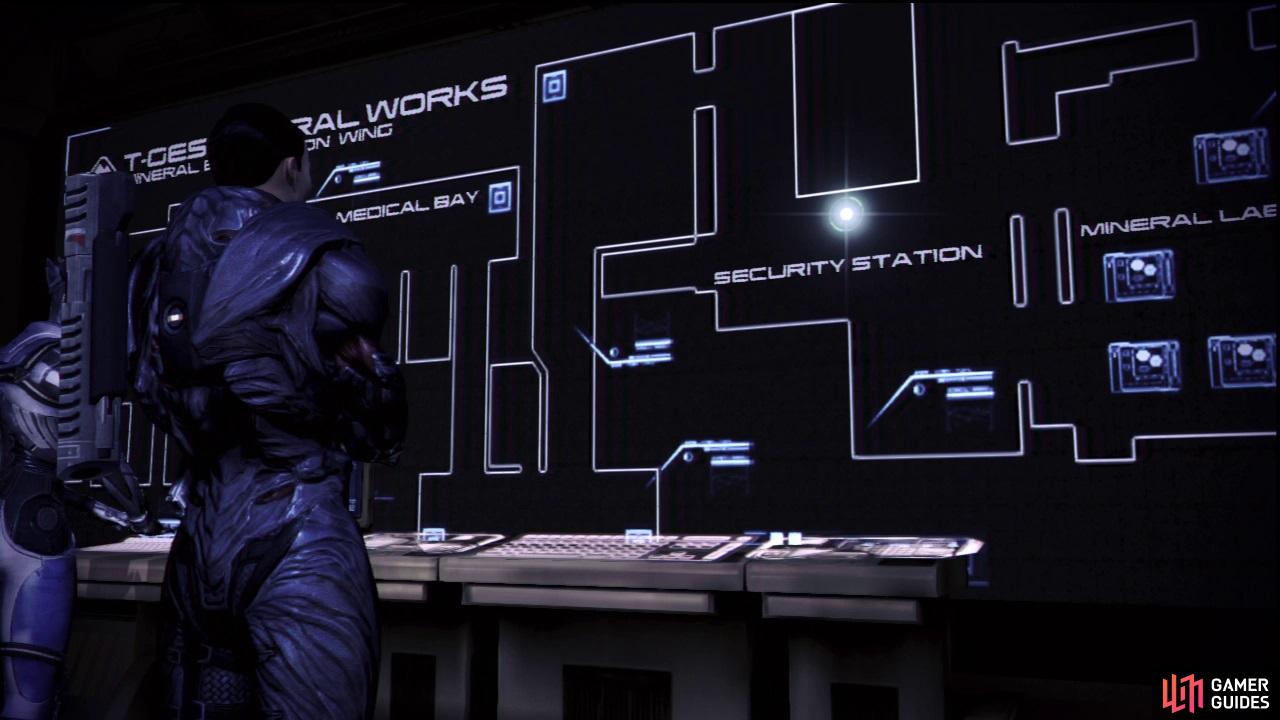
This makes a useful map if you get lost.
Now you can find Garneau. Head to the Mineral Labs and follow the nice, lovely, red signs that say Med Bay. Open the doors with the file number and run through them, turn left and examine the body through the eery black windows for a cutscene. A Med Kit is also here if you need XP.
Follow Garneau
Follow Garneau to the door and bypass it. Run to the next one and bypass it and chase him. He will lock down the door ahead so use the ladder instead. Slide down the ladder and take cover on your left. Some Husks will appear so have fun popping their heads any way you want.
Once they’re dead, run forward and hop over the gap in the floor. Turn right to pick up the SMG Mass Pulse Recoil System II. Climb up the ledge where more Husks will approach. Dispatch them, climb up and take cover in front of you to prepare for the first proper fight.
Stand here as the Reapers drop in.
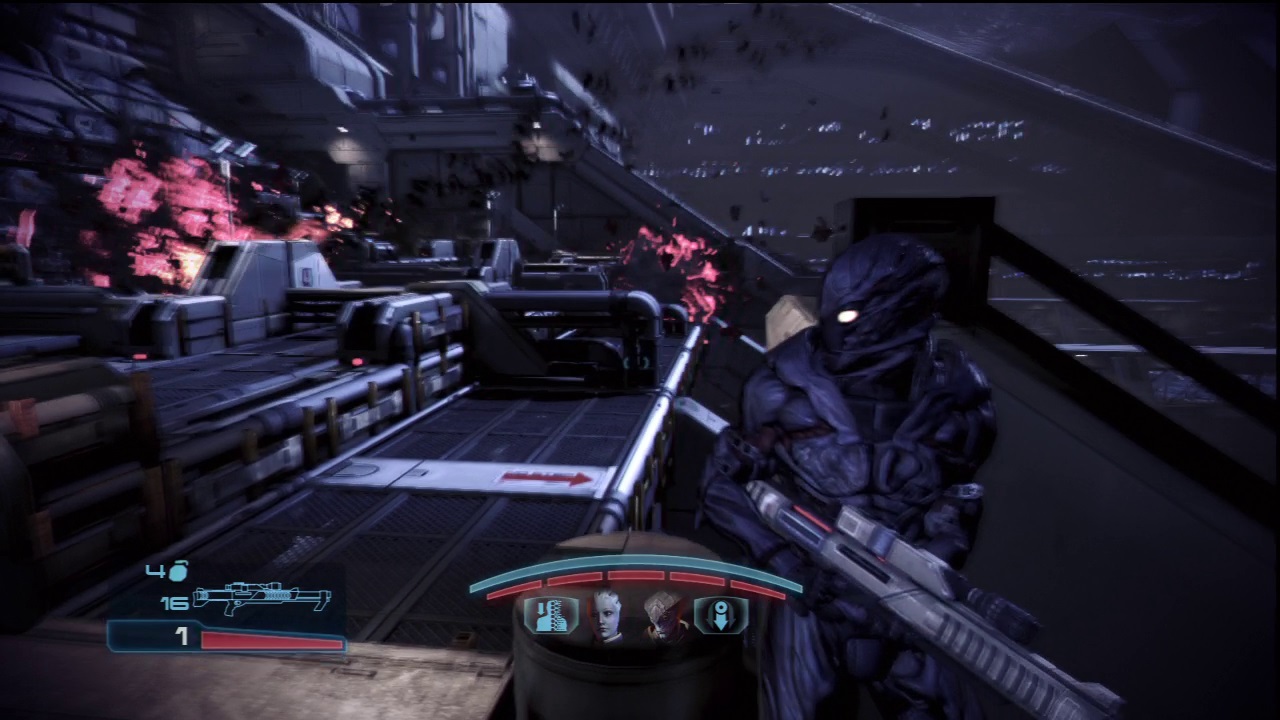
Mahavid Reaper Battle
Staying behind the cover with the rail makes it tremendously easy to pick off both the Ravagers and Marauders that assail you. Cryo ammo works wonders here as it decimates the Ravagers, particularly if you shoot their eye. A powerful sniper rifle like the Widow or Black Widow can take them out in two shots on Insanity.
Be sure to create biotic explosions using Dark Channel then Warp, or Reave and Warp if you are a biotic. As a tech you can use Cryo Blast and/or Incinerate to drop them quickly. The Ravagers are far more dangerous than the Marauders so focus on those first.
Once you’ve killed most of the enemies, some Marauders will try to flank you from the top balcony. If you watch for them, you can actually stop them from reaching you using Stasis or just a few headshots/explosions. More Marauders will appear with a Ravager who is pounding the door at the other side.
The Ravager won’t target you until you hit it so ignore it for now and deal with the Marauders. Husks will also appear but these are easily dealt with. Just make sure they don’t grab you.
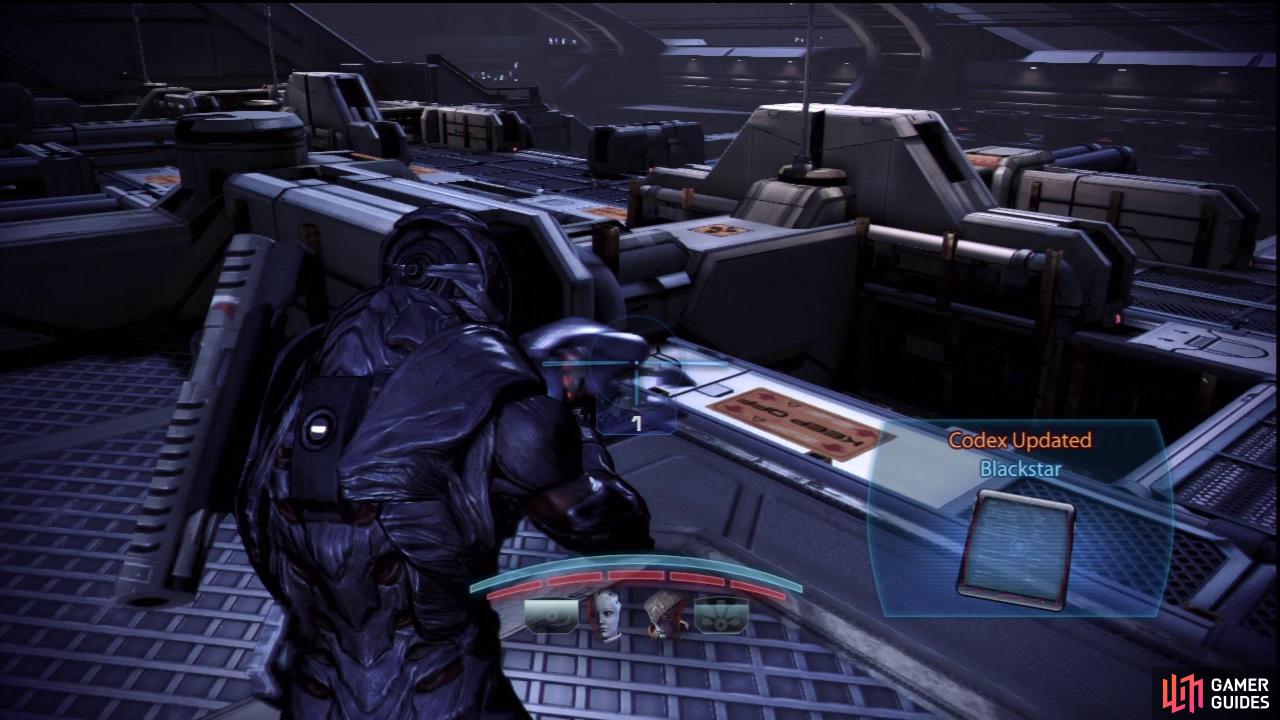
Use the Reaper Blackstar on the two Banshees that spawn.
After killing a few more, two Banshees will arrive. If you run to your left, up on a ledge is a Reaper Blackstar . If you can get both Banshees together you can take them out in one shot. Don’t worry if they don’t die completely as it will still damage them significantly, making them easy pickings.
Once they are dealt with, you can focus on the enemies at the door. They are busy making dents in it so an ambush is the perfect way to kill them. Just do what you’ve been doing up until now and they will die as fast as the others.
Before you go through the door, pick up the Med Kit if you need it and turn the corner to find a Pistol Cranial Trauma Mod II. Now you can continue the pursuit of Garneau.
Repair Drone Battle
Guide the drone to the first point. Once it’s there drop backwards off the ledge and take cover. You will be assaulted from the left by more Marauders and Ravagers. As soon as they drop in begin to rain fire down on them. Time is of the essence to stop them flanking you. Make sure your squad mates are taking cover near the drone as they will otherwise cause enemies to flank you.
Kill the Marauders first as they are more likely to flank you. Strip their shields, tech bursts, whatever you need to do. Next, focus on the Ravagers. Taking cover here offers you enough protection from enemy fire. It is also good for the next lot of enemies. But watch your flank at all times!
The drone will finish repairs but do not move until you have killed the first enemies. Once they’re down, follow the drone’s path but take cover when the Husks come. These can be dealt with by throwing out a Singularity and detonating it. Stay in cover as more enemies will appear.
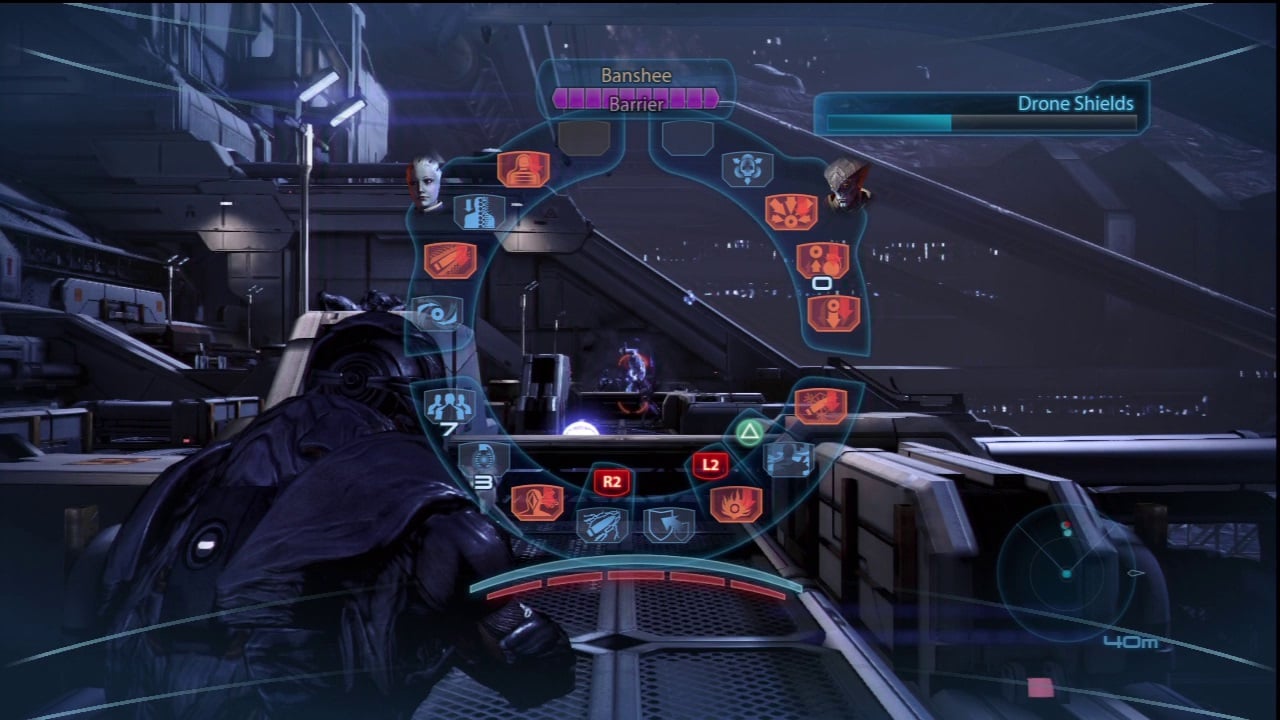
Stand here when the Banshee launches its attack. A healthy distance away from her is a good idea.
Yet another group of Marauders and Ravagers arrive to liven up the party. Pick them off at distance because where they are is where the drone needs to get to. Once dead, move the drone but beware as a Banshee will spawn behind you. Run to the back but don’t take cover.
Let loose with everything you have to kill her as fast as possible. She may grab one of your team mates but ignore them and focus fire on her as you really don’t want her to close in on you. If she does, just move out of her way. Finally, you can take the drone all the way in. It should have enough shields providing you killed the enemies fast enough.
Run back to the door for a cutscene and to unlock the “No Stone Unturned” trophy/achievement.


No Comments