
| Quest Info |
|---|
| Objective: Hunt a Kulu-Ya-Ku |
| Reward Money: 1800z |
| Time Limit: 50 min. |
| Conditions: HR 2 or higher |
| Failure Conditions: Time Expires / Faint 3 Times |
| Other Monsters: Aptonoth / Jagras / Mernos |
Hunt - Kulu-Ya-Ku
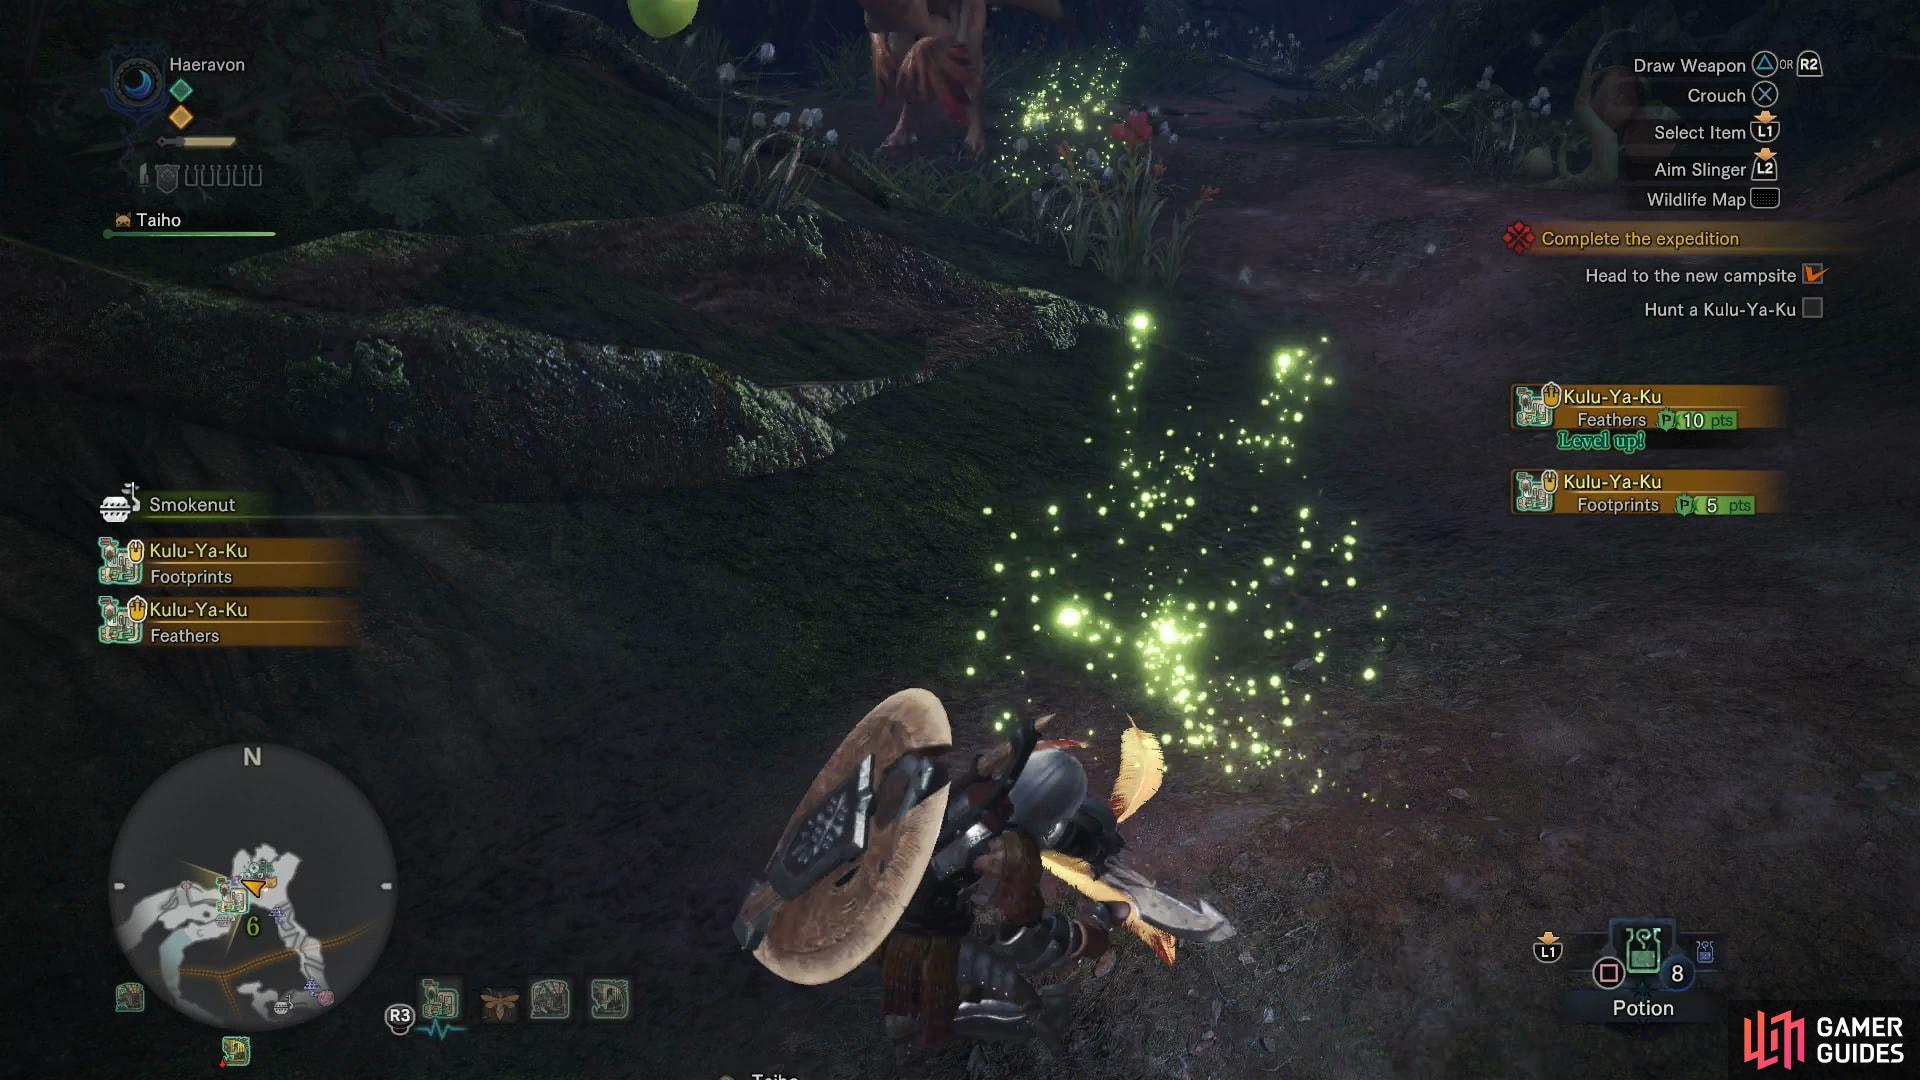
You should know how this works by now, search around for clues as to the monster’s location, get your Scoutfly Level up, then track down and engage the monster.
| Elements | . |
|---|---|
| Fire | * * |
| Water | * * * |
| Thunder | * * |
| Ice | * * |
| Dragon | * * |
| Ailments | . |
|---|---|
| Poison | * * |
| Sleep | * * |
| Paralysis | * * |
| Blast | * * |
| Stun | * * |
(1 of 2) Investigate Kulu-Ya-Ku tracks to locate the mosnter
Investigate Kulu-Ya-Ku tracks to locate the mosnter (left), When it’s holding a boulder, it can use the rock to deflect frontal attacks (right)
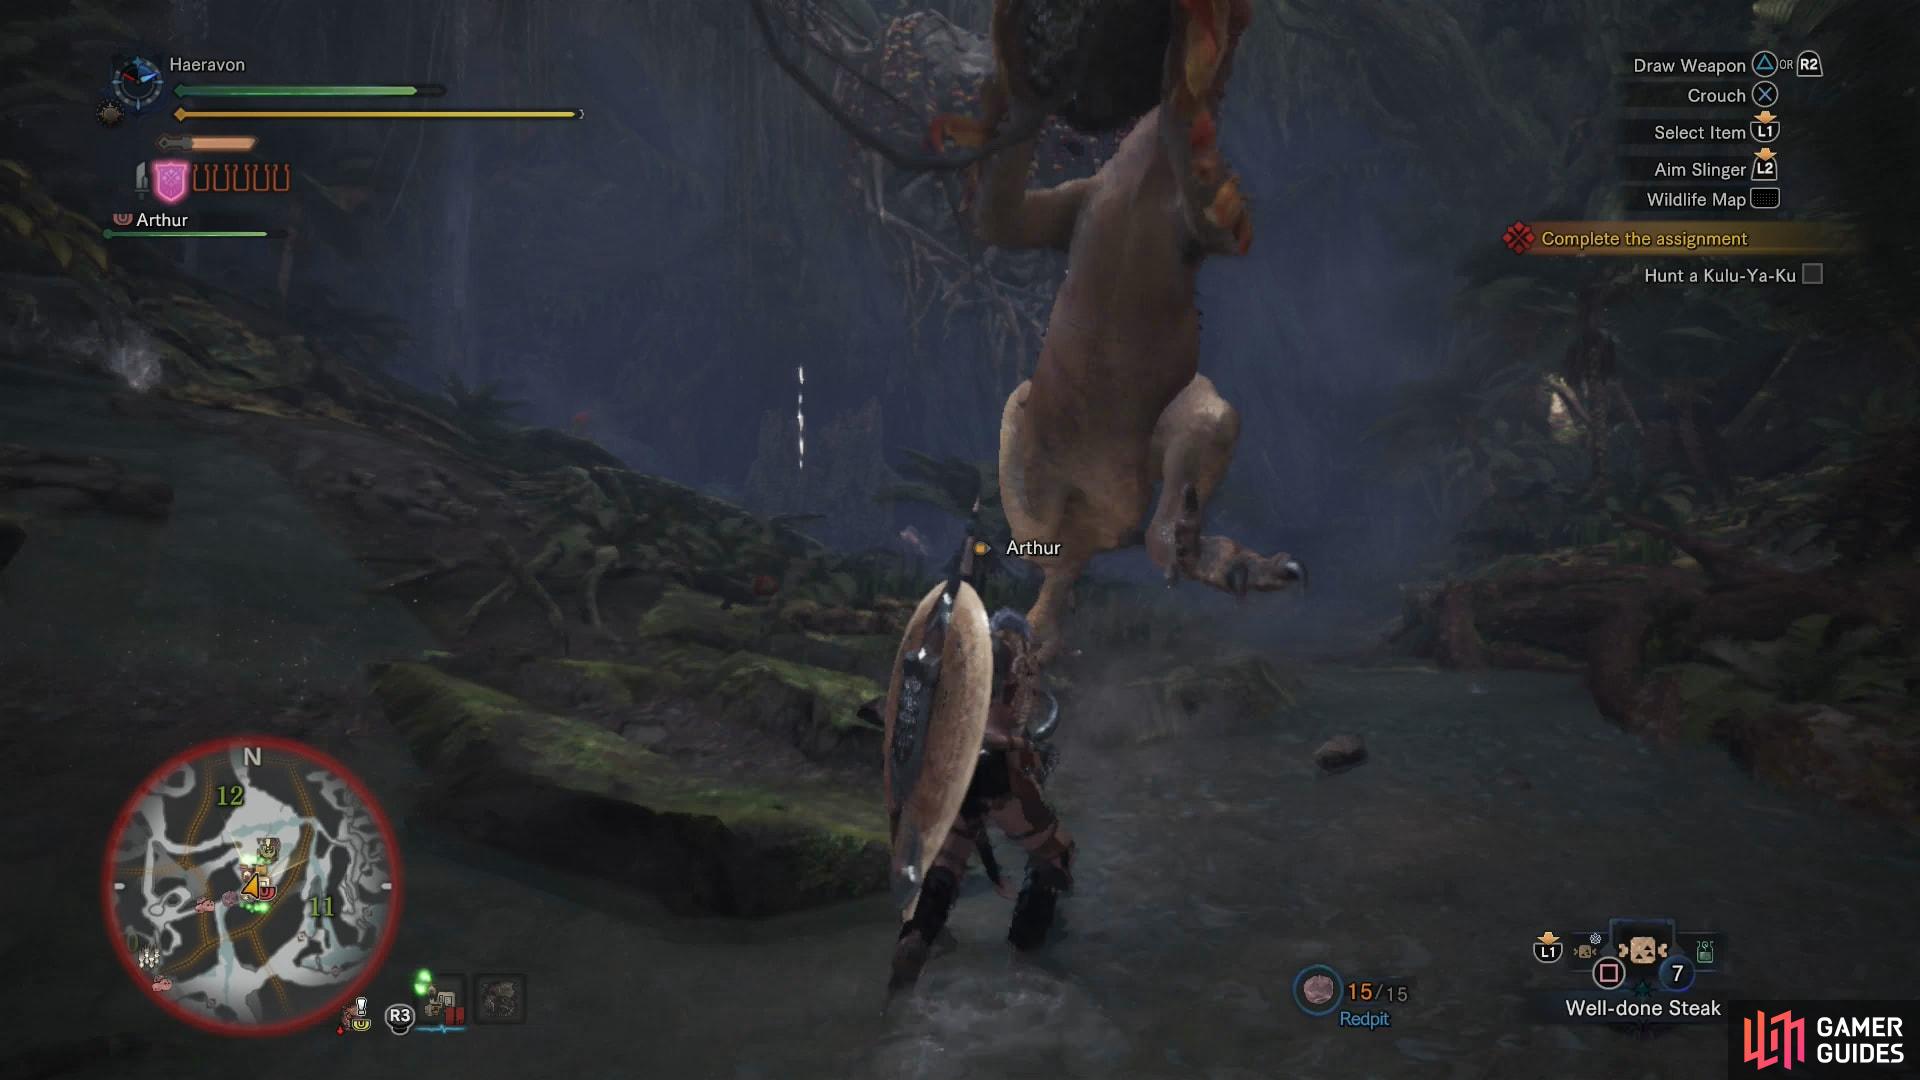
The Kulu-Ya-Ku is a strange beast, not being terribly formidable on its own, and honestly somewhat skittish. There are two major things to watch out for when fighting one; first, it’s inclination to run off, which can lure more monsters into the fray, and second for its proclivity to use tools. Don’t expect too much out of this monster, just because it can use tools doesn’t mean it does so elegantly or imaginatively.
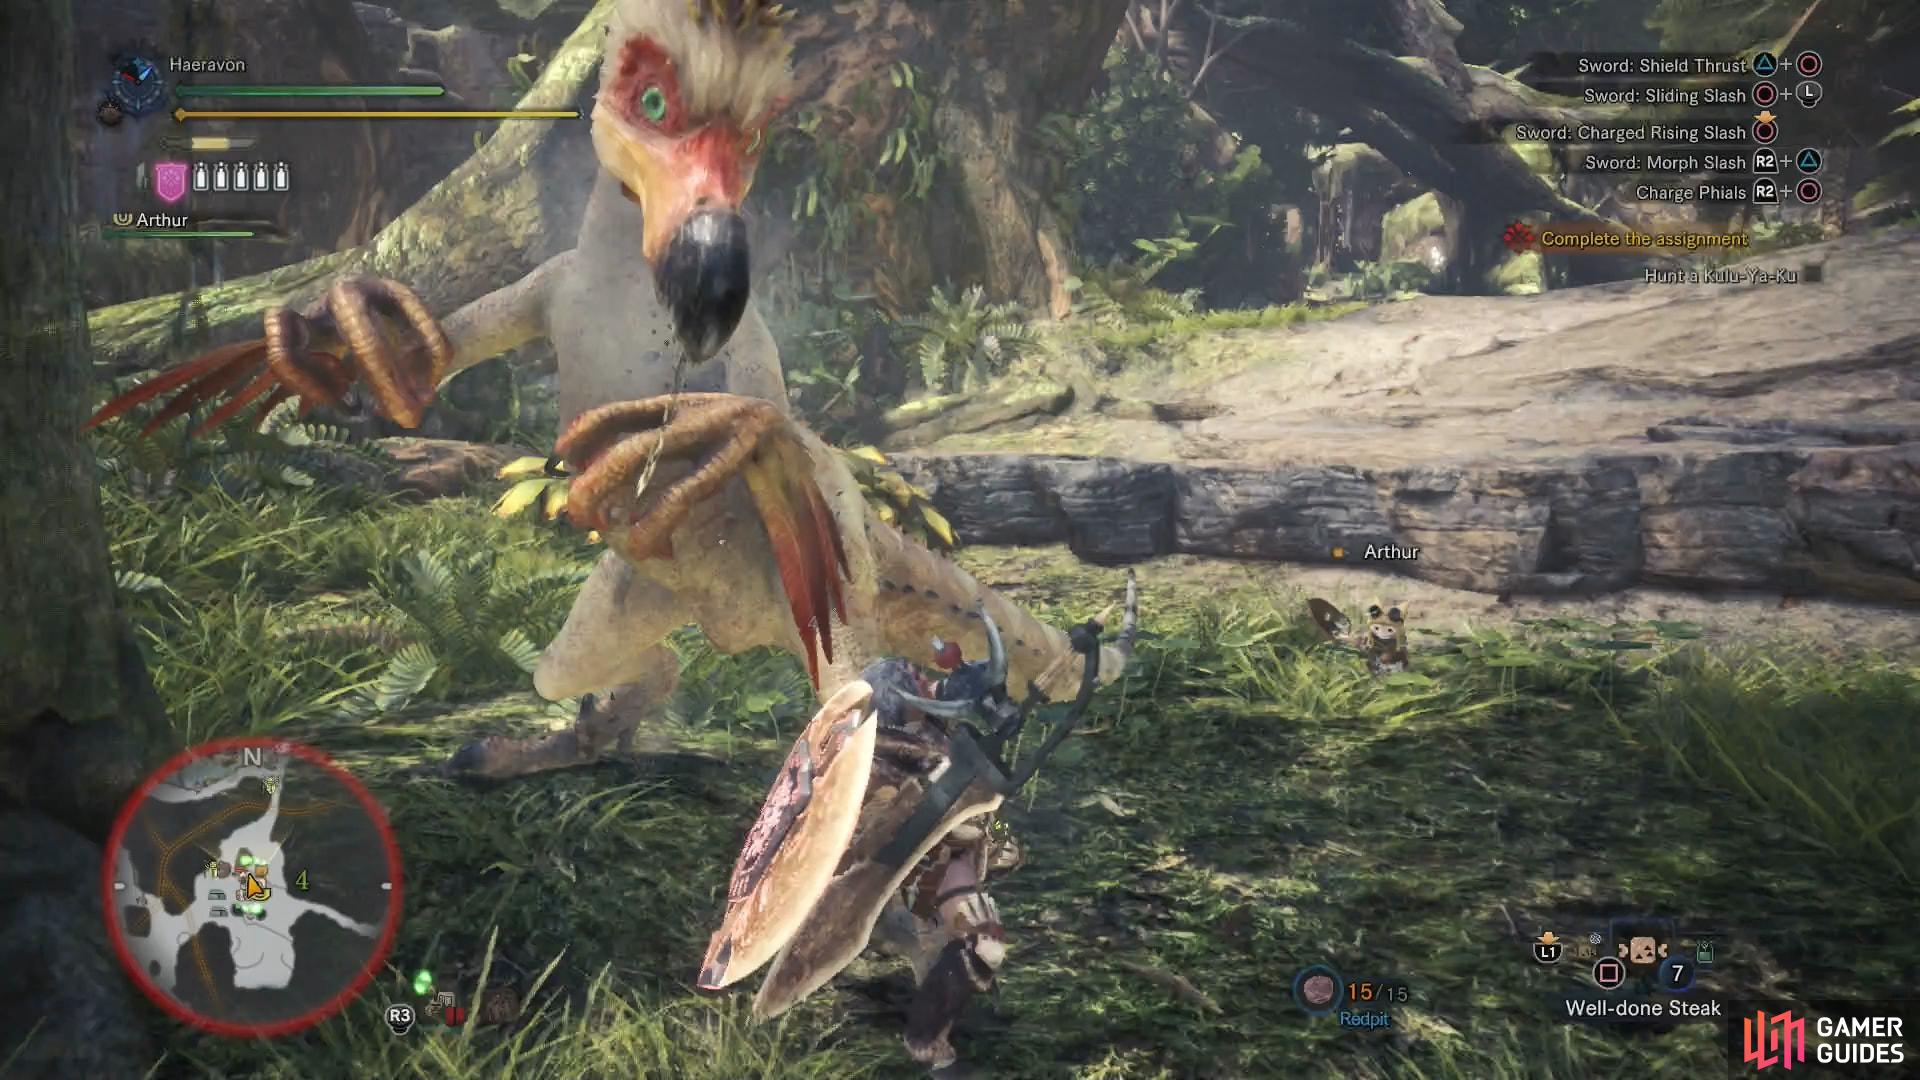
(1 of 2) Pelting the Kulu-Ya-Ku with your Slinger may cause it to drop its boulder
Pelting the Kulu-Ya-Ku with your Slinger may cause it to drop its boulder (left), but a strong enough attack will suffice, as well (right)
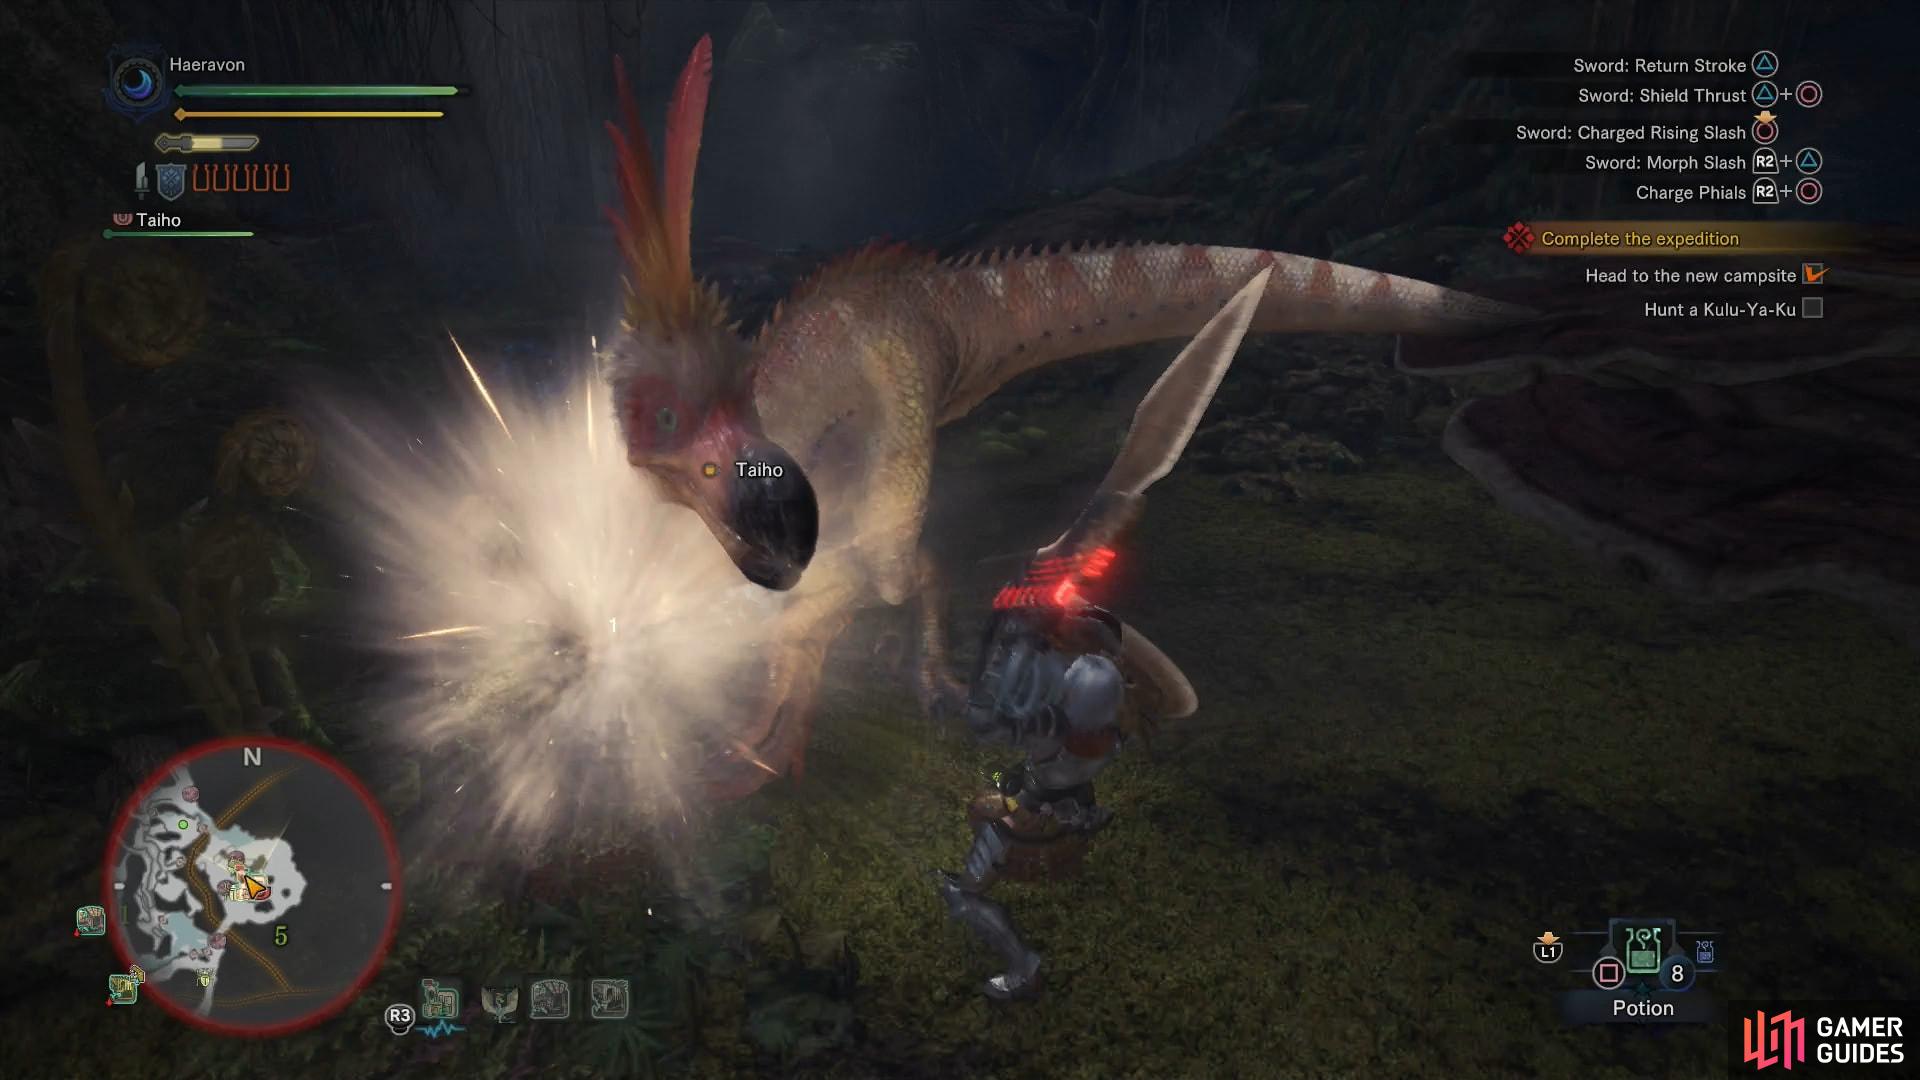
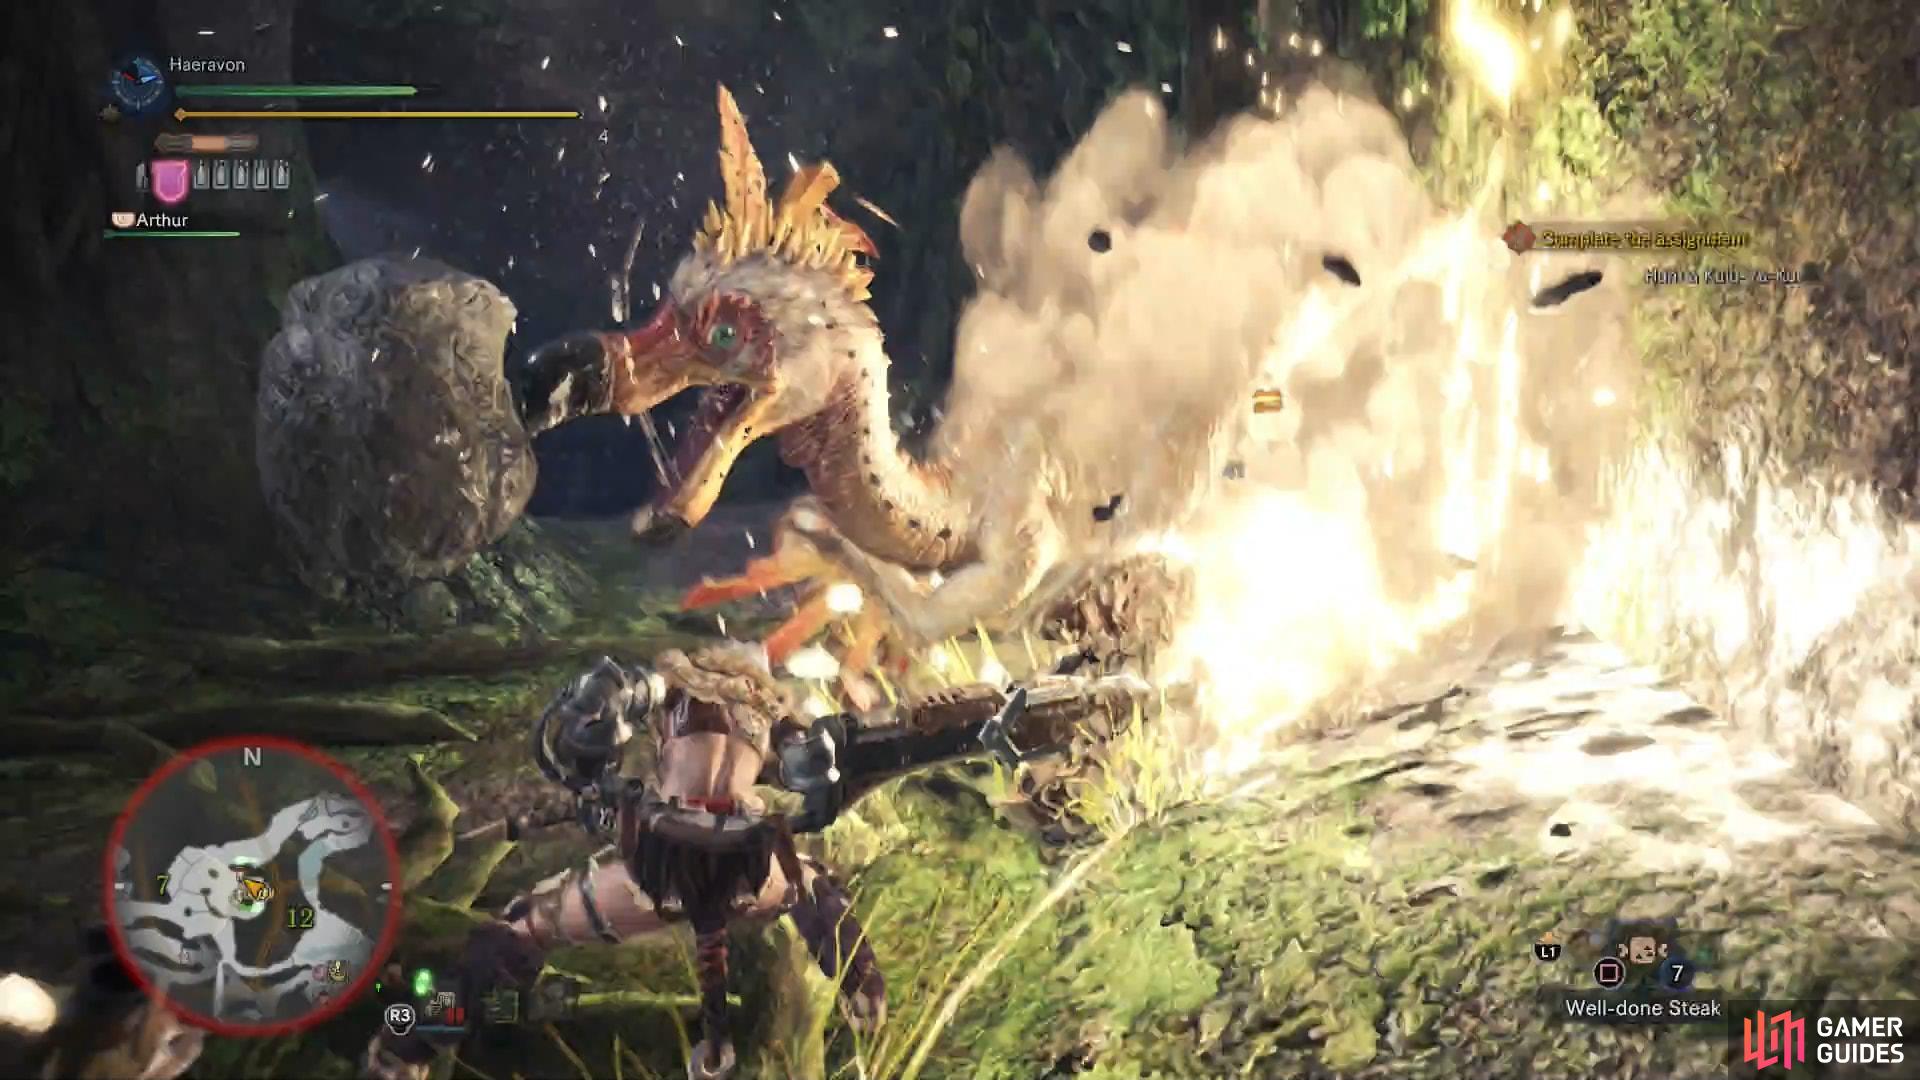
In this case, the Kulu-Ya-Ku’s tool use is limited to digging up a boulder and wielding that as a bludgeon… and also as a shield, blocking frontal attacks. For that reason, be sure to get some ammo for your Slinger, as the Kulu-Ya-Ku will drop its boulder if pelted with a few projectiles, or if hit by a strong enough attack. Be wary, though, as it can also chuck the boulder. By far its most dangerous attack, however, is its leaping boulder slam. It’ll perform a similar leap attack without a boulder handy, but it deals less damage without the weight of stone behind it.
(1 of 2) When armed with a boulder, the Kulu-Ya-Ku may use a devastating leap attack
When armed with a boulder, the Kulu-Ya-Ku may use a devastating leap attack (left), But it’s also content to attack with its claws and beak (right)
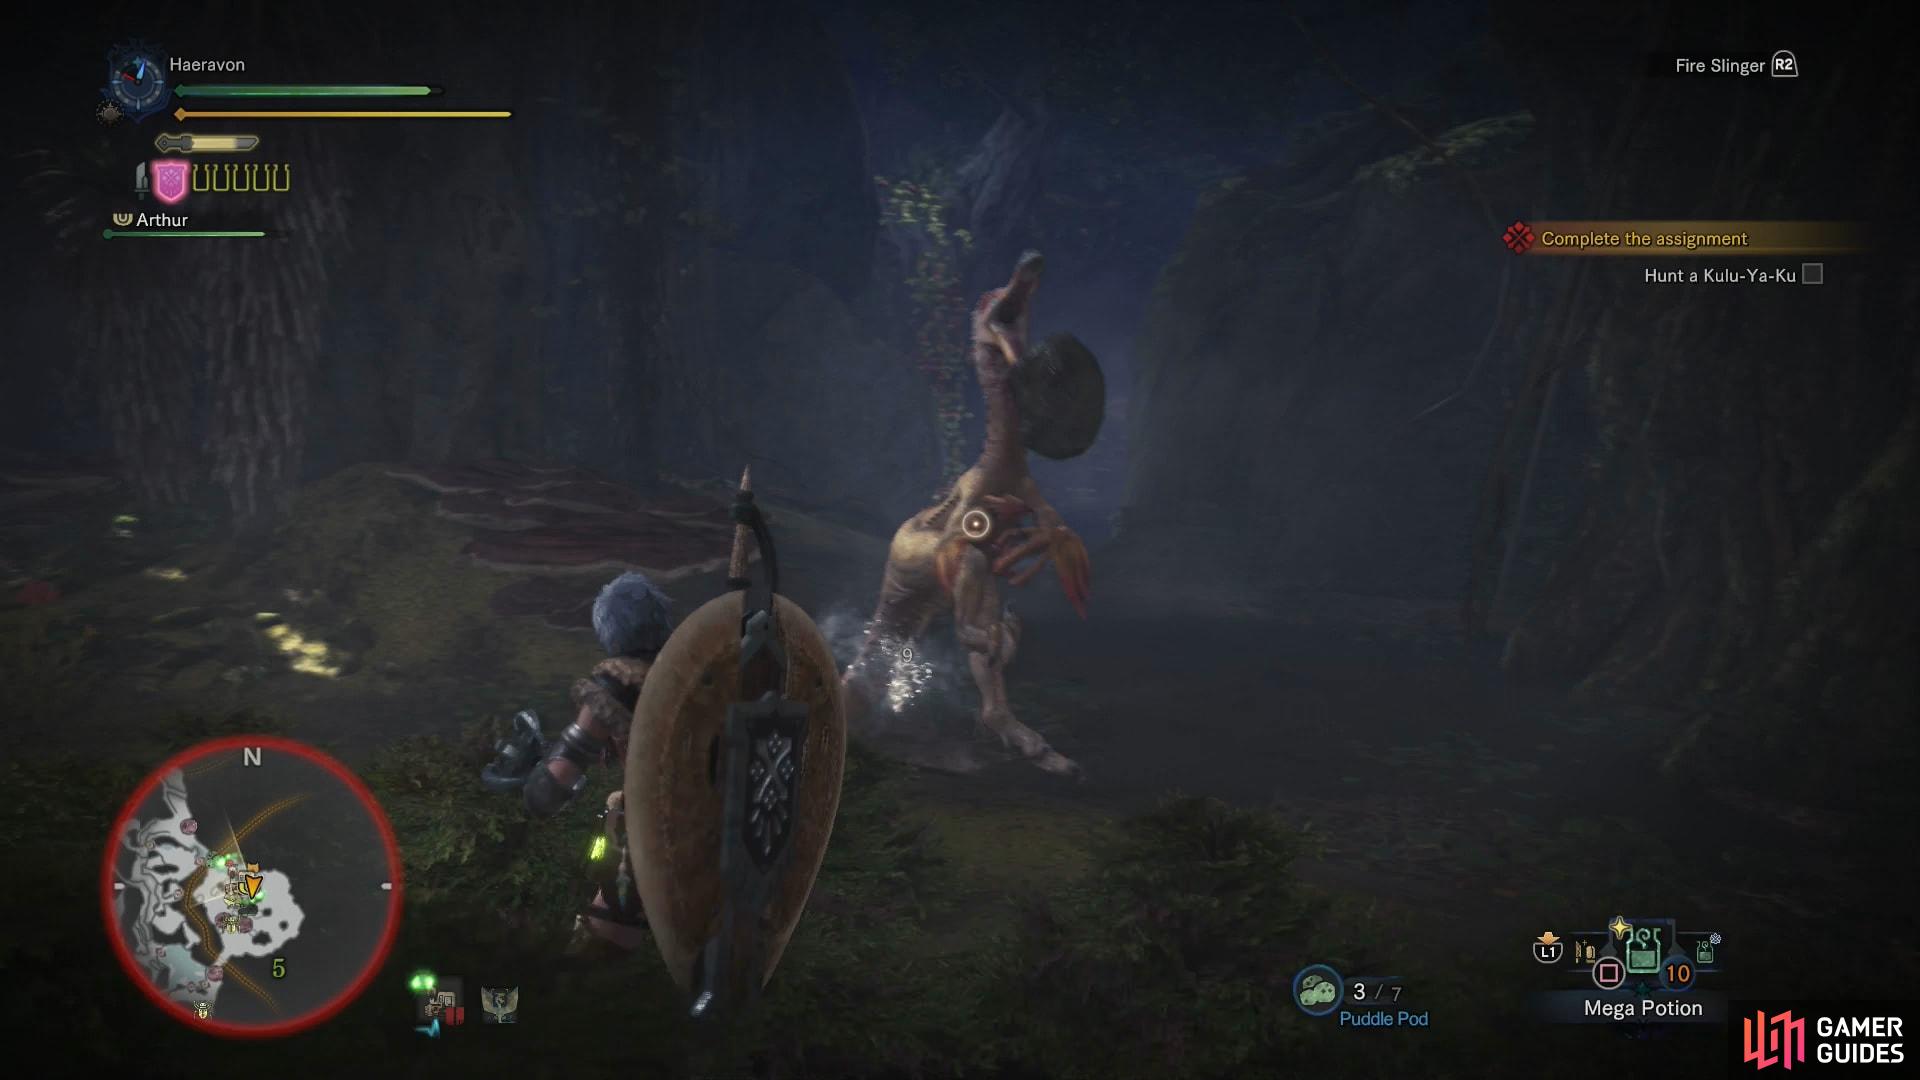
It can also peck with its beak (often doing so multiple times in a row, and generally its best to attack from the side or from behind, which can get around its boulder if it’s holding one, but is also safer to attack from. Other than that, there’s not too much to be wary of.
You can often find it in AREA 5, but, as mentioned earlier, it’s not above running up to the Pukei-Pukei nest (AREA 6), another cavern housing Kestodons (AREA 12) and to its own nest (AREA 10). Its leaps can cover a good deal of ground, and it’s significantly more energetic than the Great Jagras was. Its head is its only weak point, but it takes a fair amount of damage from all sources, especially fire.
| Carves | Frequency |
|---|---|
| Kulu-Ya-Ku Scale | * * * * * |
| Kulu-Ya-Ku Hide | * * * * |
| Kulu-Ya-Ku Plume | * * * |
| Kulu-Ya-Ku Beak | * * * * |
| Rewards | Frequency |
|---|---|
| Kulu-Ya-Ku Hide | * * * * * |
| Kulu-Ya-Ku Scale | * * * * |
| Kulu-Ya-Ku Plume | * * * |
| Kulu-Ya-Ku Beak | * * * * |
| Monster Bone S | * * * * |
Kill and carve the Kulu-Ya-Ku, then return to Astera. Do the usual things you do when you get back to town - visit the Ecological Research station to consolidate your research, return to the Resource Center to claim any outstanding bounties and go see if you can craft/upgrade any arms and armor.
A Great Help
In the case of the Resource Center, the Provisions Manager will have a new bounty for you, A Great Help, which tasks you with creating a Mega Potion. If you already have one, turn the bounty in. If not, you’ll need an Potion and some Honey to make a Mega Potion, and for a Potion you’ll need an Herb… components which can be easily obtained the next time you head out.
Mushrooms: Nature’s Smelly Bounty
Next head up to the Canteen and talk to a “Fiver Bro” sitting around eating, who will tell you that the Meowscular Chef asked him to wrangle up some more ingredients… kind of like how he asked you not so long ago. This gluttonous sack of uselessness will pass his job off on you, starting the bounty Mushrooms: Nature’s Smelly Bounty, tasking you with finding some Mosswine Hide. This requires a bit more running than the components for a Mega Potion, but it’s not too much work.
Start out by heading to AREA 11, heading towards the same cavern where the Kula-Ya-Ku liked to roam, near which the Northeast Camp is established. Before you get there, however, veer off to the west at the fork south of the aforementioned cavern, then turn north and head uphill at a second fork, climbing some vines to reach another cavern… the same cavern where you captured the Woodland Pteryx. Here you should find a Mosswine, whose hide you seek. Kill the docile animal and with any luck you’ll get the Mosswine Hide you need.
You can take care of both of these bounties by heading off on an expedition, if you wish, or you can just wait until the next assignment takes you out onto the field. Either way, their completion will be left up to you.
When you’re done chatting with random exclamation points in Astera, turn your attention to the Commander, who will give you your next assignment. The Field Team Leader also has an exclamation point above his head, but all he does is tell you about SOS Flares and helping out other hunters.
Talk to the Commander and he’ll congratulate you on your successes before telling you to get out there and kill the monster the camp was originally created to help you hunt - the Pukei-Pukei. This creates the assignment Urgent: Pukei-Pukei Hunt.

 Sign up
No Comments