
| Quest Info |
|---|
| Objective: Hunt an Anjanath |
| Reward Money: 4320z |
| Time Limit: 50 min. |
| Conditions: HR 4 or higher |
| Failure Conditions: Time Expires / Faint 3 Times |
| Other Monsters: Aptonoth / Jagras / Mernos |
Before starting this assignment, some preparation might be in order. Make sure your armor is up to snuff, as the Anjanath hits hard - having a defense value of 90+ is recommended. Fire resistance won’t hurt, either. Also, be sure to eat a meal ahead of time… You should generally do this before any hunt, but in this one, especially, you’ll want those buffs. Have ten Potions and Mega Potions, and if you want to end the fight somewhat quicker, bring a Shock Trap and a Tranq Bomb. The Anjanath is a fearsome foe even while gravely injured, and not having to whittle down the last bit of his health may be a welcome shortcut.
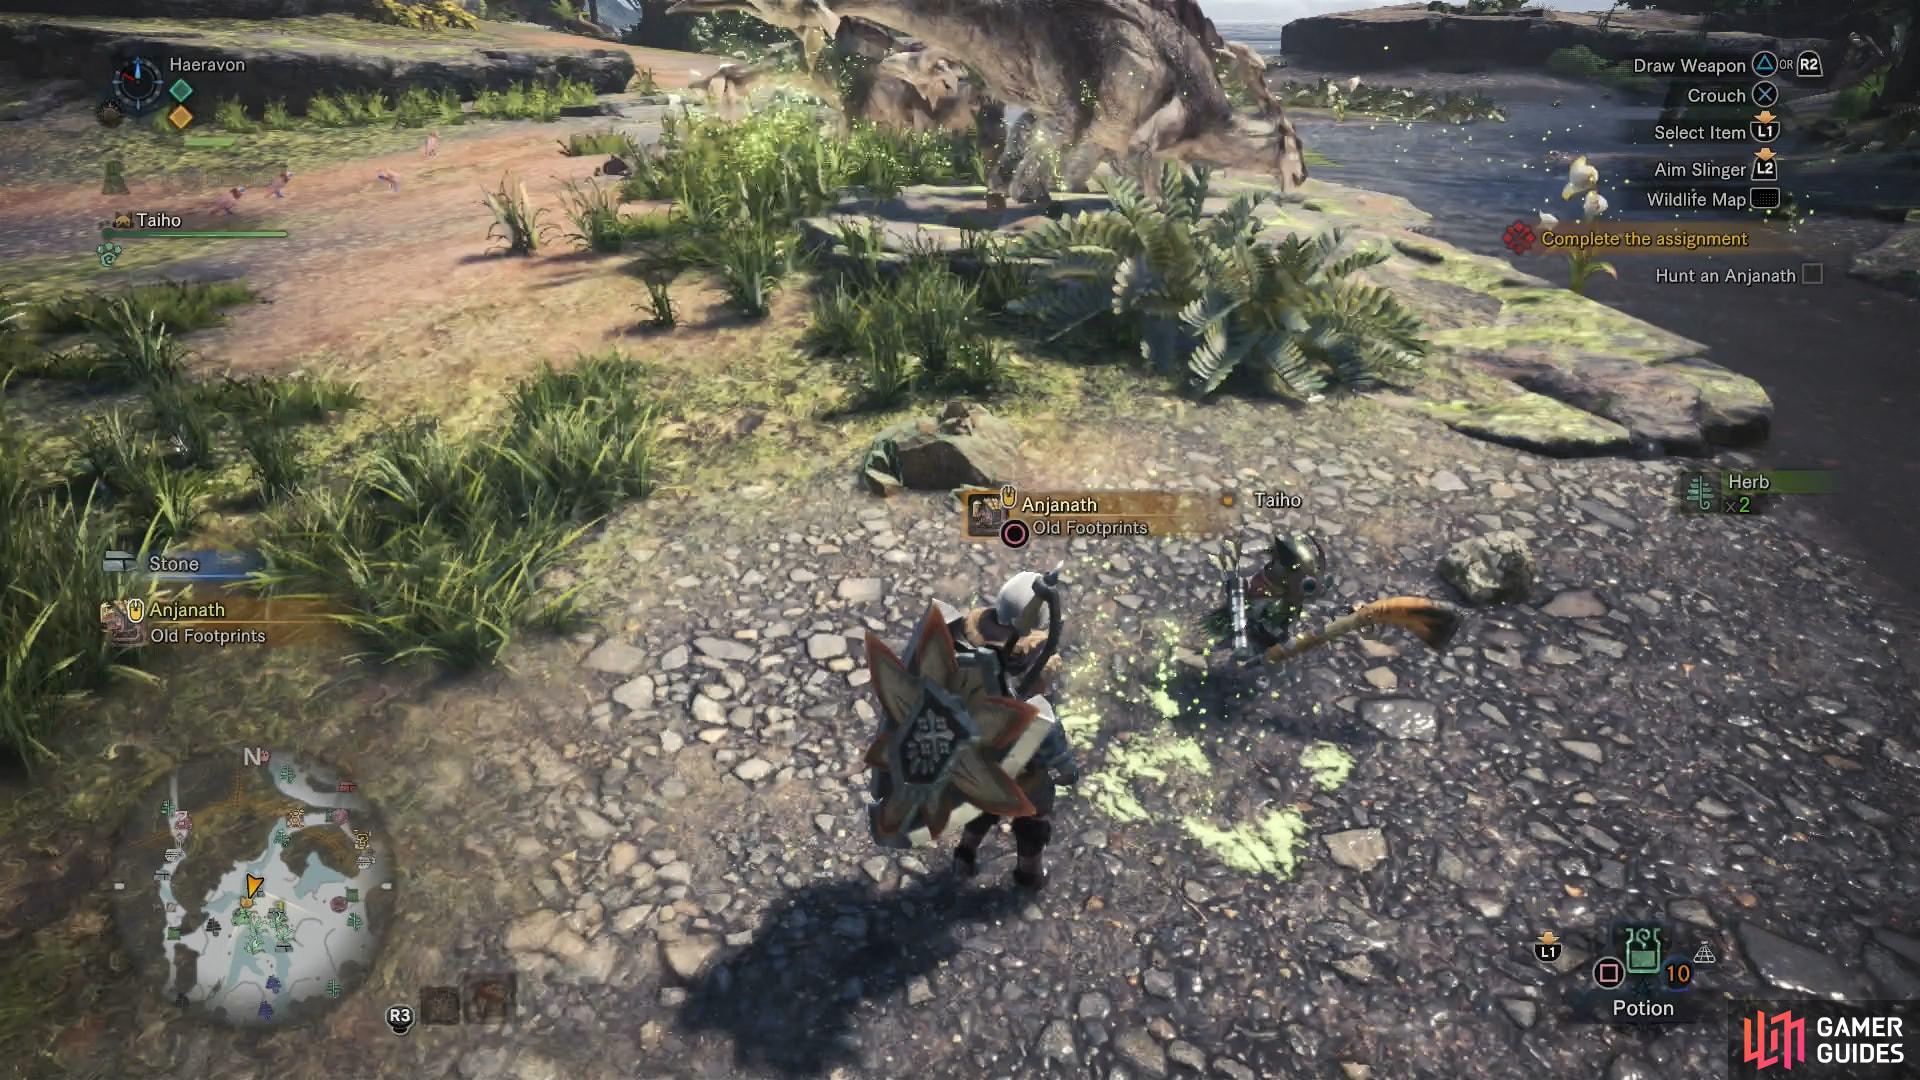
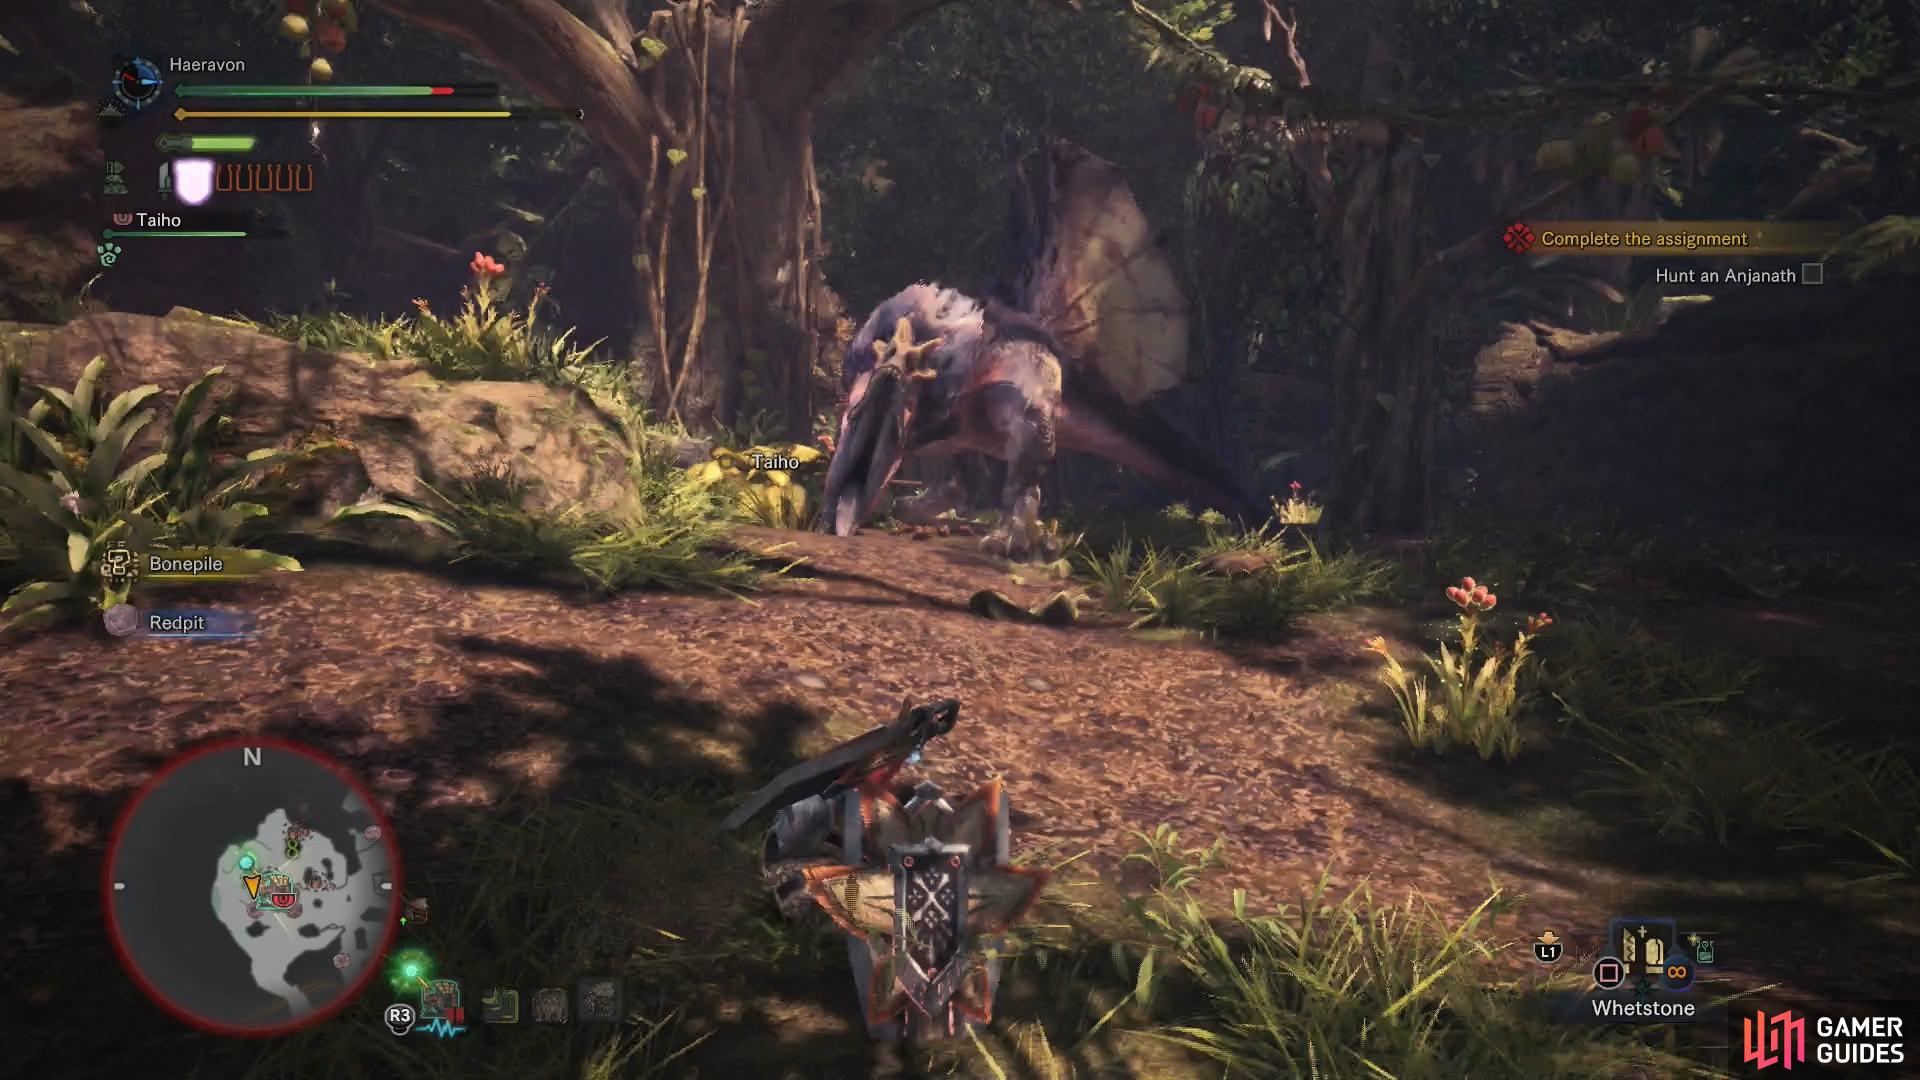
(1 of 2) Find Anjanath tracks and boost your Scoutfly level to locate the monster
Find Anjanath tracks and boost your Scoutfly level to locate the monster (left), When you find it, it’ll be showing off its prowess - and letting you know how much higher it is on the food chain over other monsters you’ve hunted (right)
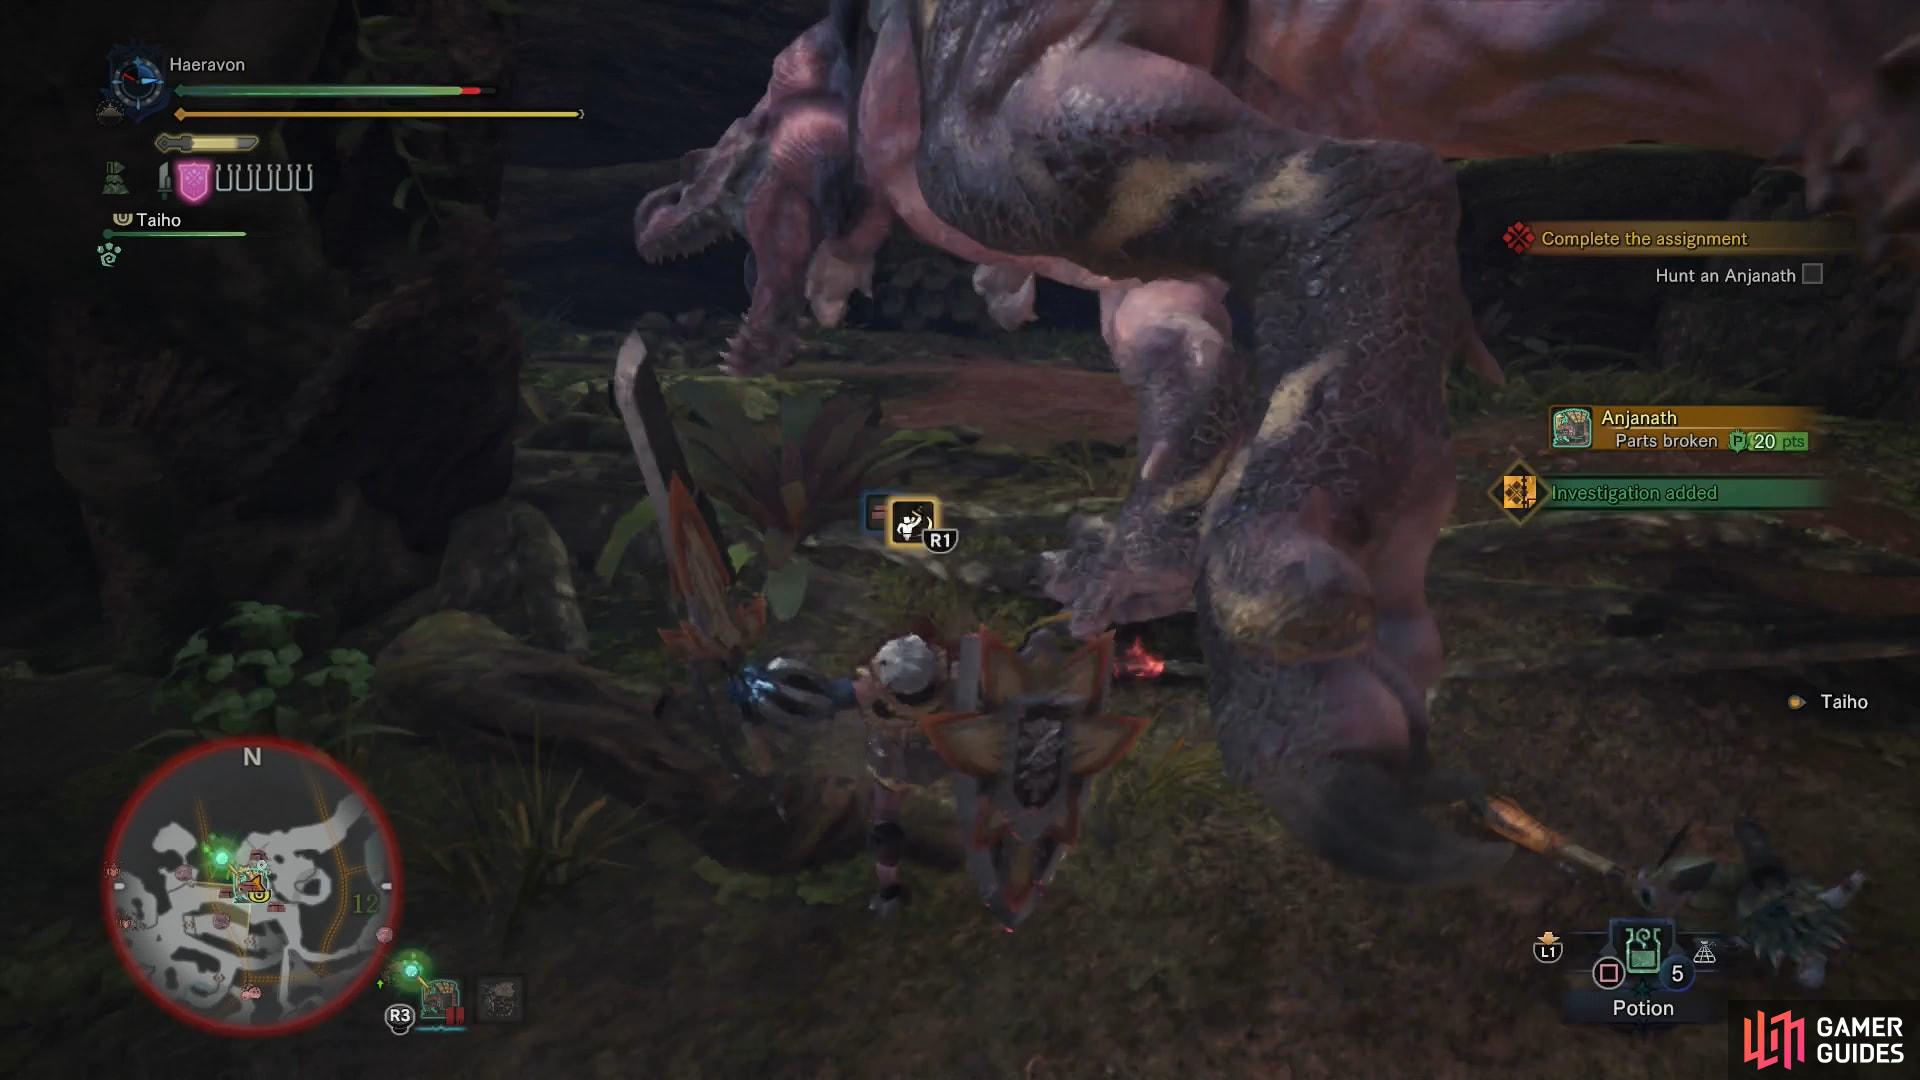
Hunt - Anjanath
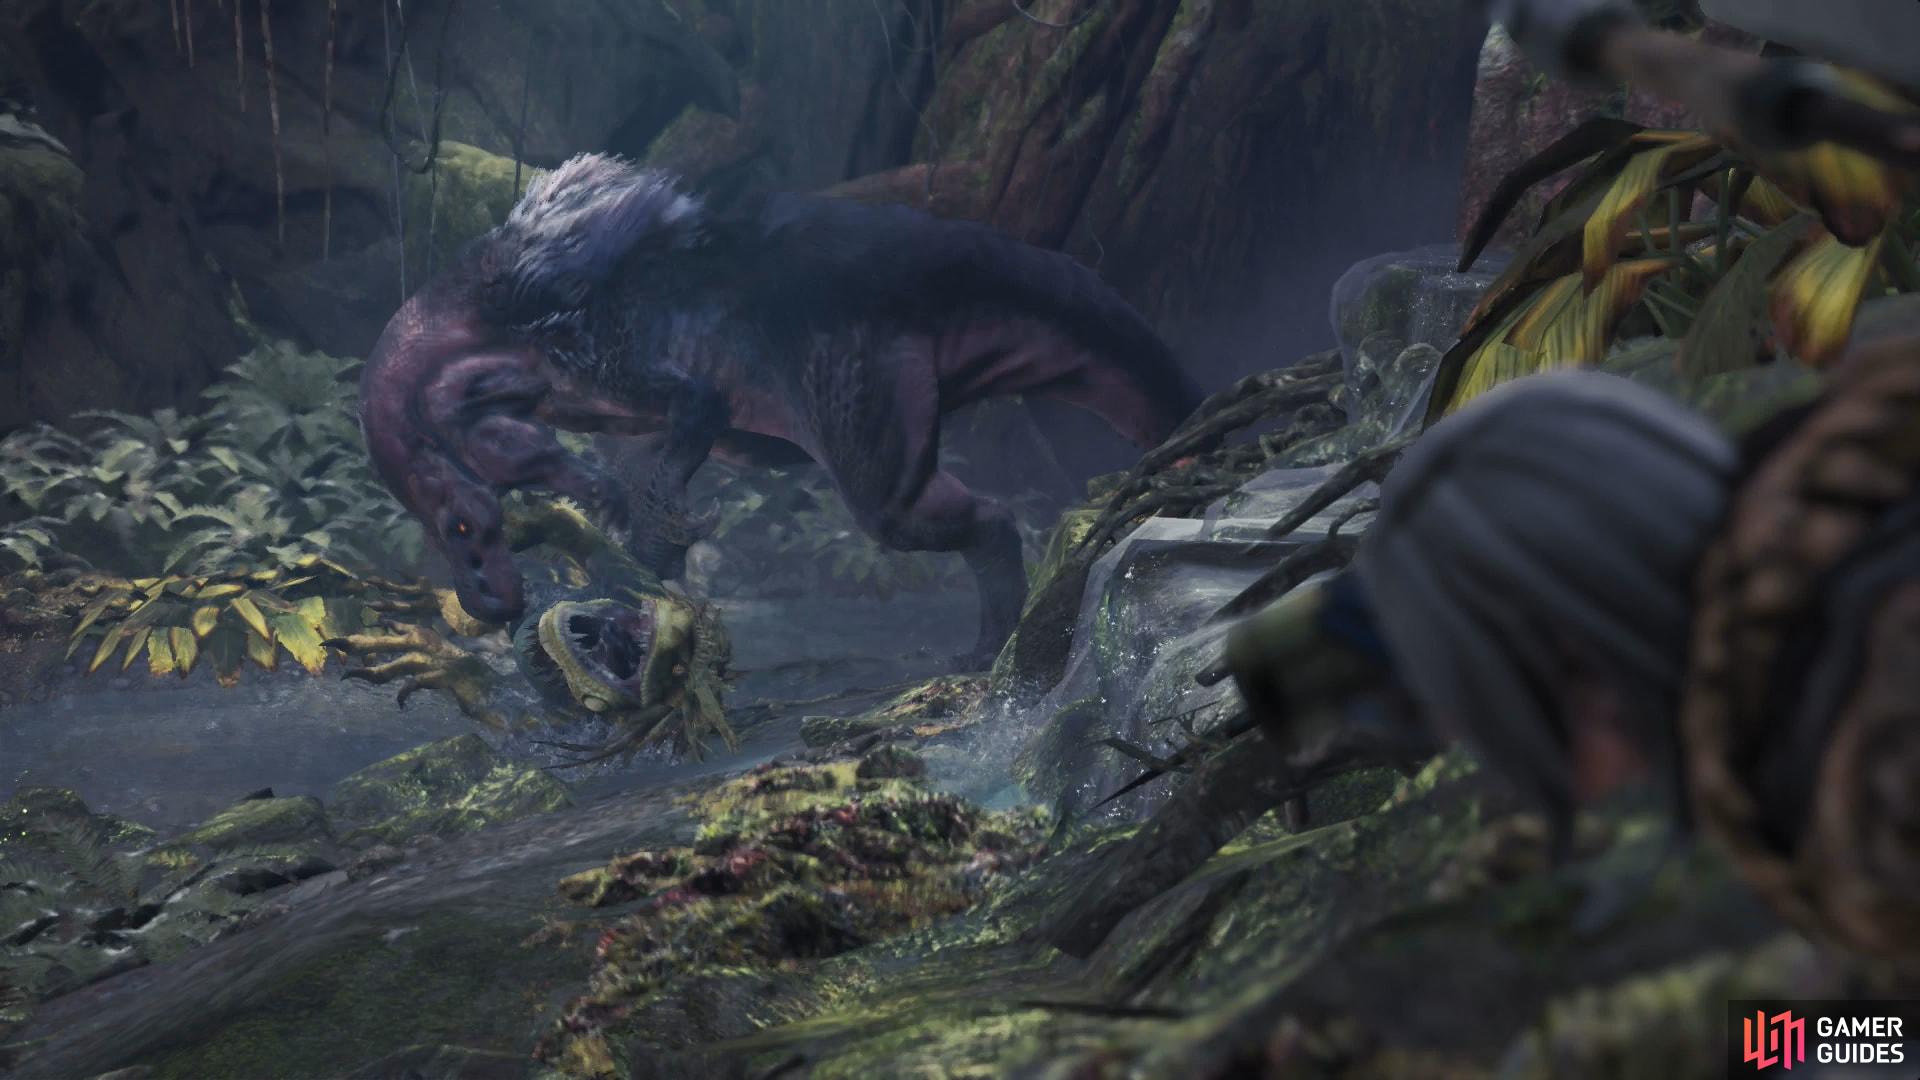
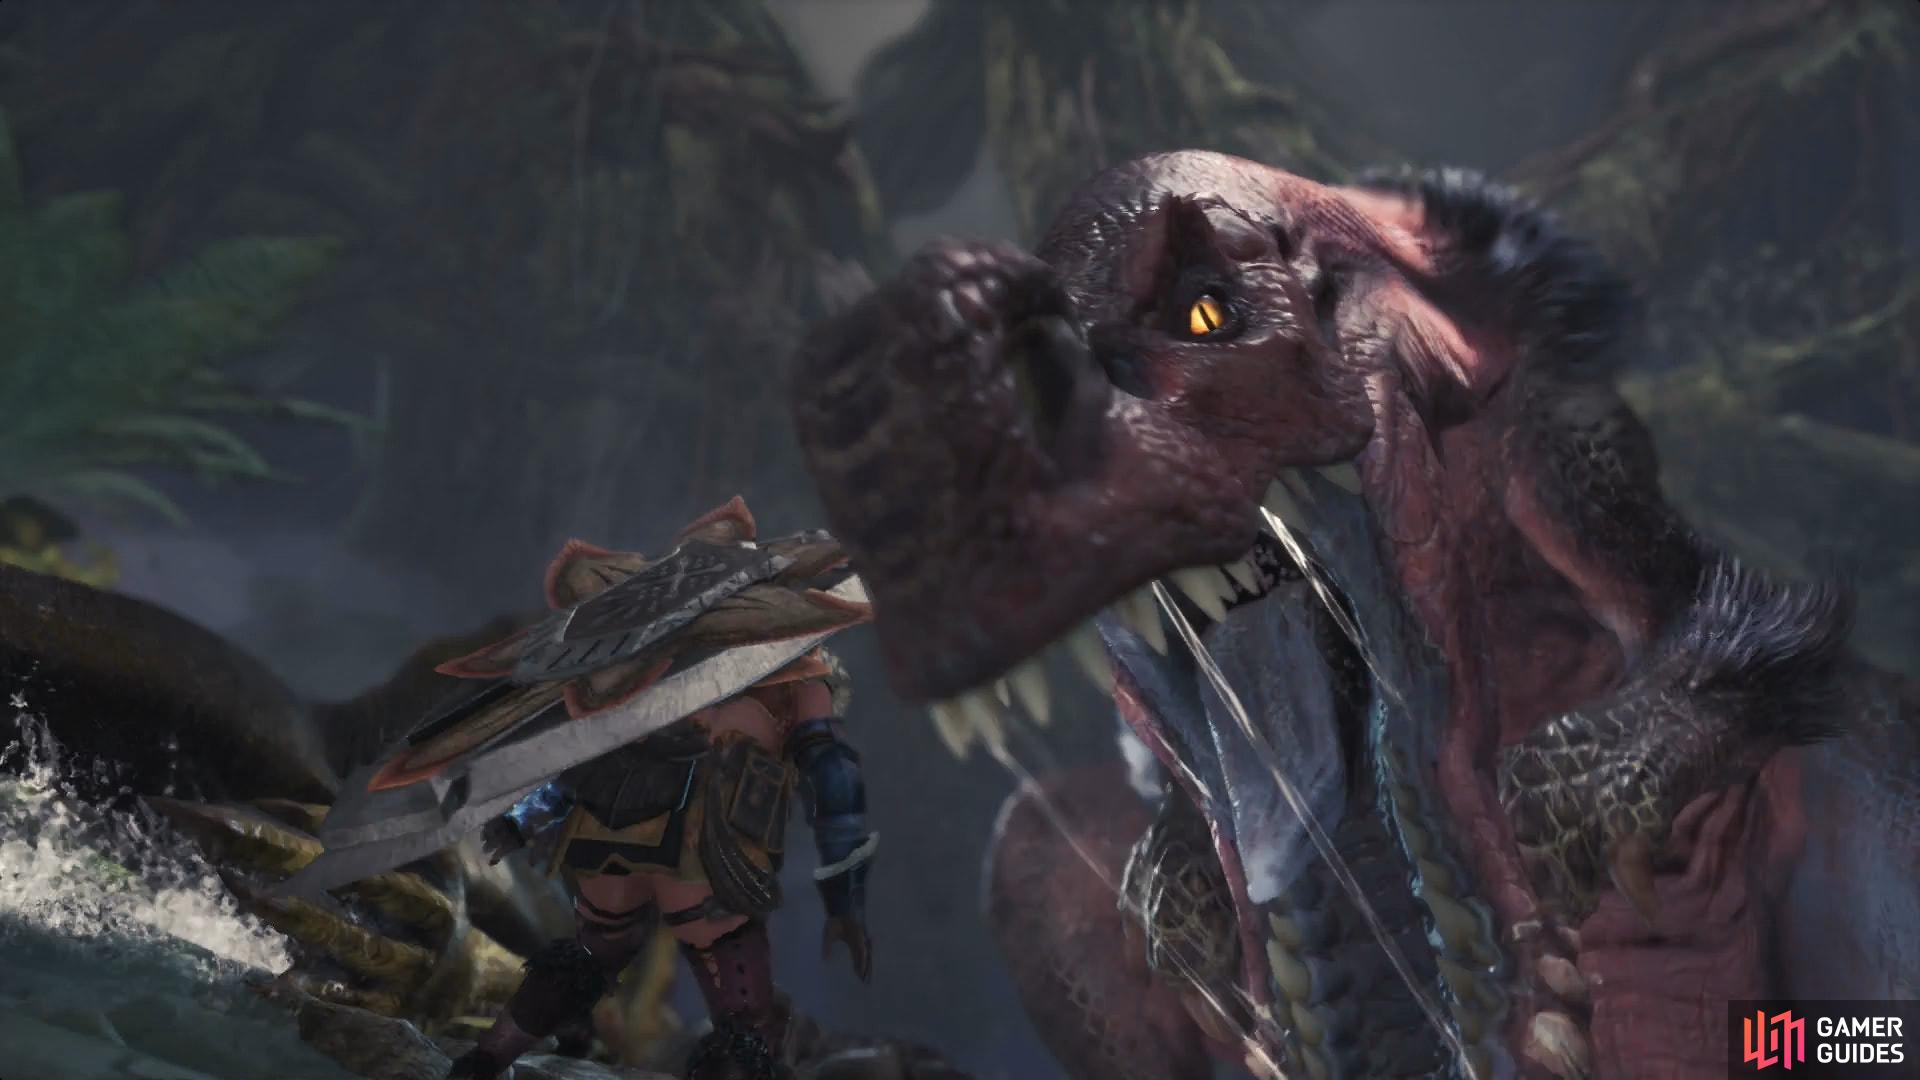
There should be few surprises to this fight - you’ve been through the Ancient Forest enough times, and have probably been chased by an Anjanath enough to know where it tends to prowl… which is unfortunately throughout much of the Ancient Forest. You can find its tracks throughout AREAS 1, 3 and 4 and up through the Ancient Forest to its nest in AREA 13… and nearly everywhere in between. In this instance you’ll likely find it in AREA 12, picking on a Great Jagras. Your hunter will get in a creative first strike, but unimpressed, the Anjanath flings its meal at you before attacking in earnest.
| Elements | . |
|---|---|
| Fire | X |
| Water | * * * |
| Thunder | * * |
| Ice | * * |
| Dragon | * |
| Ailments | . |
|---|---|
| Poison | * * |
| Sleep | * * |
| Paralysis | * * |
| Blast | * |
| Stun | * * |
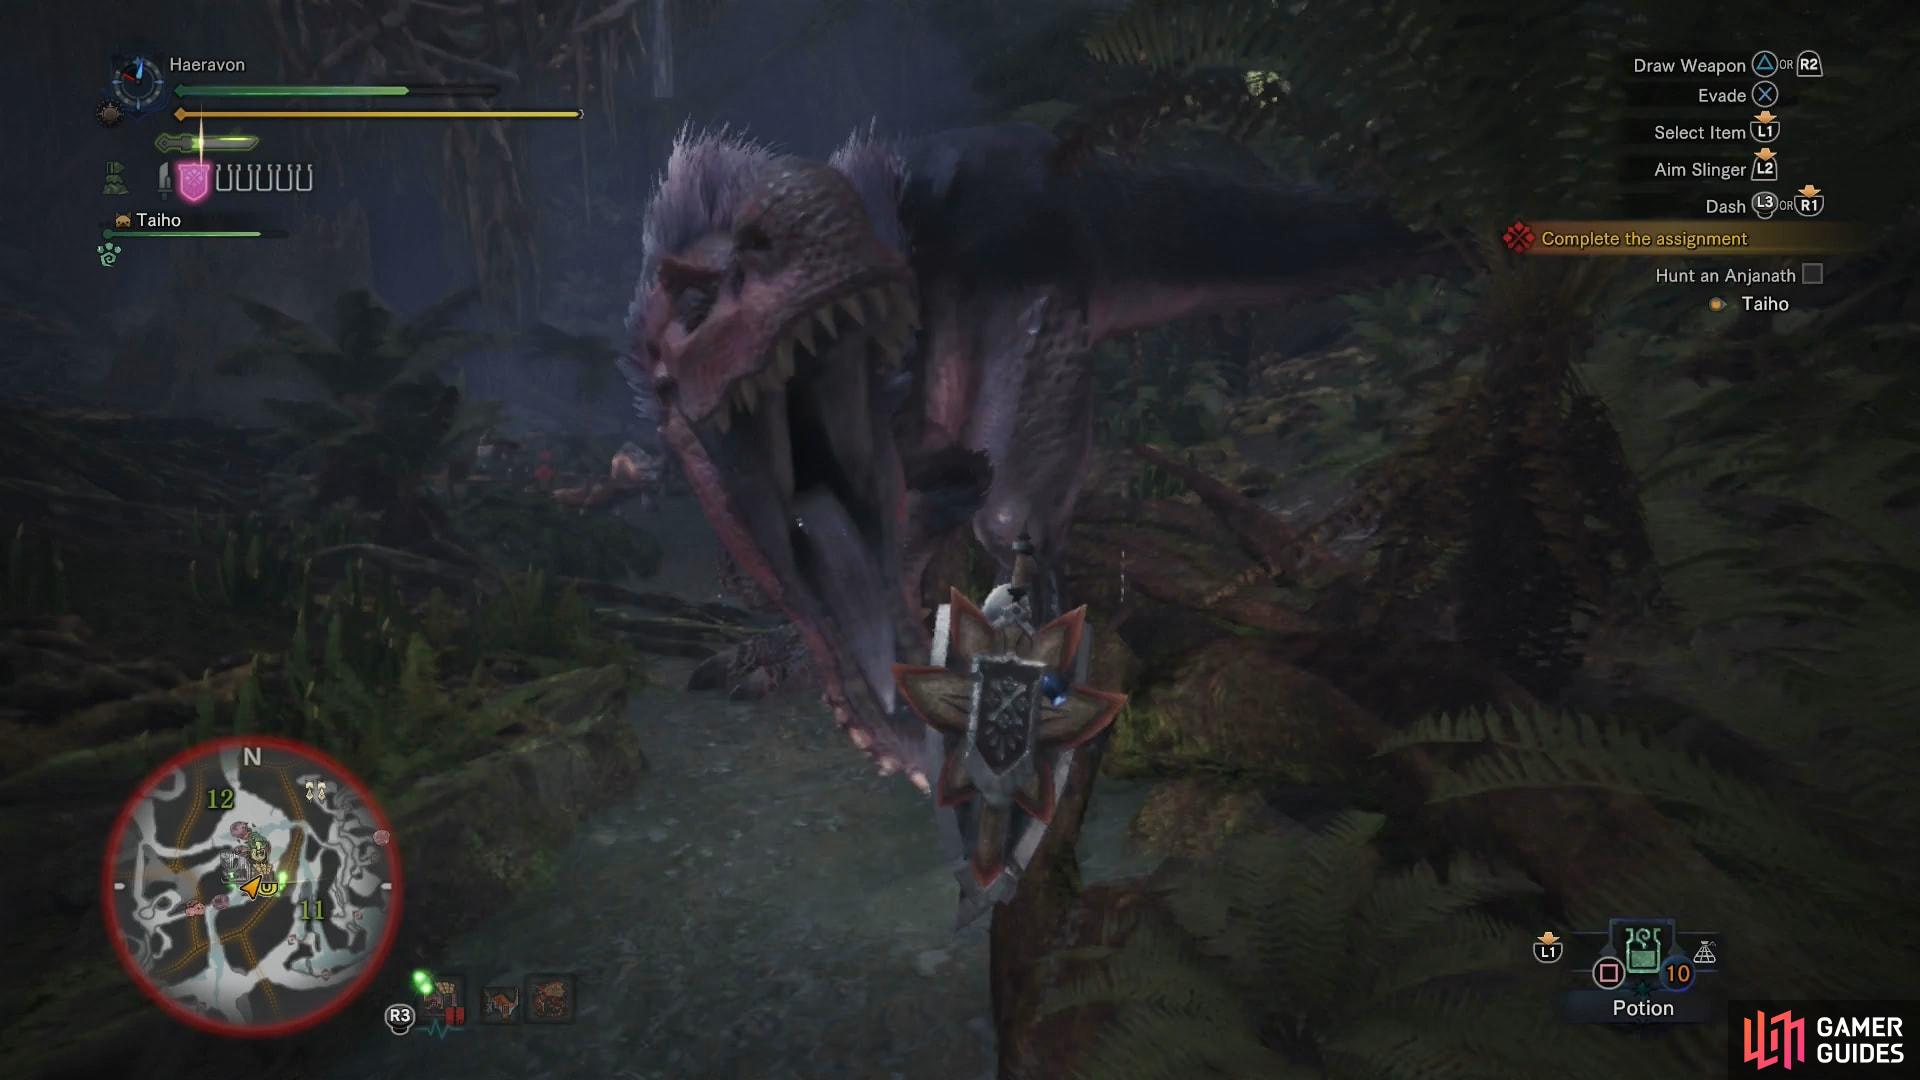
(1 of 2) Its massive jaws should make its bite an obvious source of concern
Its massive jaws should make its bite an obvious source of concern (left), While it can kick at pests with its legs, such blows are far less damaging than its bites and charges (right)
The Anjanath is by far the strongest monster you’ve fought thus far, being tirelessly aggressive, hard-hitting and incredibly durable. As if that’s not enough, its persistent roaring and the fact that it can perform short charges (for all intents and purposes, simply walking right over would-be hunters) can keep attackers constantly off-balance, and it moves just enough to present a tricky target for some of the slower weapon types to score a decisive hit.
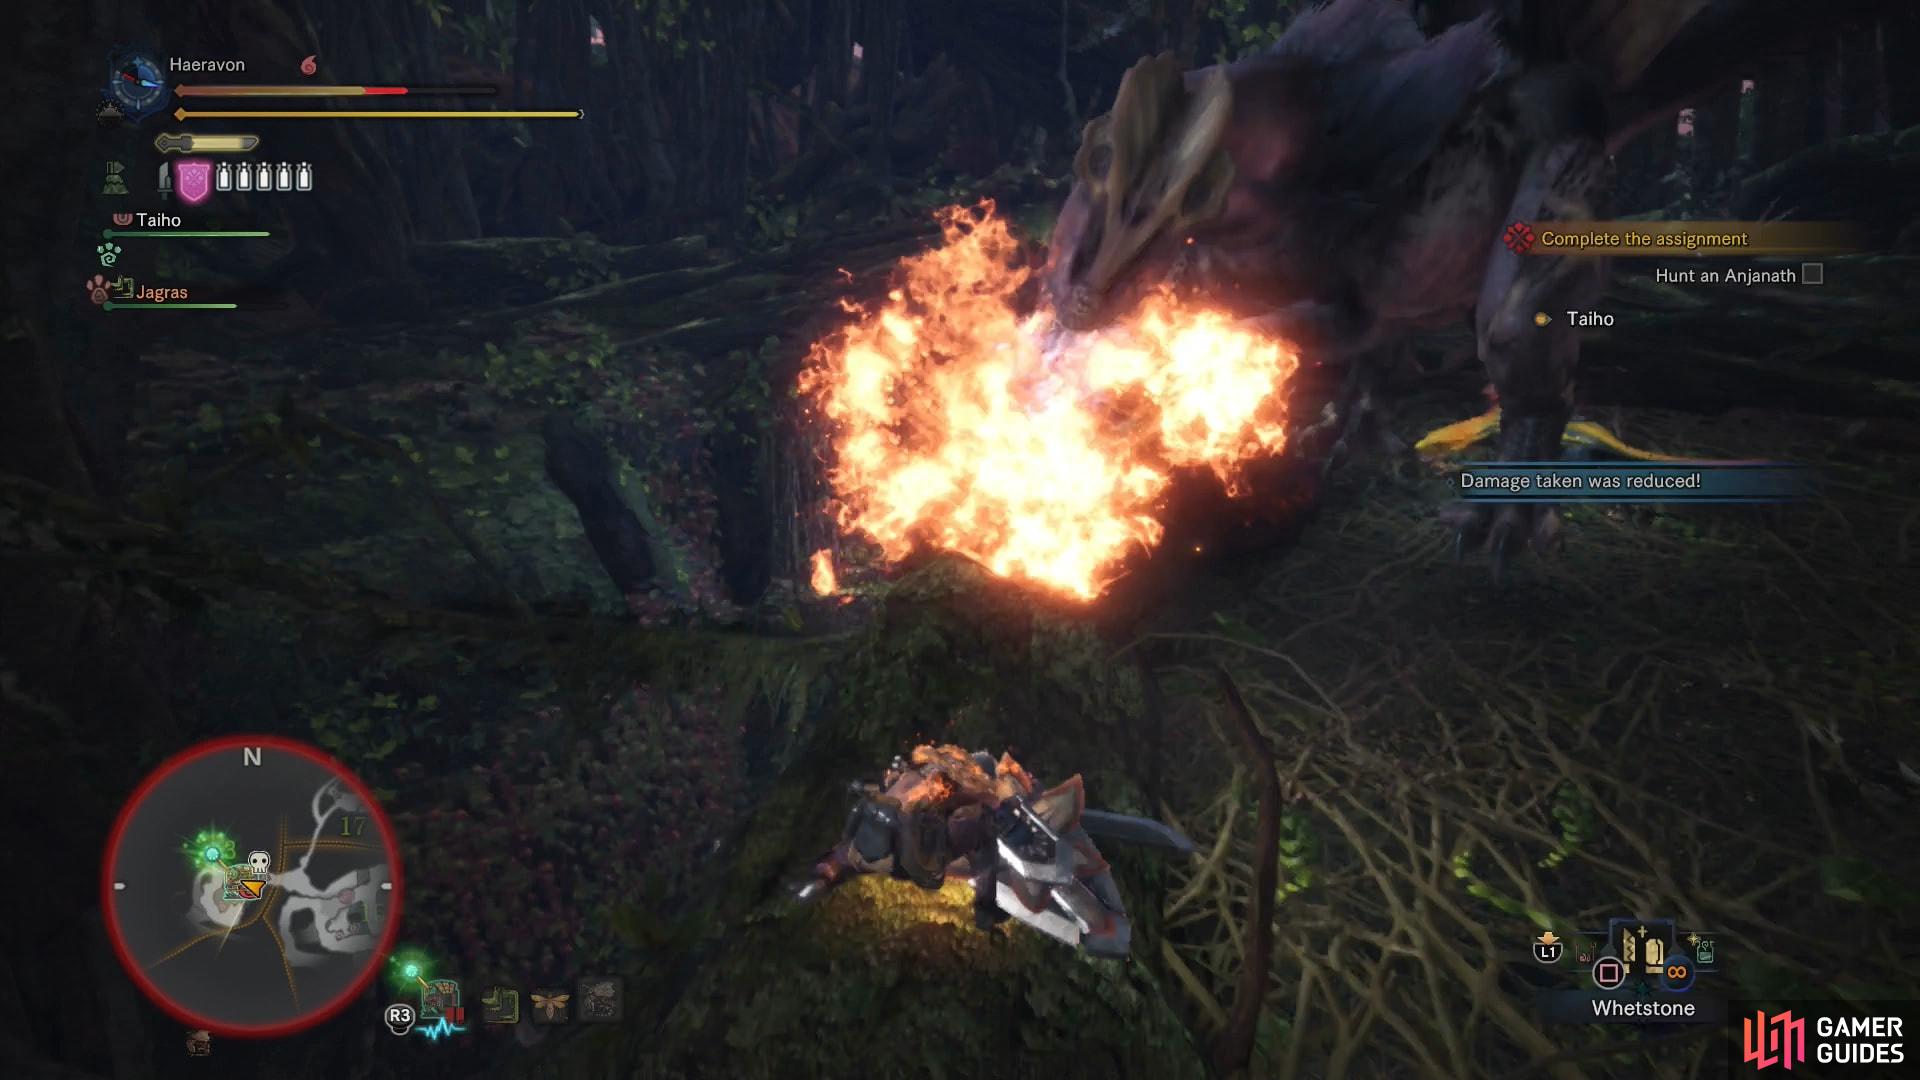
(1 of 2) When enraged - which is frequent - the Anjanath will more frequently use its more damaging attacks
When enraged - which is frequent - the Anjanath will more frequently use its more damaging attacks (left), Which include fire breath, which takes several forms (right)
This Brute Wyvern also boasts a versatile - but definitely front-heavy - offense, attacking with bites, kicks, tail sweeps and charges, including a short rush and an absurd, ground-rending, mouth-plowing assault which deals tremendous damage. While it’s definitely more formidable in close-quarters combat, you shouldn’t feel too safe at a distance, either, as the Anjanath is capable of leaping great distances and crushing any hunters that happen to be where it lands. If that’s not all bad enough, with the Anjanath is roused to anger, it’ll extend its frills and become even more aggressive, and showcase another weapon - fire breath. It can spew fire in a mighty blast, or sweep-scorch a wide area. The former can one-hit-kill even well-equipped hunters, so you definitely want to be anywhere but in front of it when its frills are up. If you get caught on fire, dodge roll three times to put it out (rolling in water will do so instantly).
The Anjanath’s head, legs and tail are all breakable (with the latter being severable) and its head and tail are especially vulnerable to attack - the head being a more receptive target than the tail. Unfortunately, you’ll most likely (depending on your weapon type) expose yourself to a great deal of damage attacking the head. While the Anjanath has numerous ways to attack enemies behind itself, these attacks are generally less damaging than most of its frontal assaults. The Anjanath is weak to water, resistant to fire, and not particularly weak to any ailment, least of all blast.
| Carves | Frequency |
|---|---|
| Anjanath Pelt | * * * * |
| Anjanath Scale | * * * * * |
| Anjanath Fang | * * * |
| Anjanath Nosebone | * * * |
| Anjanath Plate | * |
| Rewards | Frequency |
|---|---|
| Anjanath Pelt | * * * * |
| Anjanath Scale | * * * * |
| Anjanath Nosebone | * * * |
| Anjanath Tail | * * |
| Anjanath Plate | * |
| Monster Bone L | * * * |
| Flame Sac | * * * |


After the battle you’ll be back at Astera, where signs of the upcoming expedition are everywhere. The Commander will offer up useless platitudes before going over their plans to wear down and capture Zorah Magdaros. The full might of Astera is going to be put into this, apparently! After he’s done talking, you’ll need to talk to The Handler again, who rambles on for quite a while. The next assignment, One for the History Books will be available thereafter.
Before you go off on this next quest, there are a few things that should be pointed out. First, you can now upgrade your armor further, and while increasing Defense does have diminishing returns, it’s still a good idea to keep your armor as up-to-date as possible. Every little bit helps, right? To this end, bounties will now start being somewhat more complicated (you’ll see far more capture requests, and the types of monster targeted will be more specific). Still, there are plenty of other bounties if you can’t be bothered to capture anything, and completing bounties will now reward you with Armor Sphere+ items, which, as their name implies, levels up armor much faster. Don’t neglect the obvious clues the game is giving you - shoot for a Defense score of 100+ going forward.
When you’ve made your preparations, accept the assignment One for the History Books, eat a good meal and set off to go hunt Zorah Magdaros…

 Sign up
No Comments