Part 1: The Figurehead
The first part of this quest has us heading down to the waterfront nearby in search of Lawrence the Leper. Follow the waypoints until you reach him. Speak with Lawrence for a scene.
Meet the next type of OD enemy – the Mugger. These guys are tough. They are extremely agile, able to climb walls and jump great distances. They are a primarily melee-focused enemy that can move very fast and have an extremely damaging pounce attack that they can use from anywhere within sight of you. To avoid this, keep an eye on the ground for the red circle indicating an incoming attack and move immediately!
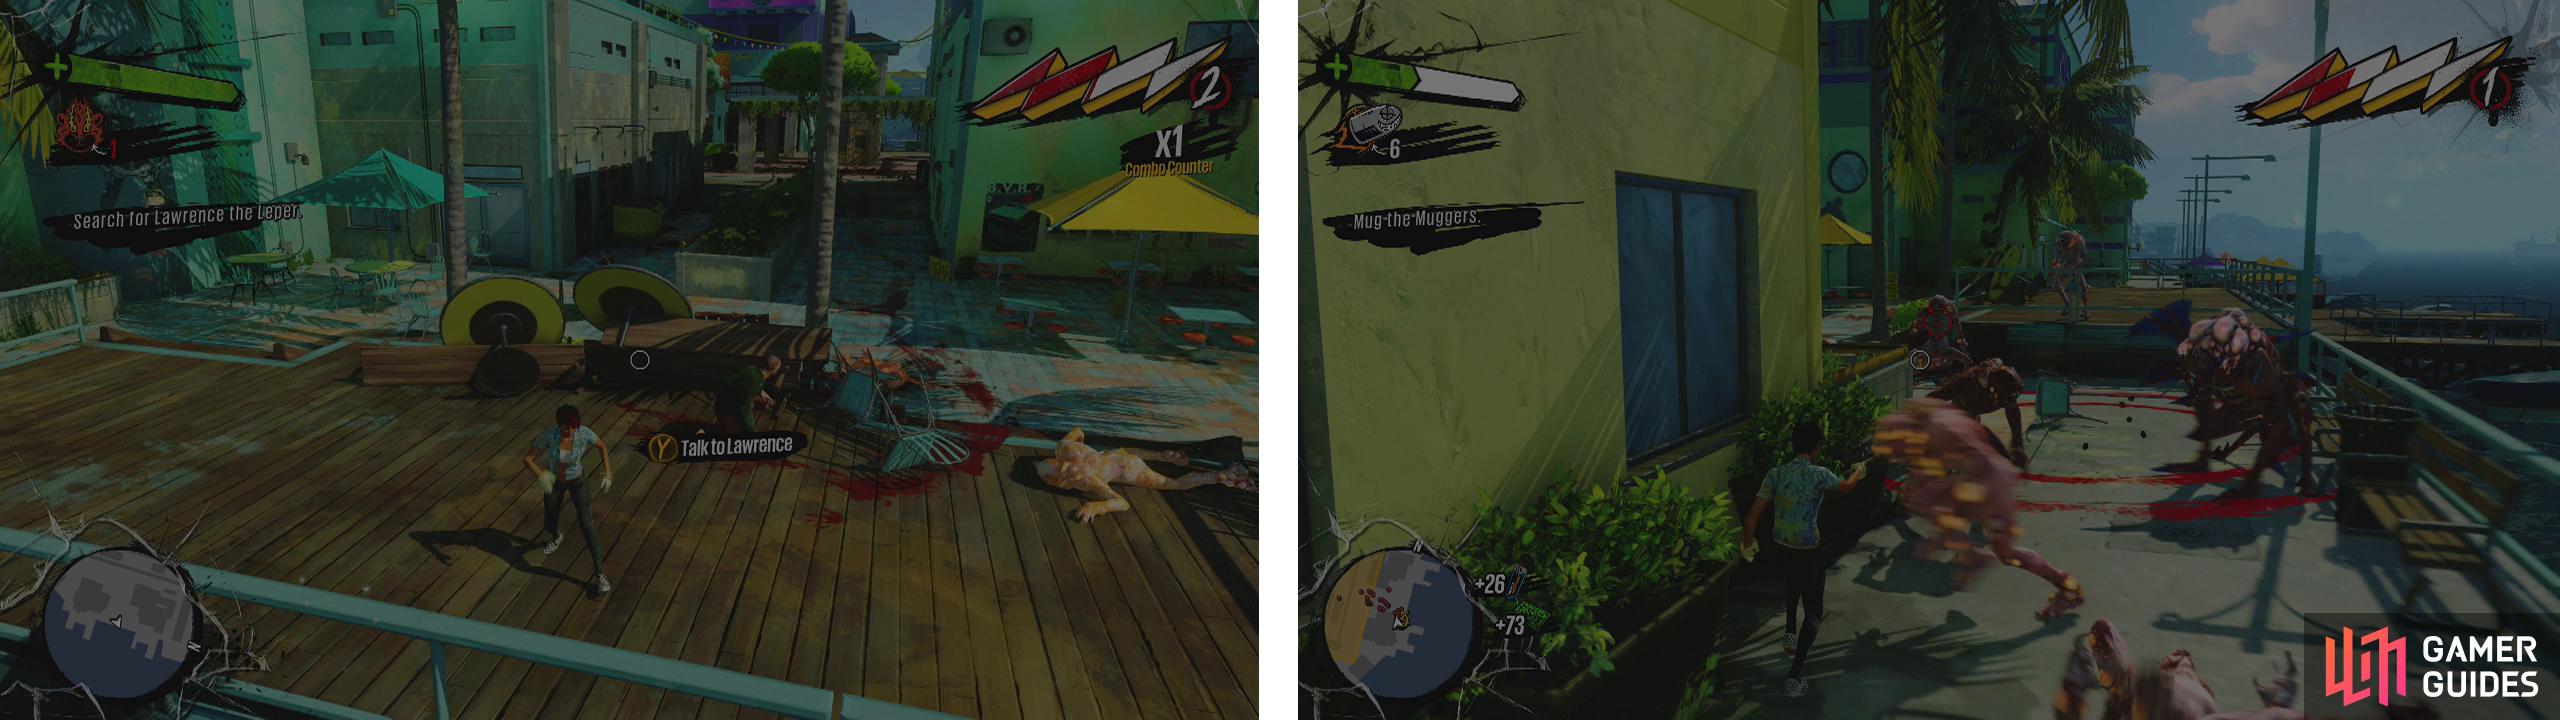
Run out to meet Lawrence at the boardwalk (left). Fight off the Muggers and OD that appear (right).
After killing the initial Mugger another couple will appear, so take them out as well. Work your way back to the square with the giant dinosaur statue. Here you’ll need to clear the area of enemies. To begin with, you’ll just be facing off against a number of Muggers, which will eventually graduate into swarms of regular OD as well. This can be extremely difficult until you get the hang of the Mugger attack patterns, but once you do it will become much easier for you. As we are fighting OD, use your fire-based amps to speed up the elimination process and, this might be obvious by now, but be sure to keep moving, especially with the Muggers about.
After killing a good number of OD, a Mugger wearing a Triceratops head will appear. Immediately shift your focus to attacking this guy. Once you kill him, he will drop the quest item we are after and the rest of the enemies should disappear.
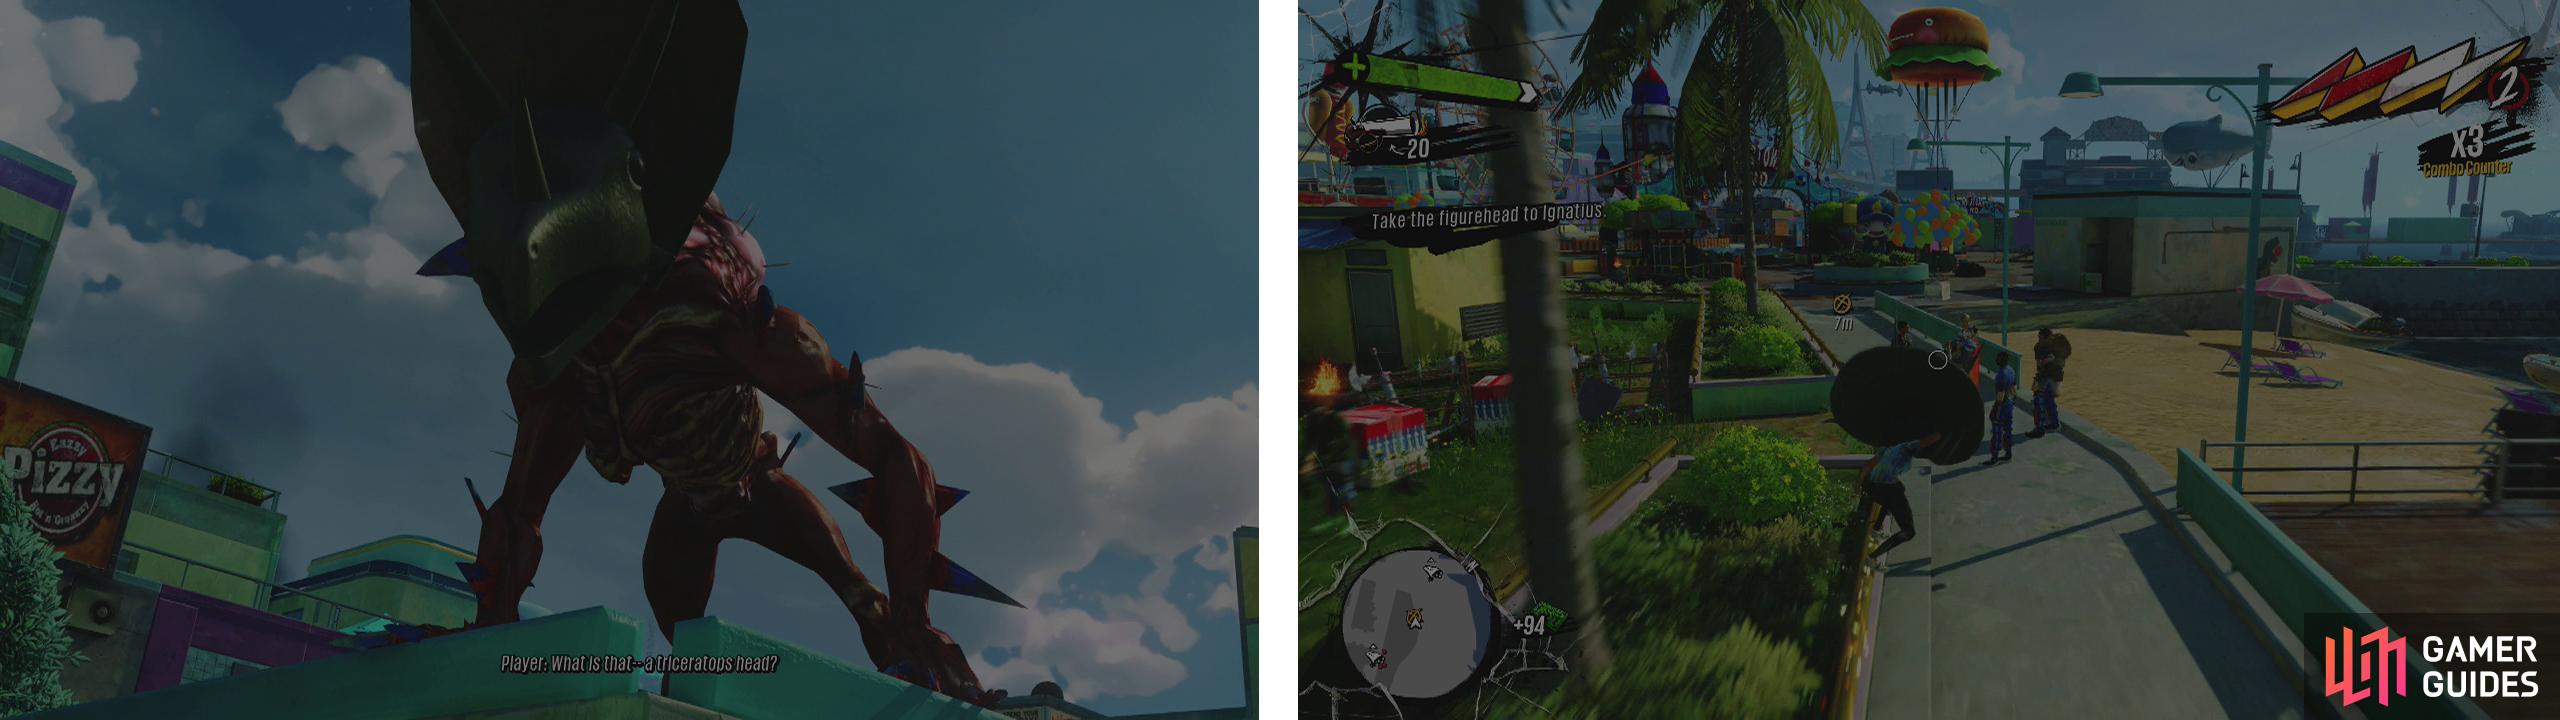
Track down and kill the Mugger with the triceratops helmet (left) and then take the figurehead to the Fargathians nearby (right).
Now that you have the figure head, make your way over to the group of Fargathians nearby and talk with them for a scene.
Part 2: The Siege
Following the scene, we’ll have to clear out several successive areas of Scabs.
First up is Spaceship ’Murica. The spaceship is situated in the centre of a ring of tents, with wires pretty much encircling it. This means that you can just cut laps around the spaceship from above and rain down fire on the Scabs in the centre. In addition to the regular Scabs at the spaceship proper, there are also several Tossers on top of the tents, so ensure that you take care of them ASAP! Once the yellow circle on the mini-map is clear of enemies, move onto the next section.
Next up is the Ferris Wheel and the Comet Ride which are both pretty much next to one another. Again, you can use the wires and tops of tents to move around the area in a circular pattern and to get a good vantage point on the enemies defending both objectives at ground level. Oh, and just like the Spaceship ‘Murica section, you’ll need to take care of the Tossers quickly to avoid their proximity mines from messing with your flow!
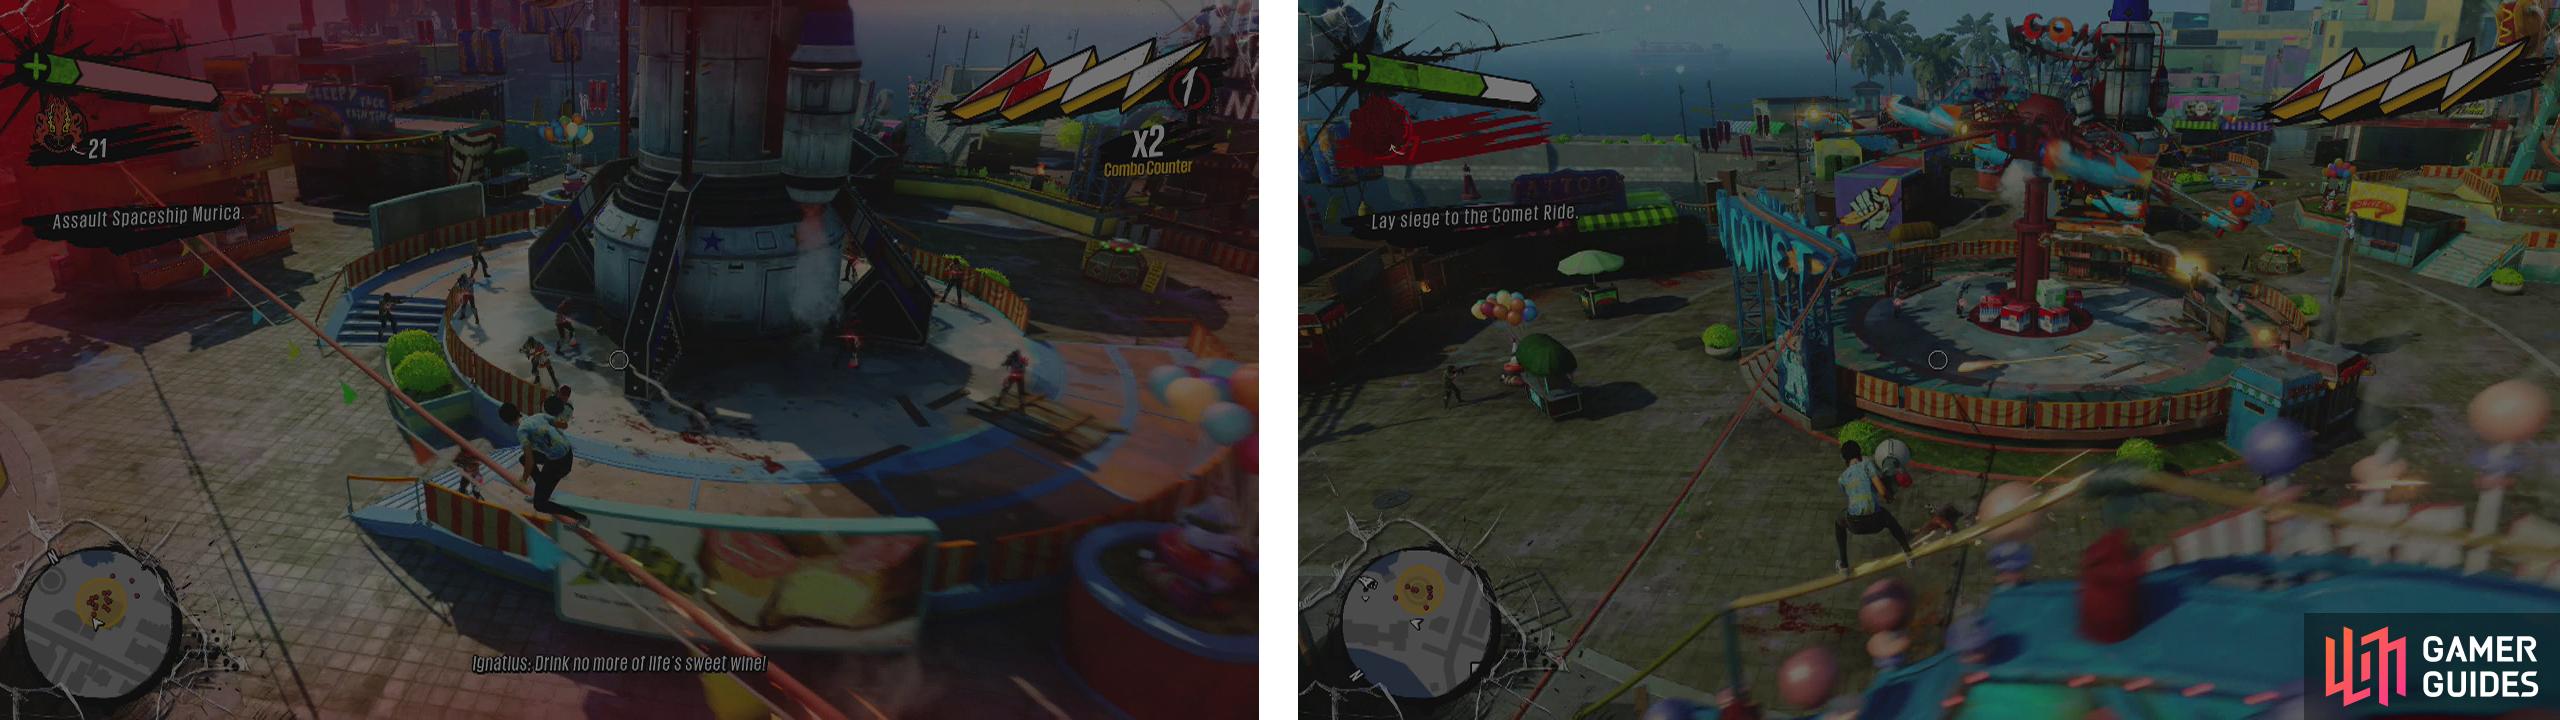
Use the wires around the area to clear out Spaceship ’Murica (left), the Ferris Wheel and the Comet Ride (right).
Keep killing the Scabs until the zone is free of hostiles and then speak with Ignatius for a scene.
We’ll now be escorting the battering ram up to the barricades ahead, you’ll notice that it has a health bar on the left hand side of the screen and we’ll want to prevent that from deteriorating too much. From the castle in the distance, you’ll to see explosive barrels being catapulted in your direction. We need to shoot the explosive barrels before they reach the battering ram.
When the ram reaches one of the barricades, it will stop. At this point you need to jump up behind it and perform a bouncing slam attack on the button here. This will shatter the barricade and the ram will continue.
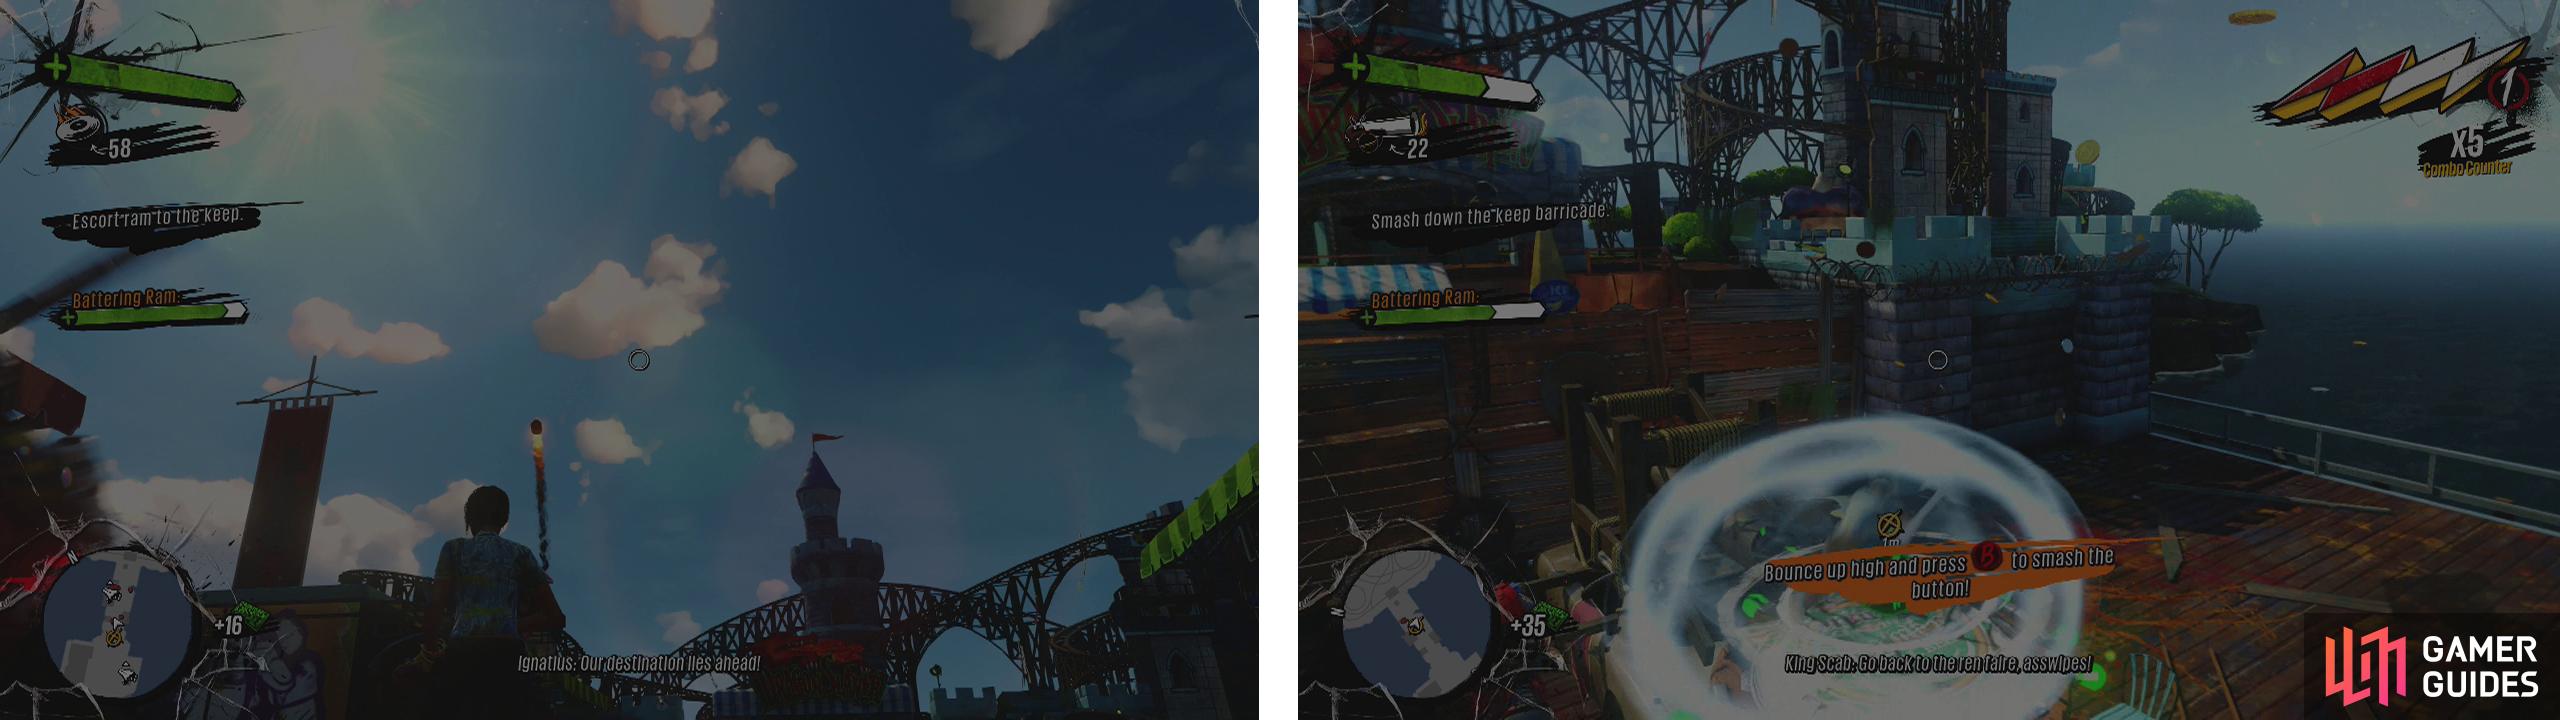
Shoot down the incoming cannon fire (left) and when the ram reaches a barricade perform a ground slam on the button (right).
There are three barricades and the sequence of encounters plays out as such:
- As you approach the first barricade, just shoot the incoming cannon fire before it hits the battering ram. Easy!
- Once you have downed the first barricade, the cannon fire in the distance will become a little more frequent. As you near the second barricade, you’ll be attacked by a swarm of Scab Rushers. Kill them, but keep an eye out for the cannon fire as you do.
- As soon as you are through the second barricade you’ll be ambushed by Scab Rushers. The cannon fire will continue to increase in speed and there will also be some Scab tossers in the distance shooting their mines your way. Clear out the rushers first, then the Tossers but make sure to continue shooting down the cannon fire between kills!
After bounce attacking the battering ram three times at the final barricade a scene will play.
Part 3: Boss – King Scab
Make your way up to the rollercoaster ahead. We need to grind along the rails here and shoot the caches of fireworks. Note that there is a pair of fire-spewing rollercoaster cars making rounds of the tracks which will damage you and knock you off the rails if they hit you. As such, if you see them coming jump! There are six fireworks caches in total and they are placed in pairs in three different sections of the rollercoaster. Destroying all six of these will initiate a cut-scene.
King Scab will have jumped into one of the rollercoaster cars and be riding around the tracks in it. We need to attack and destroy the four carriages from behind one at a time. Unfortunately the King drops fireballs onto the tracks behind him intermittently, forcing you to jump or take some nasty damage and he is also extremely fast. Because of his speed, regular grinding is often not quick enough to keep up with him. To get into a position to attack him, you need to use one of the higher sections of the track and jump down behind him when he travels beneath you.
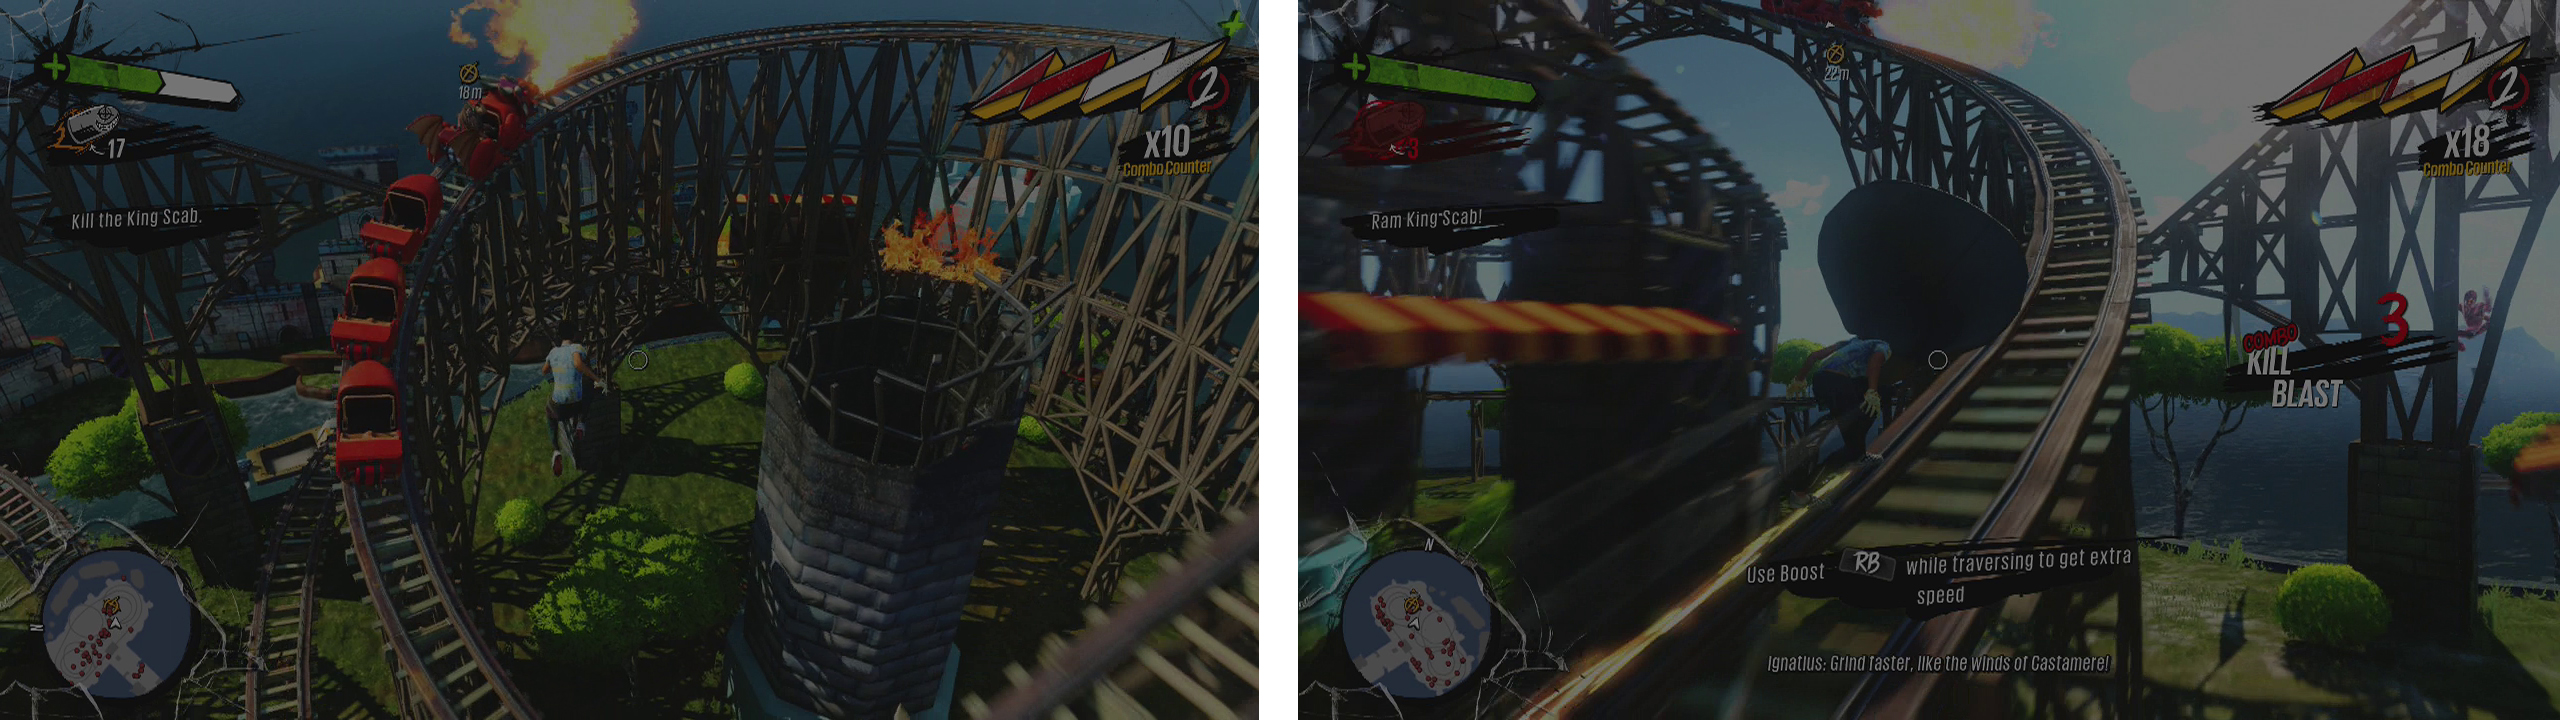
Stay high and jump down behind King Scab to shoot at the cars behind him (left). When you have destroyed them all, grab the figurehead and hit him head on (right).
Once you have destroyed all four carriages, Ignatius will call you over. At this point, you will be wearing the figurehead. To strike the final blow against the King Scab, grind along the tracks and collide with him head on to finish him.
A scene will play to complete the mission.
| Reward/s: | Unlock/s: |
|---|---|
| 7,000 x Overcharge | Challenge: Glider Challenge #3 |
| Weapon: AK-FU | |
| Trap: Pandora’s Box Trap |
No Comments