Part 1: Assault
When you are ready to begin the final mission, track down and speak to Sam at the overpass marked with the objective marker on the map. Following the scene, make your way down the road to the large yellow square marked on the mini-map. Before heading in, take this opportunity to ensure you have your electricity-based Amps equipped as it will be full on robot action from here on out!
At this point our four factions will split up and make their way to different sections of the square. We need to work our way around the square and help out each faction with their fight until they give us the all clear to move on.
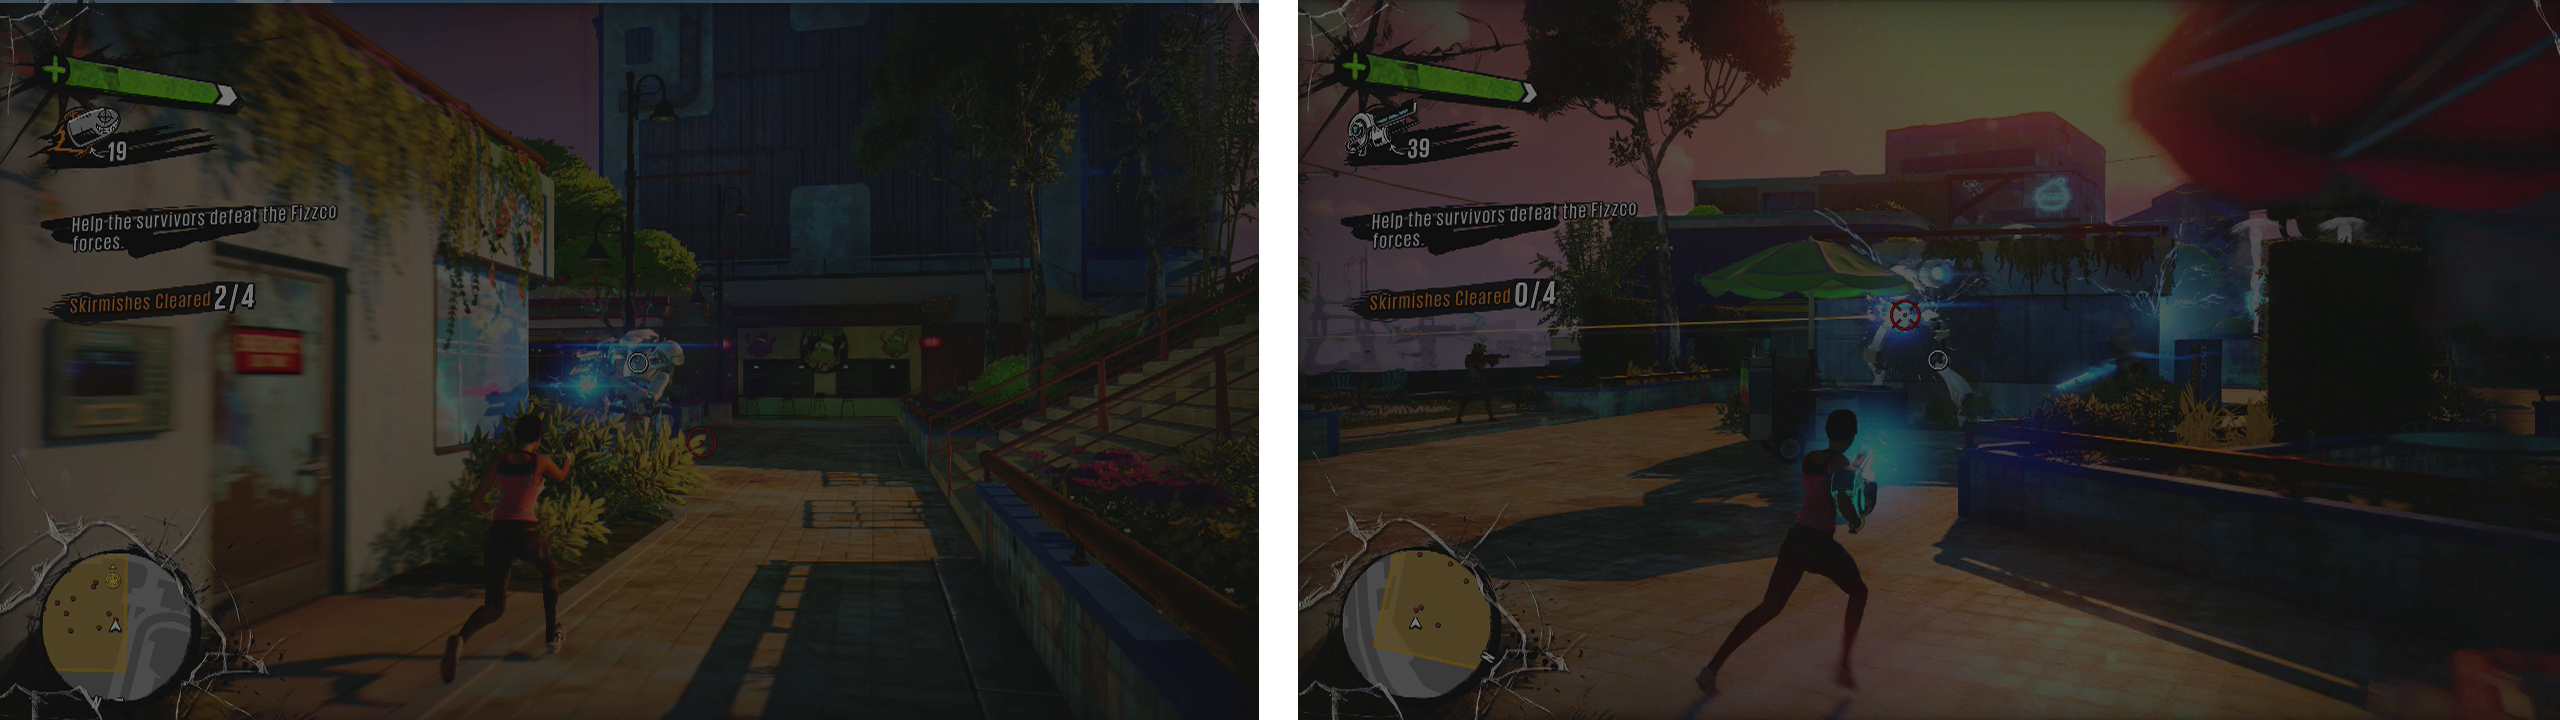
Make your way around the mission area to help each of the four factions including Las Catrinas (left) and Troop Bushido (right).
The factions can be found in the following locations:
- Las Catrinas – Found at the base of the stairs directly in front of you. Help them kill 8-10 Rifle Bots and a few Blade Bots to have them let you continue.
- The Oxfords – Found in the centre and on the right (from your initial entry point). Help them wipe out a few Rifle Bots to continue.
- Troop Bushido – Found at the direct opposite end of the courtyard from where we entered. You’ll have to help them kill 5-6 Rifle Bots, 3-4 Blade Bots and a Bomb Bot before they let you move on.
- Fargathians - Found on the left hand side of the square (from your initial entry point) on and below the railway tracks. This is the toughest skirmish as the area is quite open and you’ll be facing off against 10-12 Rifle Bots, a Bomb Bot and a few Blade Bots. Keep moving to avoid the machine gun fire!
Once you have cleared all four skirmishes, a short scene will play and a pair of Tank Bots will land in the courtyard. Goody!
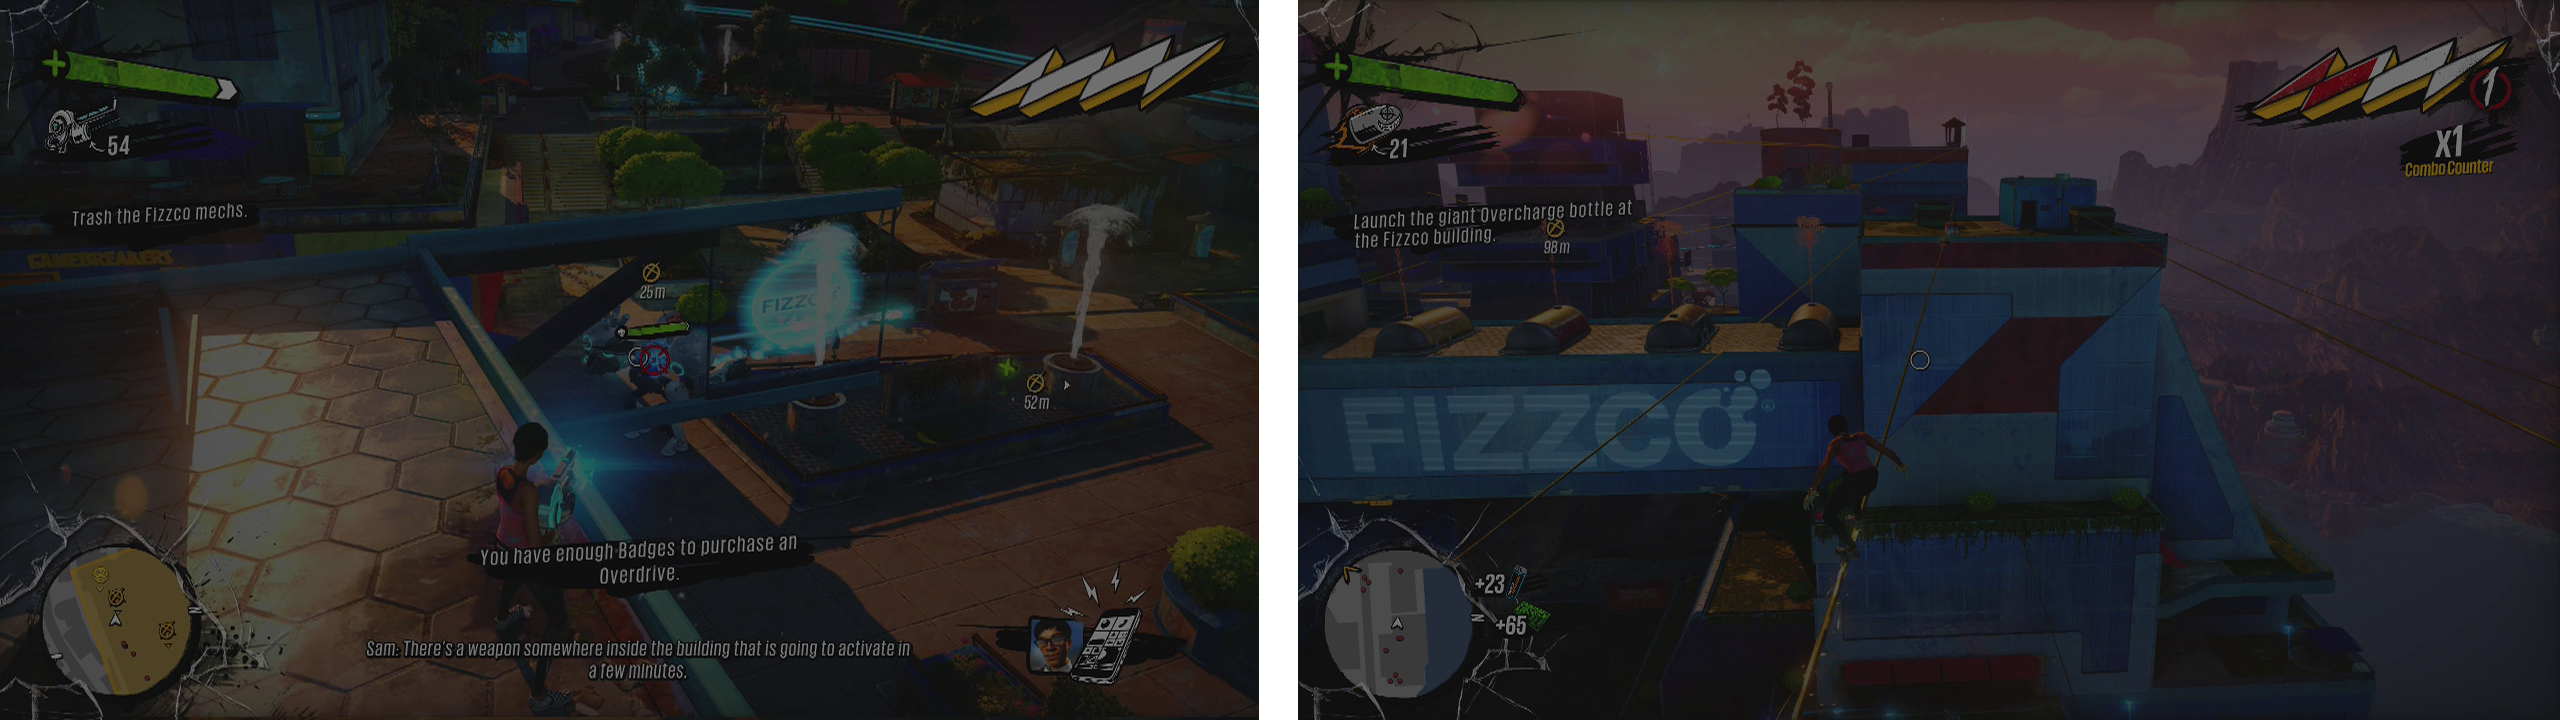
Clear the two Tank Bots that arrive (left) using the rooftops as cover and once they fall, platform your way up the indicated route (right) to the giant bottle.
As this can be tough, I recommend climbing up onto the rooftops on the right side (of your initial entry point) and clearing out the Rifle Bots up here. When it is clear, you can use the rooftop to shoot at the Bomb Bots below whilst letting the friendlies in the courtyard below take all the heat. You will still need to avoid the odd attack, but you can dish out a lot of damage without taking too much of a risk from this vantage point.
After both of the Tank Bots fall, a short scene will play. Once it is done, make your way over to the new objective marker.
Use the harpoon to hit the target across the gap and then use the wires and liquid geysers placed out before you to platform your way all the way up to the giant orange bottle. Perform a few melee attacks on this a for a scene to complete the game…. Or not.
Part 2: Boss – Fizzco HQ
After a few scenes, you’ll witness a giant robot threatening to destroy the city. The game gives you a 3 minute and 30 second timer to stop it! Quickly race over to the building, doing your best to avoid the Fizzco robots that spawn to attack you along the way and the boss’s giant death lasers that shoot out of the ground intermittently.
When you reach the robot, you’ll want to approach it via the pier where its arm appears to be resting. If you hop over the fire here you can grind up its tentacle arm. Avoid the sparks that move along the arms as they will knock you off. From here we need to use the bounce pads to climb up to the top of the robot and get onto the grind rails here. At the very top, shoot the glowing orange section to damage it. Once you have shot it up enough a scene will play and the boss will move on.
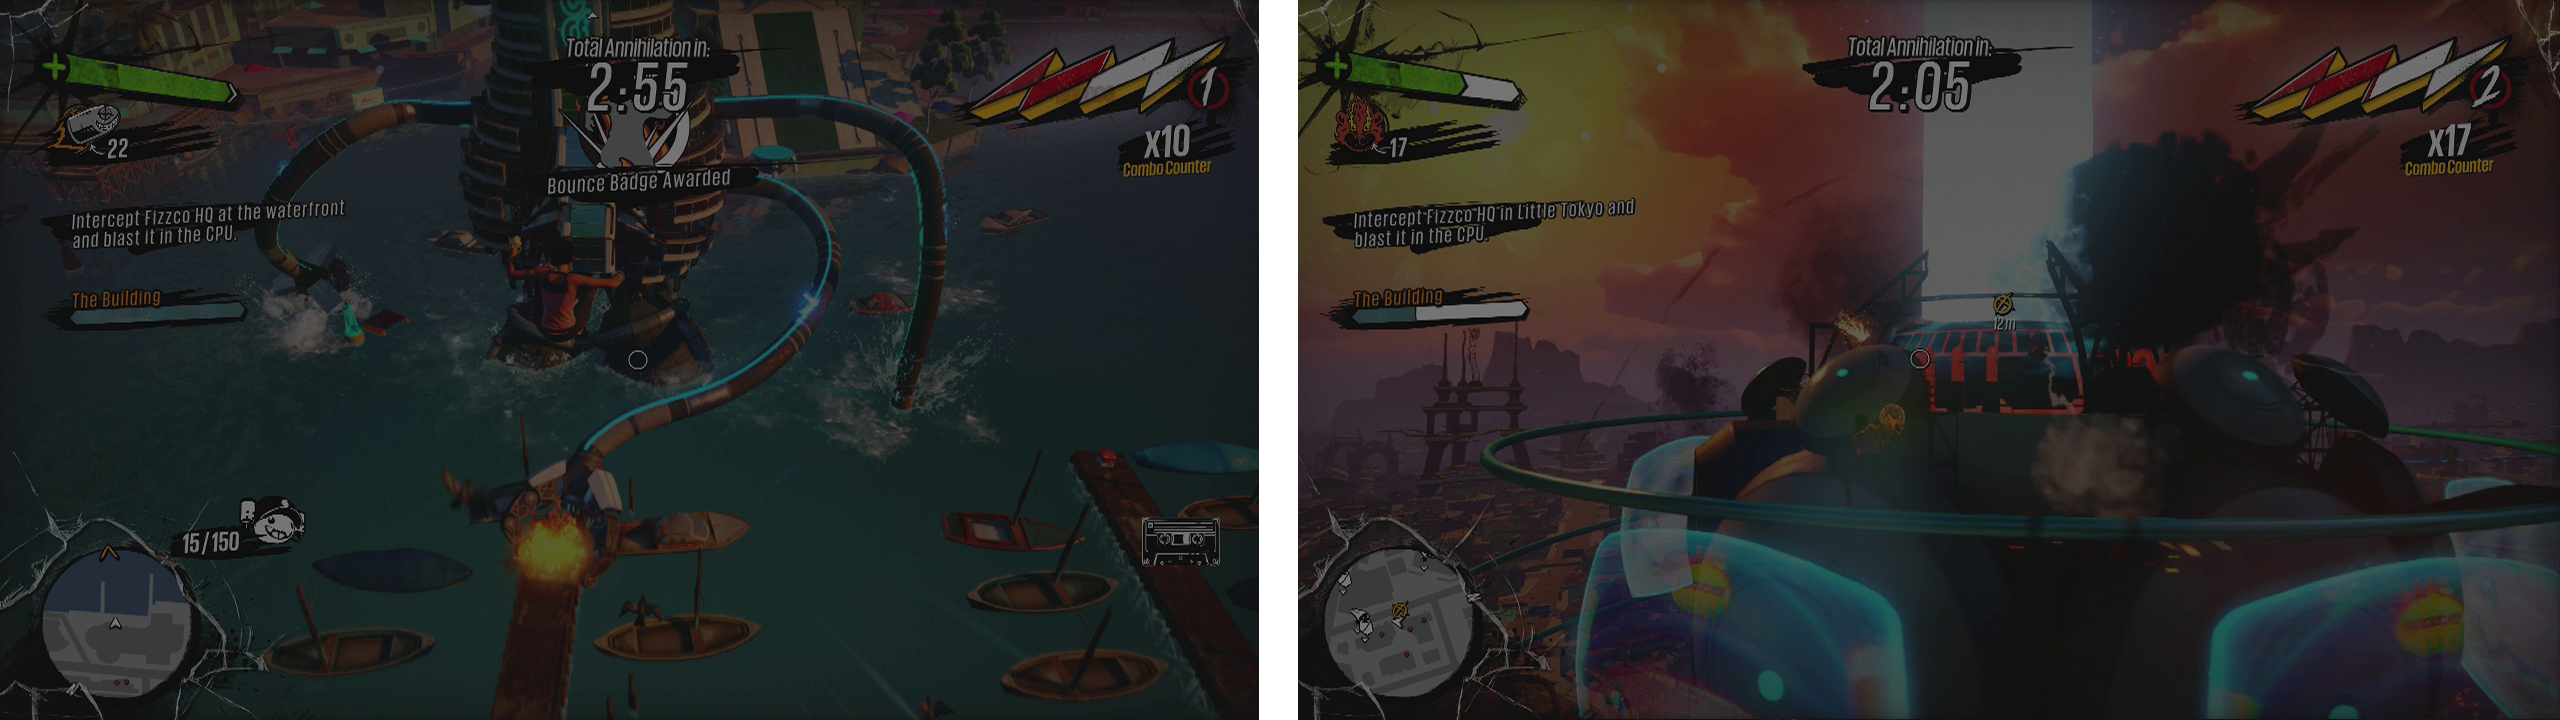
At each location the boss stops, find a way onto the bosses’ tentacles (left) and grind your way to the top to attack the core (right).
The boss will now appear in Little Tokyo, and like the first run at it, the game will give you 3 minutes and 30 seconds to damage it again. Approach the boss from the south side and use the buildings here to access a series of jump pads that will give you access to one of the boss’s tentacles. Avoid the electrical spark moving along it and grind along. Use the next set of bounce pads to reach a second arm. From the end of this, another set of jump pads will get you to the grind rails at the top of the boss. Here we can shoot the boss’s core to damage it. However, this time there will be a tentacle nearby electrifying one of the grind rails. Avoid the electricity and shoot the core until another scene plays.
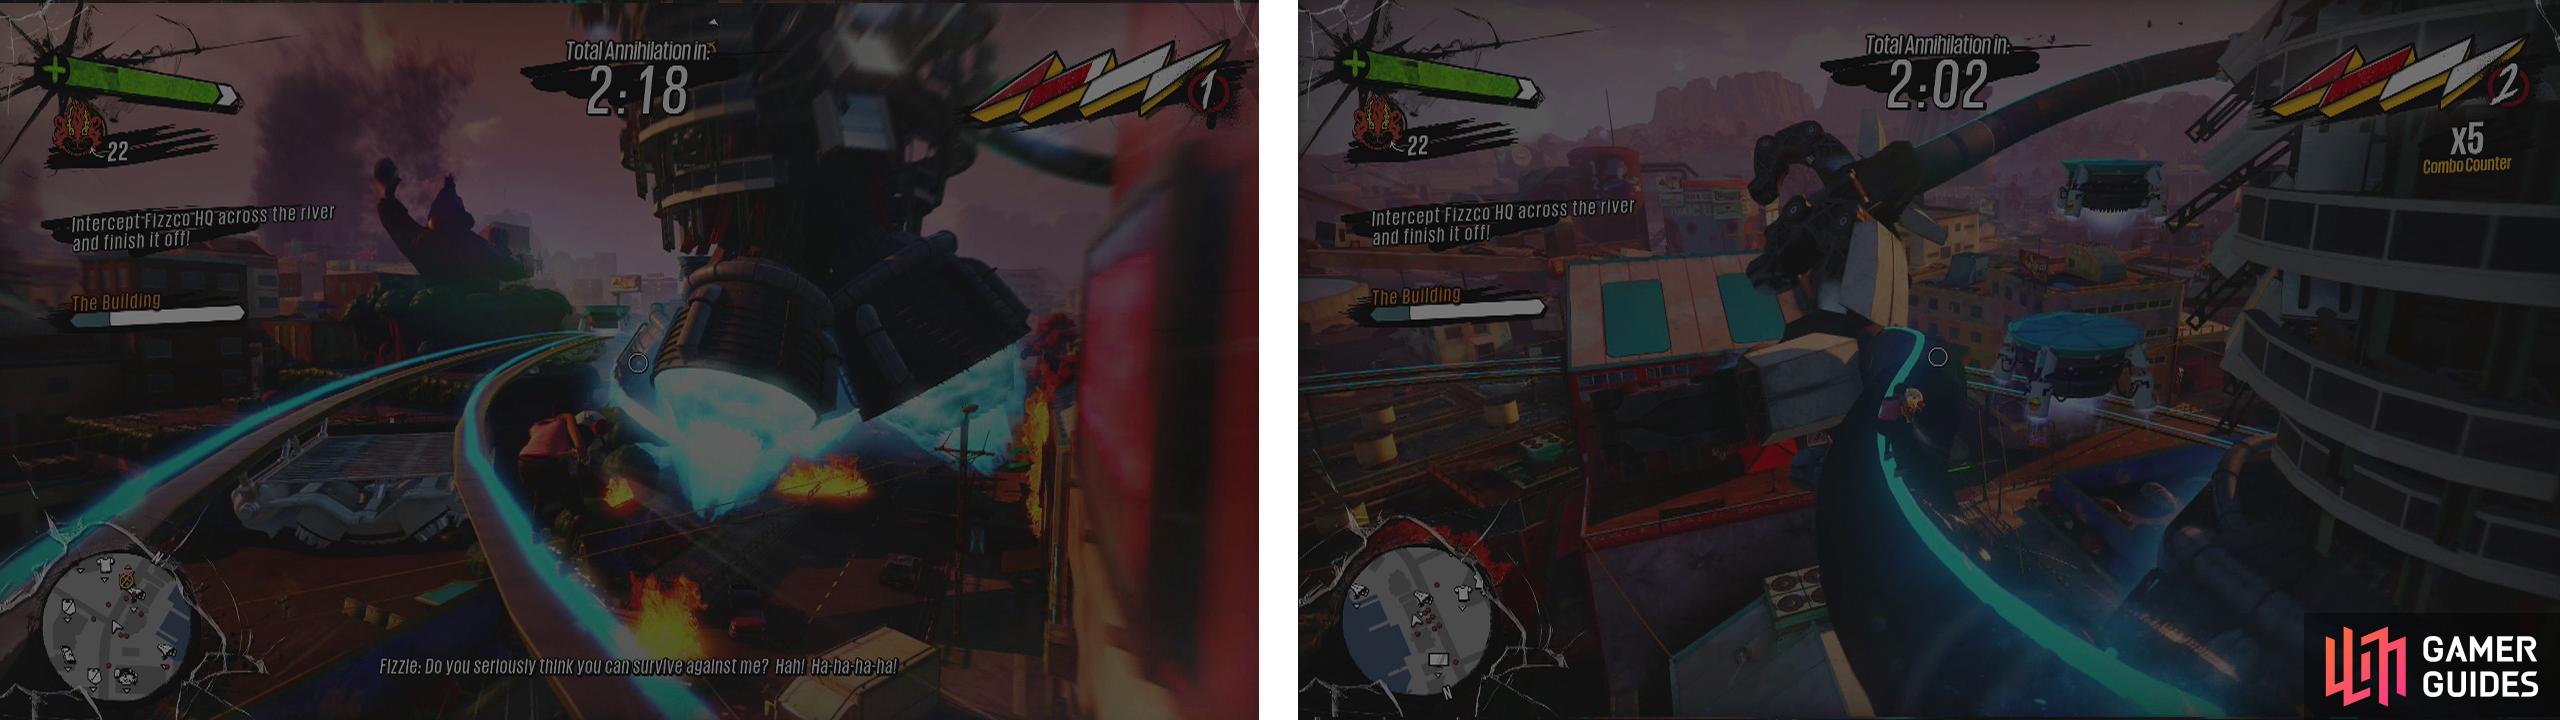
Use the raised trainline (left) to reach the boss for the final time. Climb the tentacles (right) and destory the core to take it down for good.
The boss will move once again, a fair distance this time, all the way across the river in fact. Make your way directly towards the boss and once you reach the bridge, hop over onto the train tracks to the right. We can ride these all the way to the boss. When you reach the boss use the bounce pads to reach the tentacles and then work your way to the top one final time. Again, avoid the electrified grind rails at the very top and shoot the core to finish it off.


| Reward/s: | Unlock/s: |
|---|---|
| 20,000 x Overcharge | N/A |
| Clothing: Endgame | |
| Clothing: Endgame Medals |
No Comments