Head down the stairs into the market and turn left, heading down the alley to the left of the building with green doors to find the Earthenware Mug .
Return to the market and examine the oxen on the other side of the building and then cross to the far side of the area. Make your way to the merchant near the yellow building, who has an “Antique” Compass you can haggle for three times before Nate purchases it.
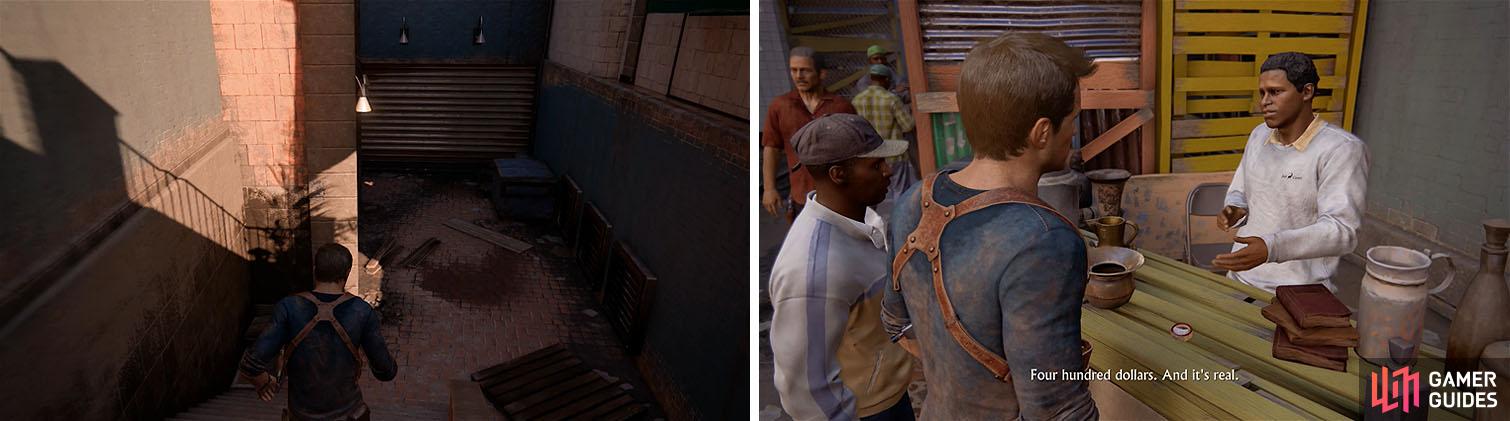
Head down the back alley for a treasure and haggle the merchant for another.
Cross to the opposite side of the market again and purchase an apple from the woman and then head toward the stairs at the back of the market.
There is a man sitting near a red stall with a pet lemur that you can pet and if you still have the apple he’ll steal it when you walk away. Petting the lemur will also trigger an Optional Conversation with Sully about a potential dog in the future.
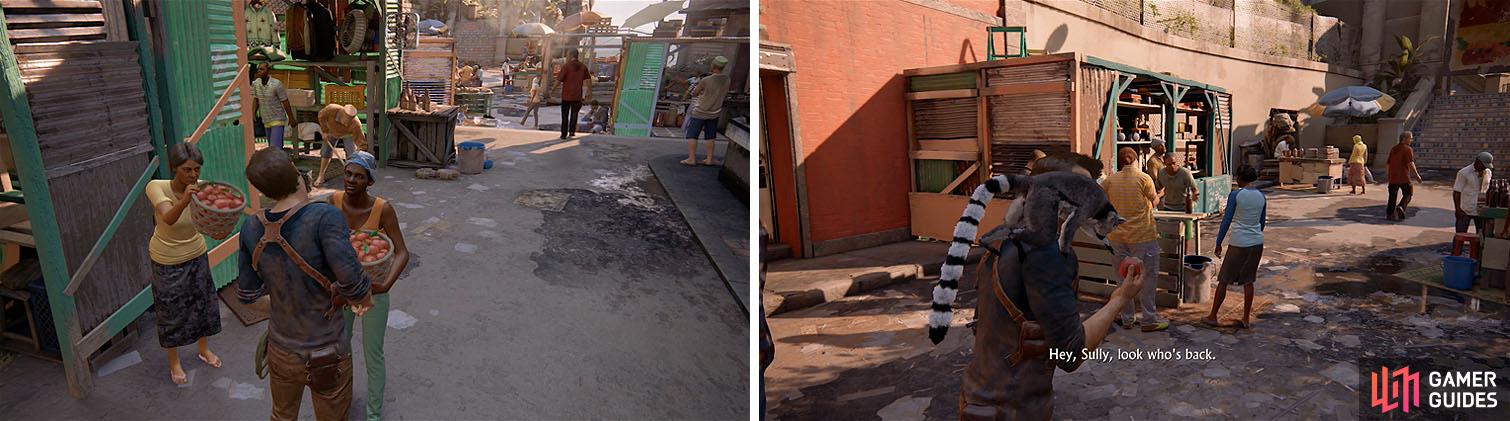
If you purchase the apple and pet the lemur soon after you’ll unlock a trophy.


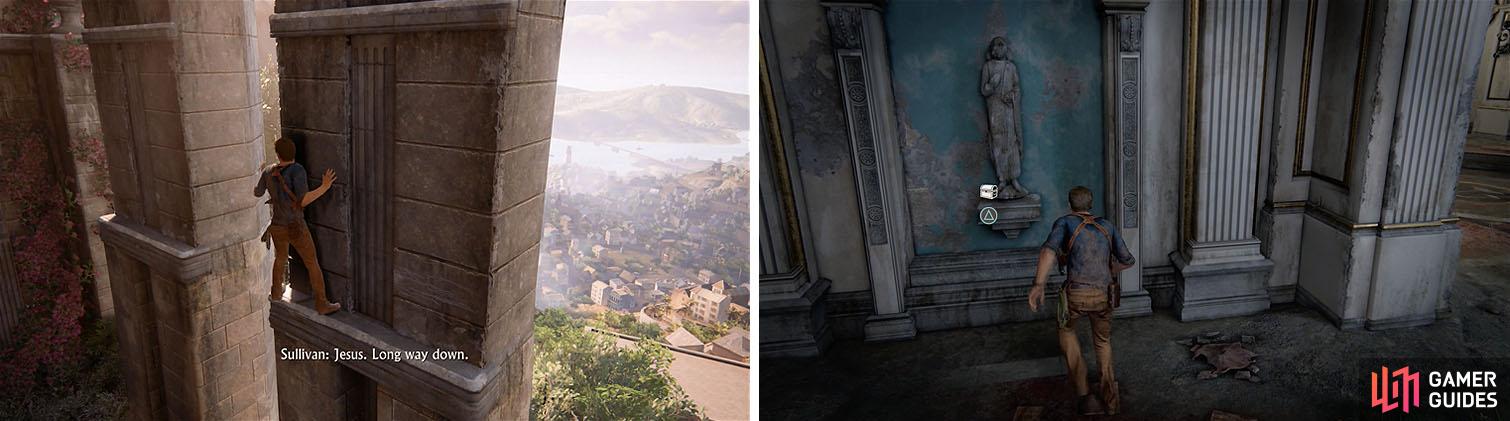
Head up the stairs to question Sully’s clothing taste and then continue up the stairs and check out the yummy chicken. The door to the clock tower is locked, so head to the right and use the ledges of the pillars to reach the open window across the way.
Check the room on the other side of the area to obtain the Nephrite and Jade Bowl treasure, which will also trigger the Trophy: Treasure Hunter if you’ve obtained all treasures so far, and then head upstairs into the main part of the clock tower.
Enter the clock tower and make sure to pick up the 50th treasure.

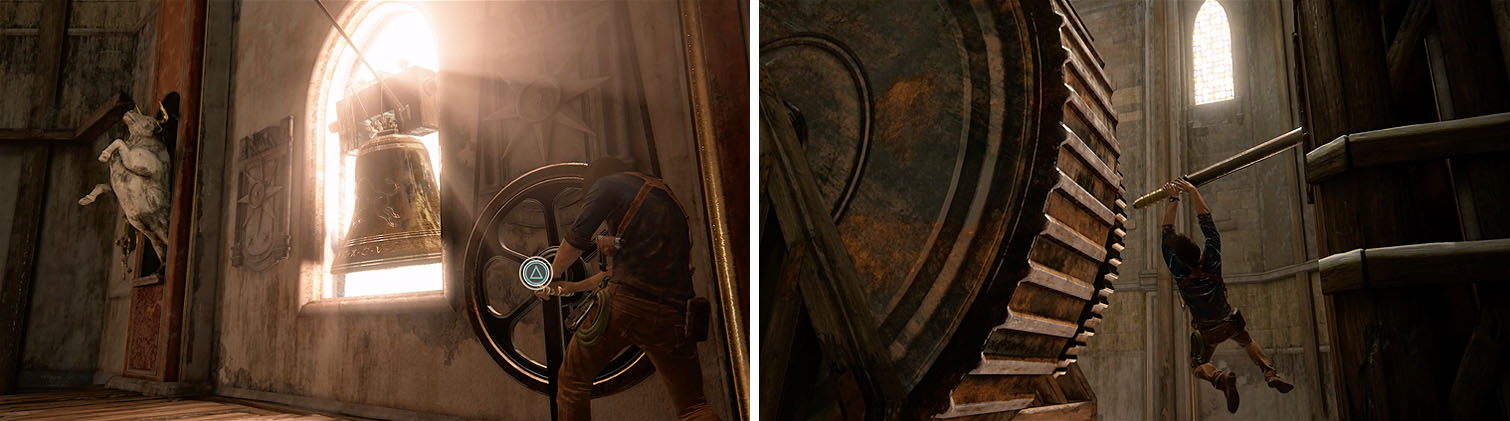
Place the coin on the pedestal in the center to reveal four statues of the zodiac and then rappel up the broken staircase.
Jump to the first counterweight and shimmy along the outside to back jump to the opposite platform. Climb up the wooden wall and face the counterweights again and then jump to the right weight. Jump to the left counterweight as it rises and then quickly jump to the platform to the left to reach the gears of the clockwork.
Climb up the gears until you can’t go up anymore and then shimmy right and jump across the gears to reach bell for Leo.
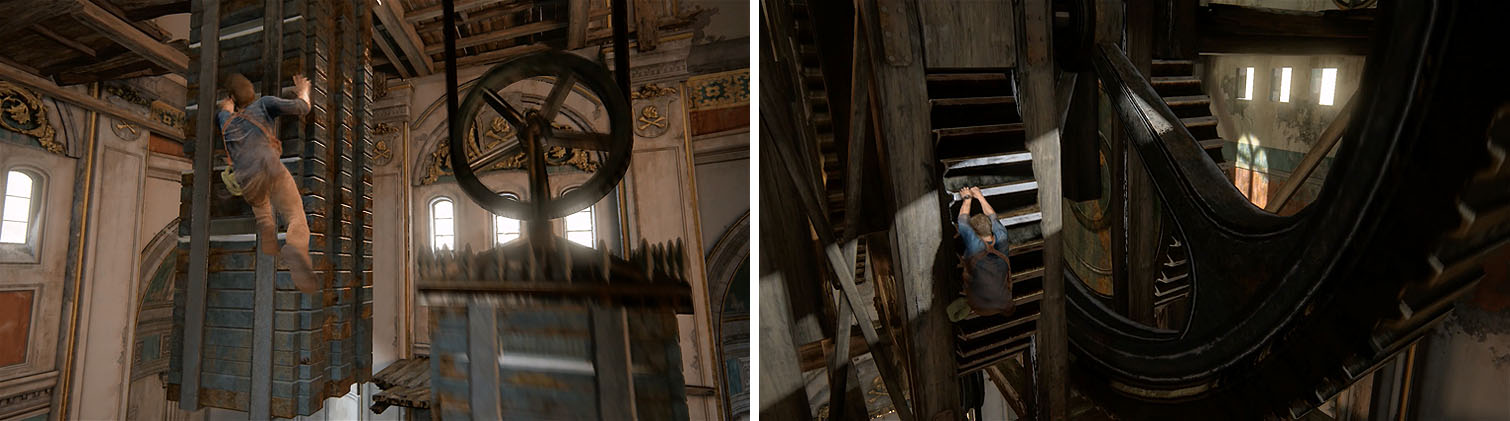
You’ll need to climb the counterweights and the gears to reach the zodiac bells.
Ignore this bell for now and climb up the cogs to reach the Scorpio bell and ring it via the lever nearby. Facing the central column ring the Aquarius bell below you on the left and then head back up and down the opposite side to ring the bell for Leo.
Climb back up to Scorpio one last time and shimmy across the cogs on the Aquarius side and then jump to the pendulum. You can now shimmy around the back of the pendulum and back jump to the platform with the bell for Taurus.
Take the new staircase and grapple across to the other side and then pull the lever the stops the large cog nearby. You only have a few seconds to climb the cog teeth and jump to the platform on the left, so get moving the minute the cog stops.
Once you ring the four bells you’ll have to continue up the clock tower.
The gear on the wall will change the hands of the clock on the other side of the wall, which you can see through the clock face. Set them in a horizontal line that creates a path for Nate to climb and hop out the window and shimmy across the ledges. Grapple and wall run to another stained glass window and then climb up to the balcony above.
Ignore the bell for now and jump up the ledge to the right of the doorway and then climb the decorative hand holds to the top of the belfry. Cross the beam and check the right side of the balcony for the Ivory Handle Dagger .
Head back and use the ledges to continue to the top of the bell tower. From here you can climb to the top of the spire for an Assassin’s Creed style look of the city below. You can now grapple the flag pole and return to the bell, which you’ll have to ring by hand after the lever breaks.
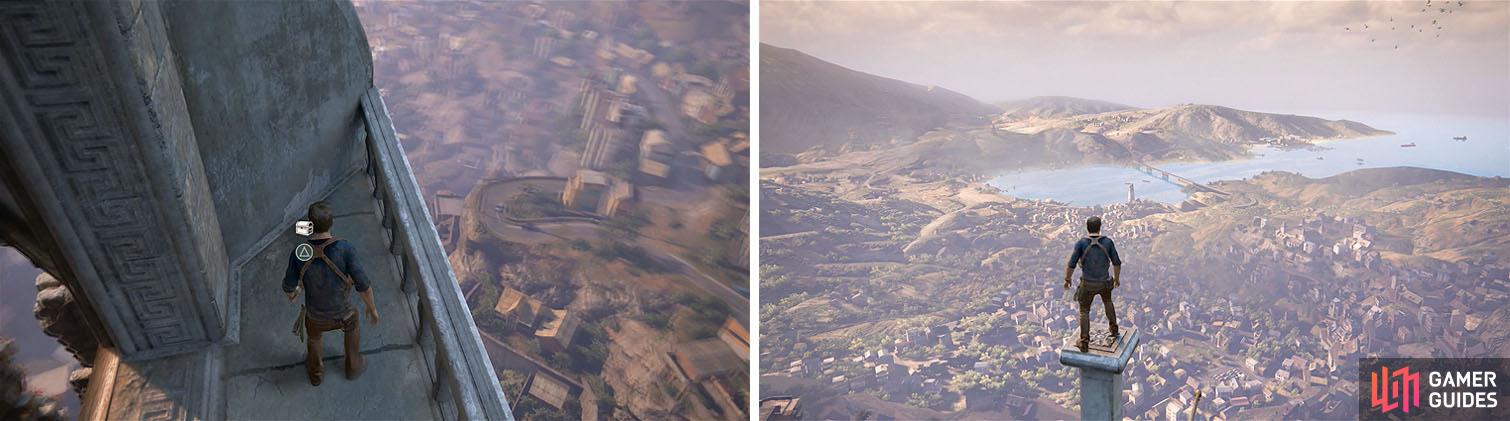
Climb up the clock tower to find a treasure and get a great view of the city.

After the dramatic return to the ground check the wreckage for the Brass Globe Hand Warmer and then head down the stairs and move the large post. Take the stairs down, catching up with Sam, and examine the sigils in the center of the area.
Note the white stars on the bottom of the sigil tiles; these must be lined up in order to continue with the puzzle. To do this, turn Avery’s sigil once to the left and Tew’s sigil once to the right.
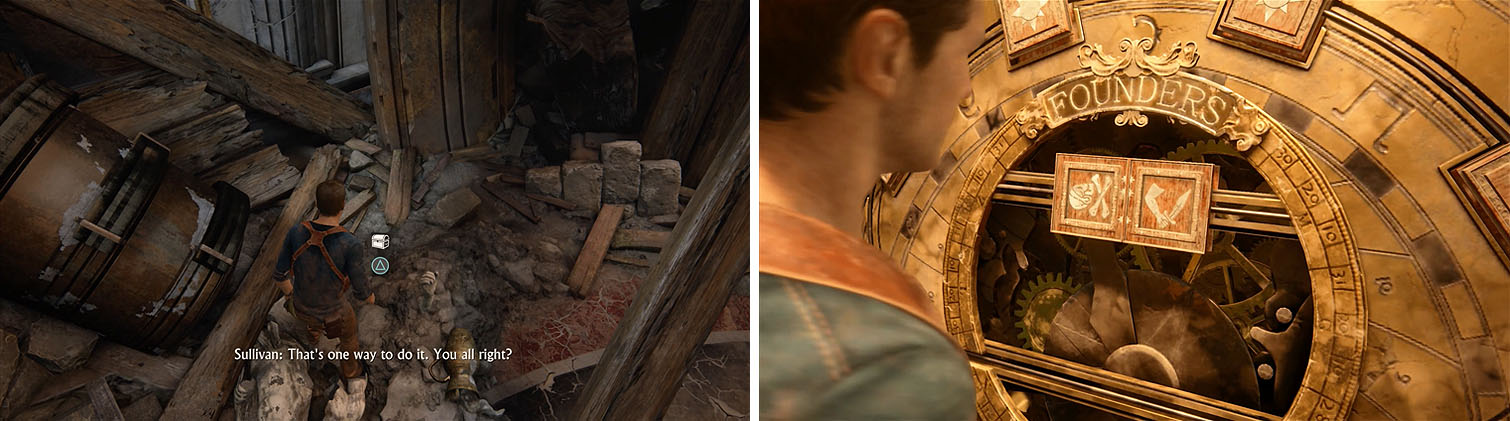
Make sure to grab the treasure before heading downstairs to the puzzle room.
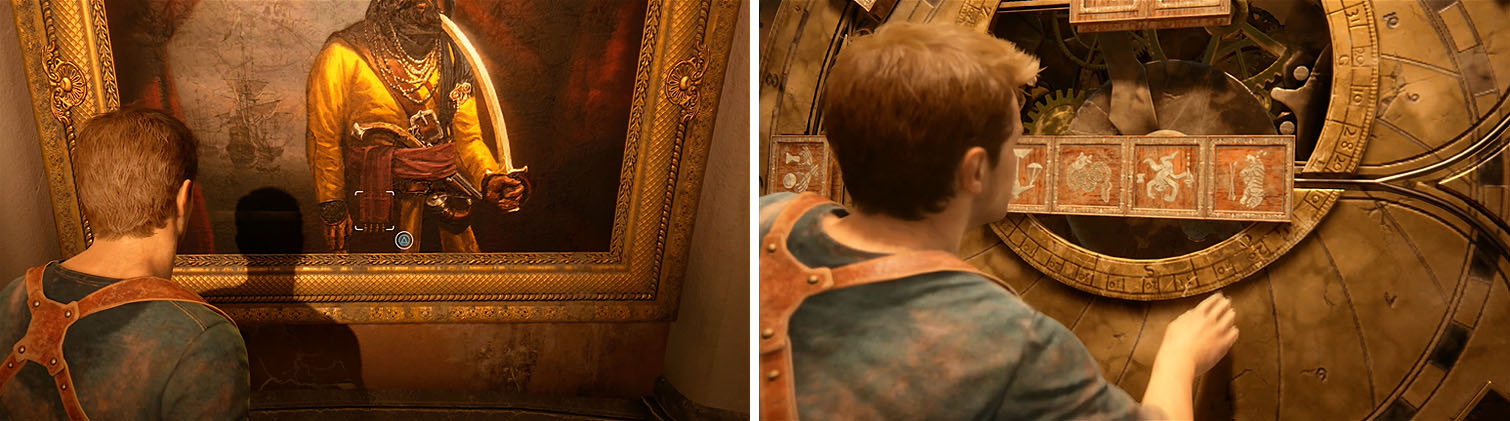
The next set of sigils won’t have the star patterns printed on the tiles themselves, but if you enter the gallery to the left you’ll find paintings that match the founders on each of the sigils.
Each painting has a red square that you can examine by holding L2 and then pressing Triangle to find the star patterns, which Nate will make note of in his journal. Once you have all the star patterns uncovered, rotate the sigils in Nate’s notebook to align the stars and learn the alignment of the sigils on the puzzle platform.
Answer:
- Baldridge’s star pattern is located inside his red tunic (rotate once left)
- Bonny’s star pattern is located next to her left hip (rotate once right)
- Condent’s star pattern is located below his left hand (rotate once right)
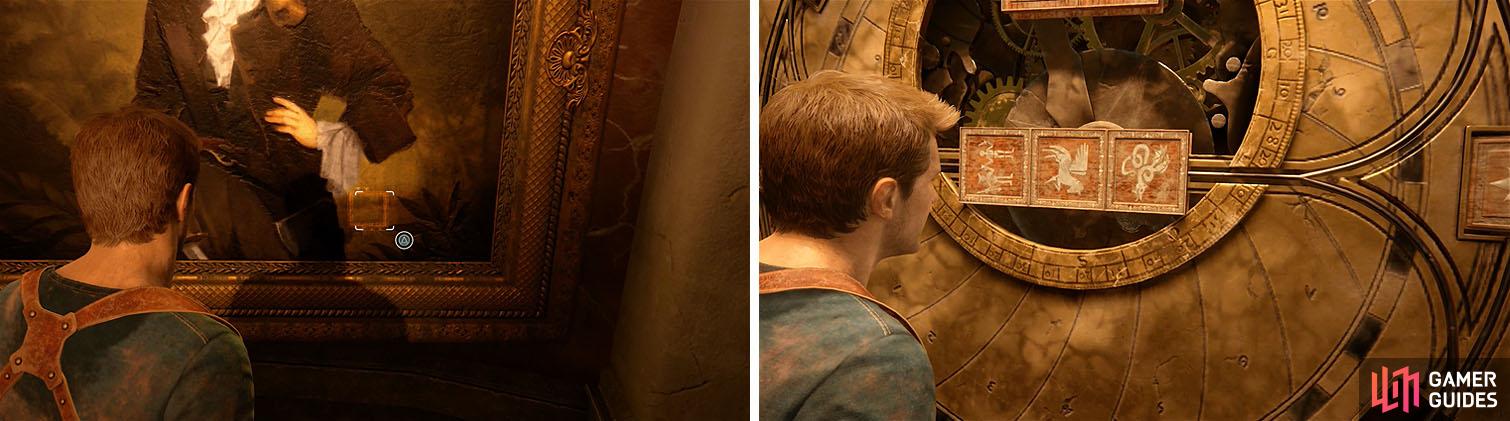
Locate the three star patterns on each painting to solve the sigil puzzle.
The next set of sigils will move into place and another gallery wall will open up, but Nate doesn’t know the name of the pirates. Nate decides to send a photo to Sam, but before you take a picture of the sigils turn the camera toward Sully and snap an image.

You can now take a photo of the sigils and head into the gallery to find the next set of star patterns.
Answer:
- Want’s star pattern is located to the left of his pipe (rotate once right)
- Farrell’s star pattern is faded and located to the right of his sword (rotate once left)
- Mayes’ star pattern is located on the base of the statues pillar (rotate twice)

Locate the three star patterns on each painting to solve the sigil puzzle.
The final set of sigils and another gallery will open up, so take another photo for Sam and head into the gallery. A fire has caused significant damage to the gallery and removed the names of two of the pirates, meaning you won’t know which sigil matches which painting until Sam gets back to you.
Answer:
- England’s star pattern is located on his pouch (rotate twice left or right)
- Malik’s star pattern is located in the top right of the painting (rotate once left)
- The unknown pirate’s star pattern is located at his left elbow near the burned edges (rotate twice)
- al-Basra’s star pattern is located on the edge of his belt (rotate once right)
Locate the four star patterns on each painting to solve the sigil puzzle.
The puzzle mechanism will flip over and Nate can now take pictures of the three globes to send to Sam. After the cutscene, head down the stairs and exit the clock tower for another short scene and then stand perfectly still. Not moving for 30 seconds after this scene, while Nadine’s men are on your heel, will earn you the Trophy: Stage Fright .

Head down into the market and kill the first few mercenaries and then enter the central area, where a machine gun mounted truck will burst in from the right.
Take cover behind the pillar on the left of the meat counter and the truck will move over, but you’re only objective is to take out the men so they don’t come up behind you. Once the men are gone, move to the bags and then cross right to a pillar near the building and take out more enemies.
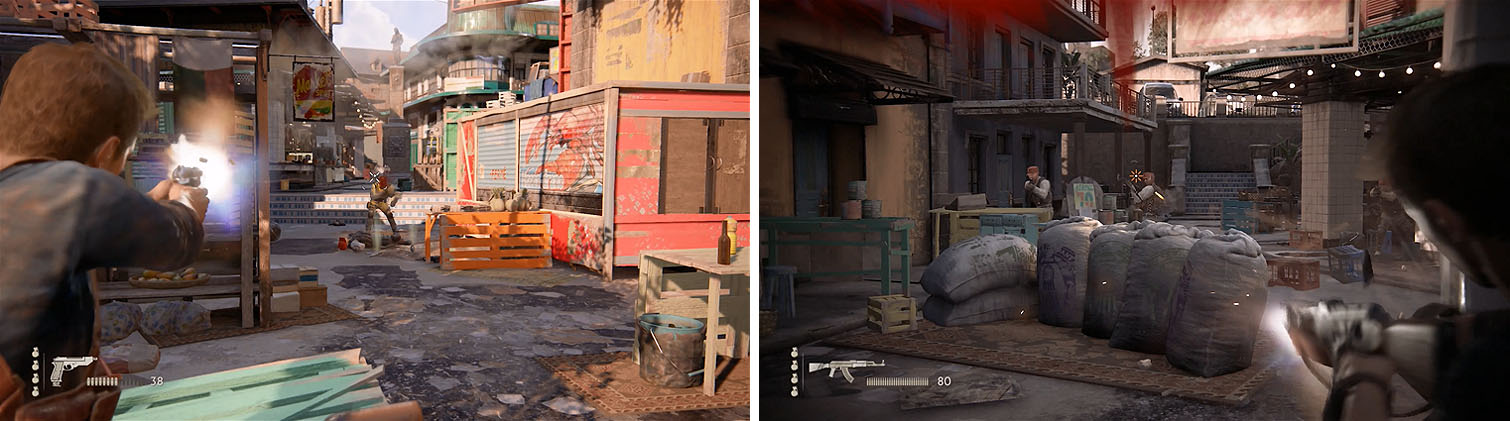
Take down the first group of enemies (left) and then take cover behind the meat counter to avoid the turret fire while you take down the second group (right).
After it’s clear again head for the side door of the building to clear out the enemies in the lobby and then enter and head upstairs. There are two more men upstairs on the back balcony that you’ll have to clear and then you can jump across the awnings to reach the Jeep.
Make your way downhill until the turret truck bursts onto the road and then use side streets and back alleys to break line of sight while you continue downhill. After busting through the street market into an open plaza, circle around right and take the side street. Traffic blocks your path ahead, but if you take the alley to the right and burst back into plaza the turret truck will have moved.
Cut across the plaza and drive up the stairs on the opposite side and then continue downhill to a construction site. Drive into the pit and out the right side and then continue downhill again, turning right into the shortcut after the turret truck makes another appearance.
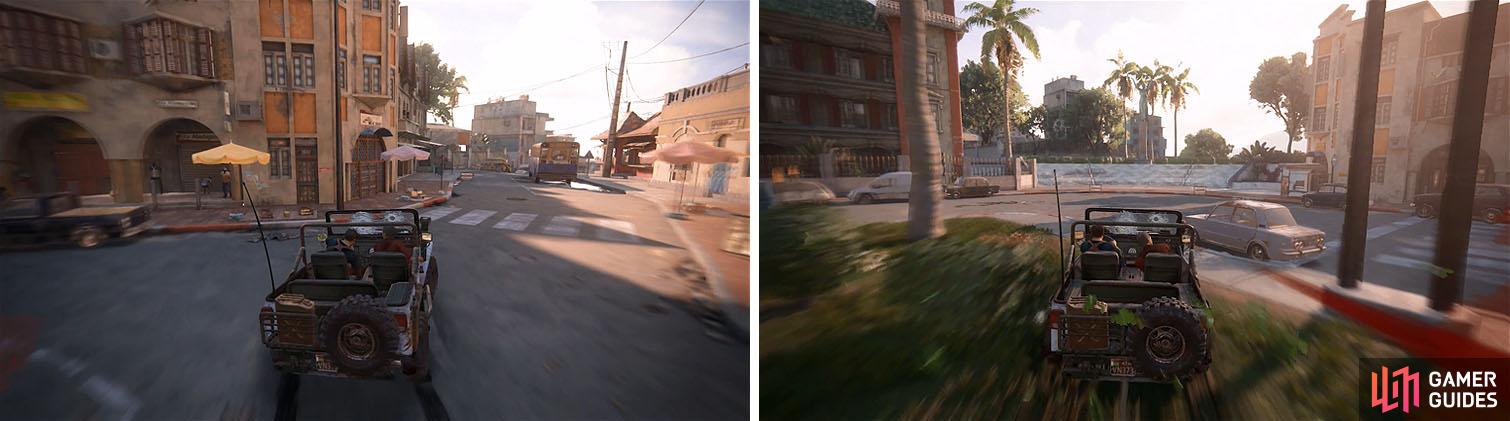
In the plaza take the street to the right first (left), moving the turret truck away from the stairs that you’ll circle back to (right).
Sam will be on the run from Nadine’s men as you approach the tower and Nate will automatically veer right to the riverbed.
Follow the path and pass under the three bridges as you go and then head up the hill with a winding path. On the other side the highway will straighten out and you can ride alongside it until the end of the bridge, where you’ll need to grapple the crane of the truck above.
Swing to avoid any obstacles in the water and hold L1 to climb up the rope when you hit the scaffolding. When you reach land, ignore the enemies firing at you and pull yourself up to the back of the truck before you start firing on the enemies.
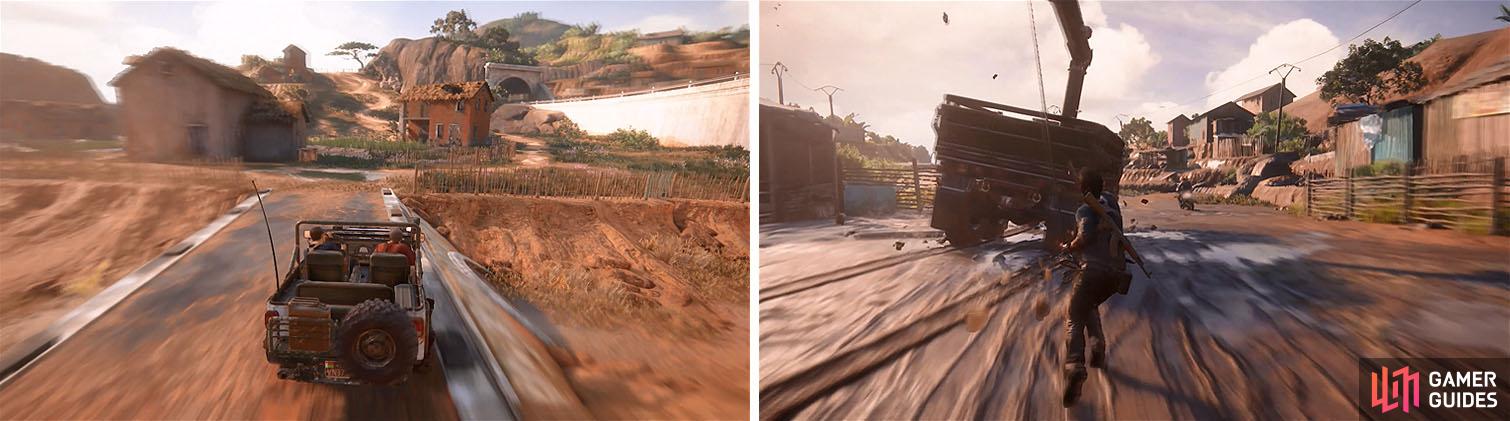
Follow Sam in the Jeep until you’re forced to grapple the truck’s crane.
The truck won’t last for long under fire, so stand on the front of the truck and jump to the next truck when you get a chance. Fight off the enemies in the back of the truck and any more that jump aboard, but your ultimate goal is to jump to one of the 4x4’s when they come close enough.
At this point you’ll gain control of the 4x4 and can smash into the other vehicles, but your objective is to drive up behind the truck and grapple the back of the truck.
Once again, ignore the enemy fire and pull yourself up to the back of the truck and deal with the enemies inside and then clear out more enemies until you can jump to another 4x4. Now that you’re finally on Sam’s tail, smash into the remaining motorcycles until you trigger a scene.
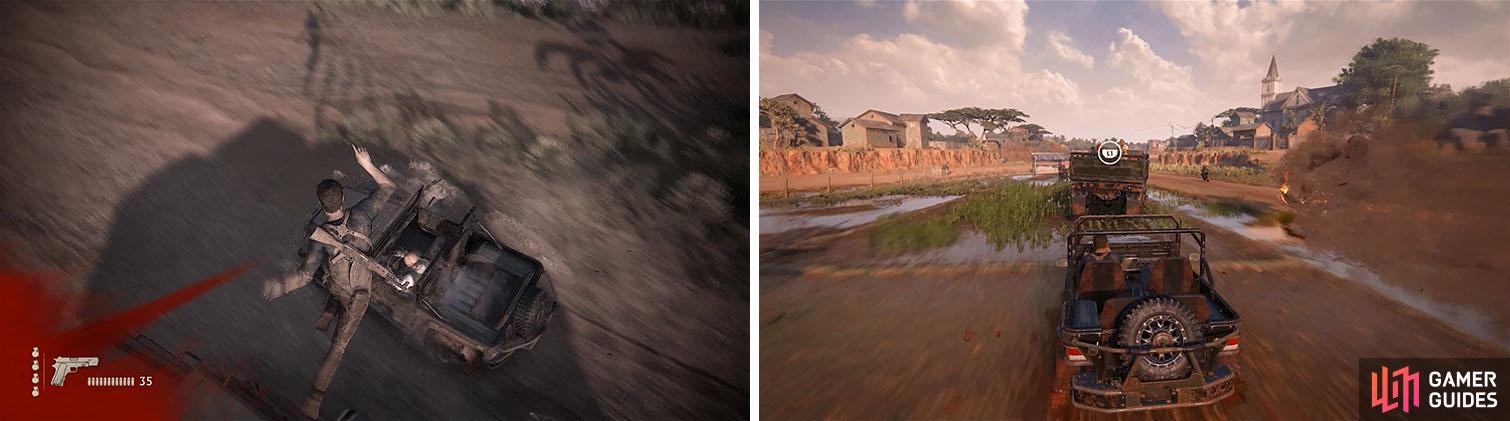
You’ll have to jump between the trucks and the 4x4s as they explode from damage.
To exit the vehicle you’ll need to tap Triangle to remove the chair and then angle Nate’s hands to the bars in the upper left and bottom right. At the door you’ll hear Nadine’s men outside, so bust through and fire on the enemies to clear them out.
Sam will show up to grab you and for the rest of the chapter you’ll want to fire madly on the turret truck to get your revenge.
No Comments