Years later, Nate now finds himself in a prison fight with a bunch of onlookers.
Press Square to strike and since you aren’t capable of dodging yet you’ll just have to keep up the fight. If you get pushed into the crowd or knocked down onto the ground you’ll have to break the hold of the enemies by tapping Triangle before you can get back to beating Gustavo to a pulp.
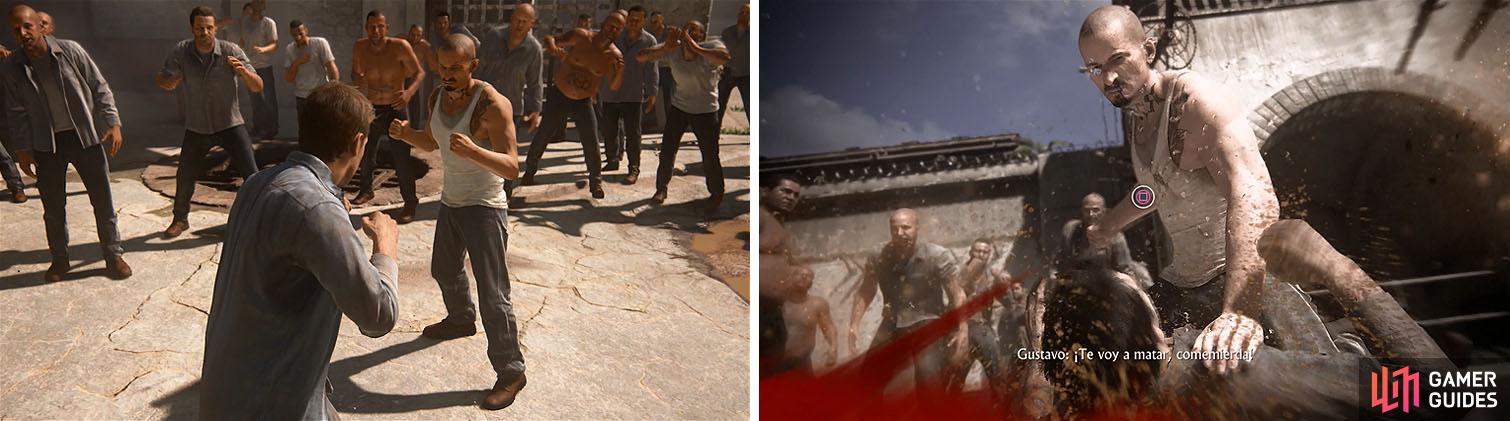
This is your introduction to melee combat, so take some time to get used to it.
Take the stairs down and then slide along the cliff, using the Left Analog to steer, and then hop up onto the ledge. Climb up the wall to reach the area with the well and then make sure to drop into the well to find the Panamanian Cat Pendant .
Climb back up and check the work table at the back of the area to grab the grappling hook and then push the crate up to the wall next to it. This will allow you to climb up and press L3 to view the prison cell before you swing across the gap by pressing L1.
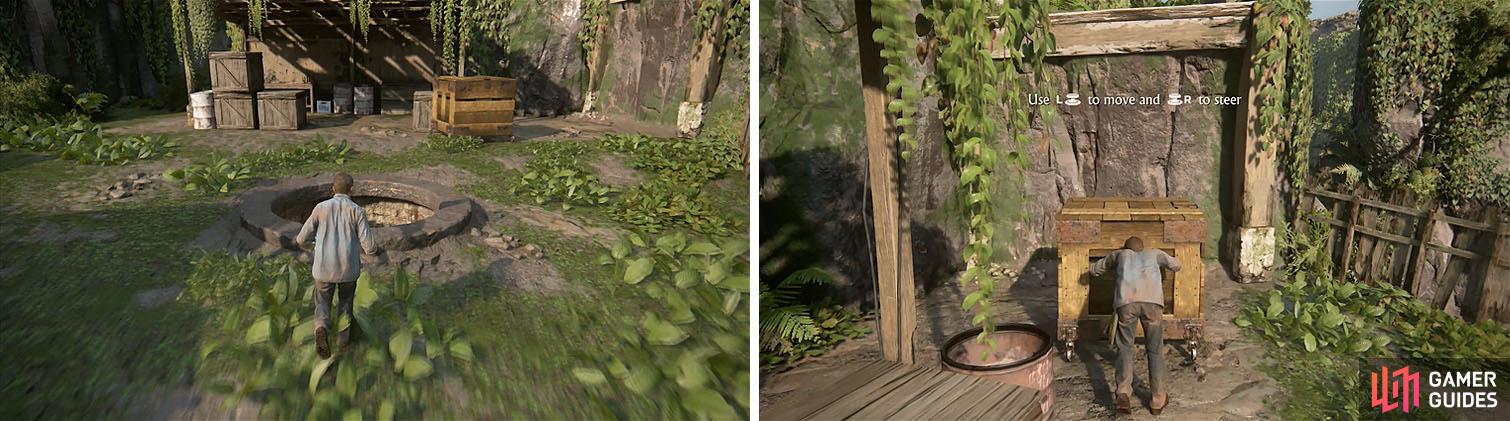
Drop down the well for the first treasure and then push the crate against the wall.


The staircase ahead is broken, so grapple the beam to the right to jump onto the beam and then climb to the other side and shimmy up and around to reach the ground again. Slide down the cliff and prepare to press L1 when the icon for the grappling hook pops up and then swing to the ledges on the right and hop off.
You can now climb up the ledges to the roof of the structure before you jump to the adjacent tower that overlooks the whole area. Make your way up the tower by jumping up the ledges and shimmying around to the right and then jump up a few more ledges before shimmying left to enter a window.
There is a letter from one of the guards on the table that you can read, though you won’t collect it for your journal, and then check the base of one of the pillars to find the Navaja Folding Knife in the rubble.
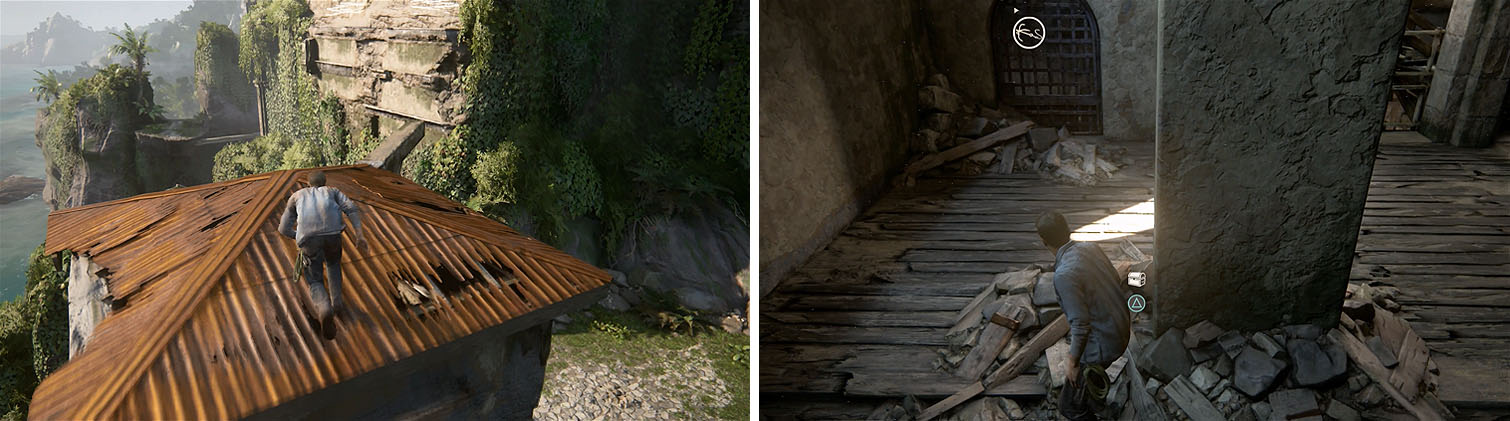
Use the building roof to reach the tower window, finding a treasure inside.
You can now use L1 to attach the grappling hook to the wooden boards blocking the window above and then hold L1 while walking backward to break the boards and create a new path. Climb up to the second floor and jump to the window and then continue to make your way up the tower to enter Burnes’ cell.
The wall if covered with zodiac symbols, but without a reference you have no idea what to do. Walk toward the door until you spot a carving of a sun/moon and then press the Touchpad to bring up the note that Vargas handed over. You’ll need to flip the letter so that Nate identifies the moon on the back and then fold the letter in half to create the two zodiac symbols.
Look at the walls of the cell to identify the two zodiacs and the roman numerals next to them (X and II) and then add them together and find to corresponding stone with the symbol.

Identify the symbols on the paper and then locate them on the wall as well.
Answer: The symbol you’re looking for (XII) is on the back wall beneath the compass, which is pointing at it.
Examine the cross found inside and then push open the cell door and drop down after nearly falling. Grapple the beam to hang in the center of the tower and then hold L1 to rappel downward.
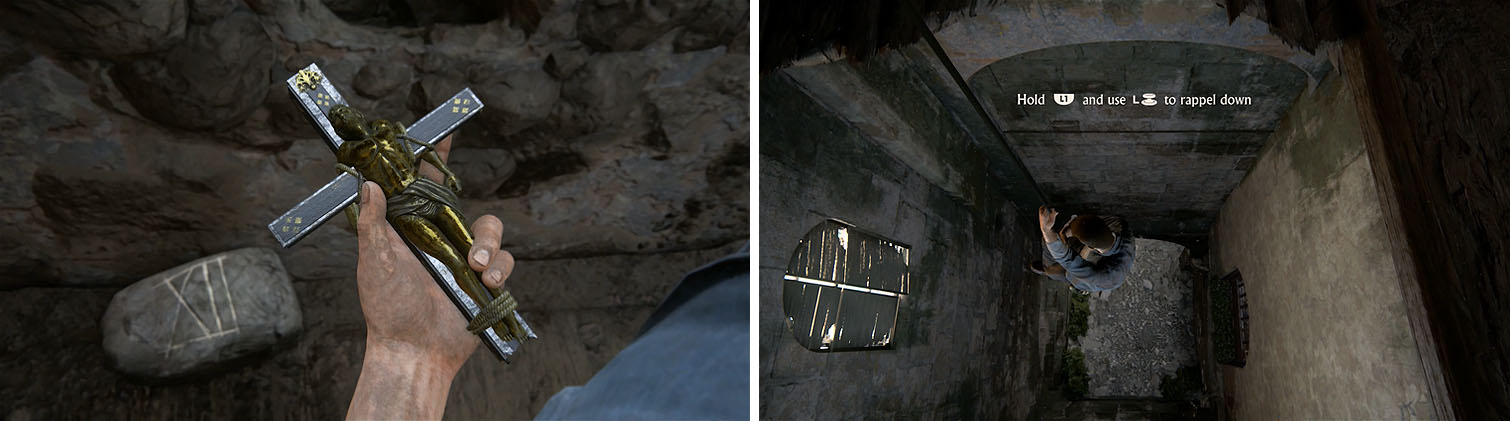
Examine the cross before leaving the tower by rappelling down the shaft.
Jump to the walkway and cross the beams until you are at the other side of the room and then drop to slide, but make sure to jump at the last second to grab onto the ledges on the opposite wall.
Open the gate to exit the tower and press L3 to spot Vargas on the other side of the area. Jump to the supports for the crumbled walkway and then then jump onto the slope and make sure you head left around the rock to reach the beam that you can grapple. From here you just need to climb up the side of the small tower, jump to some ledges across the way, and then drop through the sky light.
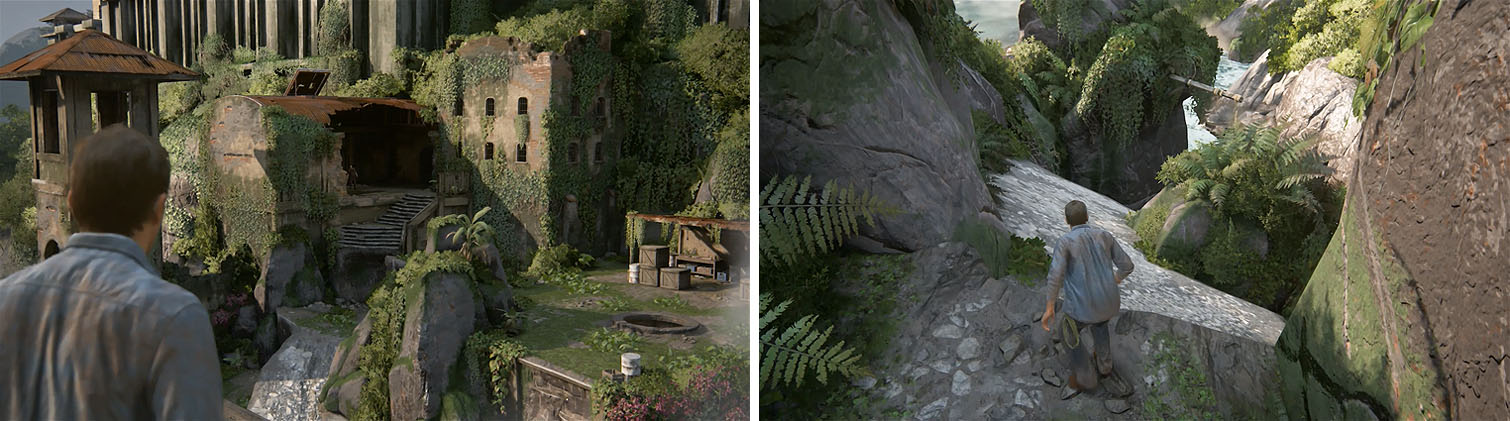
Time to make your way back to Vargas on the other side of the area.
The group may have their next clue to Avery’s treasure, but Gustavo and his gang don’t really seem to care much for the beating you gave him earlier. This is an advanced tutorial of the fight at the beginning of the chapter.
Remember, use Square to attack and Triangle to break the hold of any of the inmates and you can now press O to dodge incoming attacks. Note that if you stick close to Sam you’ll tag team the enemies for more effective takedowns, but the objective is just to survive until Gustavo takes you on and then spam Triangle when he pins you against the machine.

The group figures out their next destination, but Gutstavo wants some revenge.
After another scene you’ll be on the run, so follow Sam and Rafe until you hit a dead end and then help push open the bars on the window to the right. Hop through the window and rush after Sam, pressing O to drop from the yellow scaffolding, and then turn left to avoid the enemies fire in the section with pipes.
Eventually Sam will hit a dead end, so turn around and follow Rafe to another dead end. Turn around and look to the right, above the blue mat on the ground, to find the fire escape that Sam mentions and prop him up by pressing Triangle.
Head up the roof to the right and over the railing and when you jump to the metal awning it will collapse. Why these guards are choosing to fight with their fists when every other guard is shooting at you is beyond me, but you won’t be alone since Sam does a leaping punch at one of the guards to come down and help you.
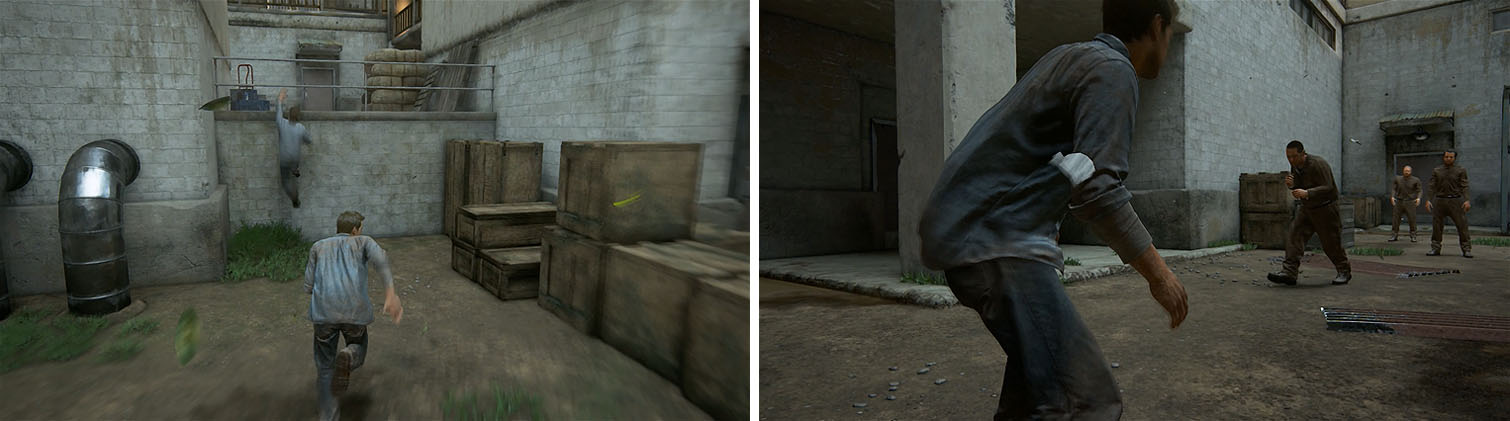
Follow Sam and Rafe through the maze of a prison (left) until you become separated and have to fight the guards (right).
After the fist fight, locate the cart with a crate blocking a nearby vent and help Sam move it and then follow the vents to a new area. Don’t worry about the guard ahead, as Rafe will knock him out from behind, and drop down into the area below while you wait for Rafe to drop the ladder.
You can now follow Rafe across the remainder of the rooftops and press Triangle to aid Sam. After a short scene, jump over the railing and follow Rafe to the cliff edge to complete the chapter.
No Comments