At the start of the chapter make sure to examine the caged skeleton for a Journal Entry and then continue to the right, but don’t cross the bridge. Instead, check the outcropping to the left to find the Lantern Mounted Flintlock inside a small cave.
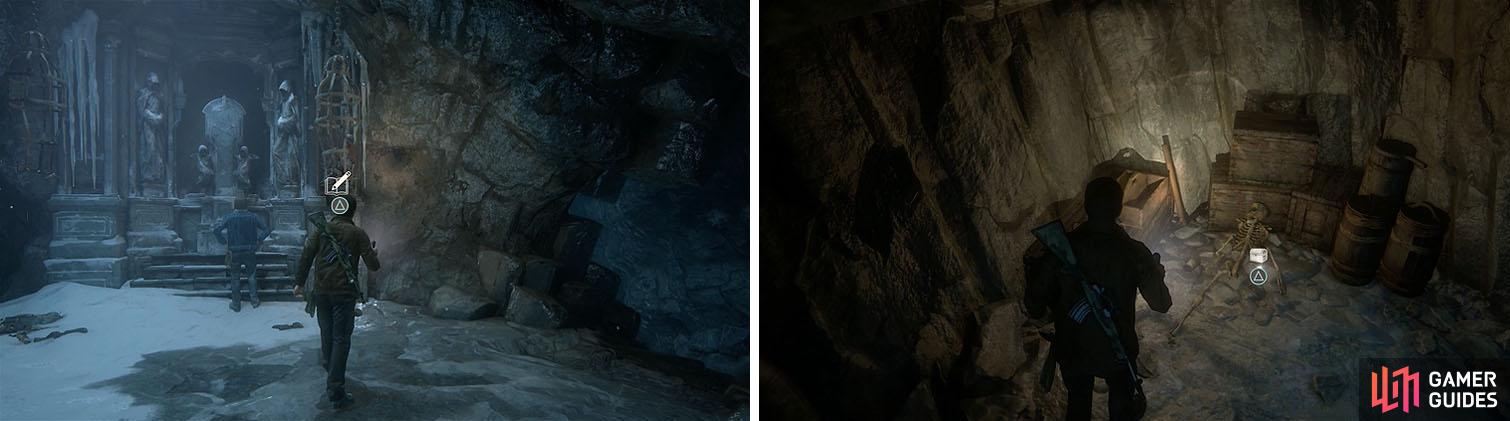
Make sure to get the Journal Entry and treasure before crossing the bridge.
Once you jump across the bridge you’ll be unable to jump back, so make sure to get this before you continue. Follow the path and slide down another slope of gravel and jump to some ledges and then climb up twice to make your way to the first challenge.
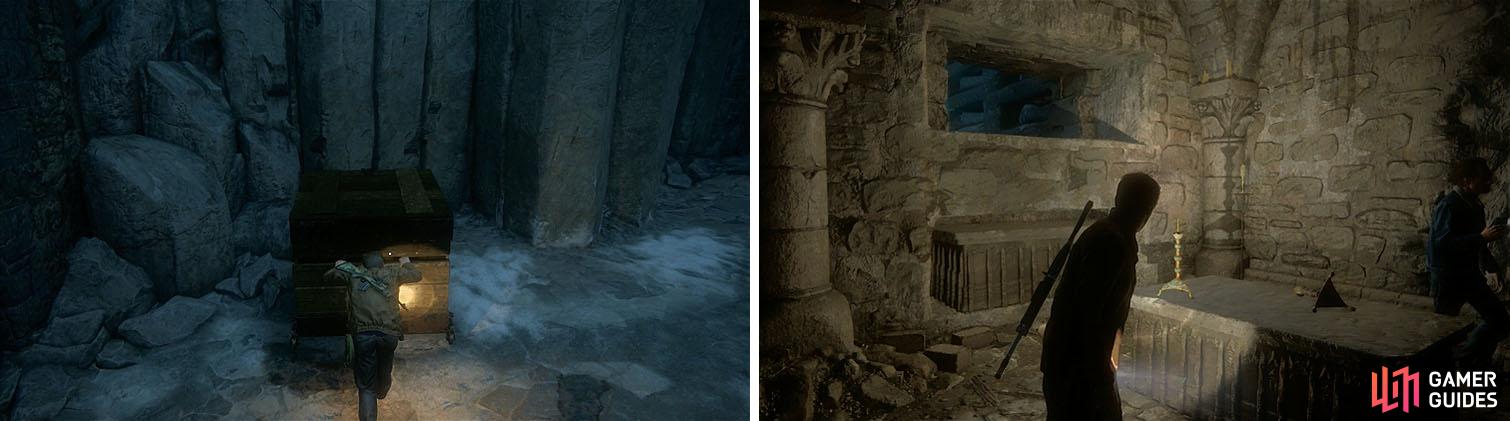
Examine the skeleton of the last guy who tried to make his way through the challenge to reset it and then grab the bucket from the bottom of the challenge. You can refill this in the pool of water behind you and then hand the bucket back up to Sam.
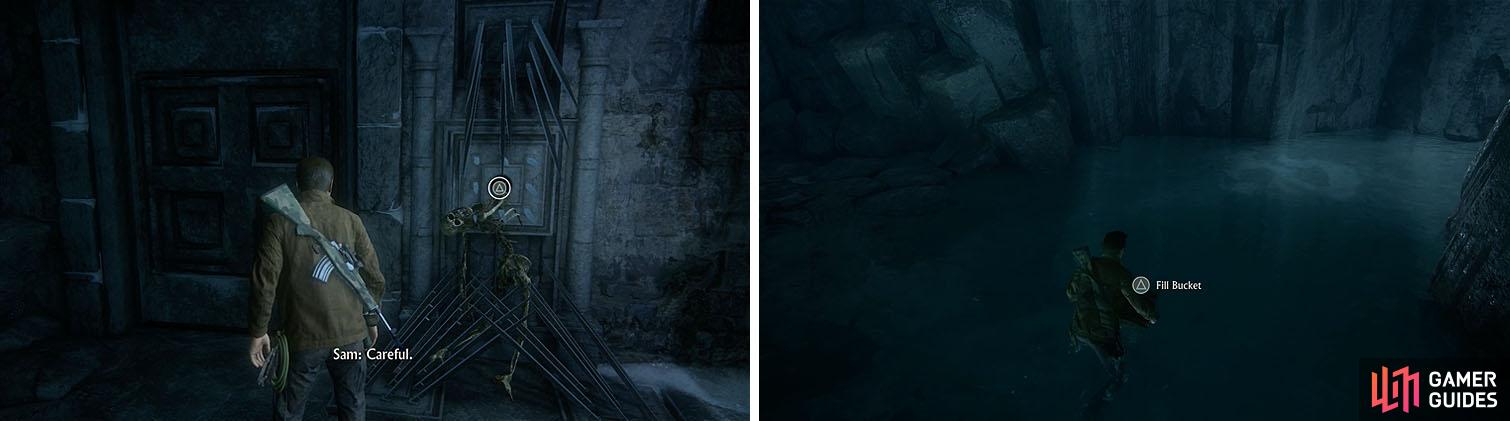
Release the arm to reset the puzzle and then fill the bucket with water nearby.
Your objective is to use the cranks to place the three crosses in the highlighted areas: with Dismas on the left, Jesus in the center, and Gestas on the right.
Note that the following answer has you turning the crank clockwise each time and will get you the Trophy: Trials and Tribulations .
Answer: Crank 1 - 1, Crank 3 - 1, Crank 1 - 2, Crank 3 - 1, Crank 2 - 1, Crank 3 - 1
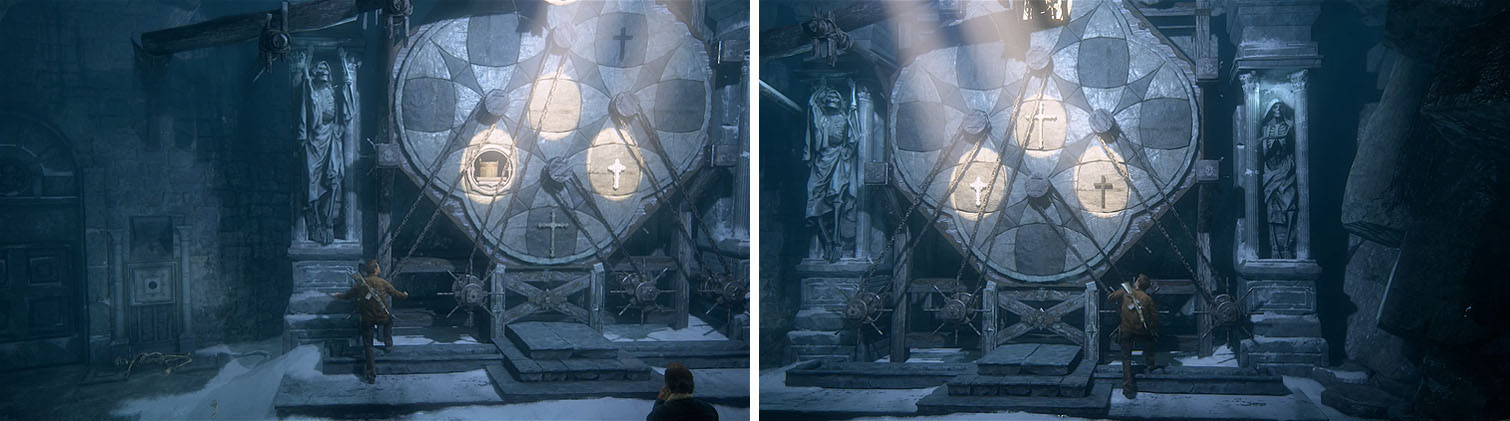
Rotate the cranks to align the crosses and place the bucket at the top.


Pull the switch and examine the switch for a Journal Entry before you leave and then turn left and walk to the edge of the area for an Optional Conversation with Sam. Turn around and turn left and then look down to spot a beam that you can grapple, which can be used to swing to an outcropping with the Strange Pendant .
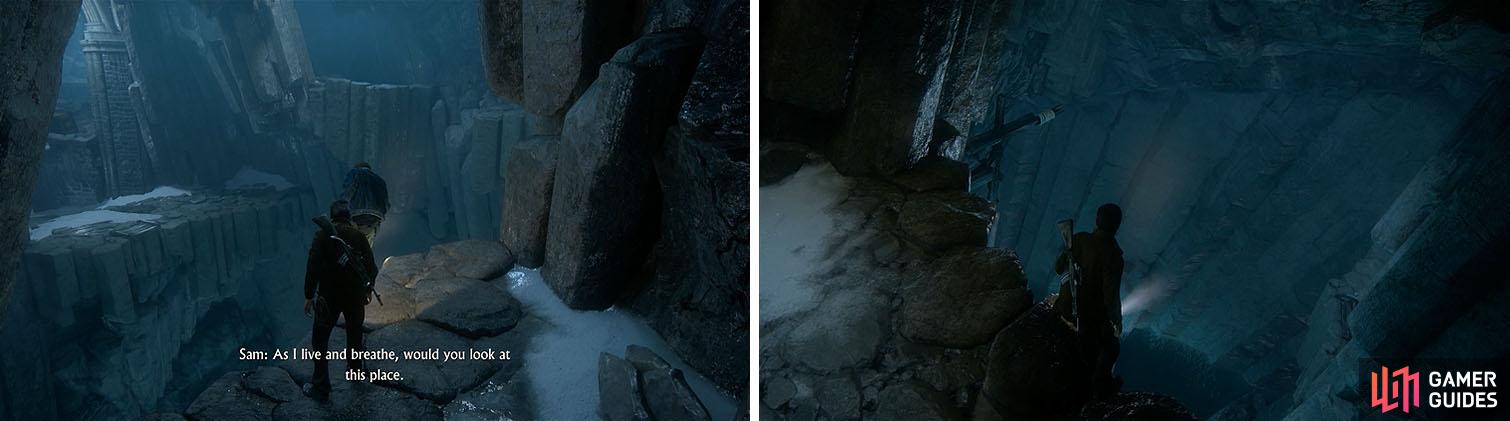
After speaking with Sam (left), look for a beam below a nearby ledge (right).
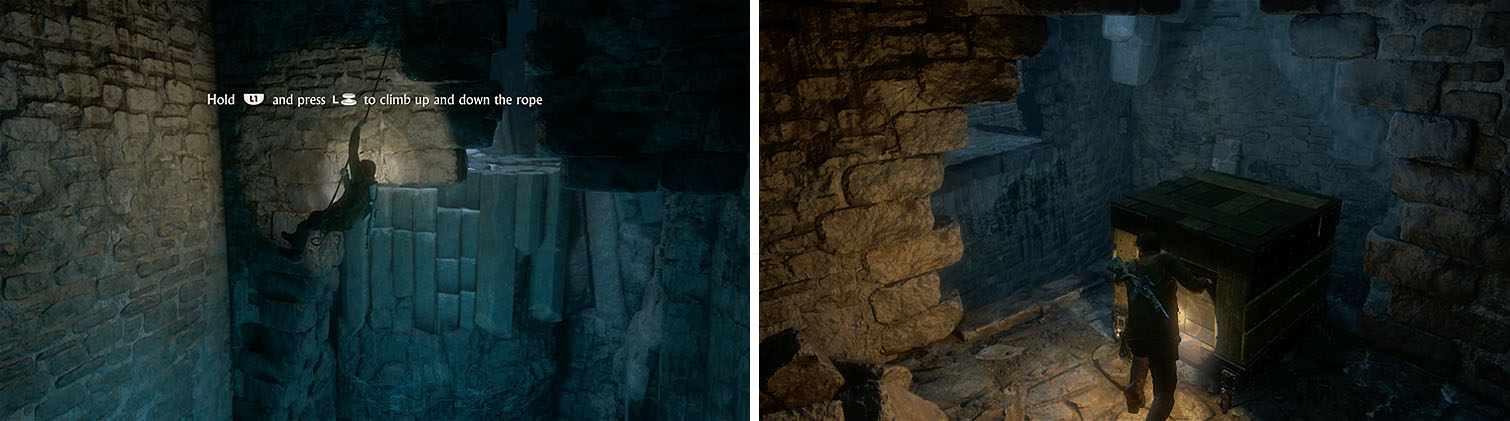
Grapple back to the beam and swing diagonally to the small ledges leading back up and then follow the path right. Jump across the gap and hook onto another beam and then swing to the lower level, circling around the pillar to the left to climb down some ledges to find the Amatory Box .
Climb back up and press L3 to spot the broken bridge that Sam mentions and then climb the ledge in front of you to boost Sam up. Sam will push down a crate that you can move to the opposite wall and then jump up to the ledges to follow him.
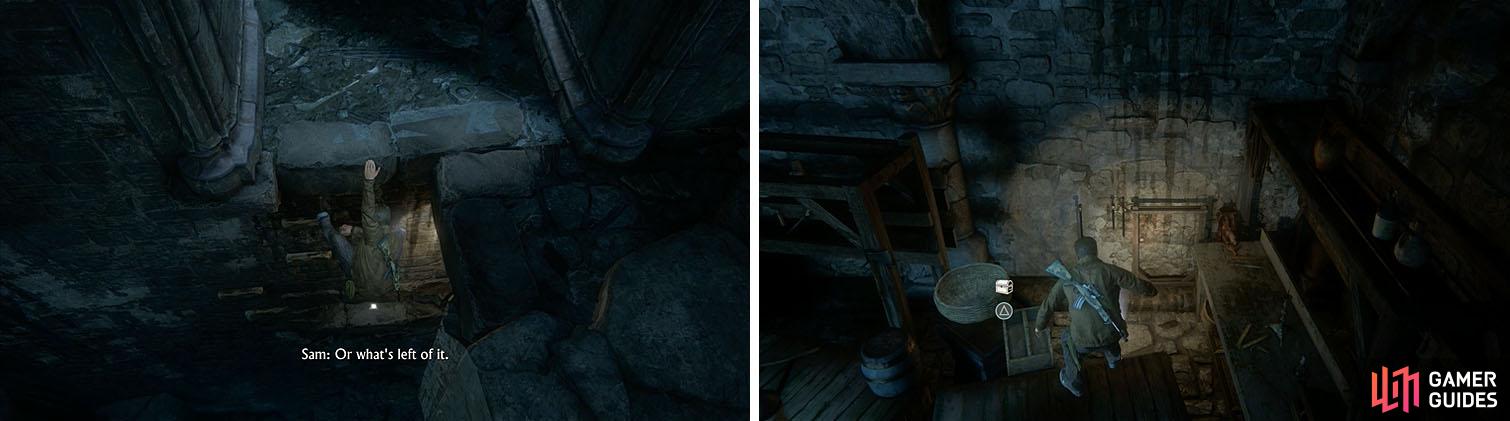
Exit the catacombs via a hole in the wall and then jump across the gap to your left and climb up for a scene.
Move the crate to the opposite wall to reach the catacombs, exiting through a hole.
Shimmy right and drop down and then check the room to the left to find a Pewter Box on the ledge behind the statue. The gap on the opposite side of the room has a beam that you can grapple, but instead of swing across the gap rappel to the end of the rope and then swing to the ledges on the left.
Jump to the ledges on the right and pass through the tunnel to find a crate on the other side, which can be pushed down to create a path to the broken bridge.
Rappel down instead of swinging across to find the crate for a boost up the wall.
Drop off the ledge to the right of the bridge and then shimmy left and down to find the Memento Mori Skill Watch . Climb back up and cross to the opposite room to find another broken bridge and then look across to the metal crate.
Wait until you see the option to grapple it before you jump, because sometimes the option to hook on won’t appear, and then rappel up to the top and check the wooden crates to the right for the Scottish Tipstaff .
Don’t miss the treasure on the ledges below the broken bridge (left) and another when you climb up the via the metal crate (right).
Move the metal crate to the far end of the area and latch on to the crate again and then drop off the ledge and wall run to jump to the ledges on the left to continue.
Follow the path to the second challenge room and then drop off the ledge to the left to land on a lower outcropping with a Journal Note . Head across the beam and jump to another landing next to the large seesaw beam and then run to the opposite end, but don’t jump.
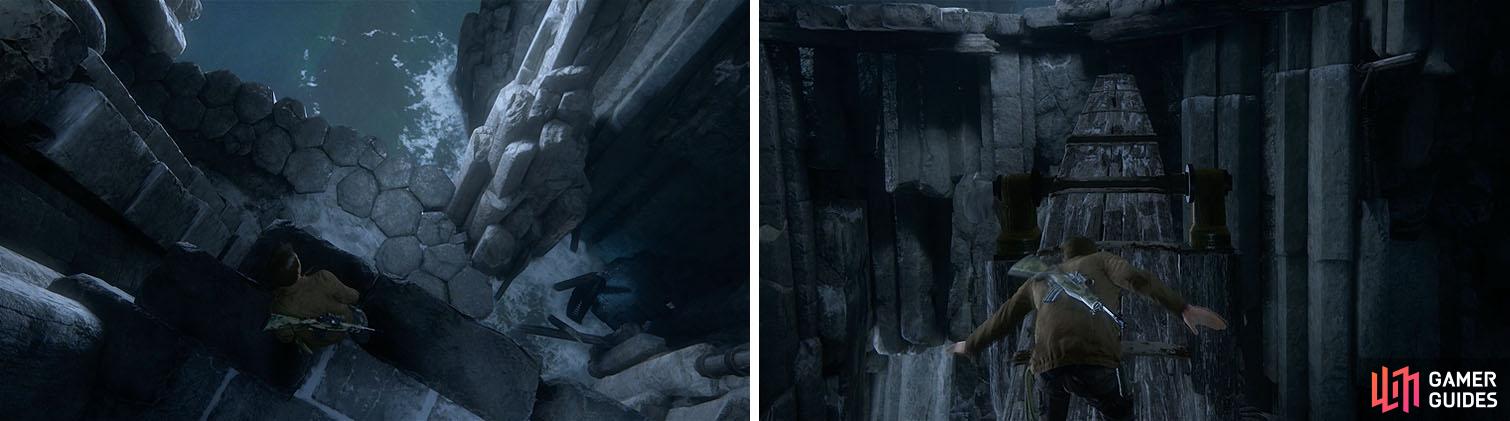
Drop onto the outcropping below the entrance and jump onto the large beam.
Return to the other side of the beam so that Sam can join you by weighing down the one end and then make the jump to the ledges on the right.
Shimmy right to grapple the beam and swing to the metal gears and then climb up to find another metal crate you can push down onto the seesaw. Once you drop down the seesaw will begin to break, so rush to the other end and make a jump for your brother’s hand.
After the cutscene you’ll be unarmed against a number of Shoreline goons, so stay in cover until the floor behind Sam crumbles and then follow him.
The only way out is up, so climb the pillar at the center of the pit and then make a jump for the next pillar when it appears. From here you can jump and tackle one of Nadine’s men to gain a weapon, which you’ll use pretty soon.
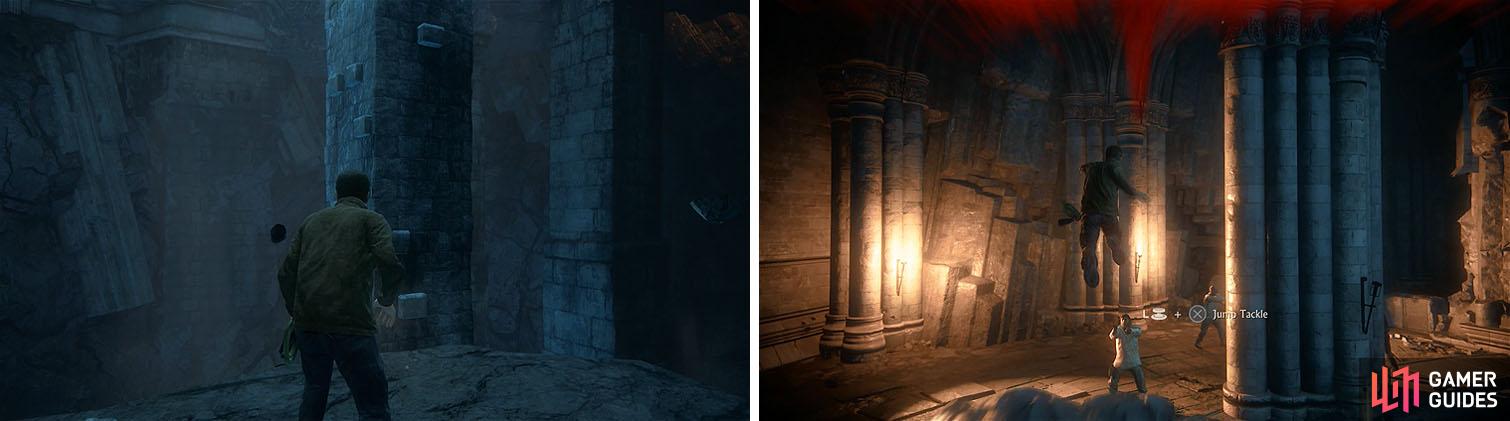
Climb the pillar and perform a vertical takedown on the enemy above.
Take cover behind the rubble and the path forward will cave in leaving you with no choice but to head up the rubble to the right, where you can grapple an exposed beam to swing to the statue.
Climb up and jump to the adjacent ledge, but don’t pull up straight away and instead allow the enemies to come over to your so that you can pull them off the ledge. Make your way through the tunnels until you reach the area with the turret and take cover behind the nearest pillar.
Your first target should be the enemy with the shotgun that advances toward you and then deal with the enemy on the left side of the area. With these two enemies gone you can toss a stick of dynamite at the turret to clear it and the head left around the area, clearing out any other enemies in the nearby vicinity.
Once you’re near the turret and no enemies are attacking you from the sides you can man the turret and deal with the remaining enemies ahead.
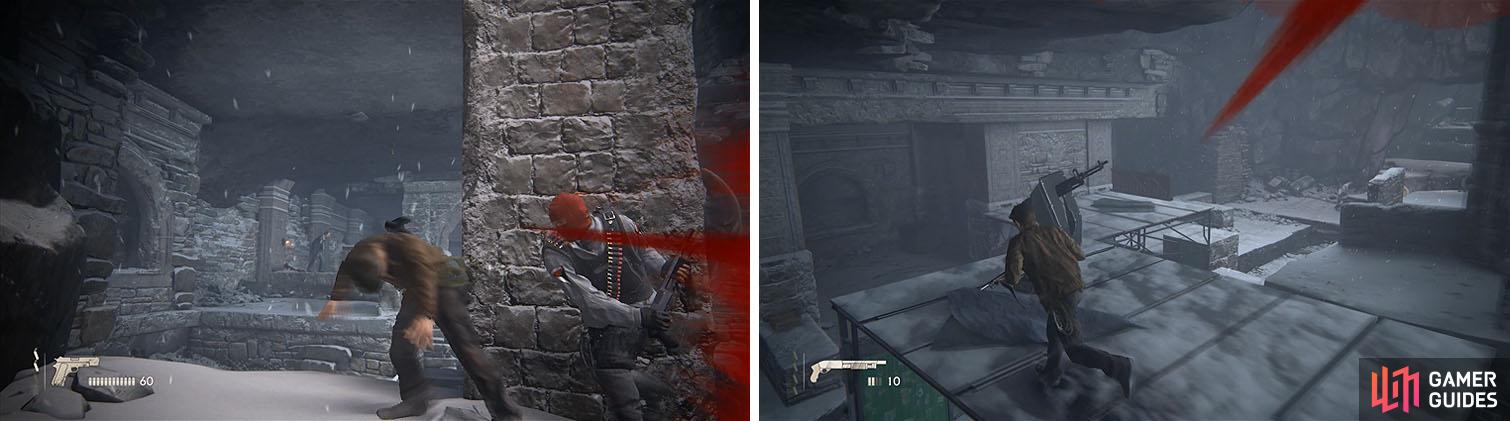
Watch out for the enemy with the shotgun before you work to free the turret.
When you jump across the next gap Nate will point out the sniper across the way. These enemies can kill you in one shot if you hold still long enough for them to scope in, so keep moving to prevent them from getting a clear shot.
Take out the sniper and then swing over and deal with the minor goon using a pistol and then take cover behind the rectangle Shoreline crate with the Mazur LDR. Go ahead and grab the sniper rifle and ammo from the sniper you killed and scope in on the enemies across the ravine.
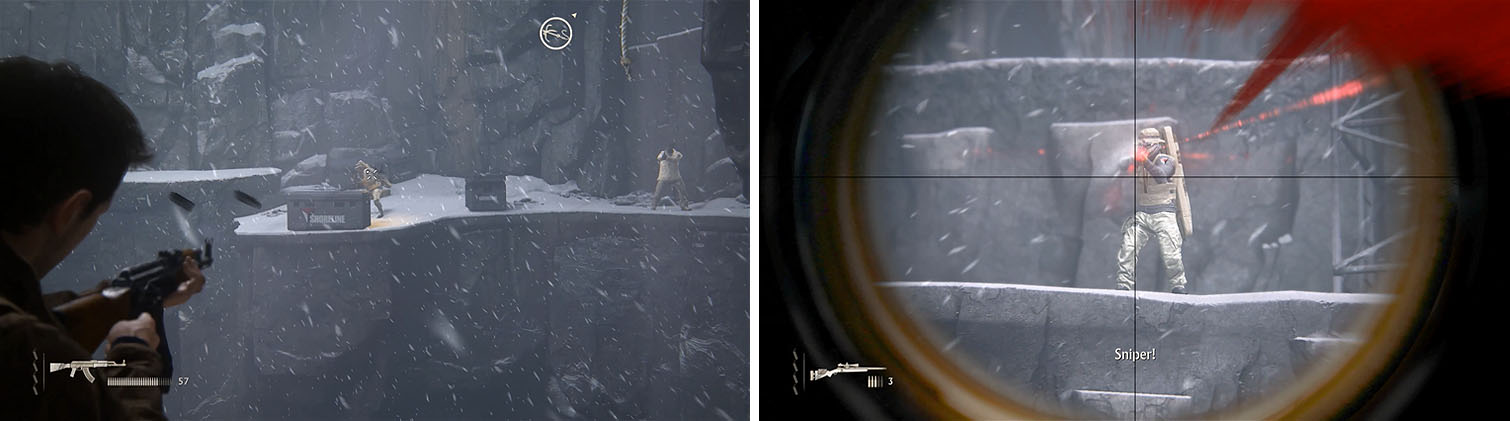
Focus on the sniper first and then pick up his weapon and fire across the ravine.
After killing the first two enemies a group of two more snipers will take their place, so line up the camera so they are in the center of the screen and you’ll only have to make minor adjustments when you scope in. Swing across the ravine when it’s clear and climb up to the top, taking cover behind some of the crates while you deal with the remaining enemies.
The next area can be run through on lower difficulties, but on higher difficulties you’ll take too much damage if you leave every enemy alive. After speaking with Sully kill the first enemy on the ledge before sliding down the slope and jumping into the next area and then defeat all the enemies here.
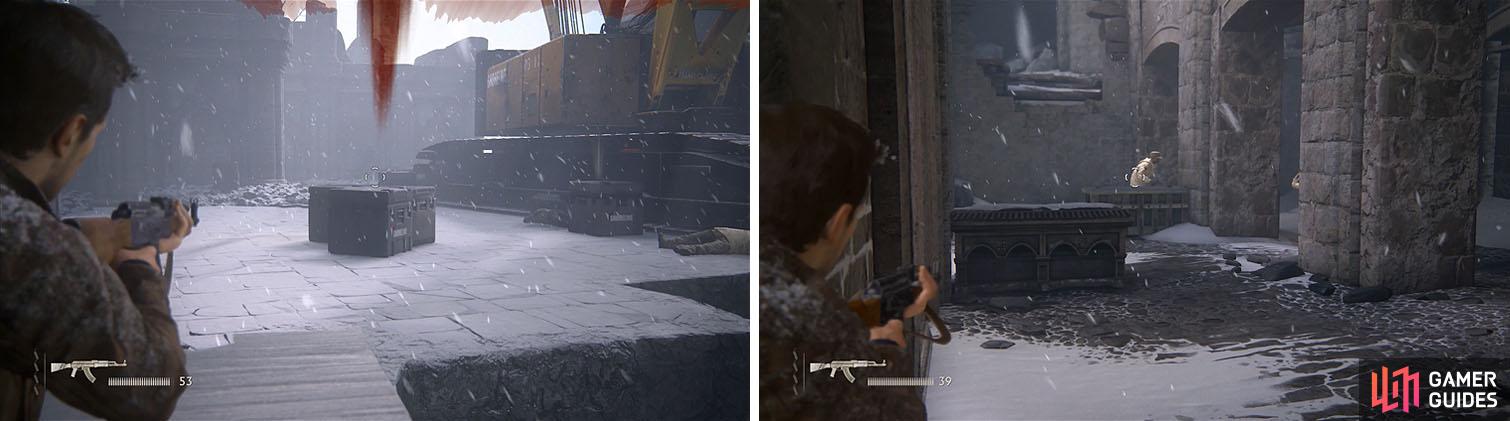
Your almost done, just a few more groups between you and Sully.
Exit the back of the area and slide down another slope for an aerial kill and then slide again and grapple across the gap to the right. You’ll encounter another group of enemies that you need to defeat on higher difficulties, but after this the remainder of the chapter you can run through.
No Comments