Don’t drop down after overseeing the city, instead turn around and climb through the window to find the Carved Horn Bird Sculpture on the edge of a cart. Drop down and speak with Sam when for an Optional Conversation and then follow the wooden platform right across a gap.
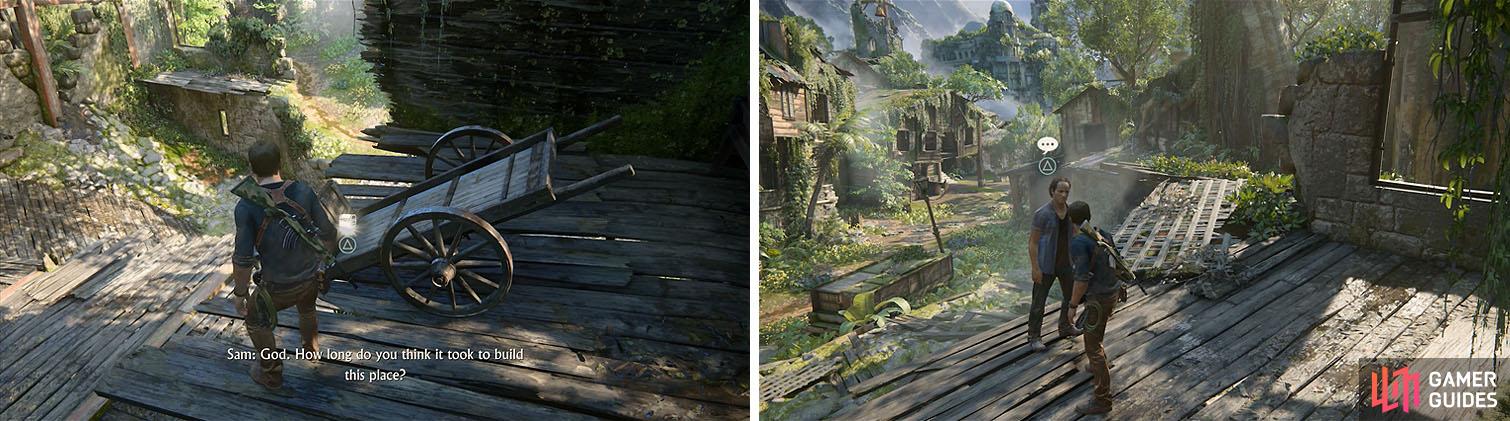
Don’t miss the treasure and conversation right at the start of the chapter.
Jump into the window of the adjacent building to find a Journal Note in the upstairs bedroom and then drop into the blacksmith’s shop. Examine the cutlass on the table for a fun scene with Sam and then wait for the opportunity to speak with Sam for another Optional Conversation .
Exit the front of the forge and enter the building on the left and then head upstairs and interact with the chair. Keep pressing Triangle until you have no other option to complete the Optional Conversation and then drop back downstairs.
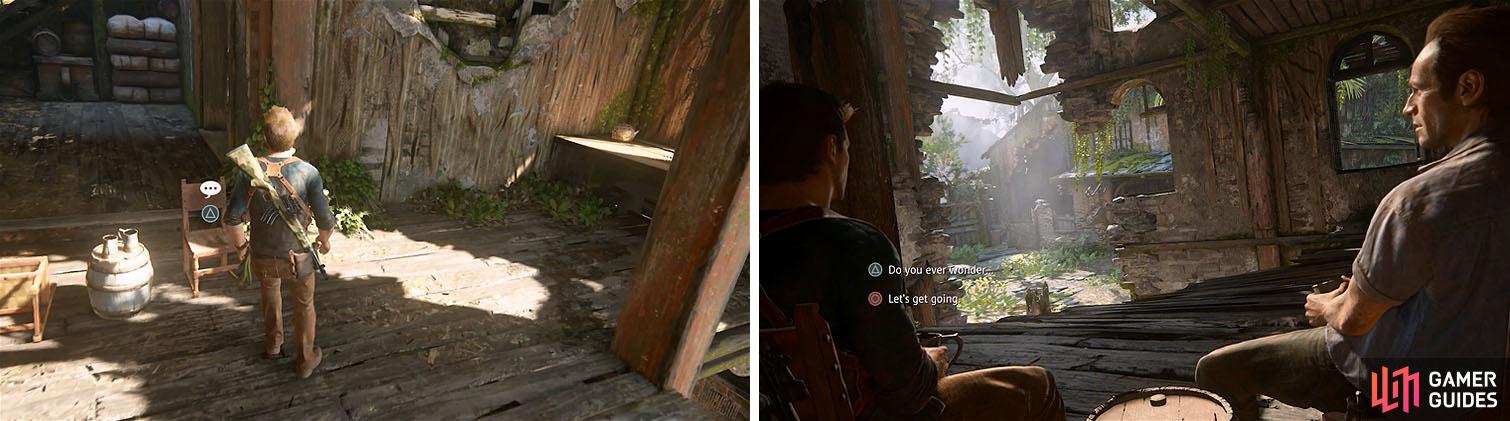
Take a breather in the tavern and enjoy the conversation with Sam.
The building next door is the stable, where you can examine the corpse of a horse for a Journal Entry and then get another Optional Conversation with Sam.
Exit the stable and check the Code of Conduct near the stairs for a Journal Entry and then enter the building on the right. The back room has a Mughal Vase to collect and in the courtyard behind it you can examine Avery’s statue for another Journal Entry .
Wait for Sam to stick his head in the stocks and speak with him for an Optional Conversation , as well as gain a Journal Entry . Check the building next to the stocks to find the Ancient Stone Pot in the locked jail cell and then return to the courtyard.
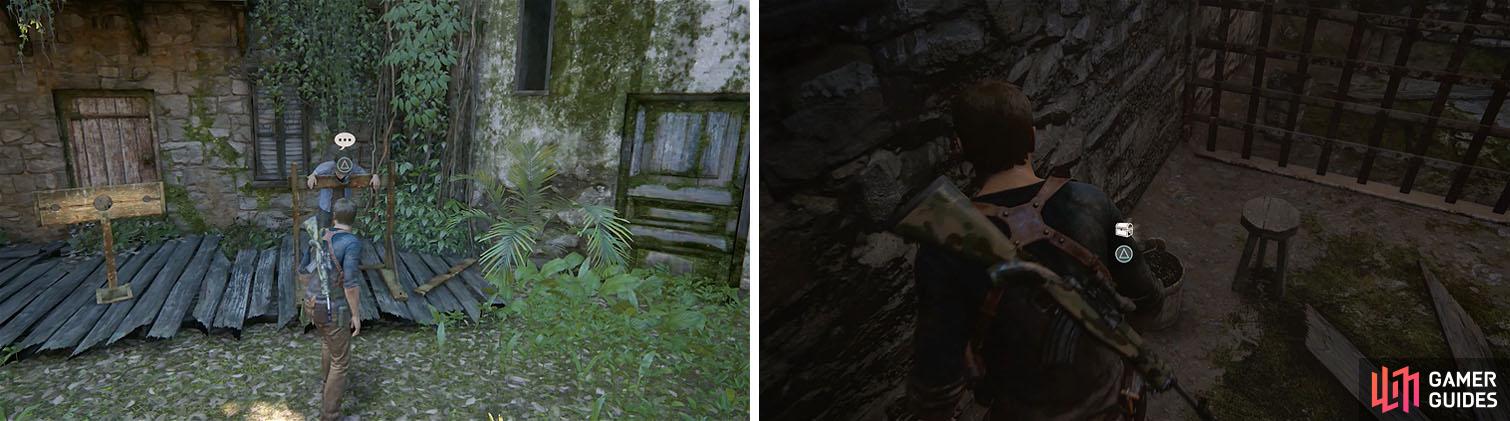
Sam sure does look good in the stocks, especially Nate’s drawing of it (left). Inside, get the treasure from the locked cell (right).
Enter the door at the back of the courtyard to a storeroom and proceed under the stairs and over the bookcase. Make your way under the collapsed floor to reach a bunker with a map of Libertalia and then climb the ladder.
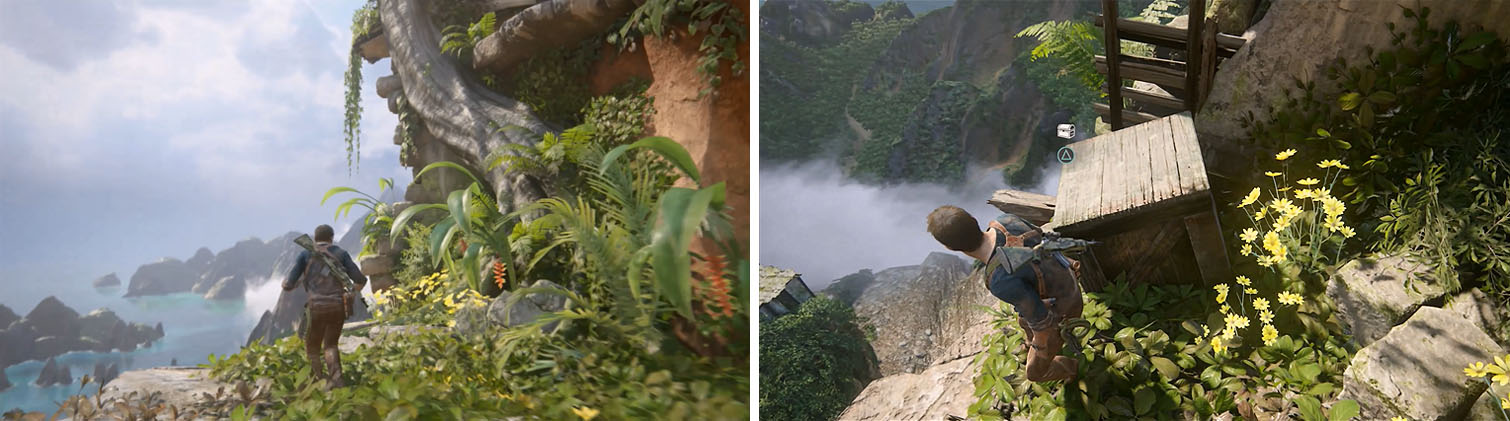
The path to the right is a dead end with the Painted Copper Bottle while the path to the left leads to a well you can rappel down. So much for being a well! Swing to the only platform available and then quickly run forward and take cover in the plants.
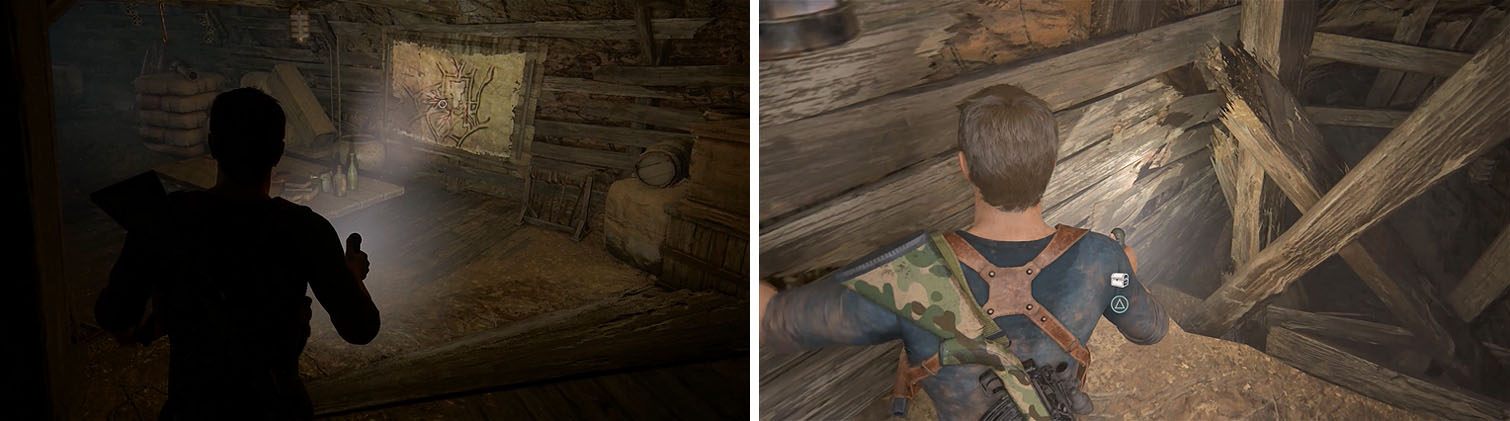
Don’t miss the treasure in the tunnel located upstairs from the rebel’s bunker.
Wait for the enemy to kick the barrel off the edge and for the coast to be clear and then jump to the window across the way. Follow the ledges right and down to the lower window and then continue right along the bottom of the area.
When you can’t go right any more, pull up into the plants when the enemy isn’t looking and then climb the stone wall and enter a crumbled building with a fireplace. Climb the wooden beams in the corner to reach the next floor and take cover at the door behind another enemy.
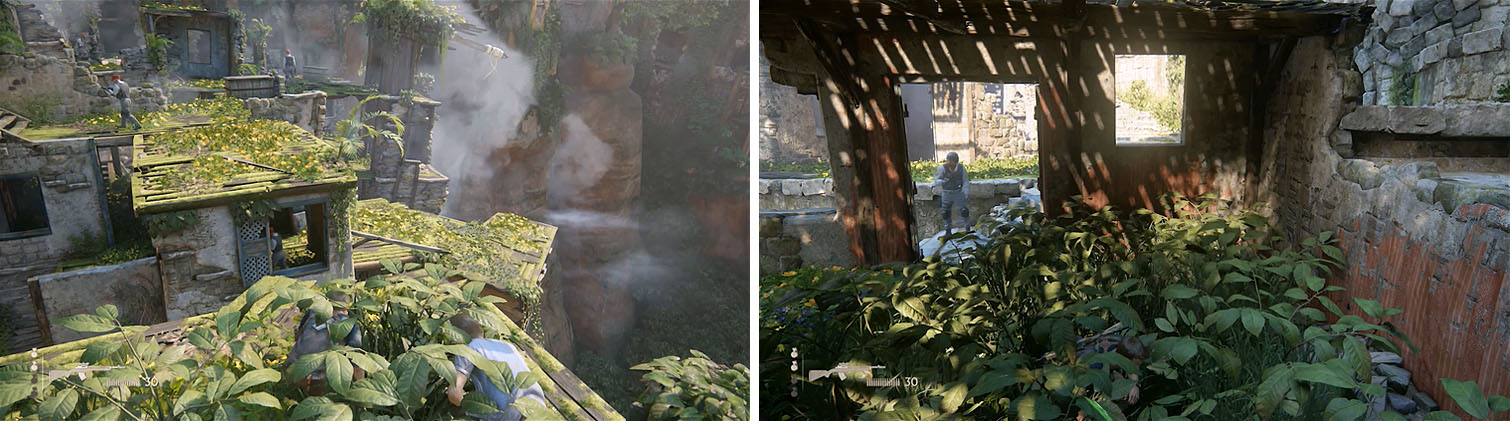
Make sure the coast is clear before jumping to the window (left). When you can’t shimmy any more use the plants for cover (right).
The enemies ahead are too tightly packed to make it through this section in full stealth without killing anyone. Wait until the nearby enemy is to the right and then make a break for the small cabinet, jumping over it and grappling a nearby beam.
Release when you’re at the eye level to the sniper in the tower and grapple another beam to swing left and release. Make sure that when you release you don’t accidentally kill the enemy with an vertical takedown and then enter the door nearby and turn right to drop through the floorboards.
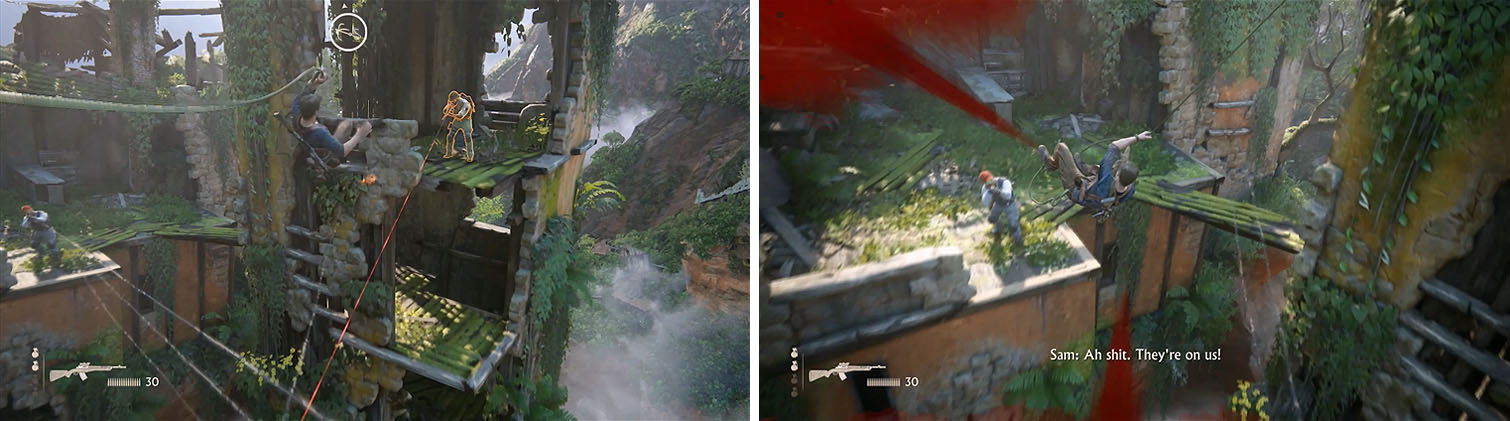
When you switch from one grappling point to the other you’ll need to watch out for the enemy below (right), as you don’t want to kill him.
Now that you’re safe from the Shoreline goons, pick up the Journal Note and exit the building, but don’t continue forward. Instead, turn around and climb the right side of the doorway and shimmy across it left to find the Mughal Jade Bottle .
You can now jump into the adjacent building and swing across the lamppost, shimmying around the side to drop into another area full of enemies.
Drop down into the plants and hop through the window to follow the plants to the other side of the cliff’s edge. You’ll need to grapple a beam on the building above and then jump towards the building in the distance and grapple again to swing over to proceed safely.
You need to grapple to the building in the center of the area, but don’t worry the enemies shouldn’t detect you even if they turn yellow.
From here, use the wooden supports on the outside of the building to climb up to the roof and take cover in some more plants.
There are enemies below you and on the area ahead, so wait for a clear shot before you grapple and swing to the ledges and climb up into the plants. Follow the left wall into a small building with a window and door and when the enemy ahead walks right make a dash through the door and into the plants.
Wait for him to return, if you’re lucky Sam will grab him (this doesn’t effect the trophy), and when he walks away again head for the arch to the left. Boost Sam up the ledge when the enemy across the way hops down toward the crumbled building and then follow him up to safety.
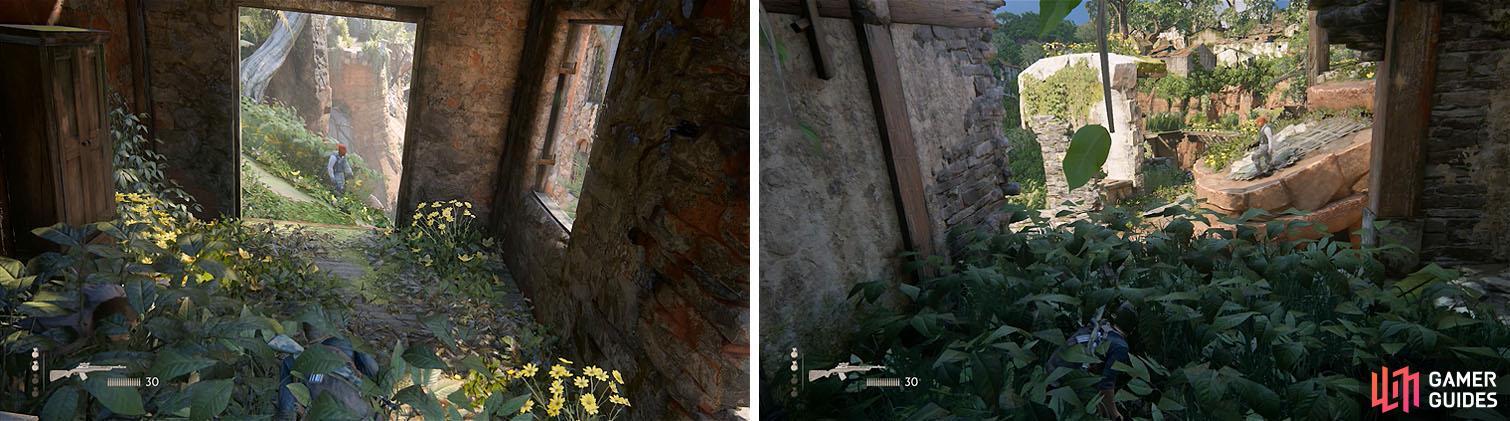
Watch the enemy movements carefully as you move from plants to plants.
Shimmy along the edge of the wooden platform and then jump across the exposed beams to reach the door. Examine the wooden door and then shimmy along the wooden ledge to reach the doorway to a tower. You’ll only be able to climb up the ladder about halfway, but if you use the ledges and beams you’ll easily reach the top of the tower.
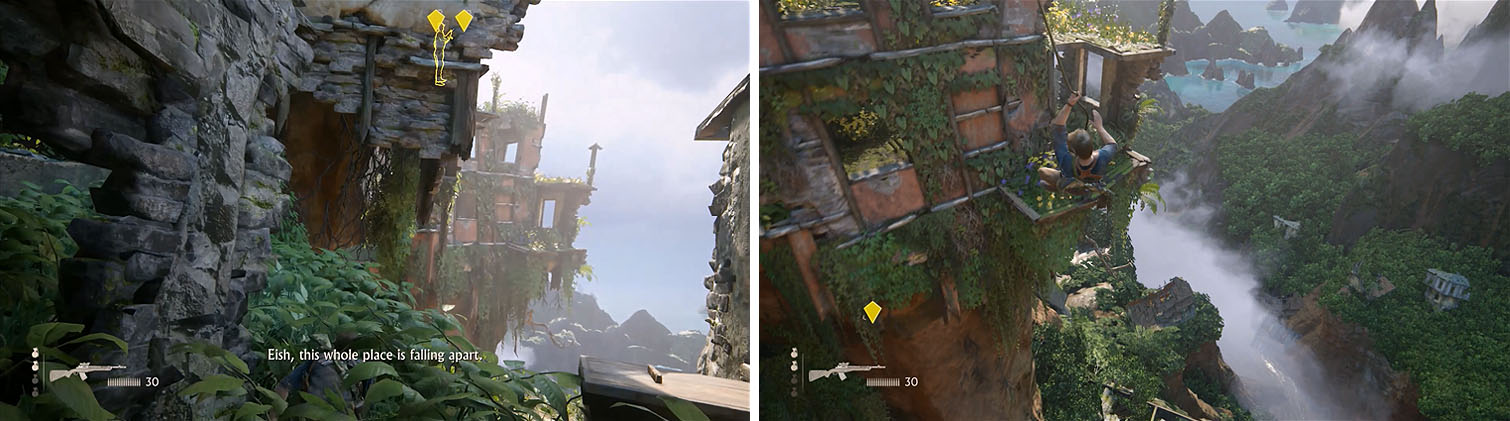
Swing to the ledge and take the short set of stairs and then drop into the area below. Instead of entering the window jump off near the tree on the opposite side to grapple and find a way into the building for a Slipjoint Claspknife .
Leap off this ledge (left) to grapple around to a well hidden treasure (right).
You can now swing back and hop into the window and then swing across the huge crevice to the other side of the building. Check inside for the Large Bronze Boar before you grapple again and then jump through the hole in the wall.
Take the grand staircase up to the right to find the Stout Vase on the desk and then drop down and head through the pillars and to the left.
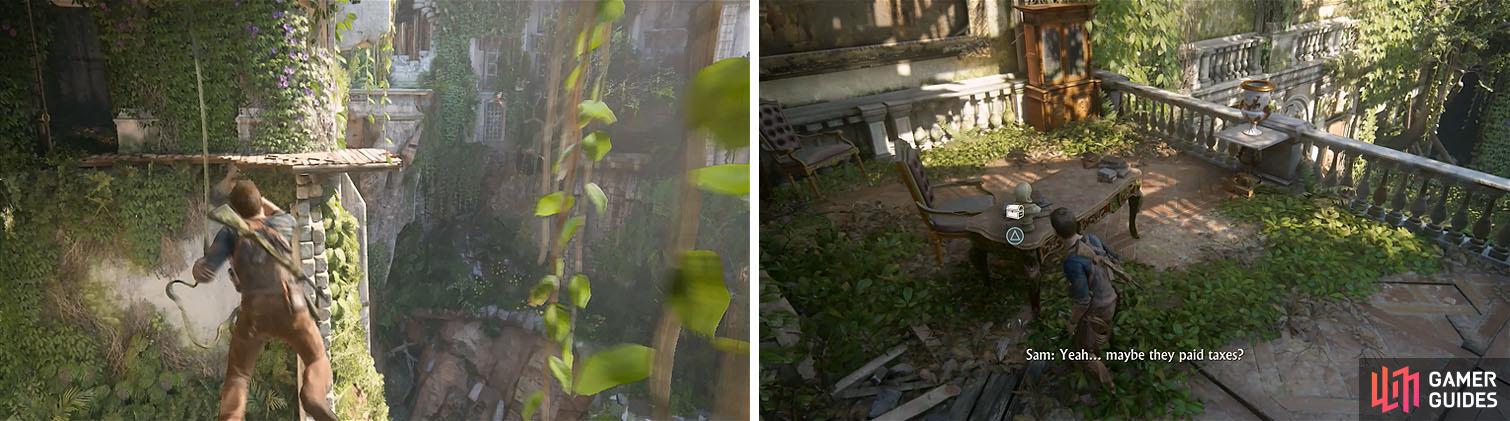
There’s a treasure where you swing across here (left) and another at the top right side of the grand staircase (right).
Follow the path to the courtyard outside the treasury and wait for Sam to trigger an Optional Conversation . While facing the treasure building, turn right and follow the path behind the columns until you reach the end and then check the overturned chair for the Mughal Serving Vase . You can now head up the steps to the treasury and enter to complete the chapter.
No Comments