Travel to the Crystal Sage bonfire in Road of Sacrifices and take the new path. As you walk up the hill, look left to spot a ledge with a Crystal Lizard and plunging attack it for a Twinkling Titanite and then drop down and round the corner for another Crystal Lizard with a Twinkling Titanite .
Follow this path to drop behind a Cathedral Evangelist near the Herald Armor Set and watch out for the Hollow Manservant on the other side of the area.
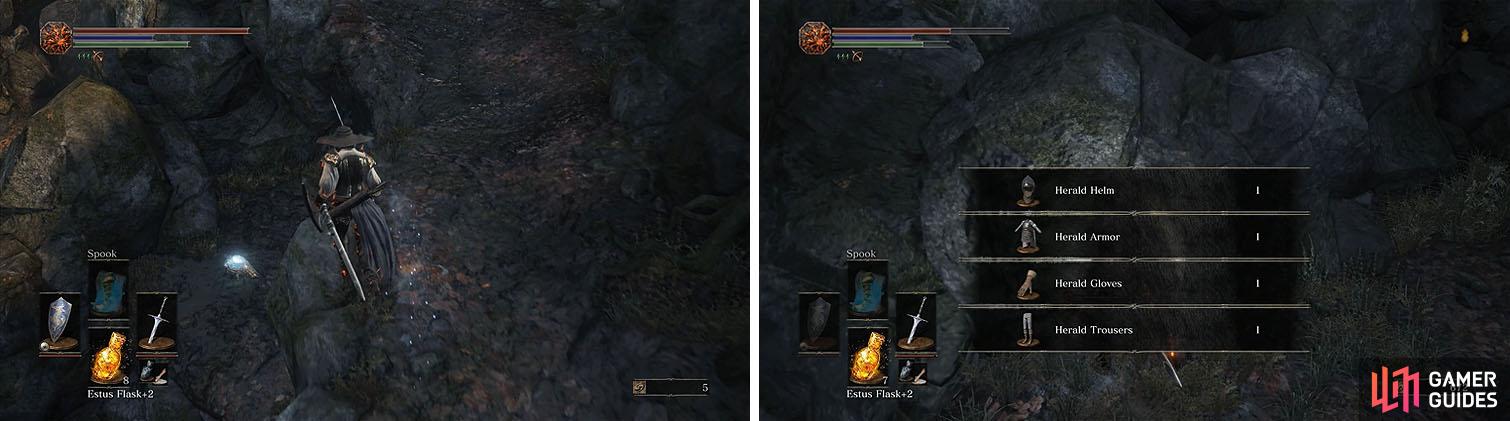
Check the side of the path for some Crystal Lizards (left) and then grab the Herald armor near the fire with an Evangelist (right).
The stone bridge leads to a bonfire with a large set of stairs leading up toward the Cathedral, but ignore them and follow the path to the right. Drop off a small ledge and follow the path to an area that overlooks the stairs with a Crest Shield .
From here you can spot two unkindled on the steps below and use ranged attacks or magic to easily defeat at least one of them for a Spider Shield .
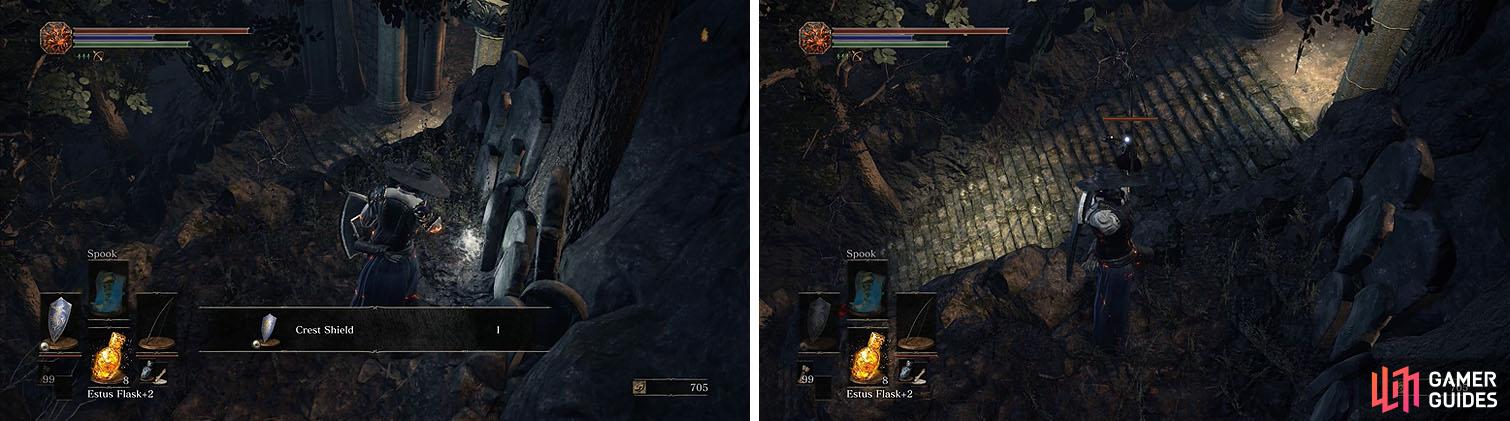
Follow the detour to reach a Crest Shield on a ledge overlooking the unkindled.
Return to the bonfire to refresh your Estus Flasks and check the path next to the bonfire for the Paladin’s Ashes . As you make your way up the stairs, hug the left wall to find another path with a Titanite Shard and then continue to the top.
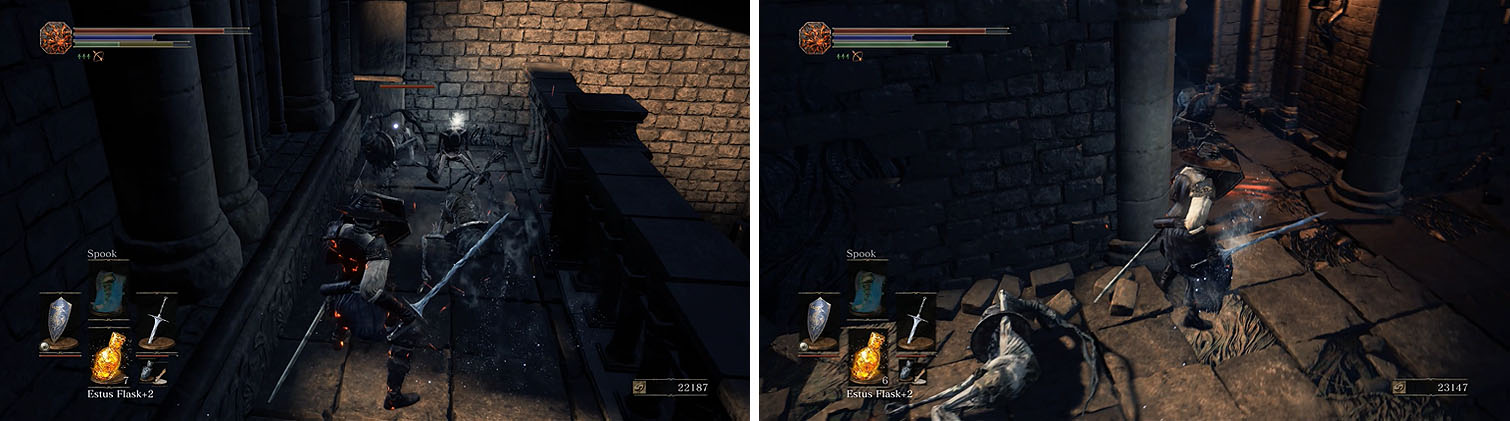
There are a number of Starved Hounds and Devouts of the Deep, similar to Hollow Soldiers, that shoot crossbows at you while you pass through the center of the area, so avoid the majority of battles by sticking to the left side of the area.
As you reach the back of the area you’ll need to deal with some Starved Hounds, but if you’re in the ditch you should be able to avoid the crossbow fire. Backtrack along the other side of the area to finish off the remainder of the enemies and collect the Large Soul of an Unknown Traveler and then continue forward.
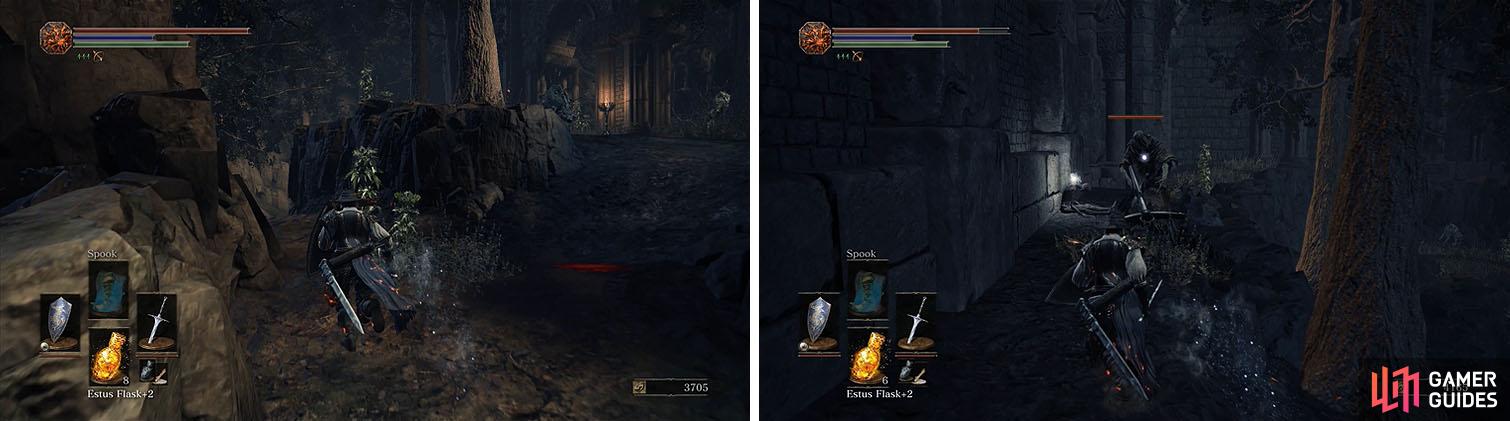
Stick to the left side as you make your way to the back of the area and then head down the opposite side to finish off the devouts.
Head toward the chapel and you’ll encounter a devout that’ll light itself in a blaze and rush at you in a suicide attempt. These enemies should either be backed away from or rushed to attack them, breaking through their fire and killing them.
Enter the Cleansing Chapel to activate the bonfire and collect the Notched Whip and then head back outside and up the stairs to defeat a group of Devouts praying at the obelisk. You can now grab the Estus Shard and follow the steps up to the graveyard.
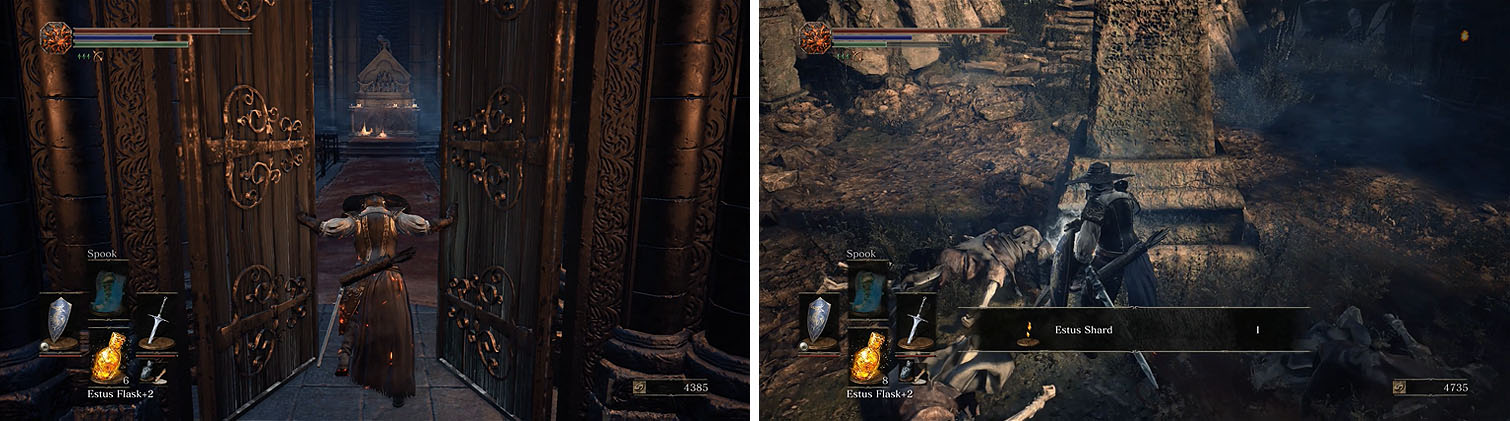
Activate the chapel bonfire and then collect the Estus Shard outside.
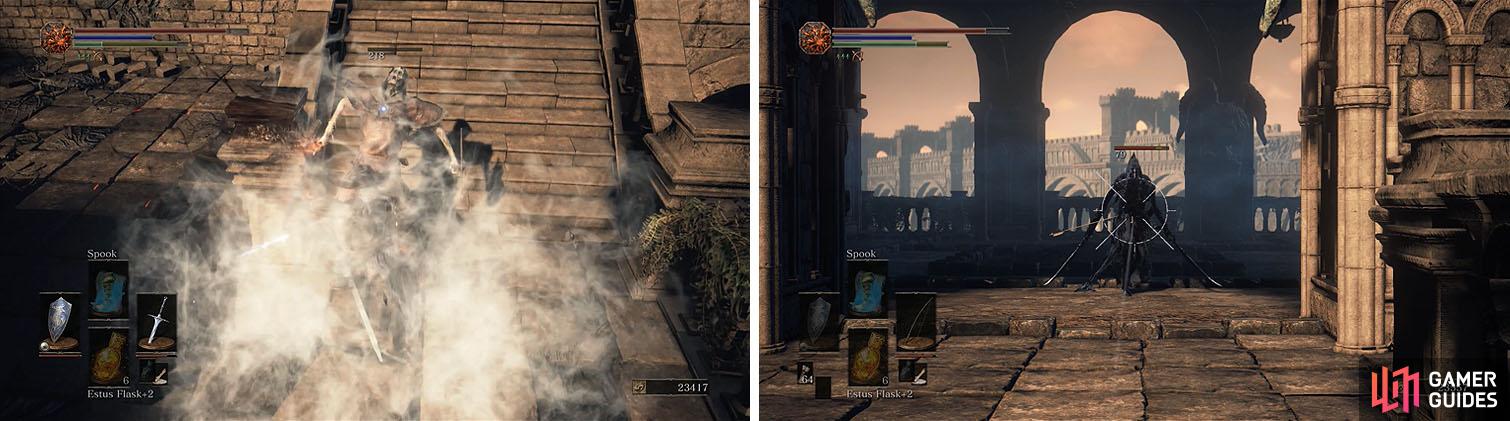
This area is full of Reanimated Corpses that will respawn after death in an endless horde, so their is no point in fighting them. Rush through the area, sticking to the path, and take the first left to drop into a ditch.
This will lead up around the back of the area and when you reach the obelisk at the end you can drop into a courtyard with a Fading Soul and Executioner’s Greatsword . Turn around and run out of the area as the corpse come to life and hug the left wall until you reach a bridge.
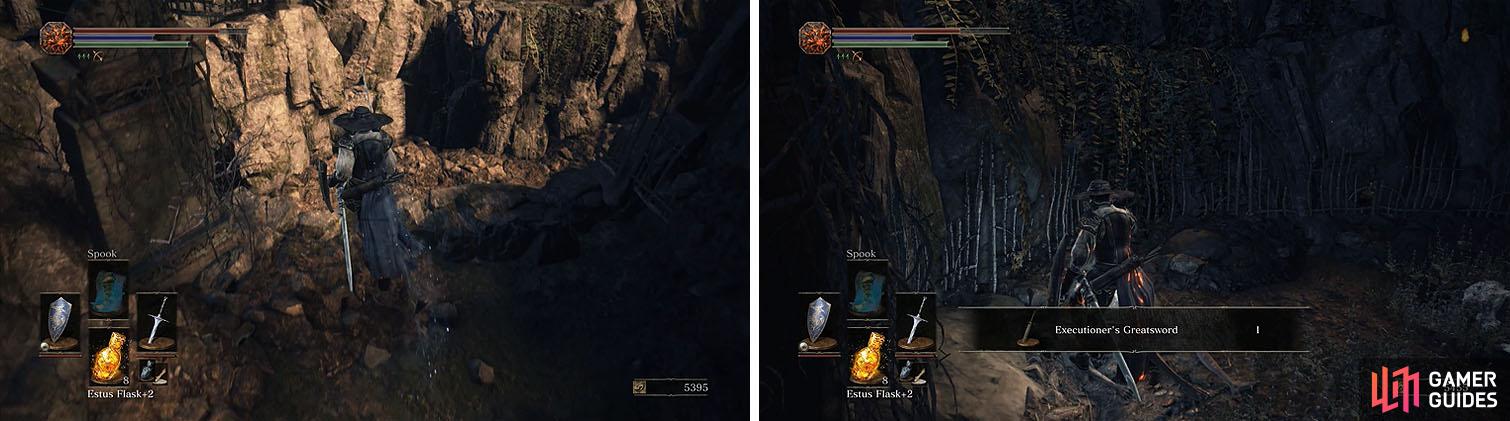
Rush through the graveyard, making sure to get the greatsword in the dead end.
There is an Infested Corpse on the bridge that has a disgusting infection of maggots bursting from its stomach. These enemies don’t pose much of a threat and have very little HP, but a single hit from them can result in Bleeding.
The good news is that you can use your Torch to prevent the Bleeding effect and most of the enemies here will shy away from the fire.
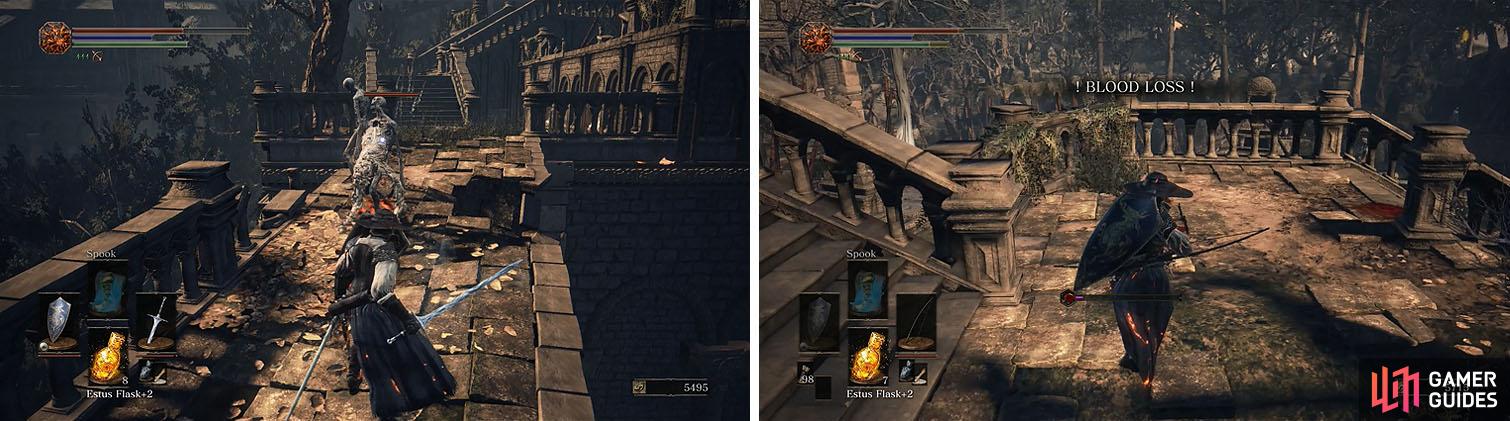
Attacks from an infested corpse will result in Bleeding and Blood Loss.
Cross the bridge and head up the stairs, but wait at the entrance to the graveyard for the Cathedral Grave Warden to approach.
These twinblade users have fast combos and decent HP pools, but their strikes are weak and can be blocked with a shield. Strike when you get a chance and perform a long combo, but prepared to roll back out of their reach when you get low on stamina.
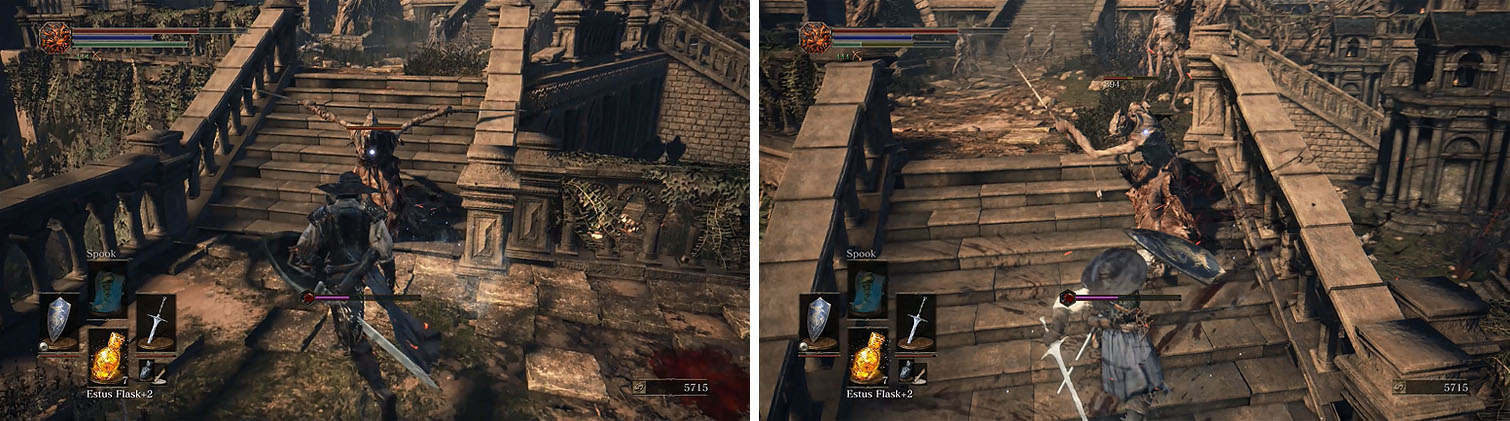
Grave Wardens are fast and agile, but they are are easy to interrupt with a combo.
Wade through the Reanimated Corpses and take the stairs on the right to the lower section with more Infected Corpses. There is a white birch tree here, meaning the Giant will strike the enemies if you befriended him earlier, but if he’s dead you’ll need fight them on your own.
Check the area for an Undead Bone Shard , Repair Powder x3 , Large Soul of an Unknown Traveler x2 , and Young White Branch x2 and then return up the stairs and take the stairs on the right.
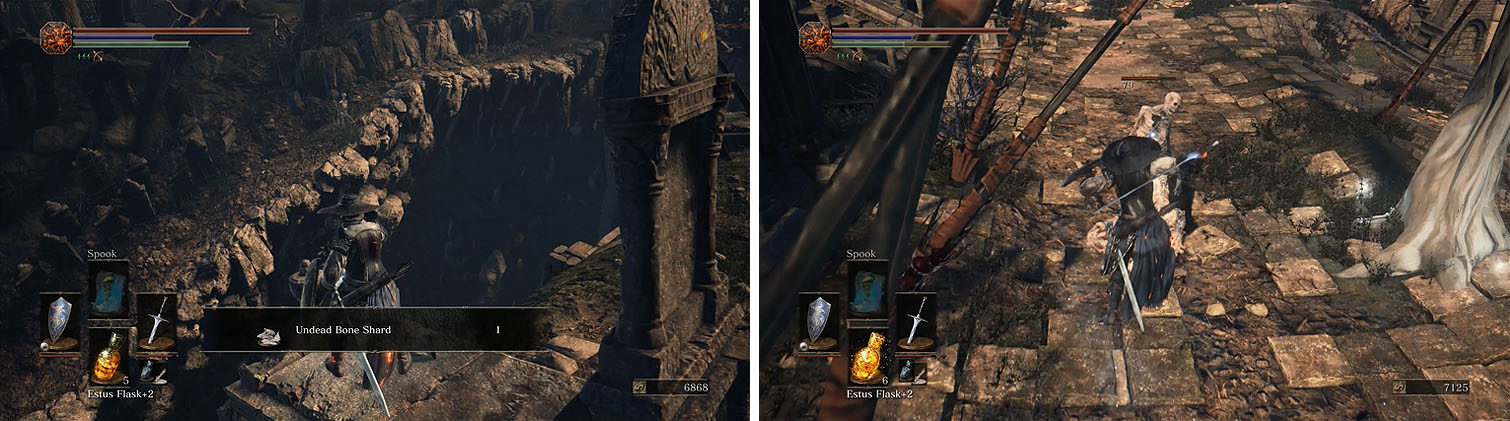
Wade through the enemies of the lower courtyard for an Undead Bone Shard.
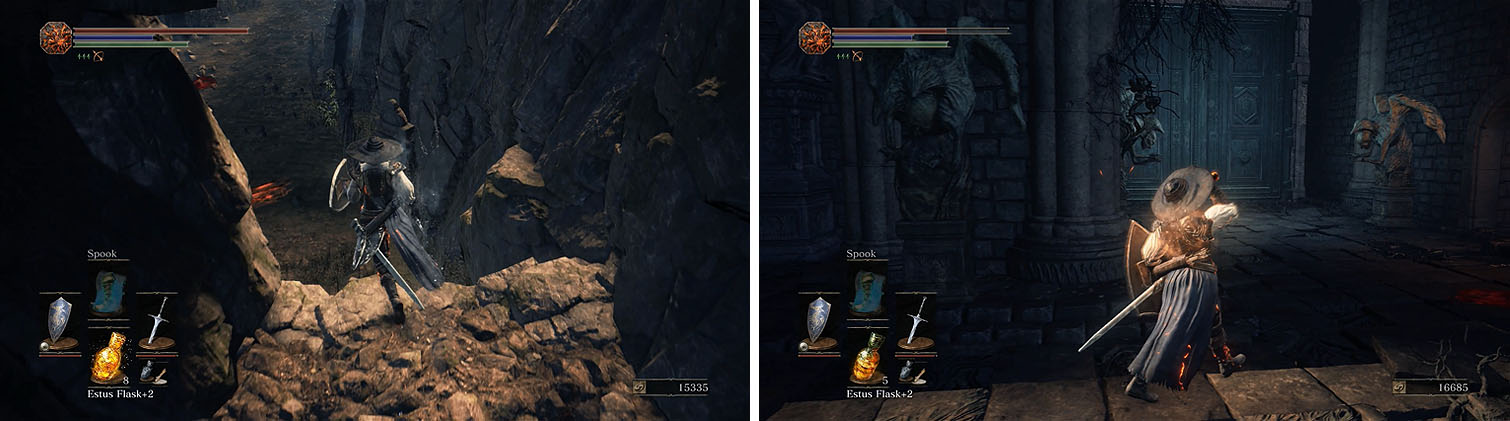
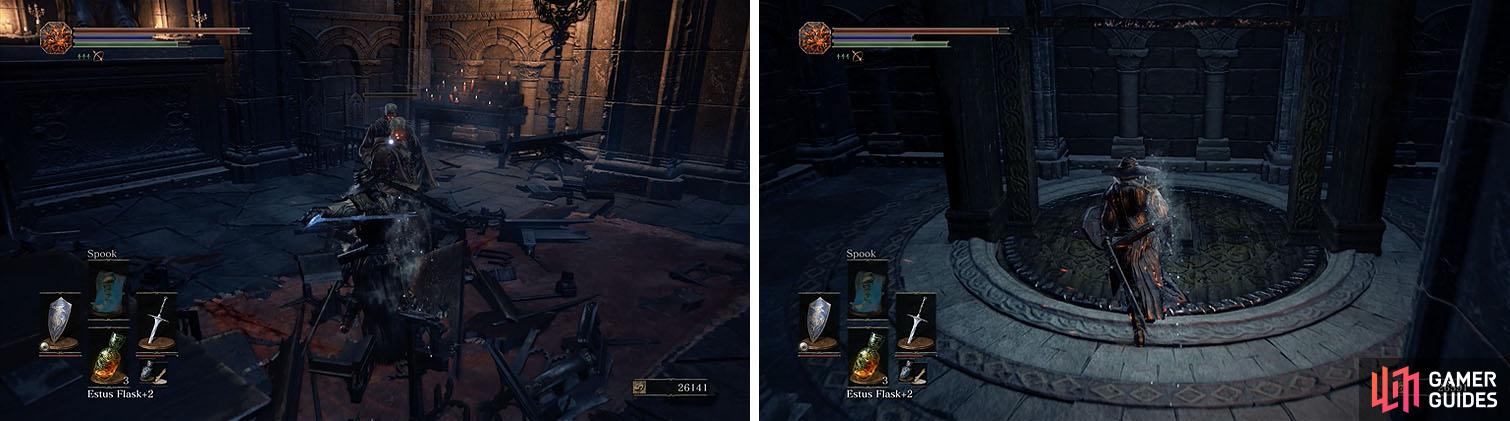
Take the path to the right to reach a mausoleum and check around the side for a Titanite Shard and then head inside to grab the Curse Ward Greatshield . You can now head downstairs to kick a ladder down and create a shortcut.
Head down and exit the mausoleum into the riverbed below and watch out for the Corpse-grub to the right. These enemies are massive and do Bleeding like the other maggot-like corpses, but they are also extremely weak to fire. Equip some Firebombs and toss them at their feet to easily defeat them from range.

The ladder at the bottom of the mausoleum creates a shortcut to the riverbed.
Follow the path to a Saint-tree Bellvine and then head up the stairs and turn around to find a Titanite Shard . The Crystal Lizard straight ahead has a Twinkling Titanite and you’ll find another Crystal Lizard ( Twinkling Titanite ) around the corner.
Take the stairs next to the building to find a Titanite Shard at the end and then head toward the blue crystals. These hide a Ravenous Crystal Lizard that you can defeat for a Titanite Scale and if you walk between the two building you’ll find a hidden area with another Corpse-grub and the Poisonbite Ring .
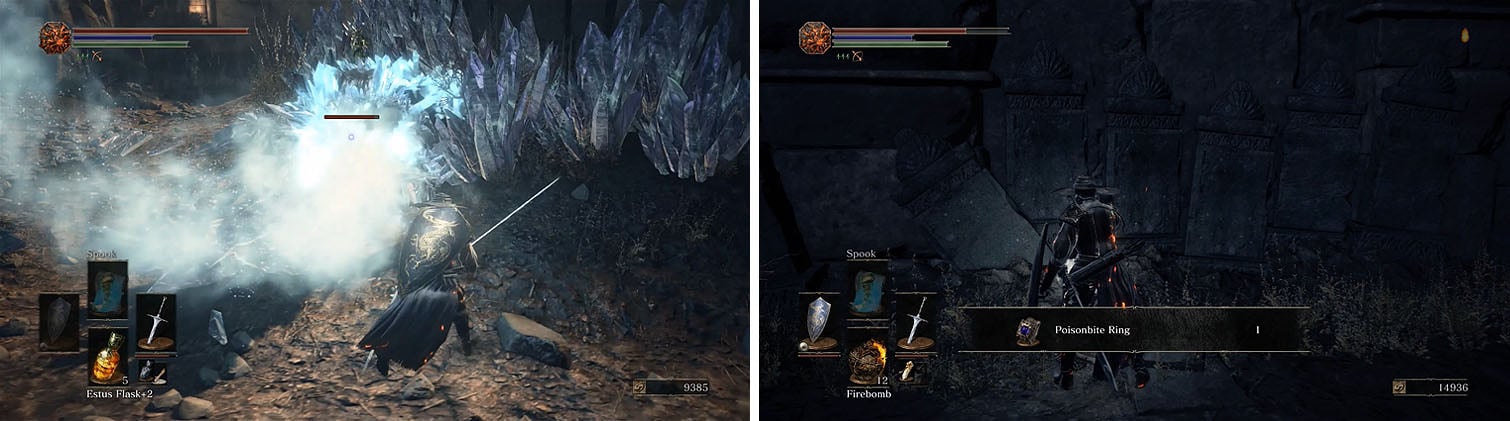
Behind the Ravenous Crystal Lizard is a hidden area with the Poisonbite Ring.
You can now head back out and take the stairs straight ahead, dropping through the window with a Titanite Shard to return to the Cleansing Chapel.
To return to the mausoleum ladder, exit the chapel and turn right at the obelisk to find some ledges that lead into the riverbed. You can now climb the ladder in the mausoleum and head straight up the stairs to reach the main doors of the cathedral.
Drop off the ledge near the chapel to reach the riverbed and then use the ladder to reach the main entrance of the cathedral.
Check the left side of the cathedral for Rusted Coin x2 and then head through the arches to the right of the doors to grab a Red Bug Pellet .
Straight ahead is a Devout with a crossbow and in the area below is three more Devouts: one walking around with a shield, one hiding to the right of the stairs, and another hanging off the ledge to the left.
Head down the buttress and check behind the pillar for a Devout and then continue forward up the other path. Defeat the Devout on the rooftop and start to walk right, but watch behind you for a Hollow Slave that drops down to attack you from behind.
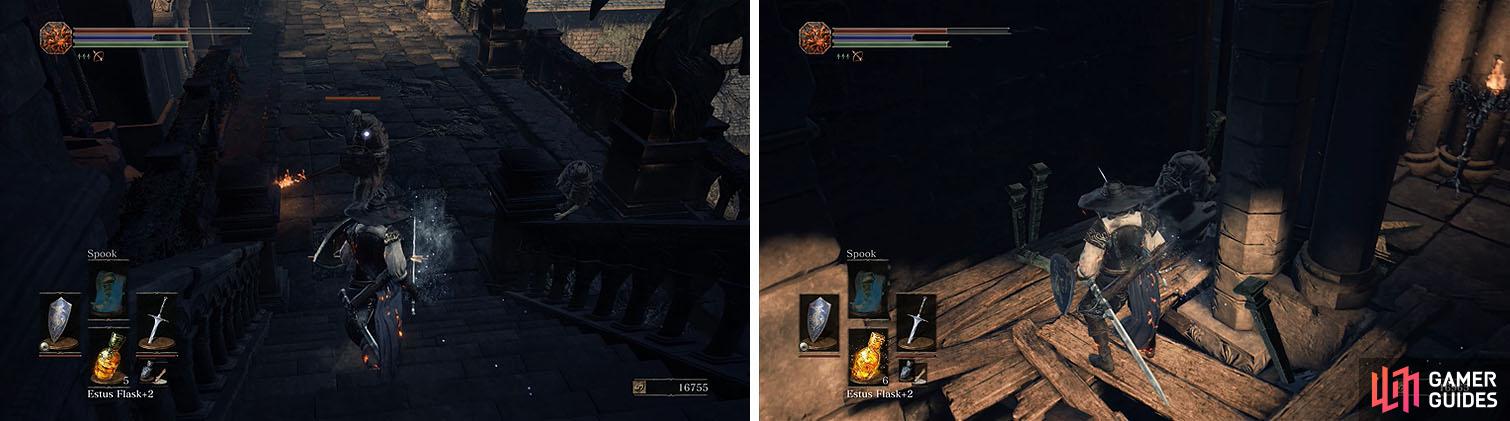
Make your way to the rooftops, defeating the Devouts around the corners.
There are two more Hollow Slaves ahead and when you walk onto the balcony to collect the Large Soul of an Unknown Traveler you’ll be ambushed by some Devouts hanging off the railings.
Make your way across the roof and then rush down the buttress to deal with the three Devouts with crossbows, as well as a Devout carrying a spear and shield.
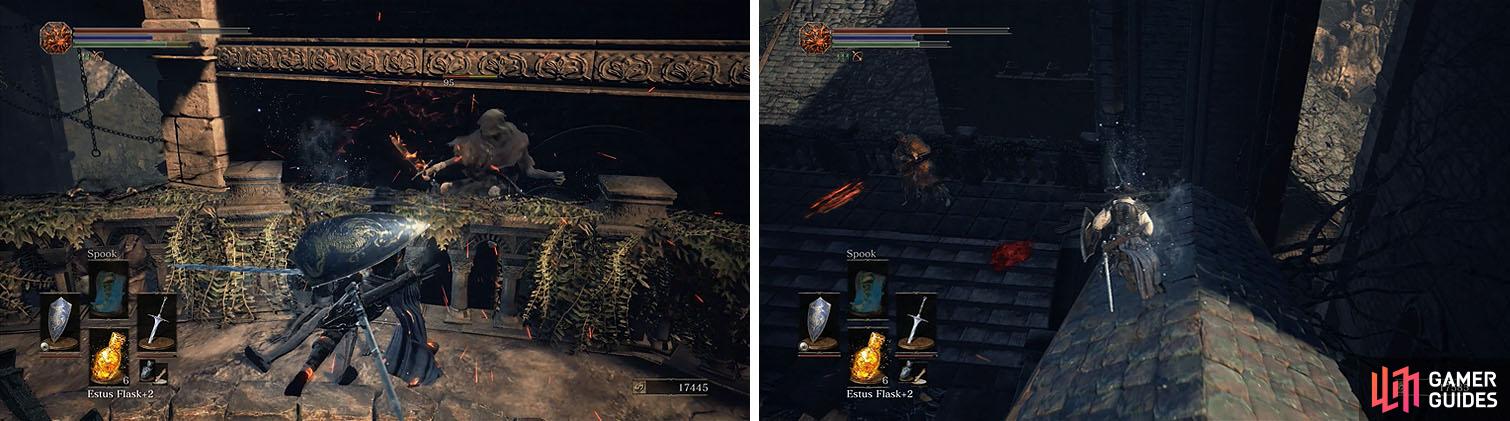
The devouts try and ambush you when you pick up the soul (left) and when you rush down the buttress try to avoid the fire bolts from the two crossbows (right).
From the buttress you can spot an area beneath the balcony with multiple Devouts and a Cathedral Evangelist, easily dealt with by using your bow, and then walk up the stairs and take a left to collect the Undead Hunter Charm x3 .
Head back toward the stairs and walk toward the corpse, but roll back immediately to deal with the two Hollow Slaves before picking up the Red Bug Pellet x3 .
Head down the stairs and try to lure the Large Devout of the Deep back before you fight it, since there is an ambush ahead. Once clear, enter the building with your shield up to find a Hollow Slave and then two more will drop from above.
Watch out for the ambush by Hollow Slaves that drop from the rooftops.
Back up so you have room to maneuver to defeat all three of the enemies and then enter the building again to kill another Hollow Slave that drops down after picking up the Soul of a Nameless Soldier .
Continue toward the Devouts on the steps and deal with them, but try to avoid the projectiles that disable Estus Flasks from the Devout on the left.
The next area has a Cathedral Grave Warden patrolling the area and another that comes down the stairs, so fighting in the open is a bad idea. Pull the Cathedral Grave Warden back to defeat him without the concern of another joining the fight and then defeat the second when it comes down the stairs.
Watch out for the devout that tosses pots that disables your Estus Flasks (left) and then pull the Grave Warden from the area straight ahead (right).
You can now head up the stairs and kill the two Devouts making their way toward you and then use your bow to deal with the large group of Devouts praying at the back of the area.
With the majority dead, head forward and kill the Large Devout of the Deep with a greataxe to the left of the Ember and then deal with another Devout that was hanging off the railing.
Head through the double doors and take the tunnel with a Writhing Rotten Flesh, which extremely weak to fire and posses little threat, and then pick up the Duel Charm and enter the room with some Deacons of the Deep. These enemies are extremely weak and focus on ranged fireballs, so rush in to defeat them and pass through the room to find a lift that leads back to the Cleansing Chapel.
Past the Deacons is a lift that unlocks a shortcut to the Cleansing Chapel.
No Comments