You’ll automatically be teleported to the next bonfire, but after activating it you should travel to the previous bonfire.
Enter the area where you first encountered the Ancient Wyvern and collect the Large Soul of a Weary Warrior and then turn right and head down another set of stairs. Grab the Ember x2 and Stalk Dung Pie x6 and then walk around the destroyed railing on the right, following the narrow ledge to the Ring of Steel Protection .
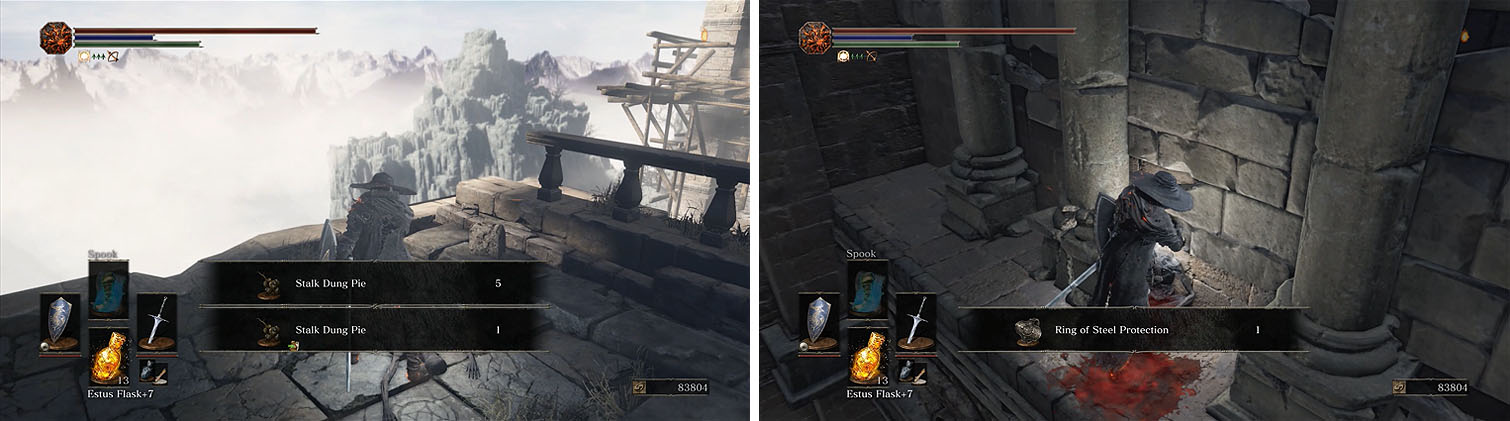
The broken railing near the Stalk Dung Pie leads to the Ring of Steel Protection.
Head back up the stairs and grab the Large Soul of a Nameless Soldier and Lightning Urn x4 outside the building straight ahead and then enter to find three Serpent-men. If you’re lucky you might be able to pull one of the three back individually, but if you end up with all three you can use ranged attacks.
Enter the next building and rush the fireball spewing Serpent-man on the left before you grab the Titanite Chunk and then enter the only window not barred over to find a ladder leading to Twinkling Titanite x2 .
You can now head back up the ladder and take the stairs, but roll back as soon as you head through the arch at the end because two Serpent-men will drop from above in an attempt to ambush you while you pick up the Dung Pie x3 .
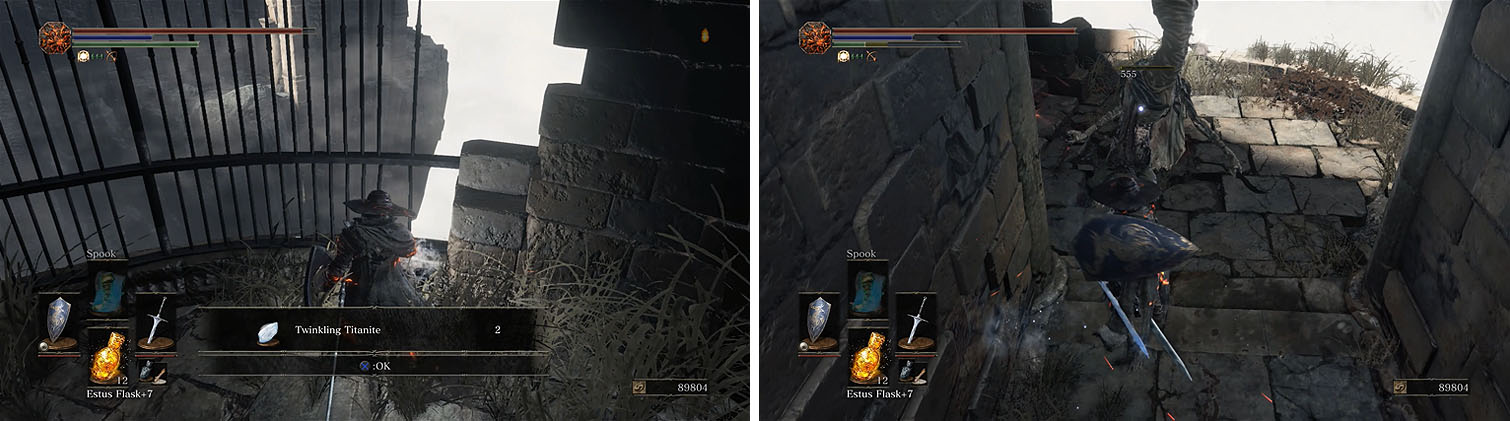
Don’t miss the Twinkling Titanite before you head up the stairs for an ambush.
Take the next set of stairs to encounter a shielded Serpent-man and then hold up your shield as you continue forward to block the charging attack of the next Serpent-man.
Enter the archway and circle upstairs to the top of the tower with a Large Serpent-man, which you’ll want to fight in the middle of the area to avoid another enemy nearby from joining the fight. You can now kill the two Serpent-men remaining on the roof and grab the Titanite Chunk x2 and Lightning Bolts .
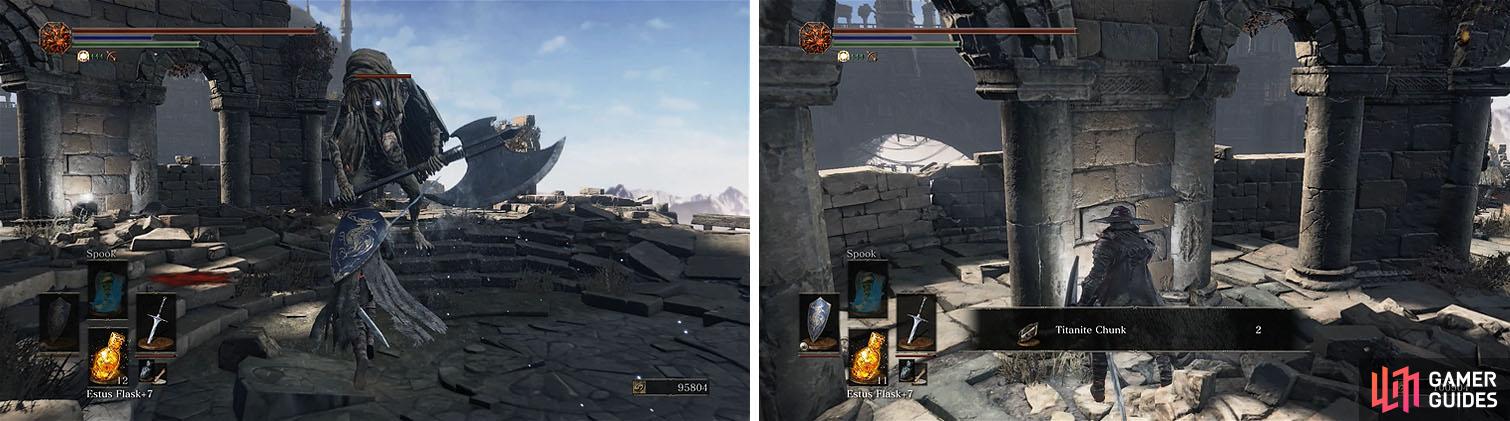
Fight the Large Serpent-man on the roof, away from the other enemies, and then collect the Titanite Chunks.
From the roof you can use ranged attacks on the Serpent-man standing in front of the larger version across the way, since it will spew fireballs at you if you wait until you’re trying to fight the Large Serpent-man. Make sure to pull the larger version down the stairs before you fight it and then head up the stairs and fight off the final Serpent-man near the ladder.
You can now take the ladder, drop onto the platform on the other side, and take the other ladder to Twinkling Titanite x2 . Use a Homeward Bone to return to Firelink Shrine or the previous bonfire and then teleport to the second bonfire.
There is another Large Serpent-man on the bridge (left) and if you head back up the ladder you can get the Twinkling Titanite at the end (right).
There is a Serpent-man Summoner in the area next to the bonfire and when you hear the chime the summoner will call the aid of a champion. There are three different versions of champions that can be spawned:
- A heavy armor version with a great club that is identical to Havel
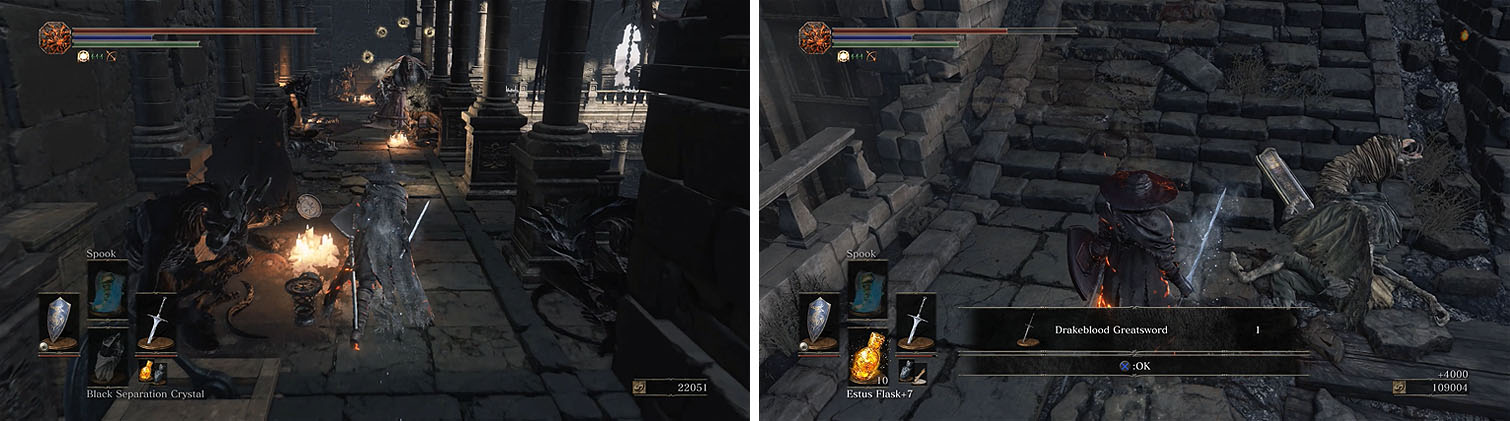
- A medium armored version that drops the Drakeblood Greatsword
- A nearly naked version that drops the Ricard’s Rapier
The summoner will continue to spawn the champion over and over again until you defeat it, making them your first priority.
Enter the room and stand on the stairs until you see the circular summon symbol, making sure the champion spawns on the first floor, and the rush upstairs and circle back around the stairs to kill the summoner who tries to protect itself with some homing dark orbs.
Kill the summoner before you defeat the champion, since he’ll just respawn.
If you’re facing the stairs from the summoner’s location you can find a lift to the right that leads down toward the first bonfire and an archway. Enter the arch and then roll backwards to avoid an ambush from two Serpent-men and then defeat them to collect the Titanite Scale outside.
Downstairs, defeat the champion that was summoned and then use the Path of the Dragon gesture between the two statues to obtain the Calamity Ring .
Exit the doorway behind you and head up the stairs and attack the Rock Lizard to the right, which likes to charge with its head when it isn’t breathing fire, and then pick up the Titanite Scale x2 . This will dump you back upstairs near a Soul of a Crestfallen Knight that you can grab before leaving the area and examining the closed gate for a Dragonslayer Spear .
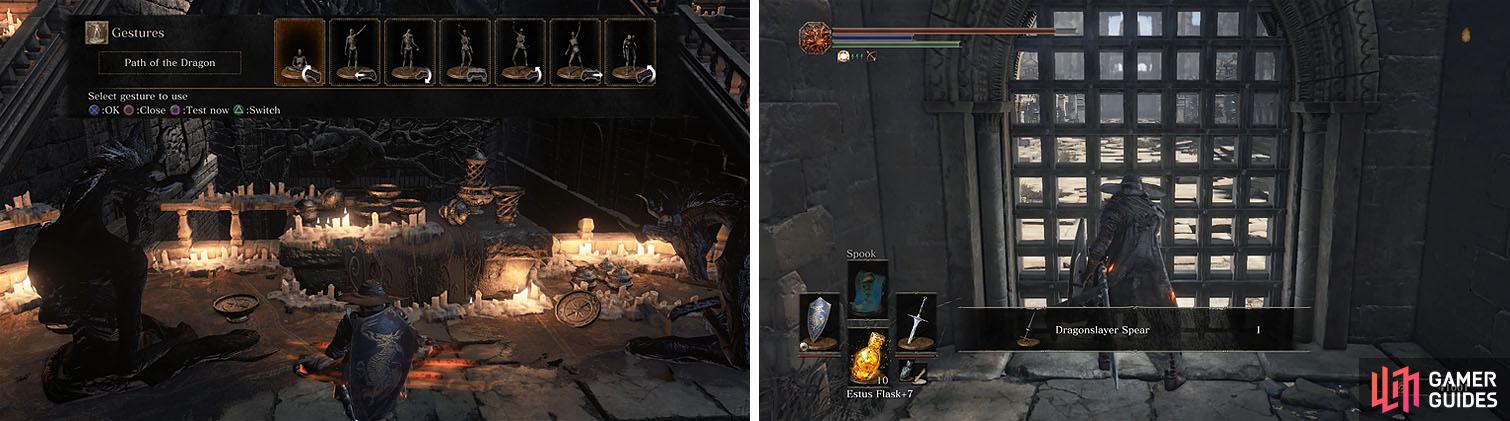
Use the Path of the Dragon gesture to obtain the Calamity Ring (left) and don’t miss the Dragonslayer Spear as you leave the area (right).
Head down the stairs and note the two shielded Serpent-men straight ahead, but what you want to watch out for is the one hiding in the second alcove on the left.
Lure the enemies with greatshields to attacks before you strike to get past their guard and then continue forward, stopping before you enter the room to spot two more Serpent-men hiding by the pillars. Use ranged attacks to pull each of the over and then look over the ledge to the right to spot another enemy.

There’s a group of Serpent-men ahead, so lure each of them individually.
Take the stairs and climb the ladder on the back of the nearest pillar to grab the Thunder Stoneplate Ring and then head back down to deal with the Large Serpent-man near the wooden walkway.
Cross to the other side and rush into the building to kill a Crystal Lizard ( Twinkling Titanite x3 ) and then check the balcony for a chest with Titanite Scale x3 .
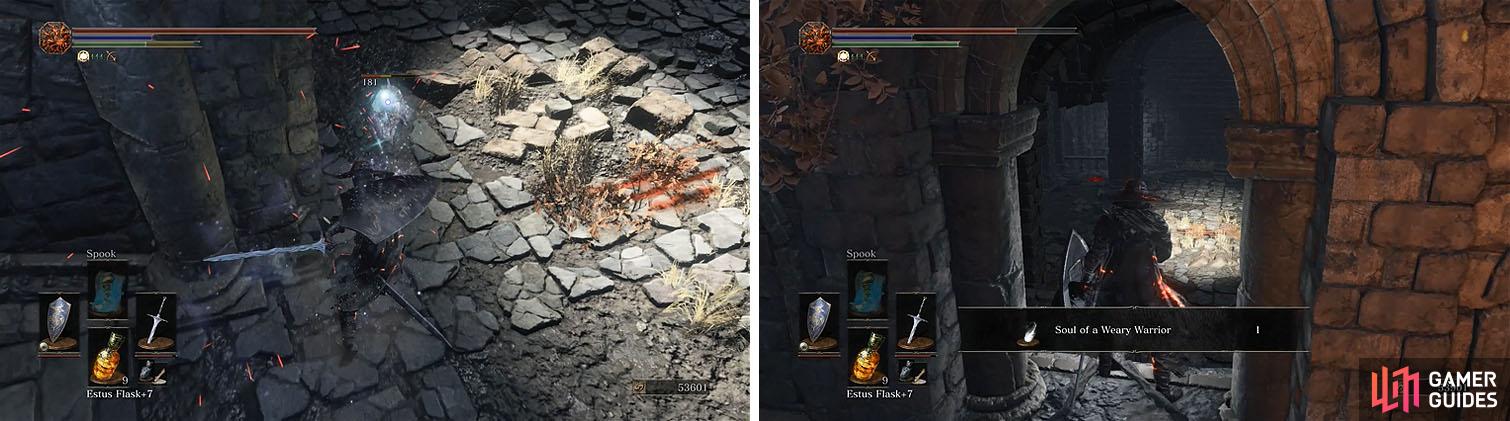
There are two Rock Lizards outside that you’ll need to kill and then head up the stairs until another wyvern swoops in and turn around, grabbing the Soul of a Weary Warrior as you drop through the window back into the building.
Rush the Crystal Lizard and then exit the building and grab the soul in the window.
Wait for the wyvern to move to the nearby tower and shoot it with an arrow to make it fly off and then head back outside.
You’ll notice that the wyvern has taken position high above on another tower, but this time when you fire an arrow it will remain in its current position. You can easily snipe through the majority of the wyverns health with no retaliation until it is well below a third of its life and then it will swoop back down to your location.
Drop through the window into the building again and then walk outside and peek around the corner just enough to fire arrow at the wyvern’s wing for the remainder of its life to obtain Titanite Chunk x6 , Titanite Scale x3 , and Twinkling Titanite x3 .
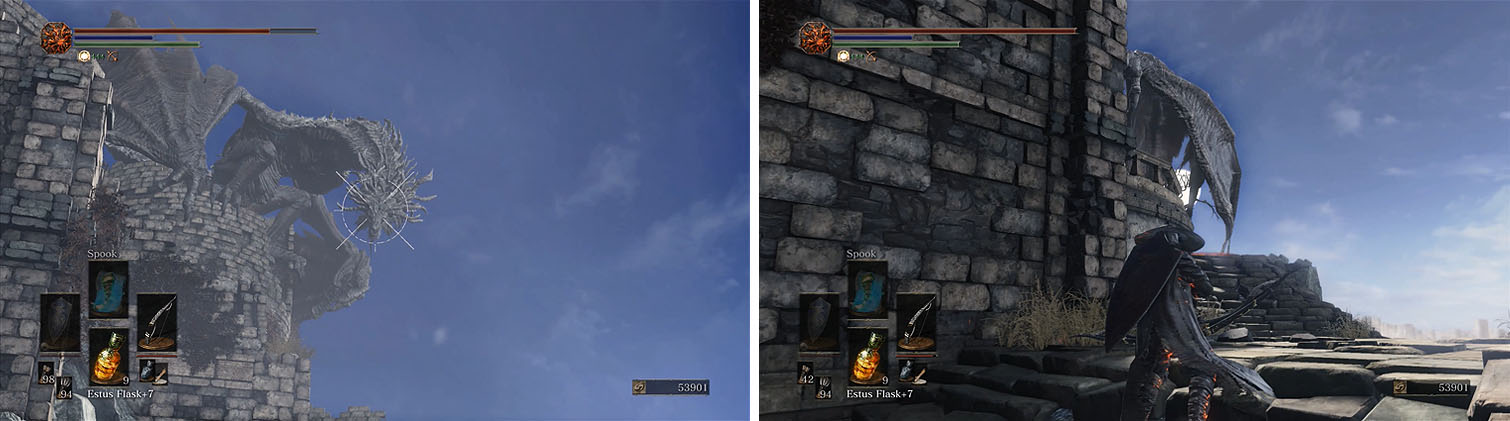
Use ranged attacks while the wyvern is on the tower (left) and when it swoops down you can fire on the wing of the wyvern (right).
Slowly make your way up the stairs since to encounter a few Rock Lizards and then enter the building and follow the path to a room with a Serpent-man Summoner.
Wait for the champion to be summoned, since this is usually the one that drops Ricard’s Rapier, and then use ranged attacks to defeat the summoner. You can now take the stairs and turn left, noting the large bell to the left, and then activate the bonfire straight ahead.
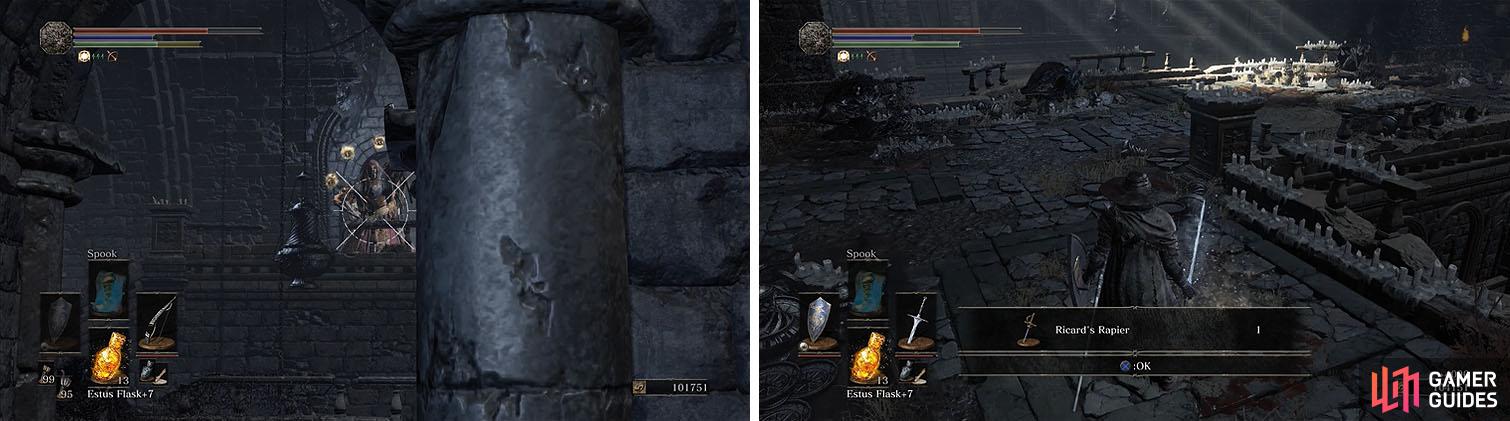
Attack the summoner with a ranged weapon and then defeat the champion.
Head down the stairs and pull the Serpent-man behind the wall where you can defeat it without having fireballs shooting at you and then kill the other Serpent-man.
Collect the Large Soul of a Crestfallen Knight from the center of the area and then head up the stairs nearby and attack the Rock Lizard near the ladder before opening the chest with Twinkling Titanite x3 .

Kill the Serpent-men in the courtyard and check the opposite stairs for a chest.
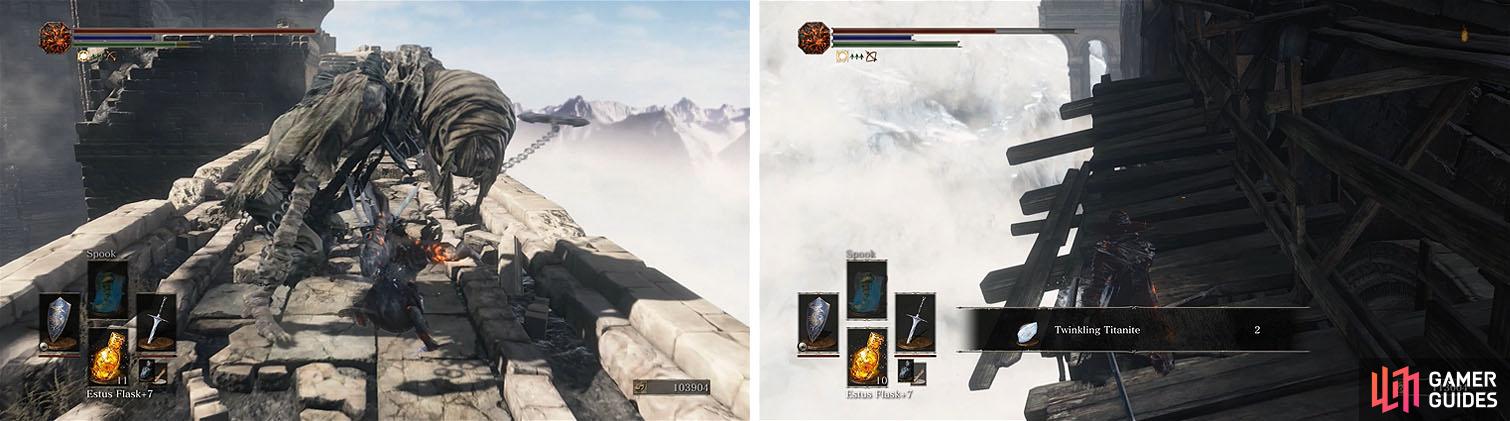
The ladder leads up to the corpse of a dragon with Havel facing away from you, so sneak up behind him and start the fight with a backstab.
Havel has a large HP pool and high poise that’ll allow him to strike through your attacks with his own deadly attacks. Don’t take him on in an face-to-face exchange and wait for her to perform an attack before you even consider attacking him.
If you want to be extra safe you can easily defeat Havel with ranged attacks, since he is slow and has attacks that are heavily telegraphed.
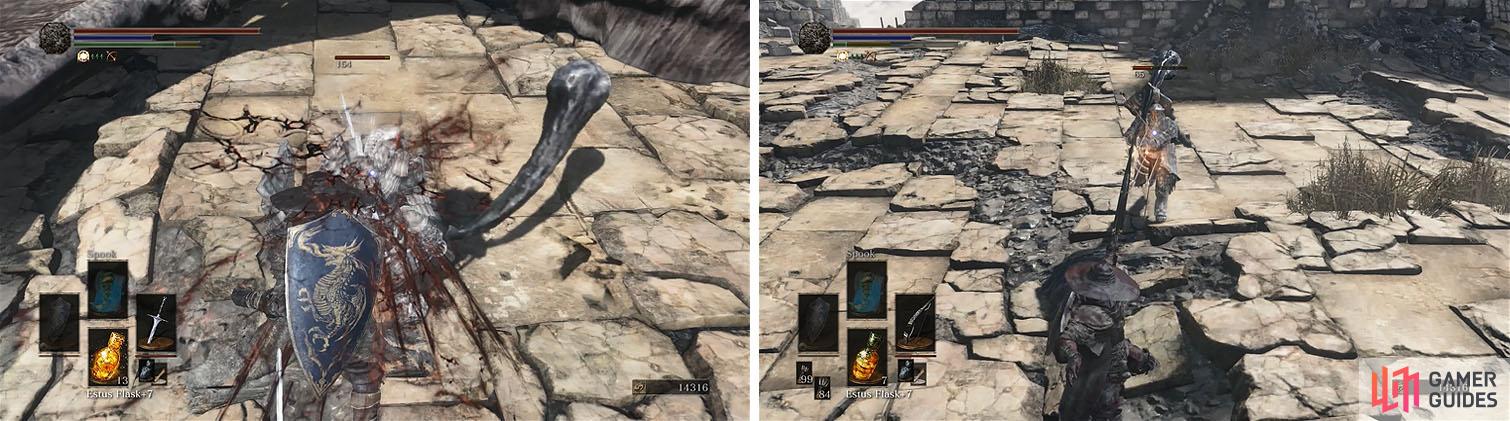
Backstab Havel to start the fight and then back up and lure Havel to attack. If you want to stay extra safe, use ranged attacks and keep a good distance away.
After defeating Havel you can collect the Dragon Tooth , Havel’s Greatshield , and Titanite Slab , but don’t leave the roof just yet. Face the ladder to gain some bearing and then head to the right wall to find a gap that drops you onto a ledge with the Great Magic Barrier spell.
Return to the bonfire and exit down the stairs again and continue south this time to encounter a large number of Serpent-men and Large Serpent-men. Back up and try to pull each of them individually to fight them on the stairs leading to the bonfire.
If you are having a lot of difficulty you can actually summon Hawkwood near the bonfire if you’re embered.
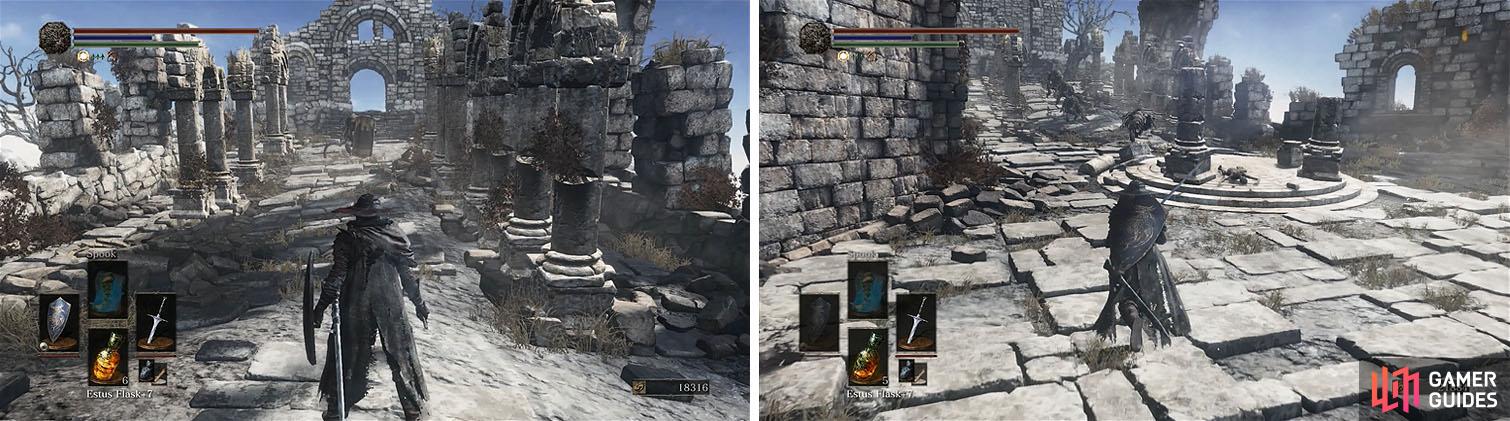
When you approach the area to the south (left) a large number of standard and Large Serpent-men will exit the ruins (right).
Once all of the enemies are clear head toward the ruins and check to the left of the building for a Rock Lizard guarding the Dragon Chaser’s Ashes . You can now head through the ruins to the peak and perform the Path of the Dragon gesture to obtain the Twinkling Dragon Torso Stone .
No Comments