Travel to the Dancer of the Boreal Valley bonfire and climb the ladder again, taking the left path to reach the Consumed King’s Garden. Enter the building on the right once again and this time take the lift to the top instead of rolling off halfway.
Collect the Titanite Scale on the base floor before taking the stairs to encounter a few Hollow Slaves and then head up another set of stairs to kill the Lothric Priests. You can now grab the Titanite Chunk and open the door to return to the entrance.
Head back through the Consumed King’s Garden to a side room with a Titanite Scale and some Lothric Priests.
This time enter the room across from the ladder to find a Lothric Knight and Lothric Priest and make sure to rush the priest before it provides buffs to the Lothric Knight. These are the same version you fought in High Wall of Lothric, with some added health, so you shouldn’t have too much trouble with them.
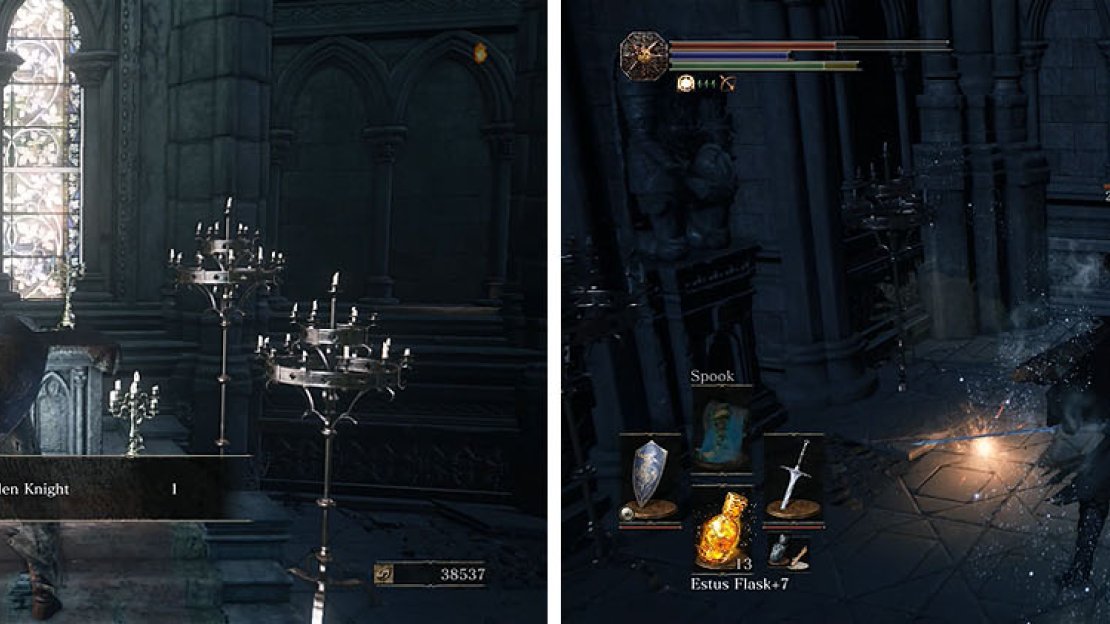
Collect the Soul of a Crestfallen Knight from the altar and enter the next room, waiting at the base of the stairs for another Lothric Knight. Back up into the previous room to fight it where the Lothric Priest can’t buff it.
You can now take the stairs and kill the Lothric Priest hidden in the small alcove and then defeat the Lothric Knight further down the hall before you activate the bonfire.
Grab the soul on the altar and then enter the adjacent room and kill the Lothric Knight, followed by the Lothric Priest in the corner.
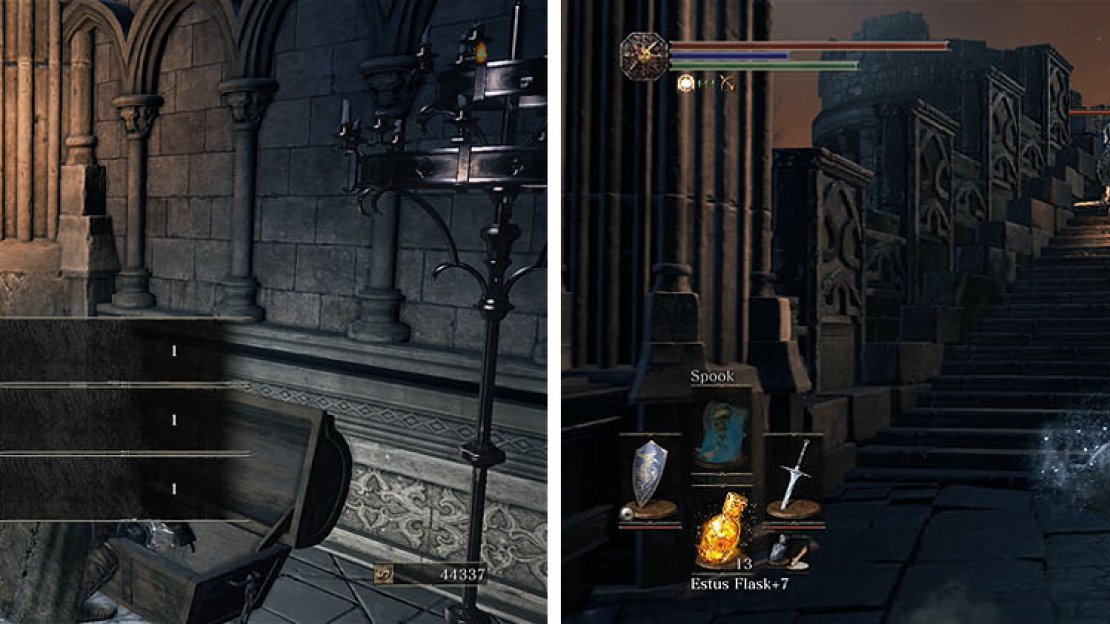
Exit the opposite side of the bonfire room to open the chest for the Armor of Prayer Set and then grab the Titanite Chunk near the railing.
Head up the stairs to encounter a group of Hollow Soldiers and focus on the ones with crossbows first and then take the stairs down to find a Titanite Chunk . There are some more Hollow Soldiers hanging on the railing that’ll try and ambush you when you pick up the chunk, so finish them and then head back up the stairs to enter the nearby building.
Don’t miss the armor set and then defeat the numerous Hollow Soldiers beyond.
If you look up you’ll notice a Winged Knight above, who will drop down when you pick up the Twinkling Titanite straight ahead.
These enemies use quick attacks and have high poise that make them hard to stagger, but you can easily avoid their attacks by rolling into them. It’s also possible to backstab the Winged Knights if you get behind them, but don’t focus on this and just try to get in a hit or two before rolling to avoid their attacks.
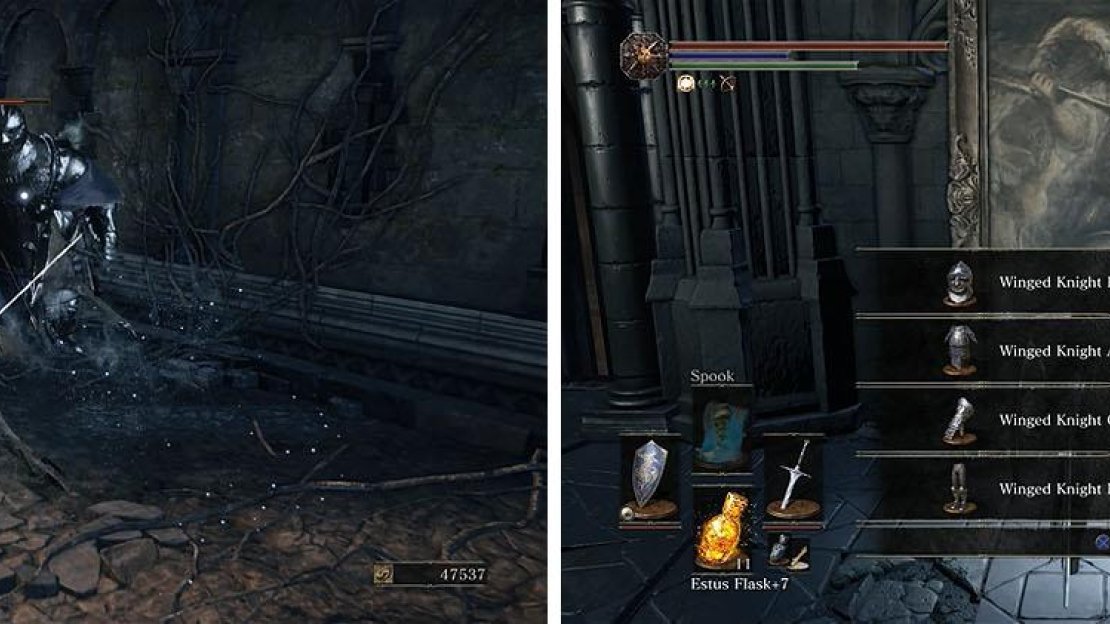
You can now enter the building and climb the ladder and then strike the wall to reveal a hidden path with the Winged Knight Armor Set and Sacred Bloom Shield .
The Winged Knight guards its own armor set upstairs, hidden behind a fake wall.
Drop back down into the area with the Hollow Soldiers and continue up the stairs to encounter more soldiers. Stop at the base of the stairs and look up to spot a Hollow Soldier high above that throws pots to prevent the use of Estus Flasks and used ranged attacks to deal with him before you move forward and atatck the crossbow soldiers on the right.
You can now collect the Large Soul of a Weary Warrior and Titanite Chunk x2 and then head up the stairs and activate the bonfire to the left near an Ember .
There are more Hollow Soldiers on the ledges above and the stairs ahead.
Head up the large set of stairs and ignore the bridge for now and attack the Lothric Knight on the opposite side of the area, near the Greatlance .
As you cross the bridge a second wyvern will swoop in and take position on the left building. Back up and stand to the left or right of the stairs and use the wall as cover and defeat either of the wyverns to stop them both.
You can now cross the bridge and check the courtyard for Lightning Urn x6 , Ember x2 , and Refined Gem .
From behind the wall you can use ranged attacks to defeat both wyverns sefely.
Backtrack to the bridge and drop down onto the ledge closest to the wyverns for an Undead Bone Shard and then drop down and check the dead end to the right, rushing the Pus of Man to kill him before he transforms. Collect the Twinkling Titanite x2 and Titanite Chunk x2 and then kill another Pus of Man before it transforms on the left.
You can now enter the building and break the crates to reveal Lightning Urn x3 and then exit the other side and kill the Crystal Lizard ( Twinkling Titanite x2 ).
Don’t allow the Pus of Man to fully transform (left) and then head through the building and ruch the Crystal Lizard (right).
There’s a single Hollow Assassin in this alley, but as you walk forward a number of them will drop down and ambush you. Rush through to the other side and turn around to defeat the assassins and then pick up the Large Soul of a Nameless Soldier .
Head up the stairs to encounter a Wined Knight with a halberd that he uses to spin in multiple 360 degree circles in an attempt to mow you down. Back down the stairs to force the Winged Knight to come down on your side and then back up down the alley.
This’ll give you more room to maneuver or you can run past the Winged Knight and head back up the stairs, since he’ll often get stuck on the stairs trying to spin attack you while you perform ranged attacks.
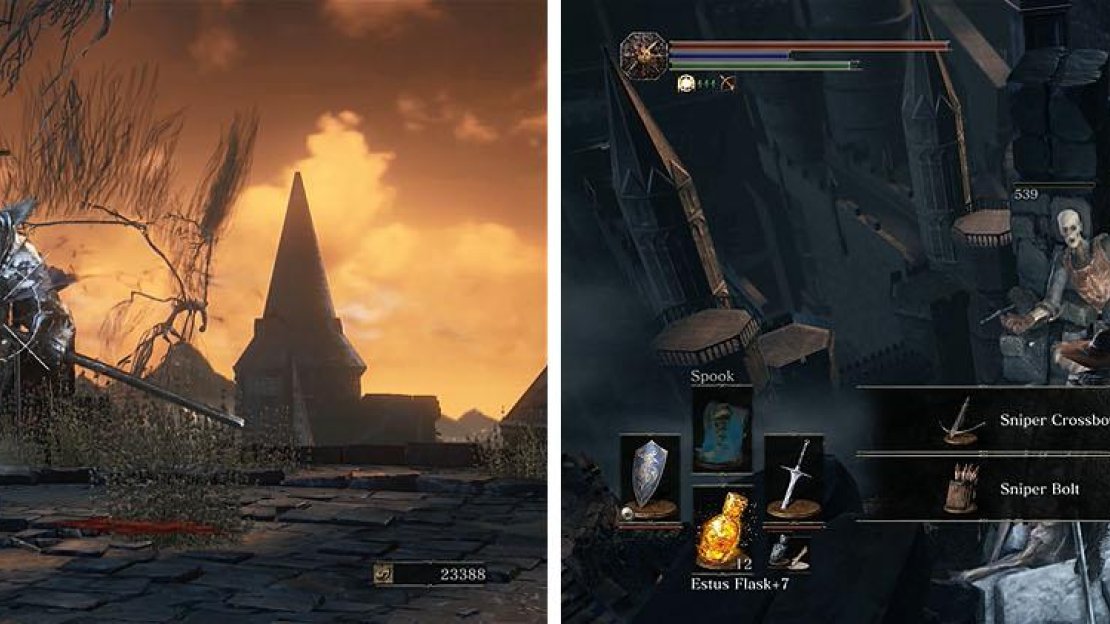
You can now check the area where the Winged Knight entered for a Sniper Crossbow and some Sniper Bolts and then head back toward the alley and turn left to drop down and return to the bonfire.
Another Winged Knight is ahead, so proceed with caution (left). On the other side, collect the crossbow and bolts (right).
Head back up to the bridge and this time drop onto the ledge on the bonfire’s side for a Titanite Chunk . Follow the ledge to a set of stairs leading to a courtyard with a crossbow Hollow Soldier, which you can defeat before you enter the courtyard, and then deal with the two Large Hollow Soldiers.
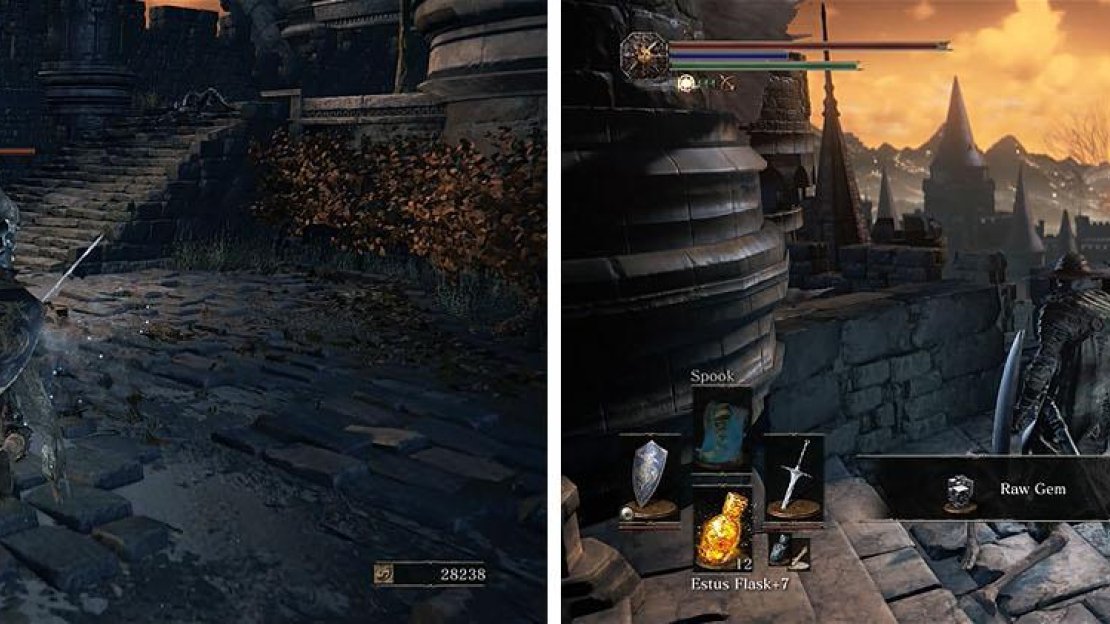
The path straight ahead leads to a dead end with two Lothric Knights, so enter the building on the right to find a Large Soul of a Nameless Soldier and Raw Gem .
Defeat the two Large Hollow Soldiers and then head inside for some more items.
The stairs lead down to a cellar with a Boreal Outrider Knight that’ll demolish you in the close quarters, so back up the stairs before you fight it.
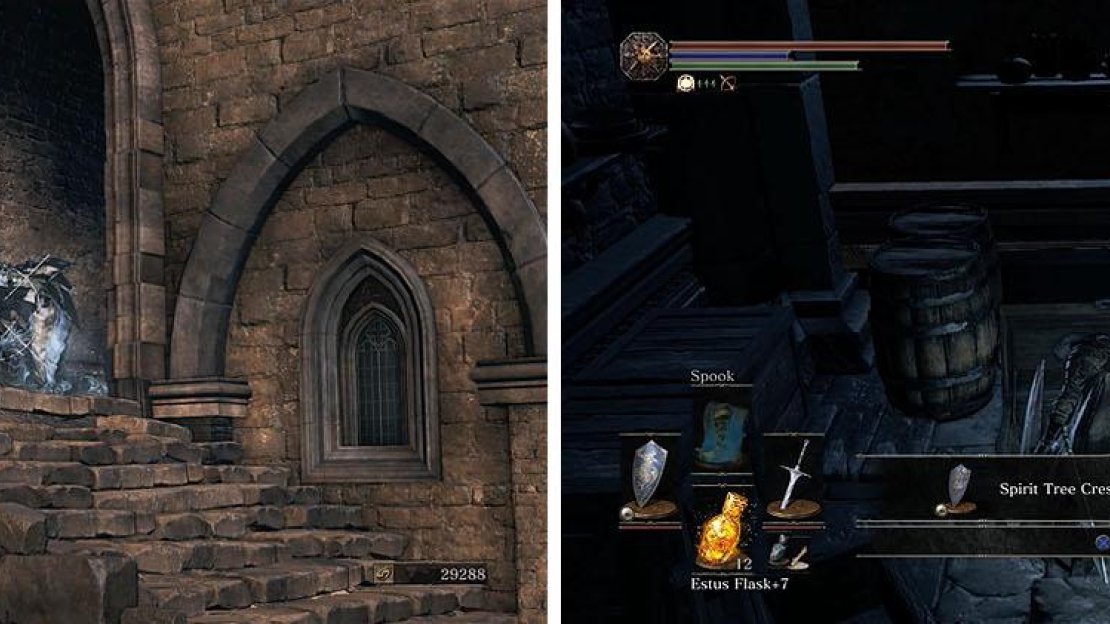
If you don’t want to run the risk of melee combat it is possible to fire a few ranged attacks at the Boreal Knight and then run away until it loses you. Do this a handful of times and you should bring the enemy down to obtain the Irithyll Rapier and then head downstairs to open the chest with Twinkling Titanite x3 , a Titanite Scale , and the Spirit Tree Crest Shield .
Pull the Boreal Knight upstairs so you have more room to maneuver (left) and then head downstairs and open the four chests (right).
Head back upstairs and turn right to return to the courtyard with the dead wyverns and then cross the area to enter another doorway on the opposite side.
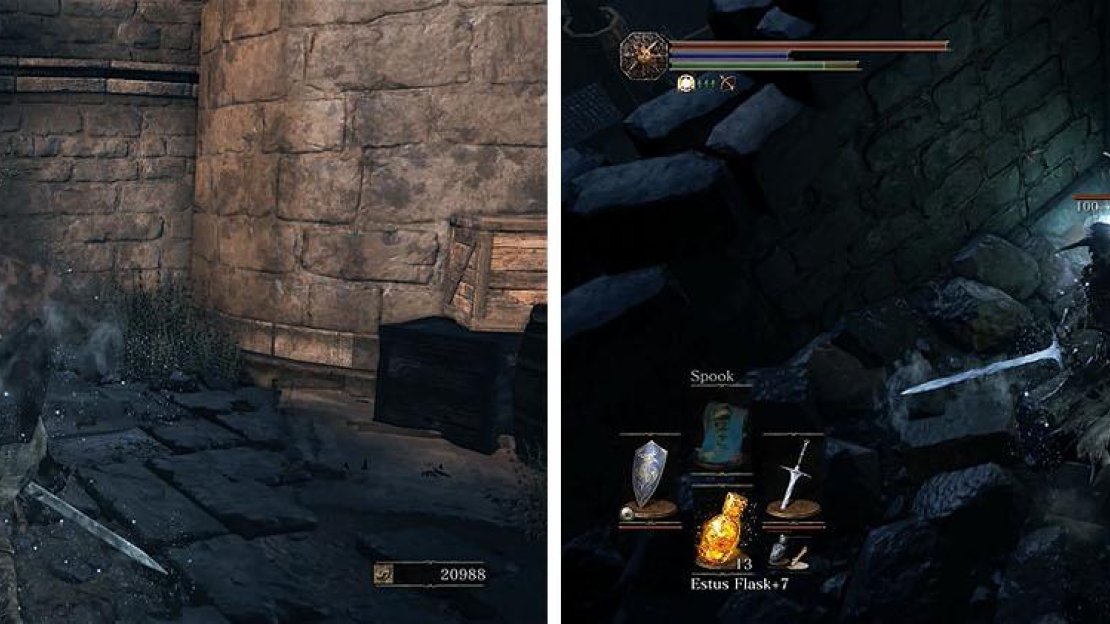
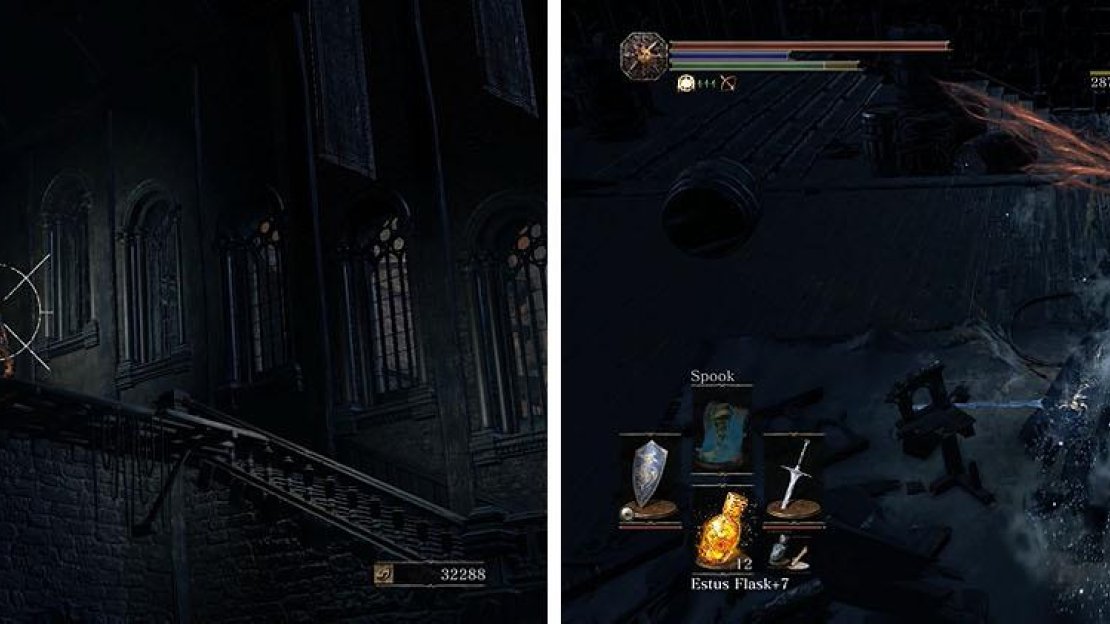
This area is full of explosive barrels with two Hollow Soldiers to the upper left and upper right that toss firebombs at you. Take out the one to the upper left first and then enter the area and roll through the barrels to the left to find Black Firebomb x3 .
You can now kill the hollow hiding nearby and use ranged attacks to deal with the other Hollow Soldier throwing firebombs across the way.
There are hollows preparing to throw firebombs down at you (left) and there are more hollows hiding in the shadows (right).
There is another hollow on the same ledge as the one that was throwing firebombs, hidden in the dark to the left of the ladder straight ahead, and then climb the ladder to collect the Large Soul of a Nameless Soldier .
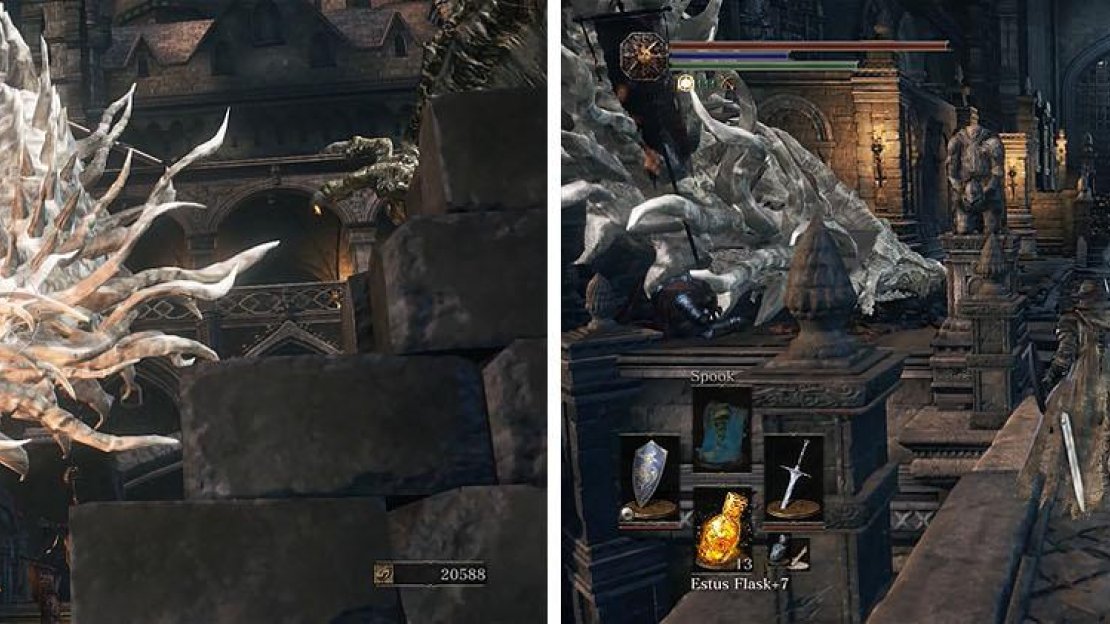
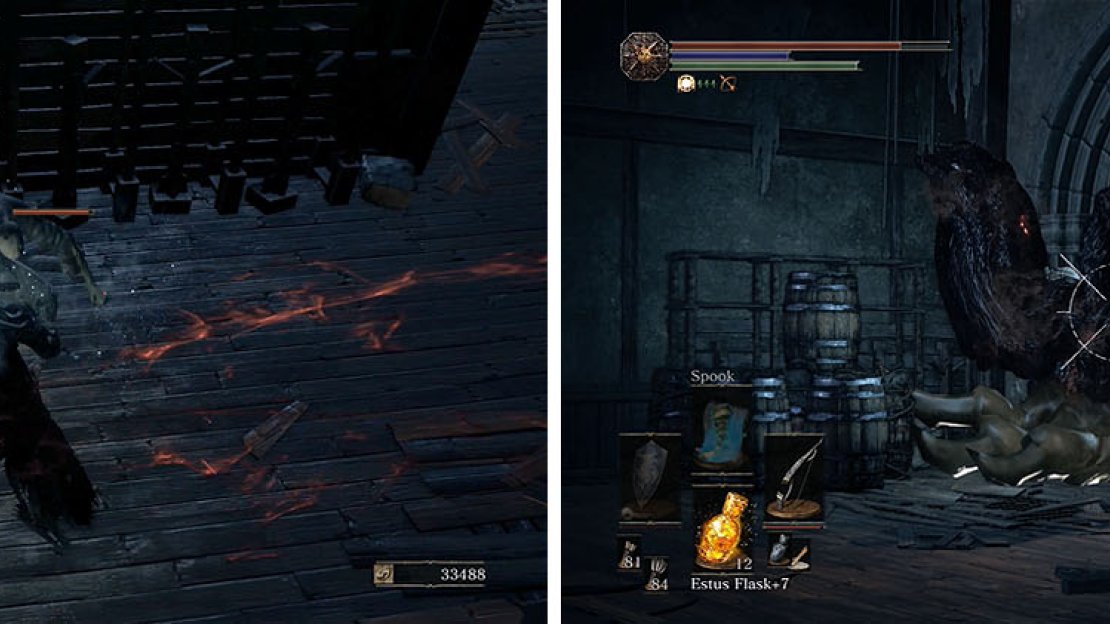
Wait and make sure no more enemies are following you up the ladder and then use ranged attacks to defeat the Pus of Man in the corner. This will cause the corpse of the wyvern to disappear and grant you the Titanite Chunk x2 and Ember x2 .
Deal with any additional hollows before you set your sights on the Pus of Man.
Exit through the arch opposite the Pus of Man to encounter some more Hollow Soldiers and then check the area for a Titanite Chunk and Titanite Scale before heading back inside.
Take the stairs to deal with more Hollow Soldiers before you grab the Pale Pine Resin and then kill the lantern carrying Hollow Soldier entering through the arch on the right. Exit and clear the outside patio of the remaining Hollow Assassins and collect the Titanite Scale and then return inside.
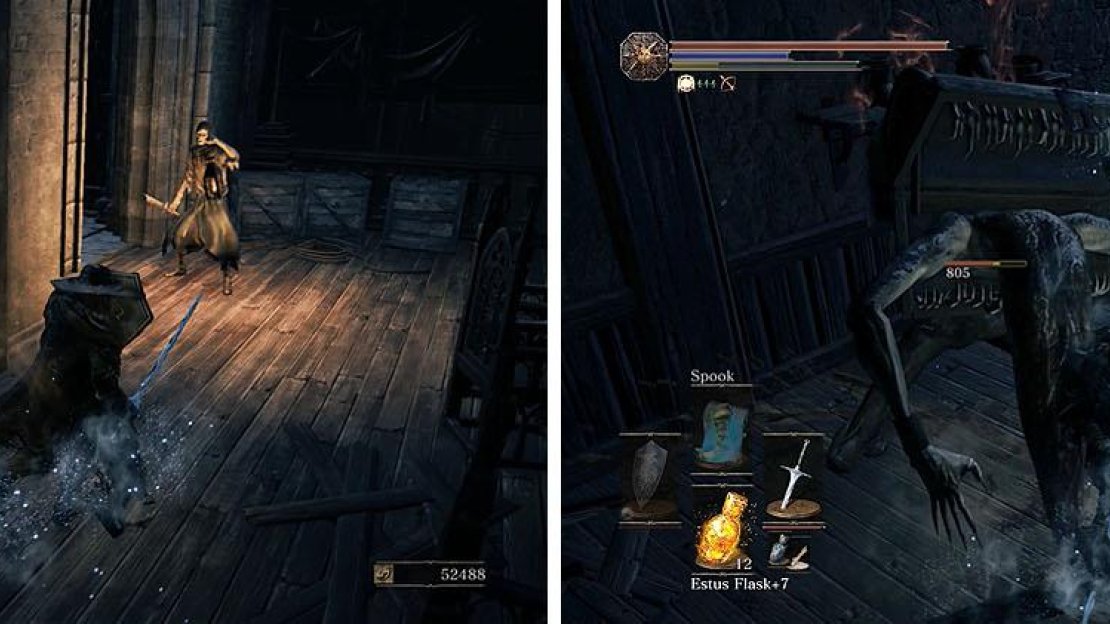
The chest inside is a Mimic with Titanite Scale x3 , so deal with it and then enter the adjacent room and pull the lever to raise the gate and create a shortcut. Stand on the corpse with the Large Soul of a Weary Warrior and use ranged attacks to defeat the Lothric Knight and then drop down and head up the opposite stairs.
Watch out for the Hollow Soldier carrying a lantern and don’t miss the Mimic.
This leads to the courtyard outside the boss arena with a Sunlight Medal next to the lift that create a shortcut back to the beginning of Lothric Castle.
Look away from the lift and then turn left and circle around the building and up the ladder to the rooftop. Defeat the two Hollow Soldiers with crossbows and the Large Hollow Soldier and then drop down to the study for a Knight’s Ring .
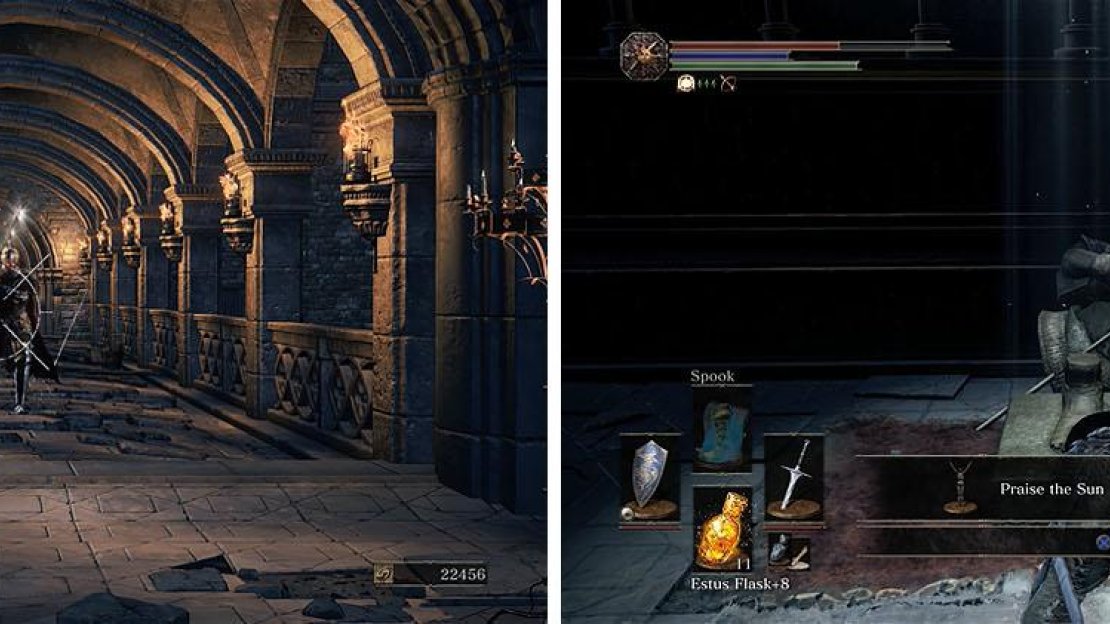
You can now defeat the Lothric Knight down the hall and enter the room to find the Sunlight Altar, which you can examine for the “Praise the Sun” gesture, and then open the chest with Titanite Scale x3 .
The Lothric Knight stands between you and the Sunlight Altar, where you can finally Praise the Sun.
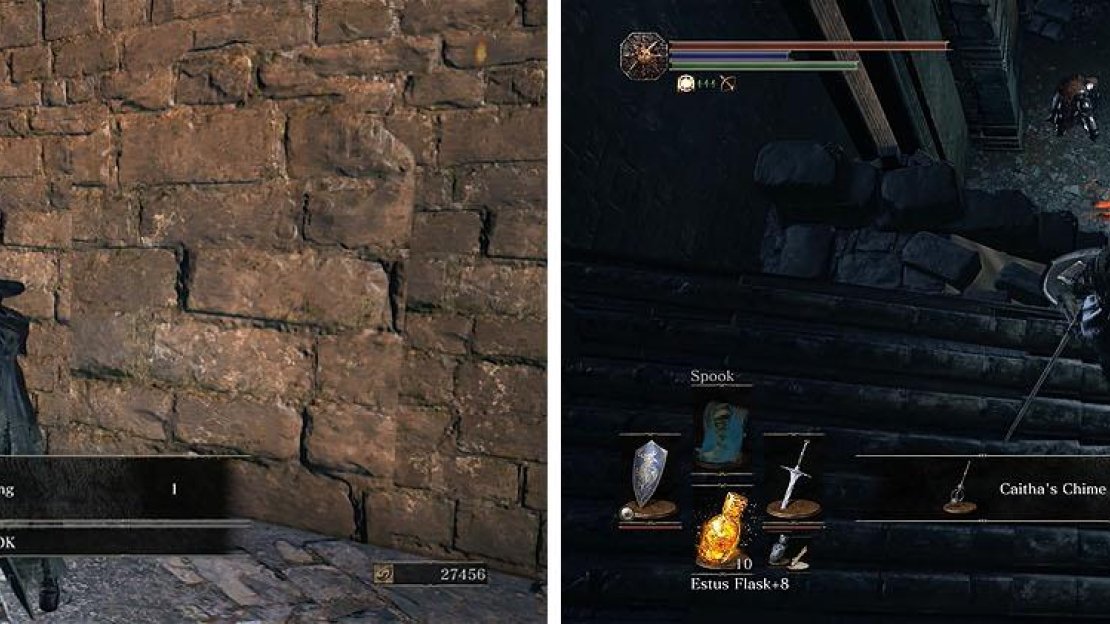
Head across the courtyard and enter the arch to find a Rusted Coin x2 and a chest with a Titanite Scale and then exit onto the balcony. Make sure to grab the Red Tearstone Ring and then find the gap in the railing to drop down and collect the Caitha’s Chime .
The two Lothric Knights below are the ones near the Boreal Outrider Knight, so you can ignore them and use a Homeward Bone to return to the bonfire and take the lift back up to the courtyard.
Near the Tearstone Ring you’ll find a ledge that leads to the Caitha’s Chime.
This time head left to find a gap in the wall overlooking the white wyvern and use ranged attacks to kill the Pus of Man for the Titanite Chunk x2 and Ember x2 .
Drop down and collect the Soul of a Crestfallen Knight and then head inside the building to defeat the Mimic for a Sunlight Straight Sword . This is the last Mimic in the game and should also drop the Symbol of Avarice , but you may need to reload for it to spawn.
Shoot the Pus of Man below before you drop and attack the final Mimic.
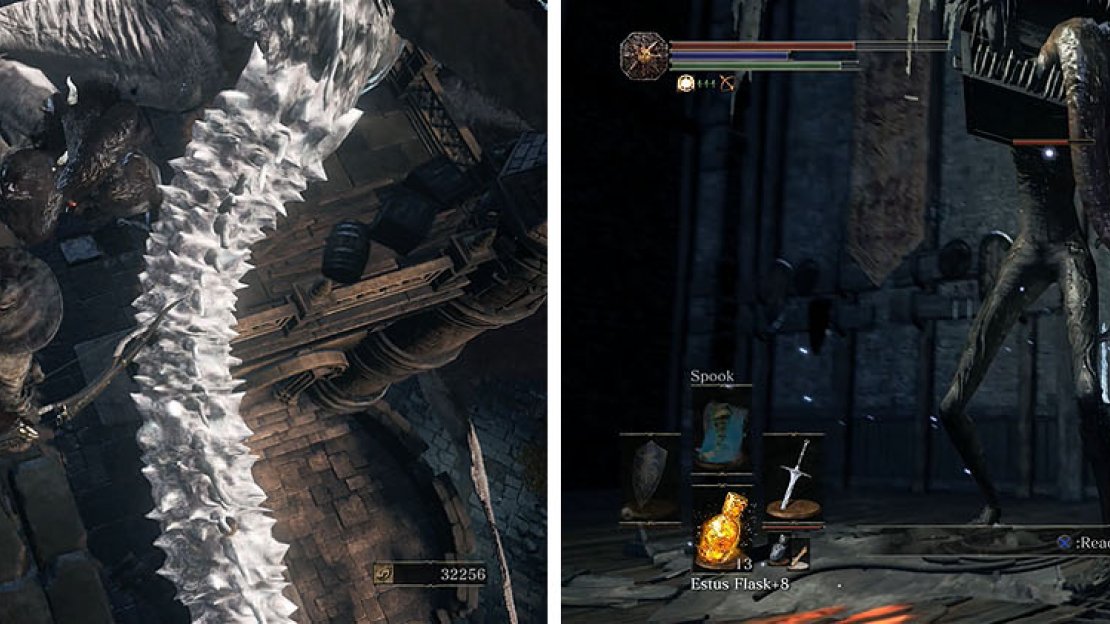
Grab the Braille Divine Tome of Lothric and make your way to the boss arena.

No Comments