The lift in the Old Wolf’s tower leads to a crumbled bridge with a Stray Demon.
The demon is extremely deadly at a distance, tossing stones in a wide arch while fighting in front of the demon leaves you open to attacks from his large club that sweep or smash. The worse attack is his grab, which will crush you and even if you were to live through it he will likely throw you off the edge of the bridge.
Stick close to his right side, always turning with him, and he’ll jump into the air to try and crush you. This leaves him open to attacks and you can punish him with a long combo before backing up to avoid a tail sweep counterattack.
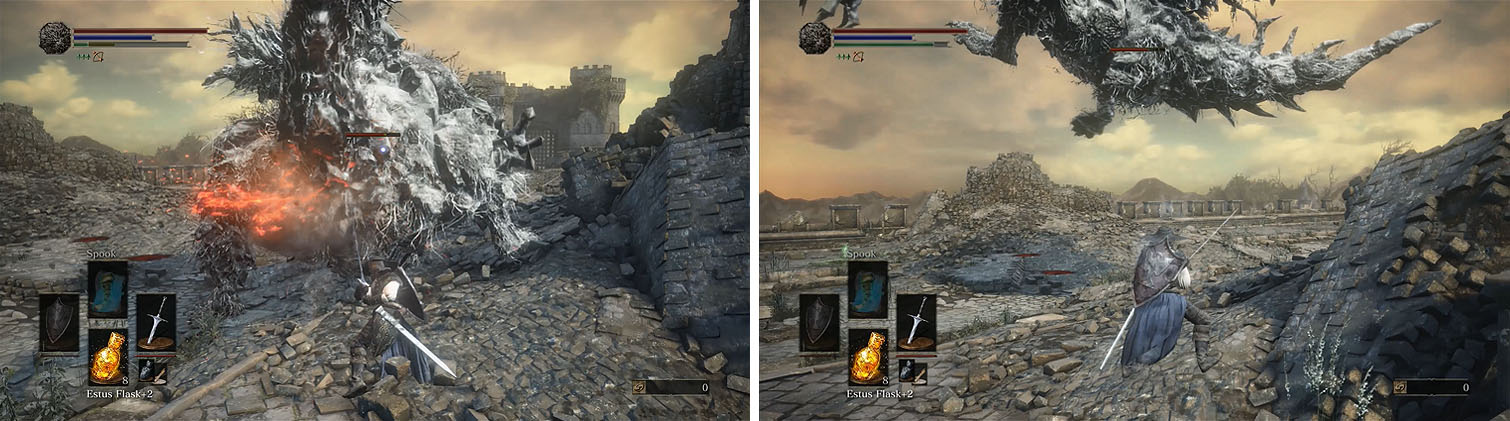
Stay behind the Stray Demon to force him to jump, giving you ample time to strike him fro behind while he recovers.
Defeating the demon will grant you the Soul of a Stray Demon and then collect the Greataxe and Ember x2 nearby. If you head toward the other end of the bridge you can fall off the right side to find a small ledge that leads past the locked gate.
There are two Crystal Lizards ahead, but ignore them for now and turn left to head up the crumbled road to find another Crystal Lizard. This one you can defeat for a Heavy Gem and then defeat the remaining enemies.
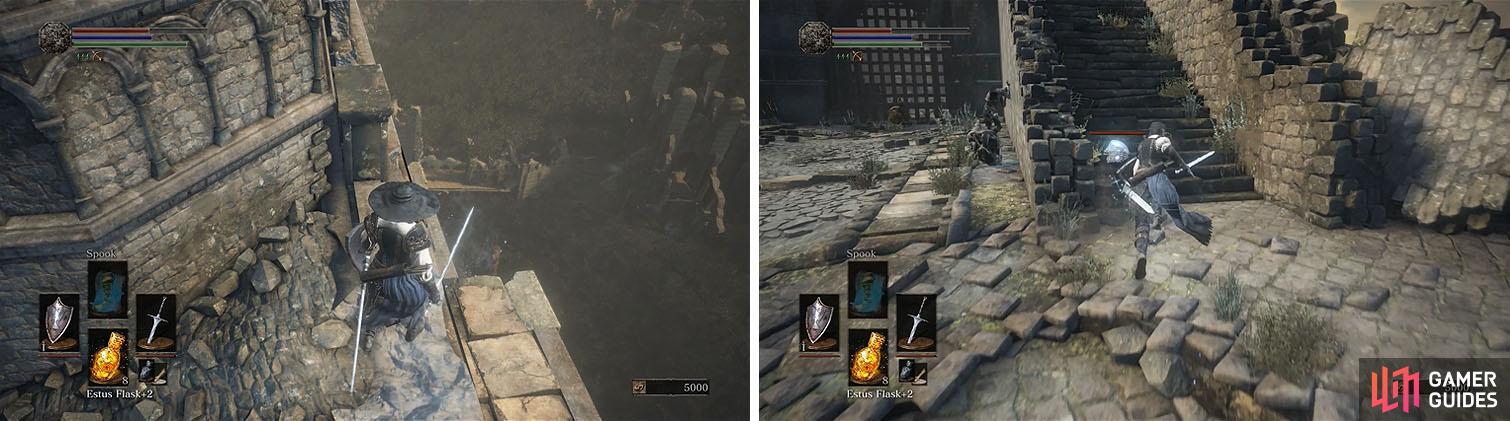
Use the ledge to reach the other side of the gate and head up the crumbled road.
From the upper ledge you can sneak closer to the two Crystal Lizards further down the bridge and drop next to the first. This will cause it to run into the side of the bridge or to the right, away from the second lizard, and you’ll be able to kill them both for Large Titanite Shard x2 .
You can now collect the Lightning Spear spell and Dragon Crest Shield . With the swamp area cleared out you can now return to the bonfire and travel to the Keep Ruins, walking straight down the ramp to enter the large stone doorway.
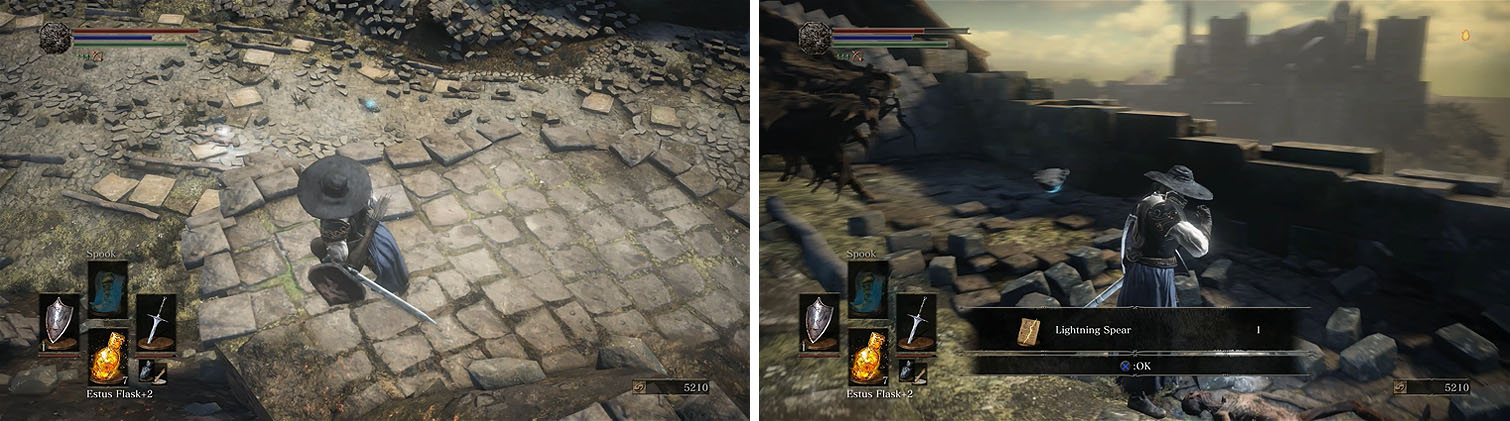
The upper ledge will allow you to get along the side of the lizards (left). Make sure to grab the Lightning Spear spell near the dragon’s corpse (right).
Stick to the left and head up the unlit path to find a Corvian Storyteller, which you should kill before it calls on the other Corvians, and then backtrack to the lit path.
With the Storyteller dead you should be able to collect the Shriving Stone and easily kill the remaining Corvians. Follow the path to the top, where you might notice two Darkwraiths killing the Ghru in the area ahead, and then hang a right to find more ruins with another bonfire.
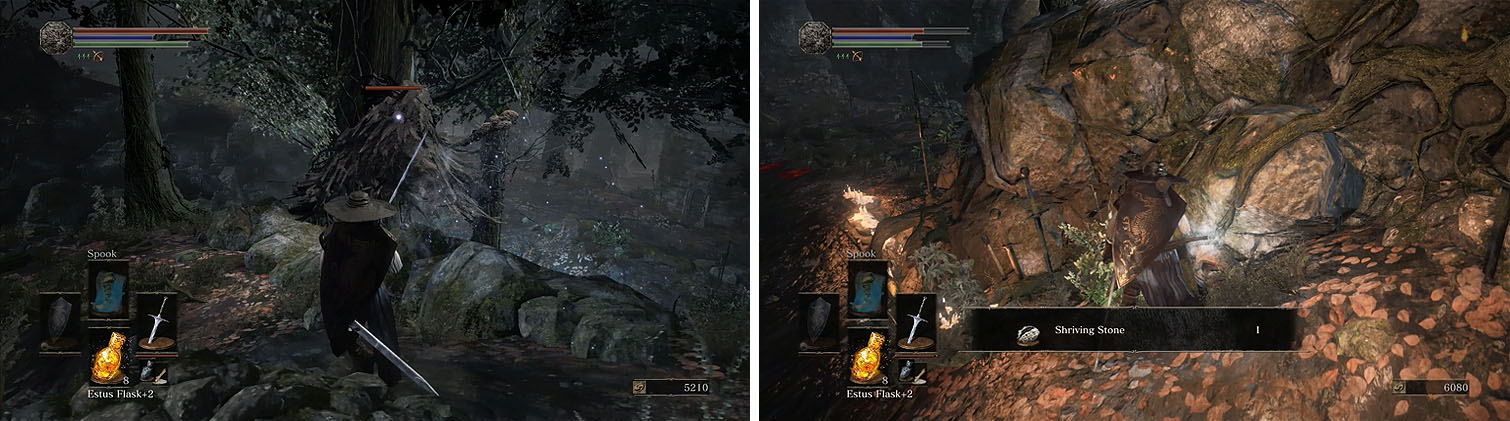
Defeat the Corvian Storyteller first and then collect the Shriving Stone.
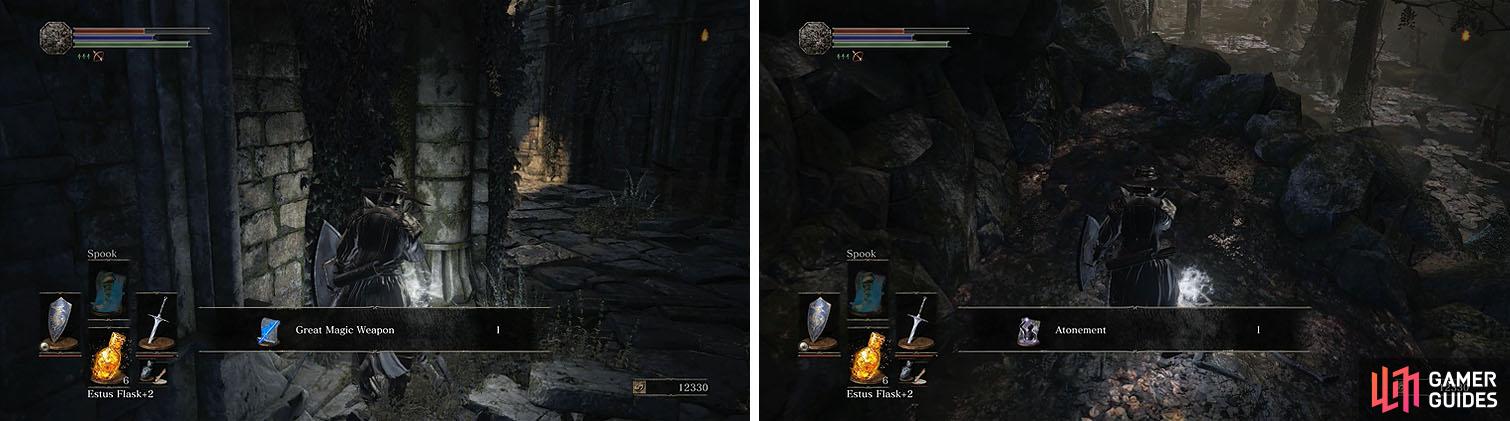
Head deeper into the ruins, defeating some Ghru on the path, and then deal with the Ravenous Crystal Lizard at the end for a Titanite Scale x2 . The gate at the end of the road leads to the Road of Sacrifices, near the Black Knight, and don’t miss the Great Magic Weapon spell on the corpse nearby.
Head back toward the bonfire and look for a crack in the wall that leads to a ledge with the spell Atonement and a Hollow Gem .
Check behind the bonfire for multiple items, including two spells.
Drop off the left side of the cliff to collect the Large Soul of a Nameless Soldier on a corpse and then head the opposite direction.
There are a number of Basilisks that breath a yellow cloud that causes Curse, which will instantly kill you, so back away and wait for the right opportunity to attack. There is a corpse with Repair Powder x4 near the other end of the area and then turn around to spot an entrance to a cave.
Inside, collect the Golden Scroll and Antiquated Armor Set and then follow the wall to eventually make it back to the bonfire.
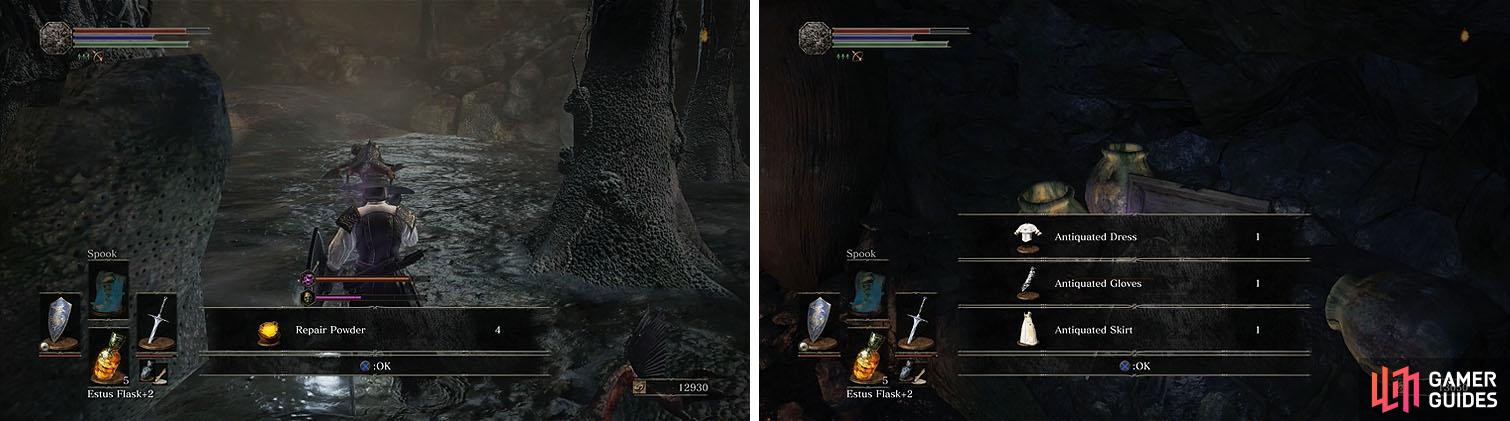
Near the Repair Powder you’ll find a cave with a scroll and the Antiquated armor.
At this point you’ll need to make a decision:
If you want all gestures in one playthrough you should skip fighting the Abyss Watchers and head forward to Cathedral of the Deep. Once you reach the Rosaria’s Fingers covenant, join it and offer a Pale Tongue to deepen your loyalty.
You can then return to the building full of Rotten Slugs near the Old Wolf’s tower to find Yellowfinger Heysel’s summon sign, summoning her to receive the “Proper Bow” gesture.
The upcoming fight is extremely difficult solo and if you want help you can use an Ember at the bonfire to reveal the summon sign for Londor Pale Shade, who’ll also grant the “Duel bow” gesture.
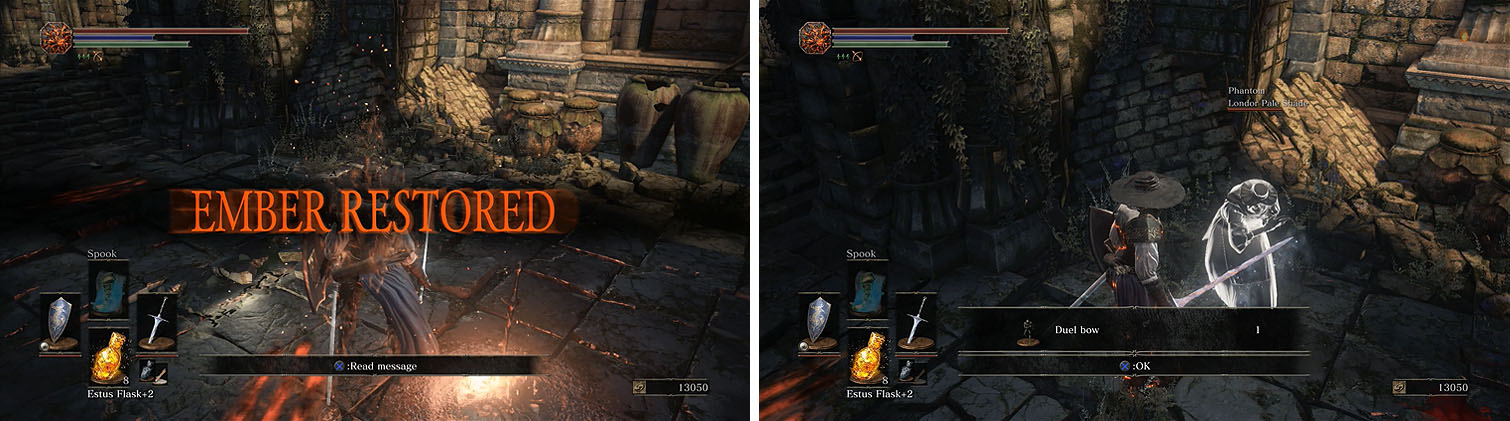
Summoning the Londor Pale Shade will grant you the Duel bow gesture.
Exit the bonfire and stick to the right side of the road, avoiding the Darkwraiths and multiple Ghru in the center of the area.
There is a shielded Ghru on the side of the road and an Ember next to another Ghru straight ahead. Head up the hill to defeat another shielded Ghru next to a Black Bug Pellet x3 and then head down the other side to reach the doors to the Abyss Watchers.
No Comments