

This page covers the first mission in the game: Priority: Mars, which will begin after completing the prologue.

The Normandy is redirected to Mars.
After leaving Earth on the Normandy, you’ll part ways with Anderson and take off en route for the Citadel. Before you make it far, however, you’re redirected to Mars to pick up some vital data before the Sol system is lost entirely. The only real thing to note here is that you may get a Paragon/Renegade interrupt when Vega complains.
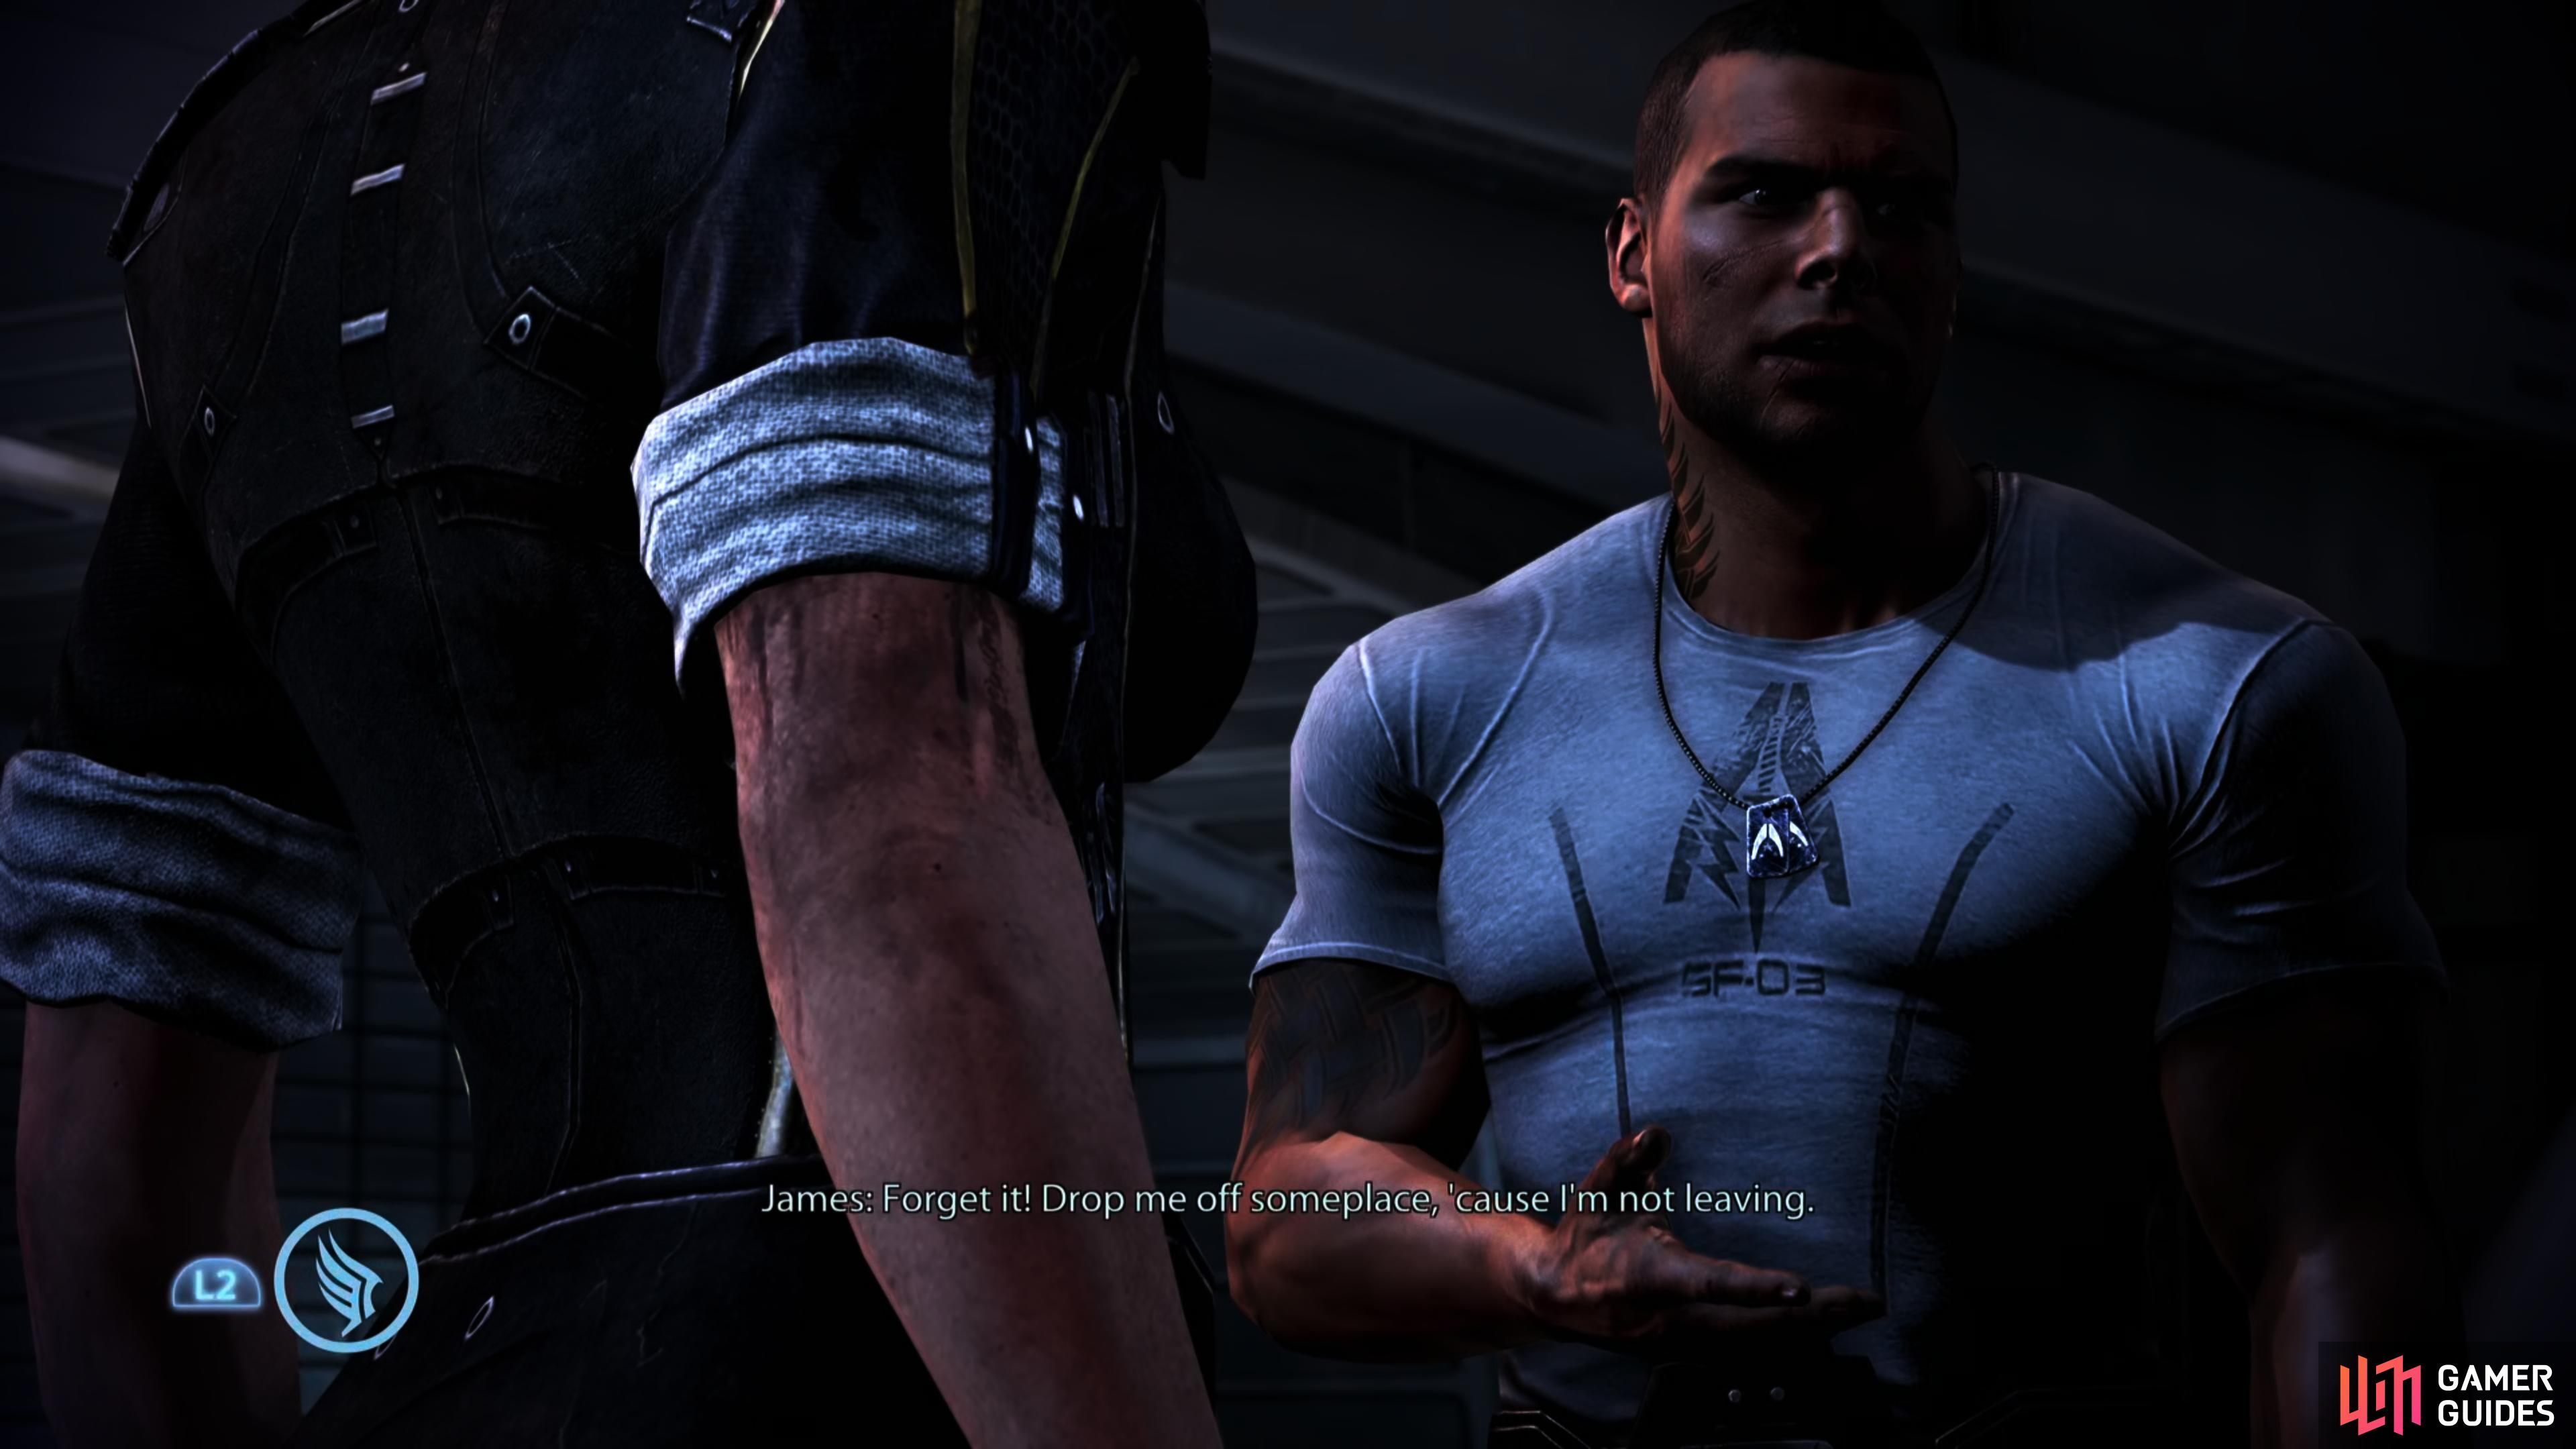
After leaving Earth, Vega will protest, giving Shepard the opportunity to perform a Paragon/Renegade interrupt.
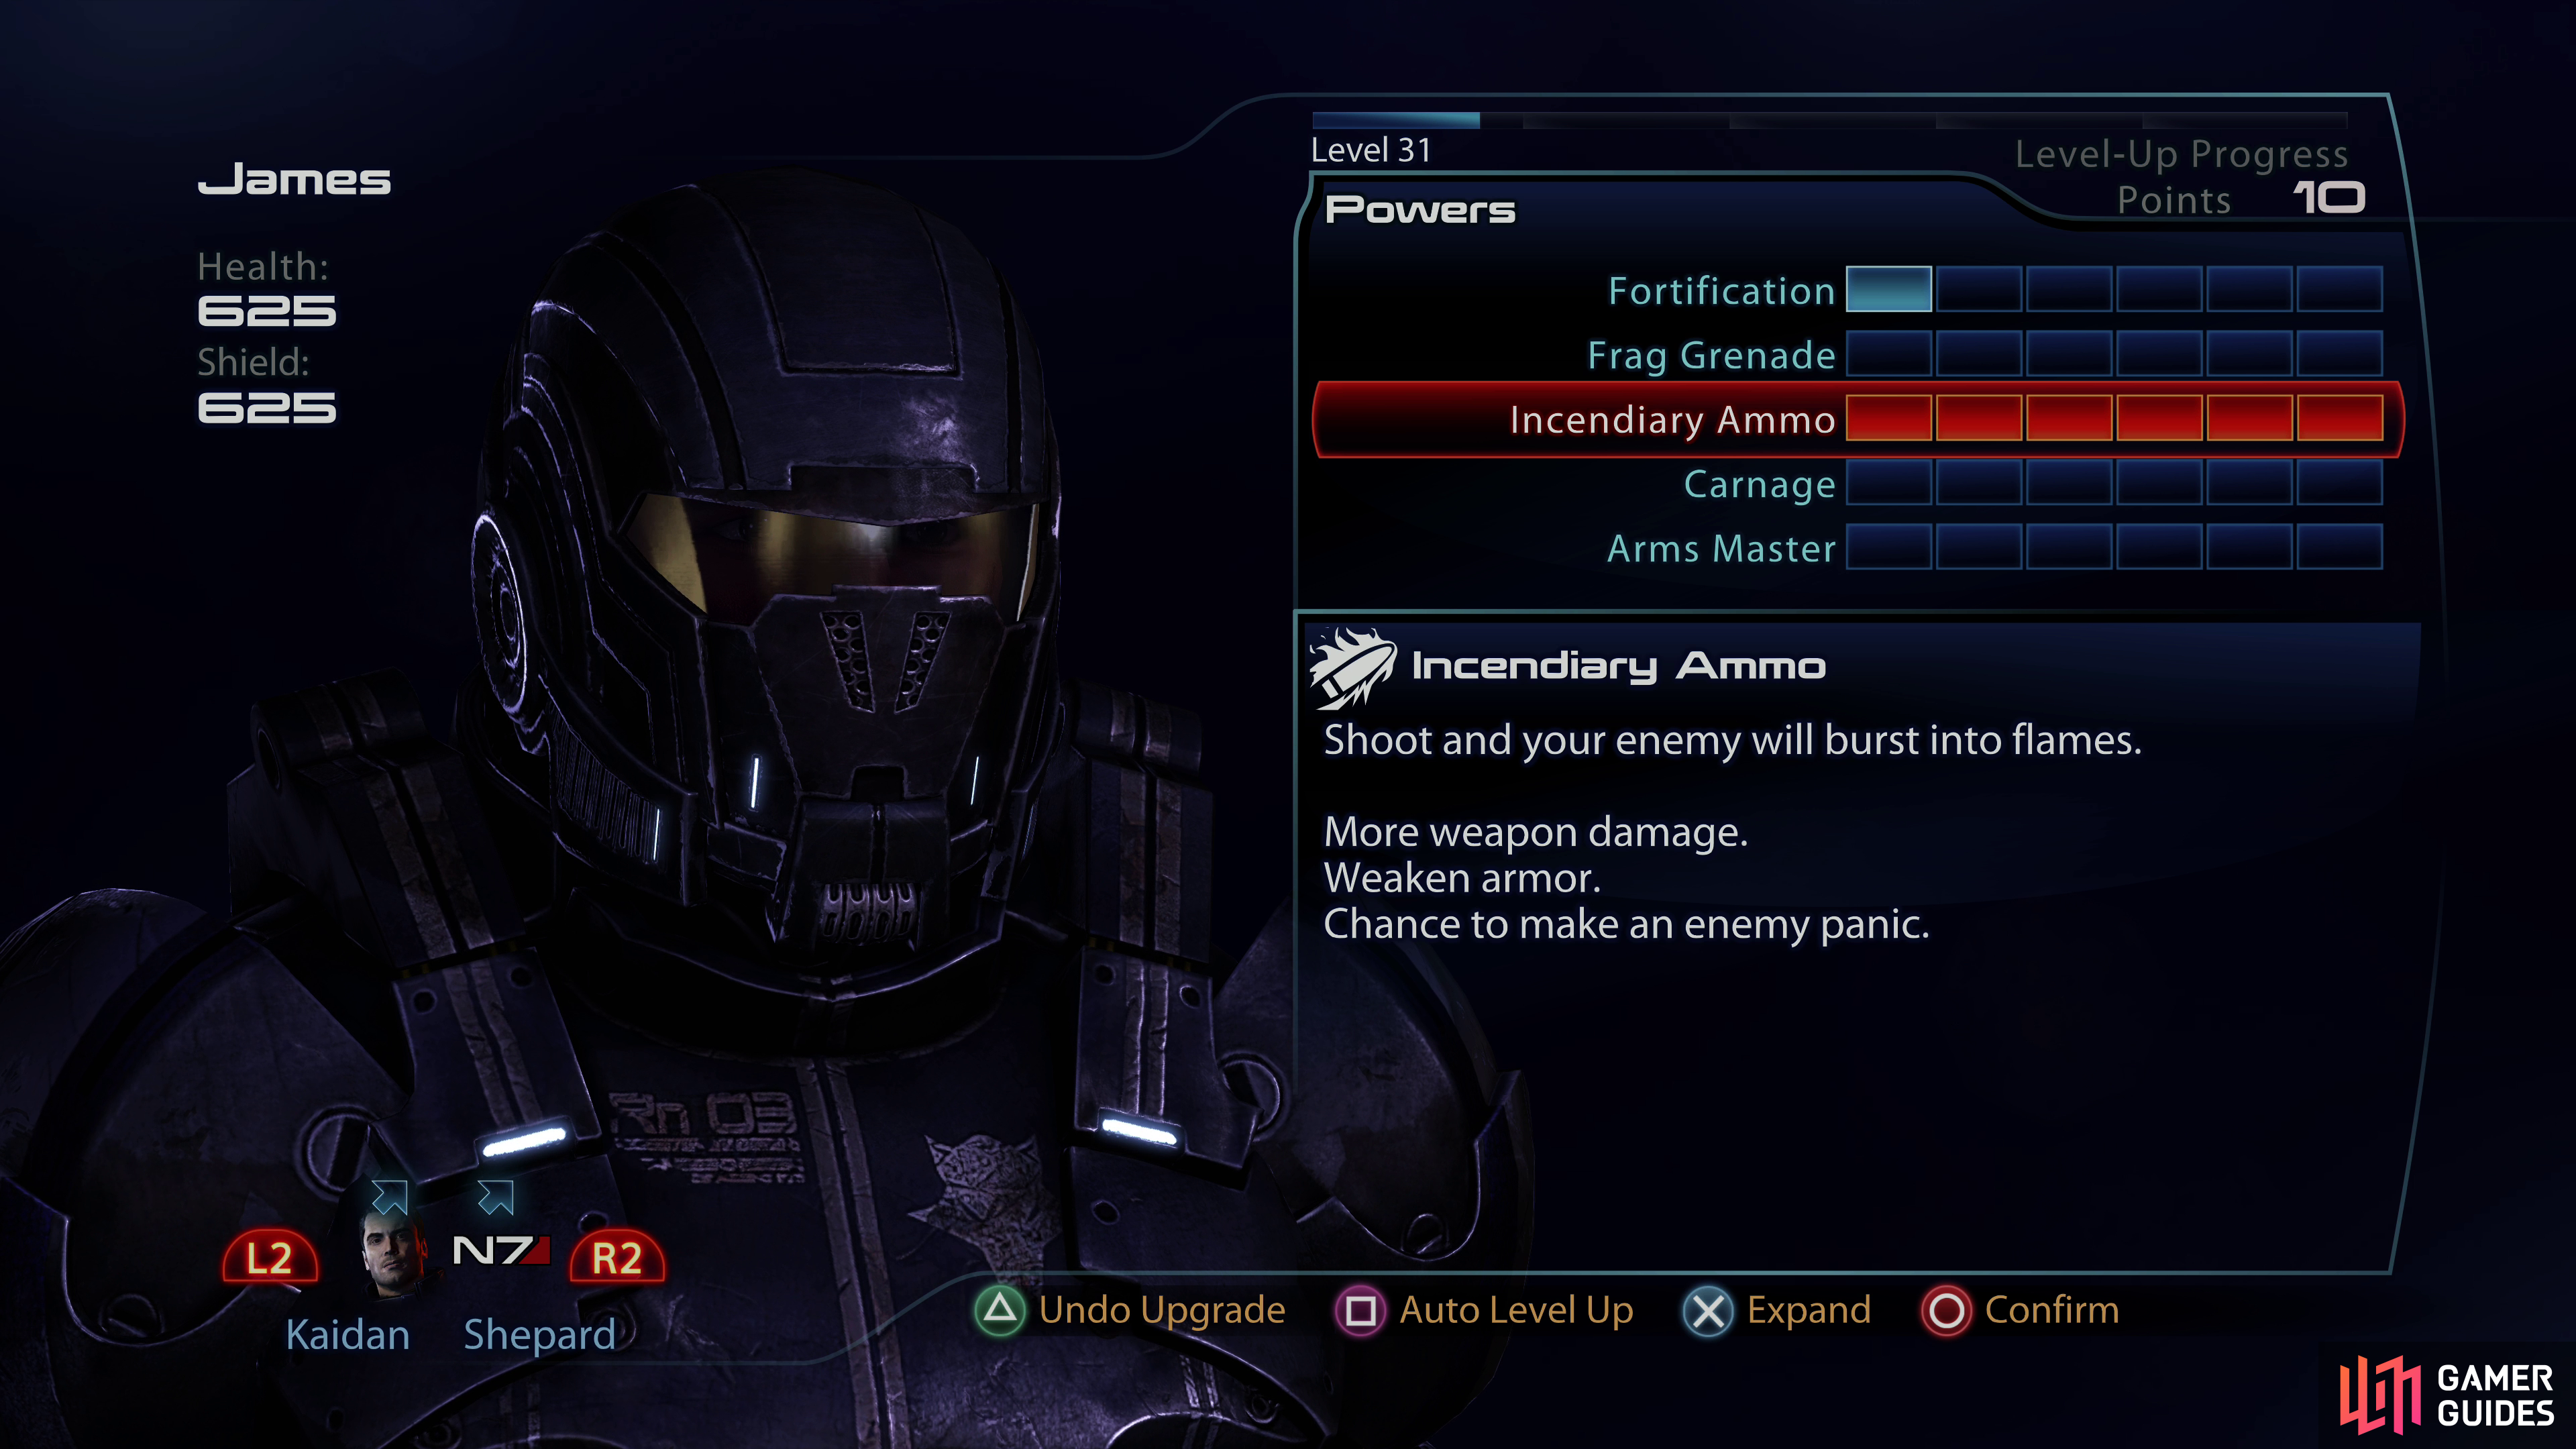
When you touch down on Mars, be sure to assign your powers - the points you have at your disposal will vary along with your level.
First things first, once you land you’ll want to enter the “Mission Computer” menu (not to be confused with the main menu - that’s the title screen), which is where you can save your game (we recommend you do so now) and upgrade your characters via the “Squad” menu. Again, the skill available and your starting level will vary considerably based on your class and whether you imported from Mass Effect 2 or not. You can find builds for the Soldier, Vanguard, Infiltrator, Sentinel, Adept and Engineer on the linked pages provided, as well as builds for Ashley, Vega and Kaiden.
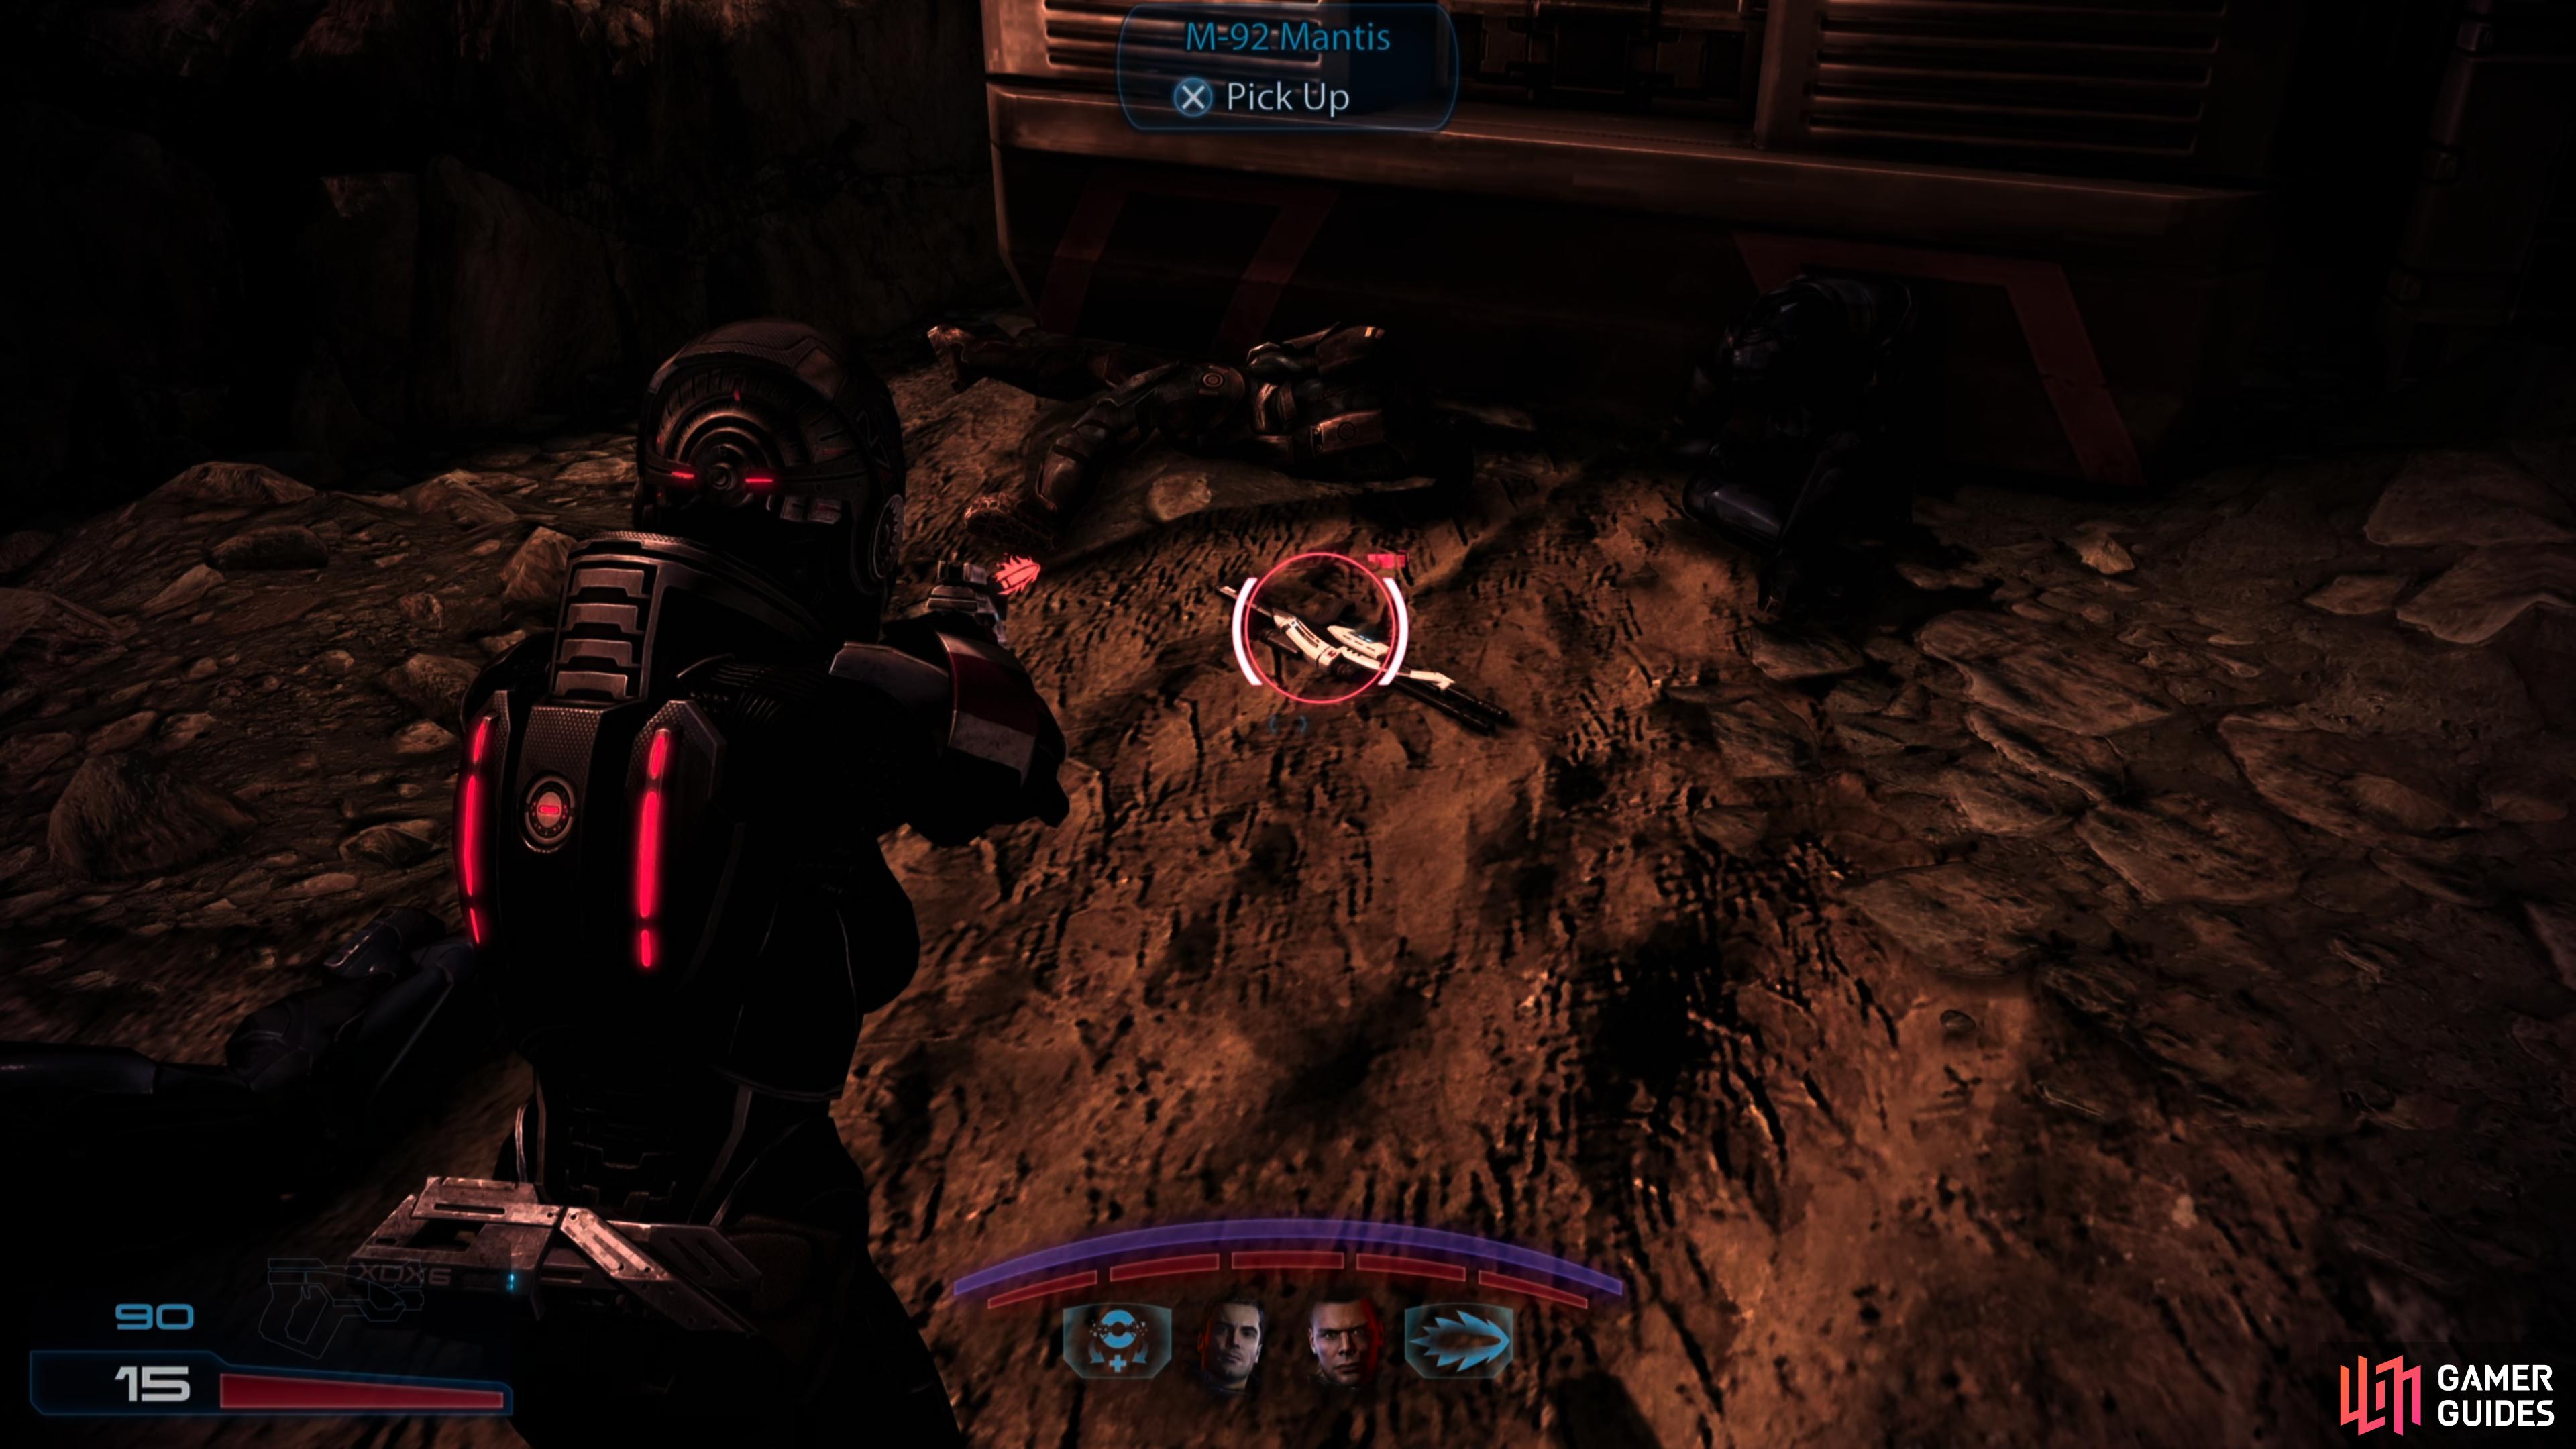
All classes save the Infiltrator will find the M-92 Mantis after dropping off the first ledge.
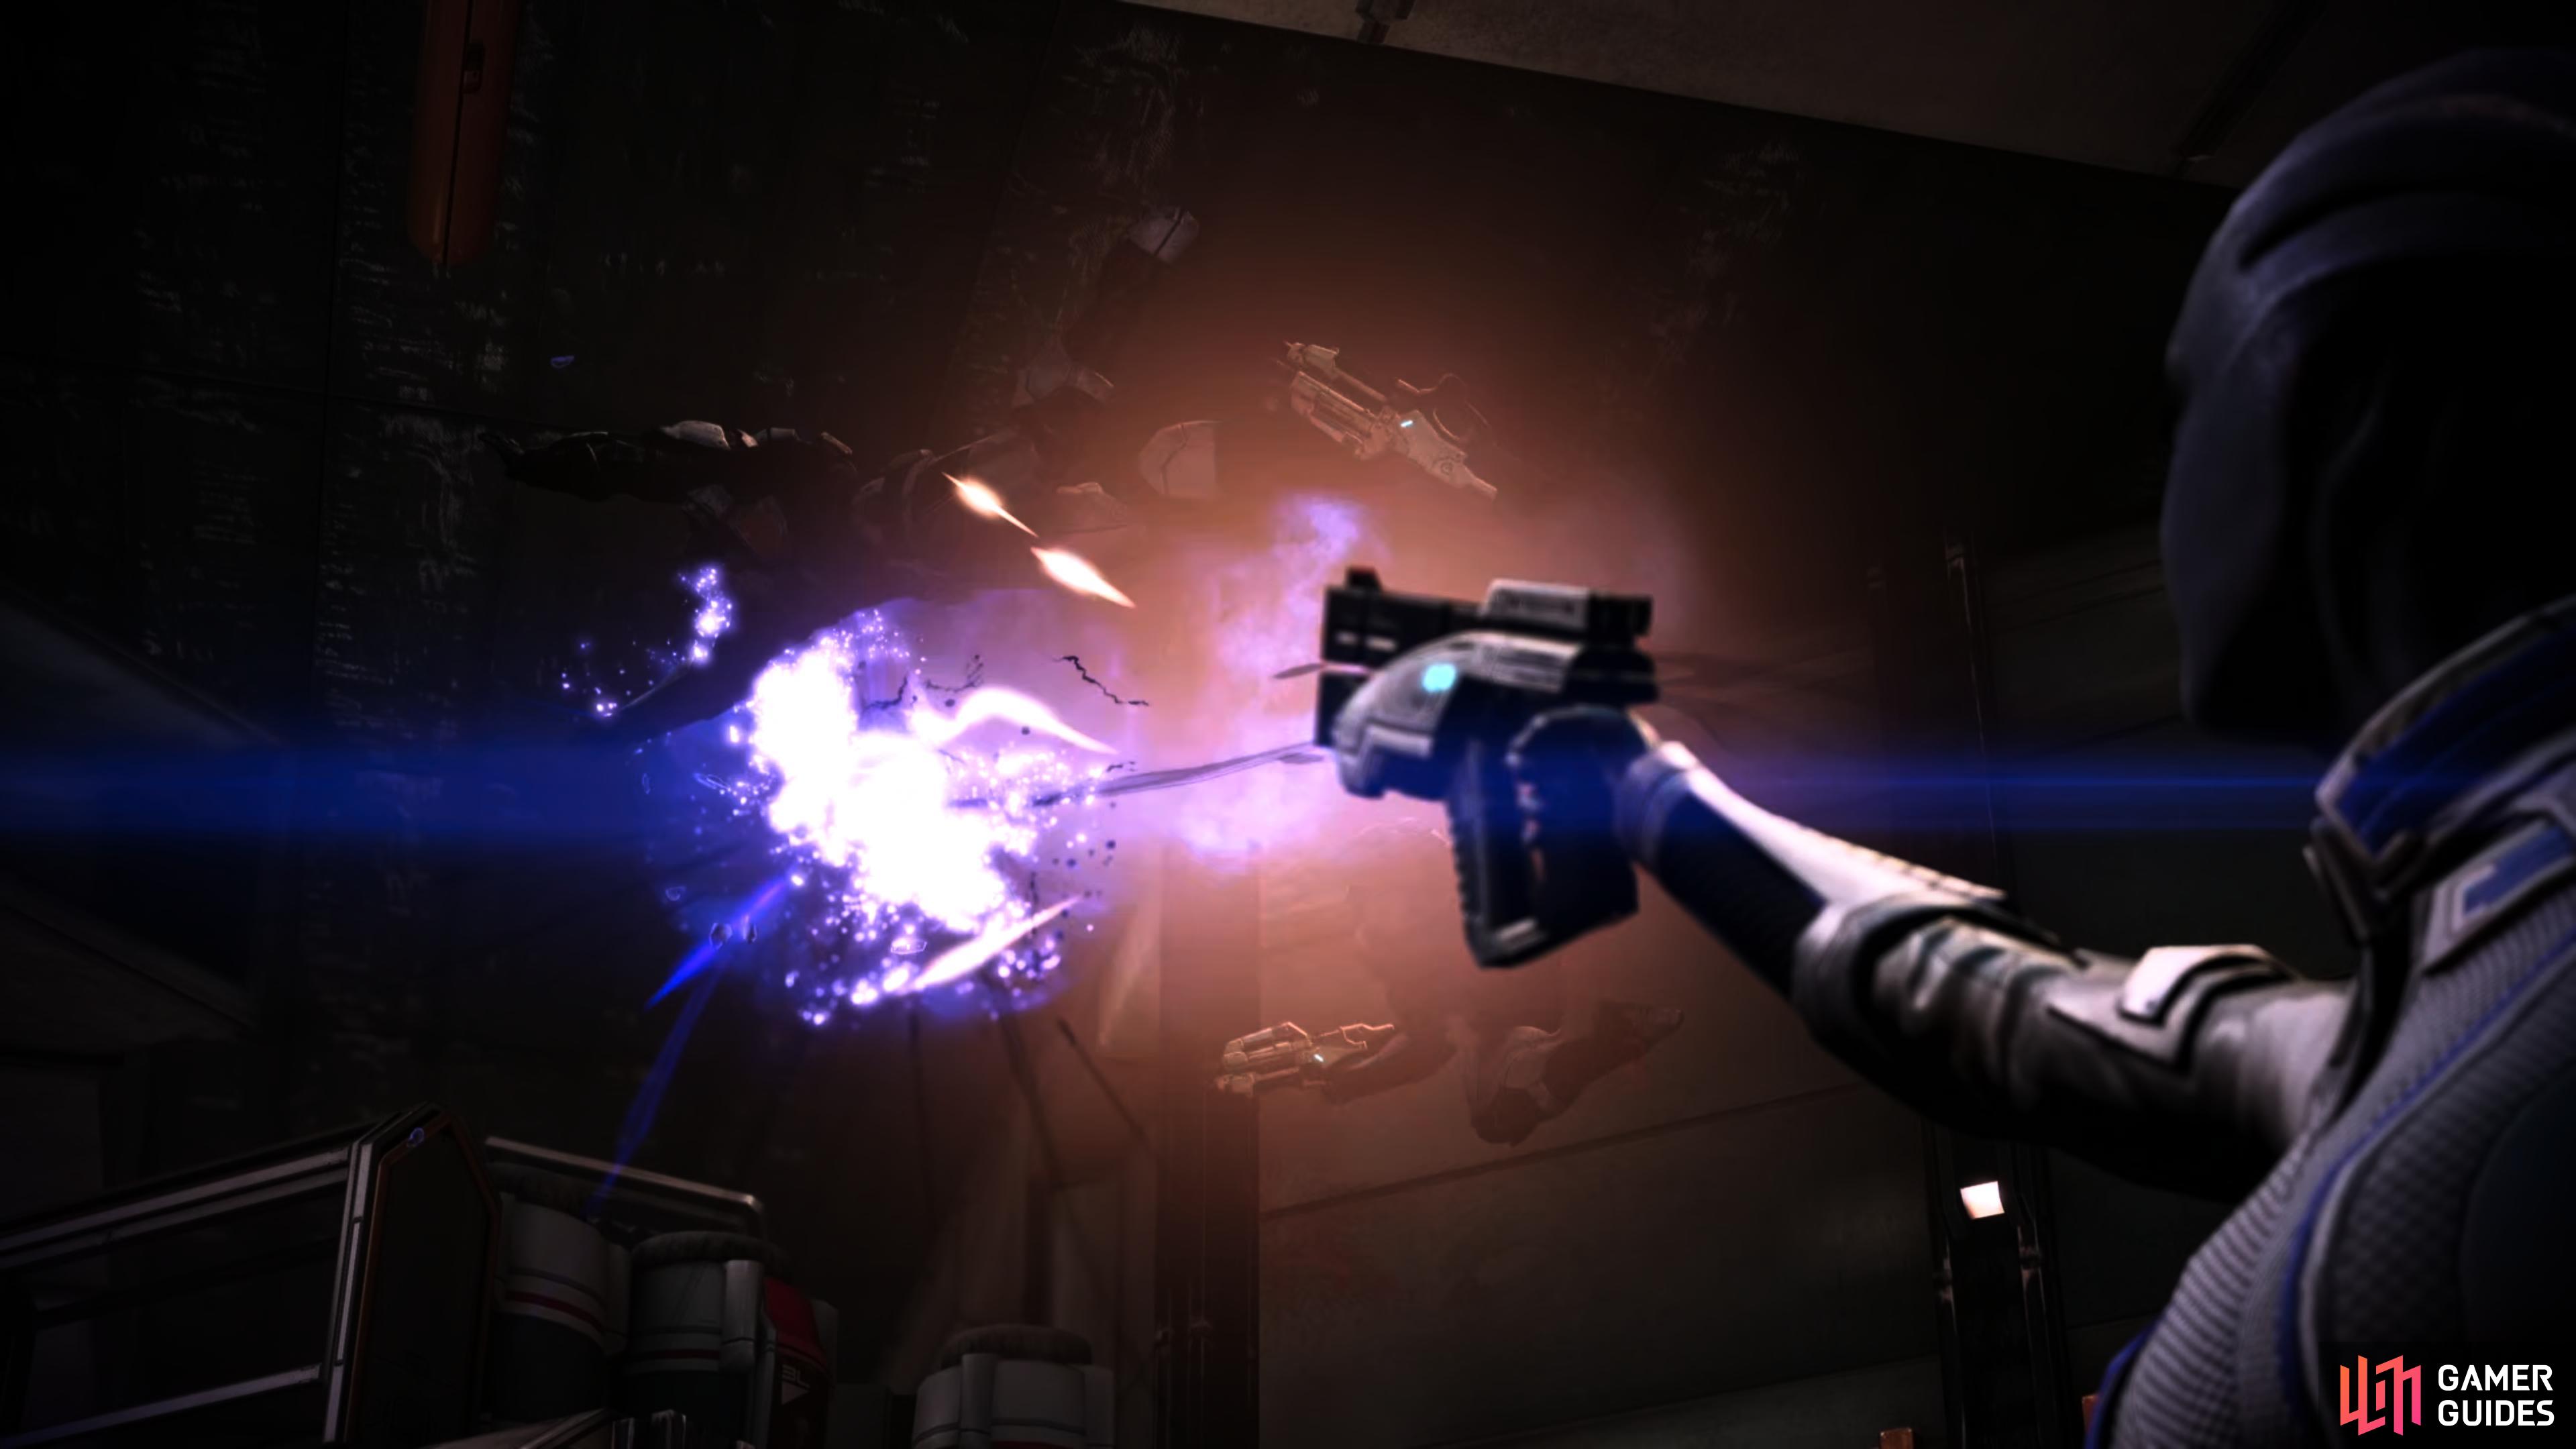
Engage the Cerberus squad with whatever powers and weapons you have at your disposal.
Run down the hill, then drop down to the level below and immediately turn right, where your attention will be drawn to a dead Alliance soldier. Human corpses + Reapers isn’t much of a mystery, but there are no Reapers on Mars yet, so this is more than a bit concerning. Loot the M-92 Mantis Sniper Rifle on the ground, where you’ll be prompted to equip it, then head in the opposite direction.
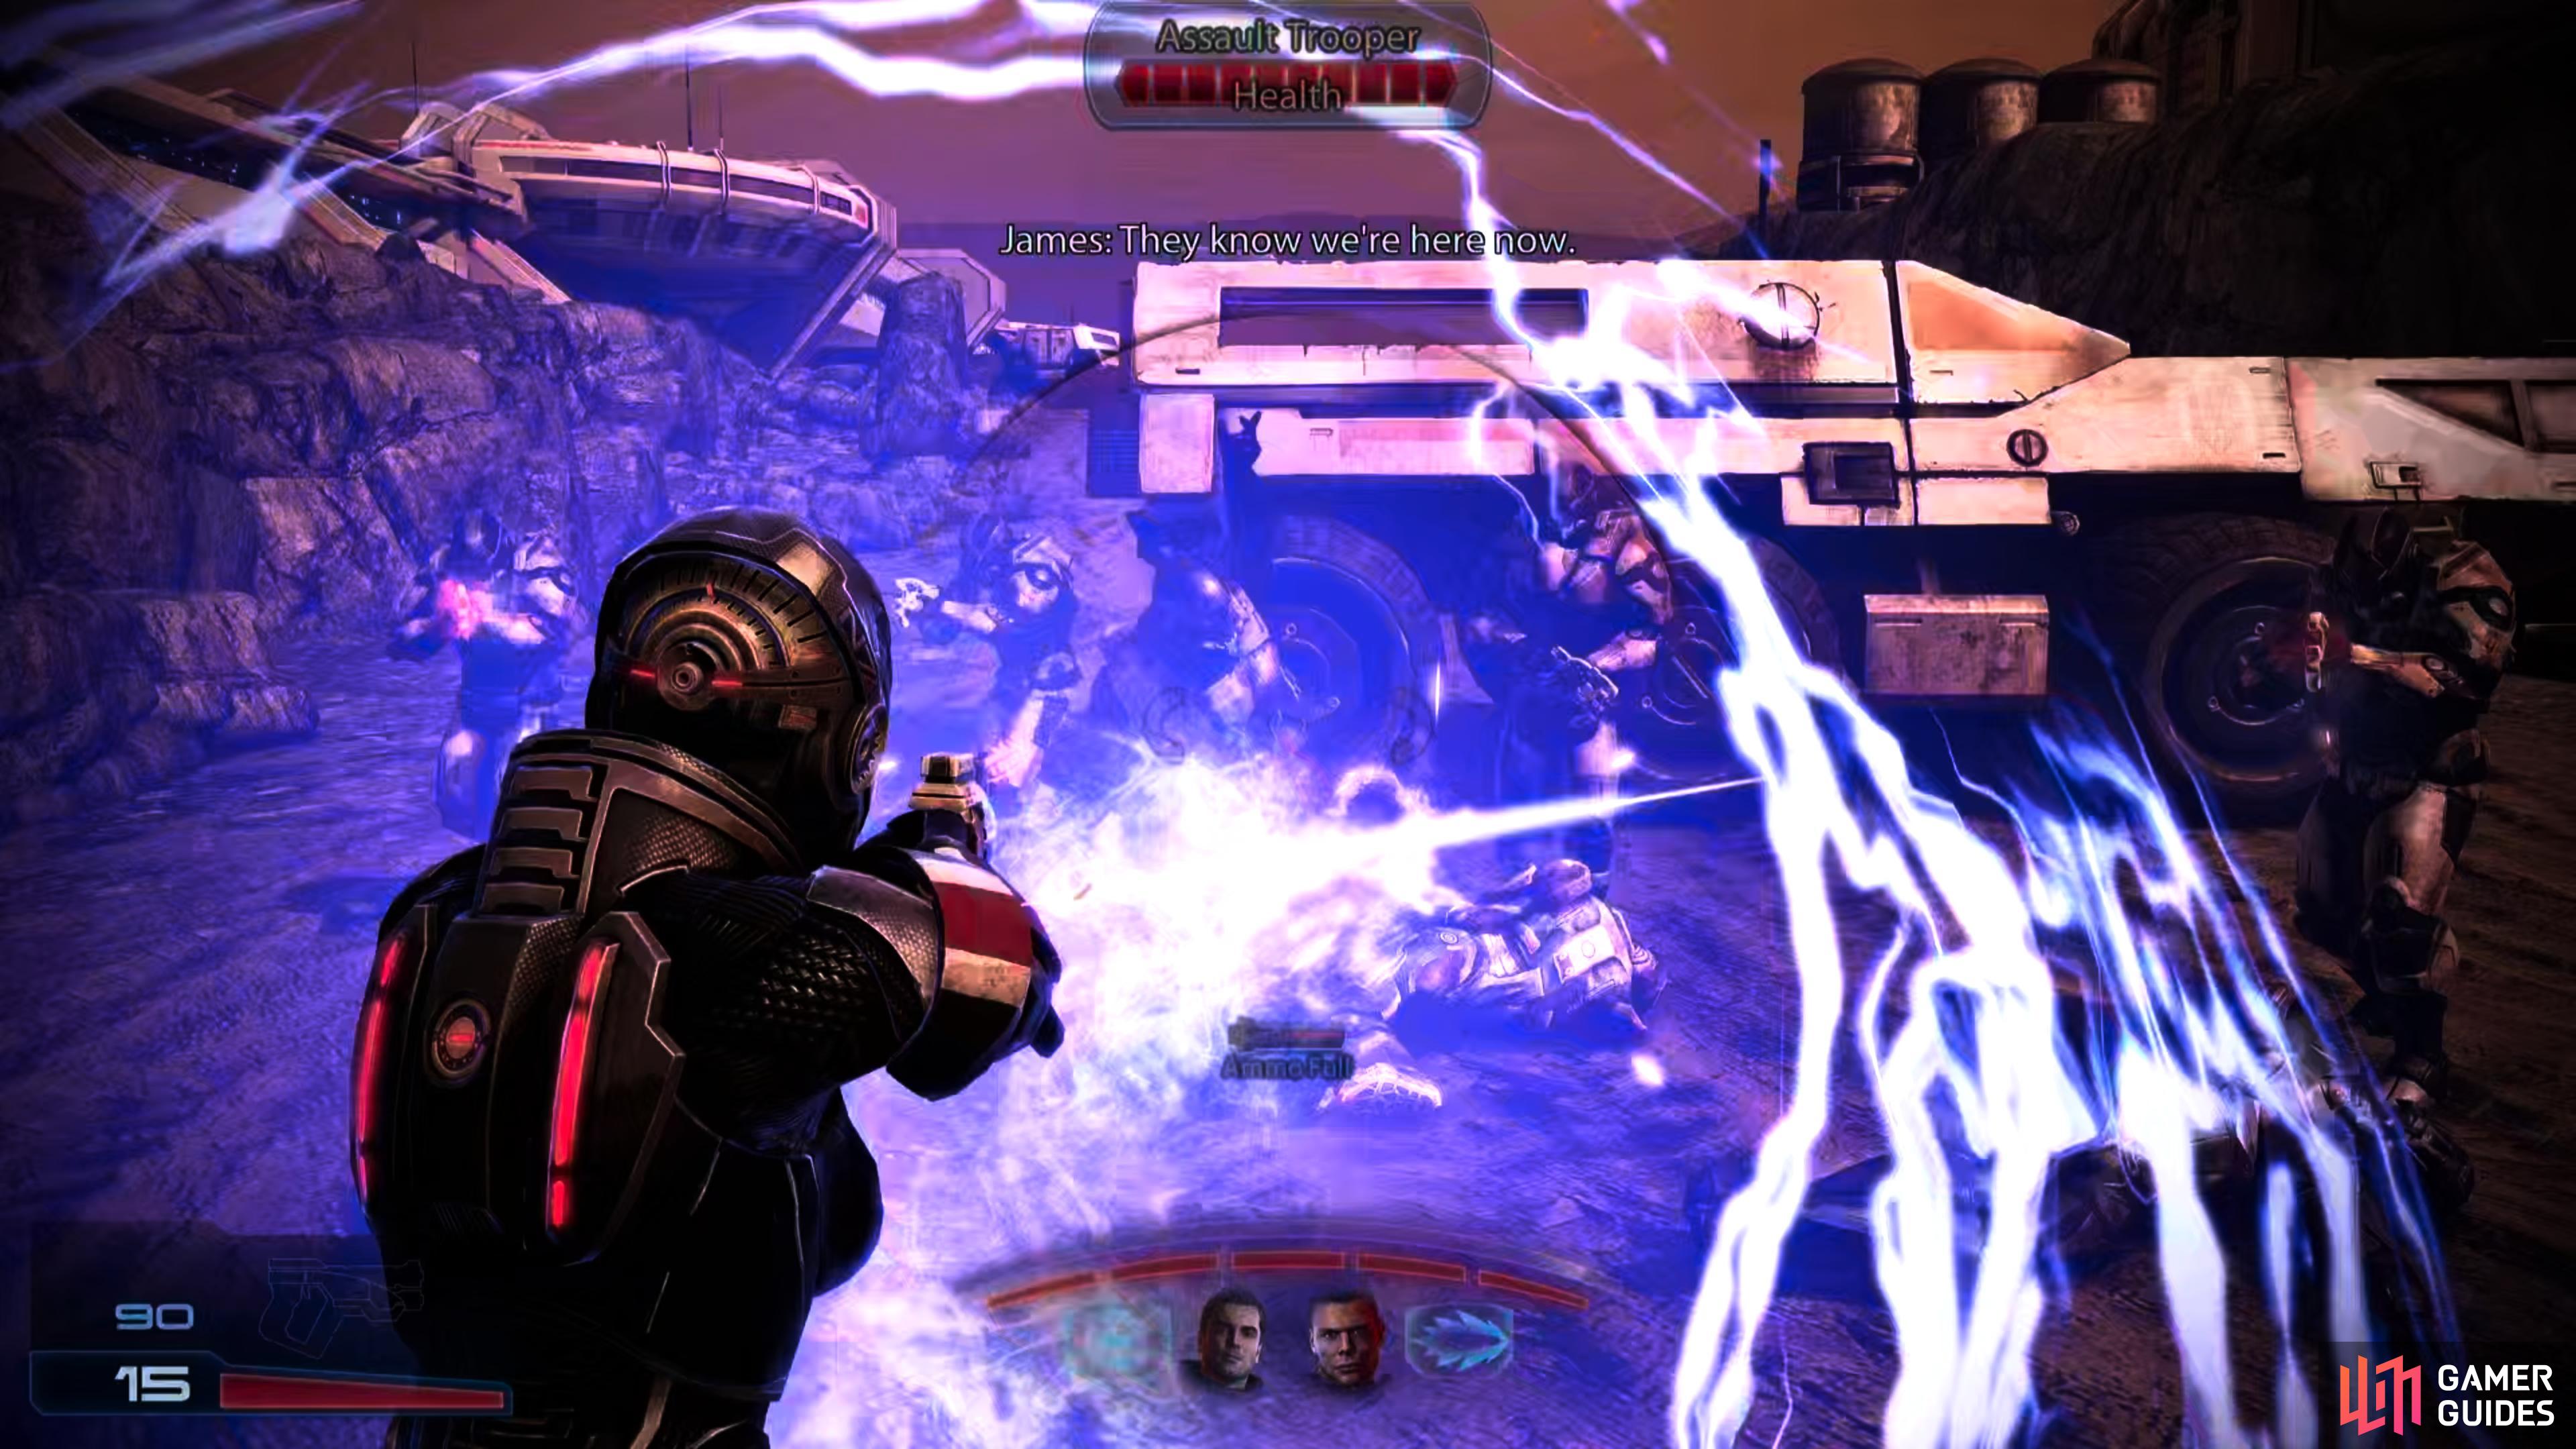
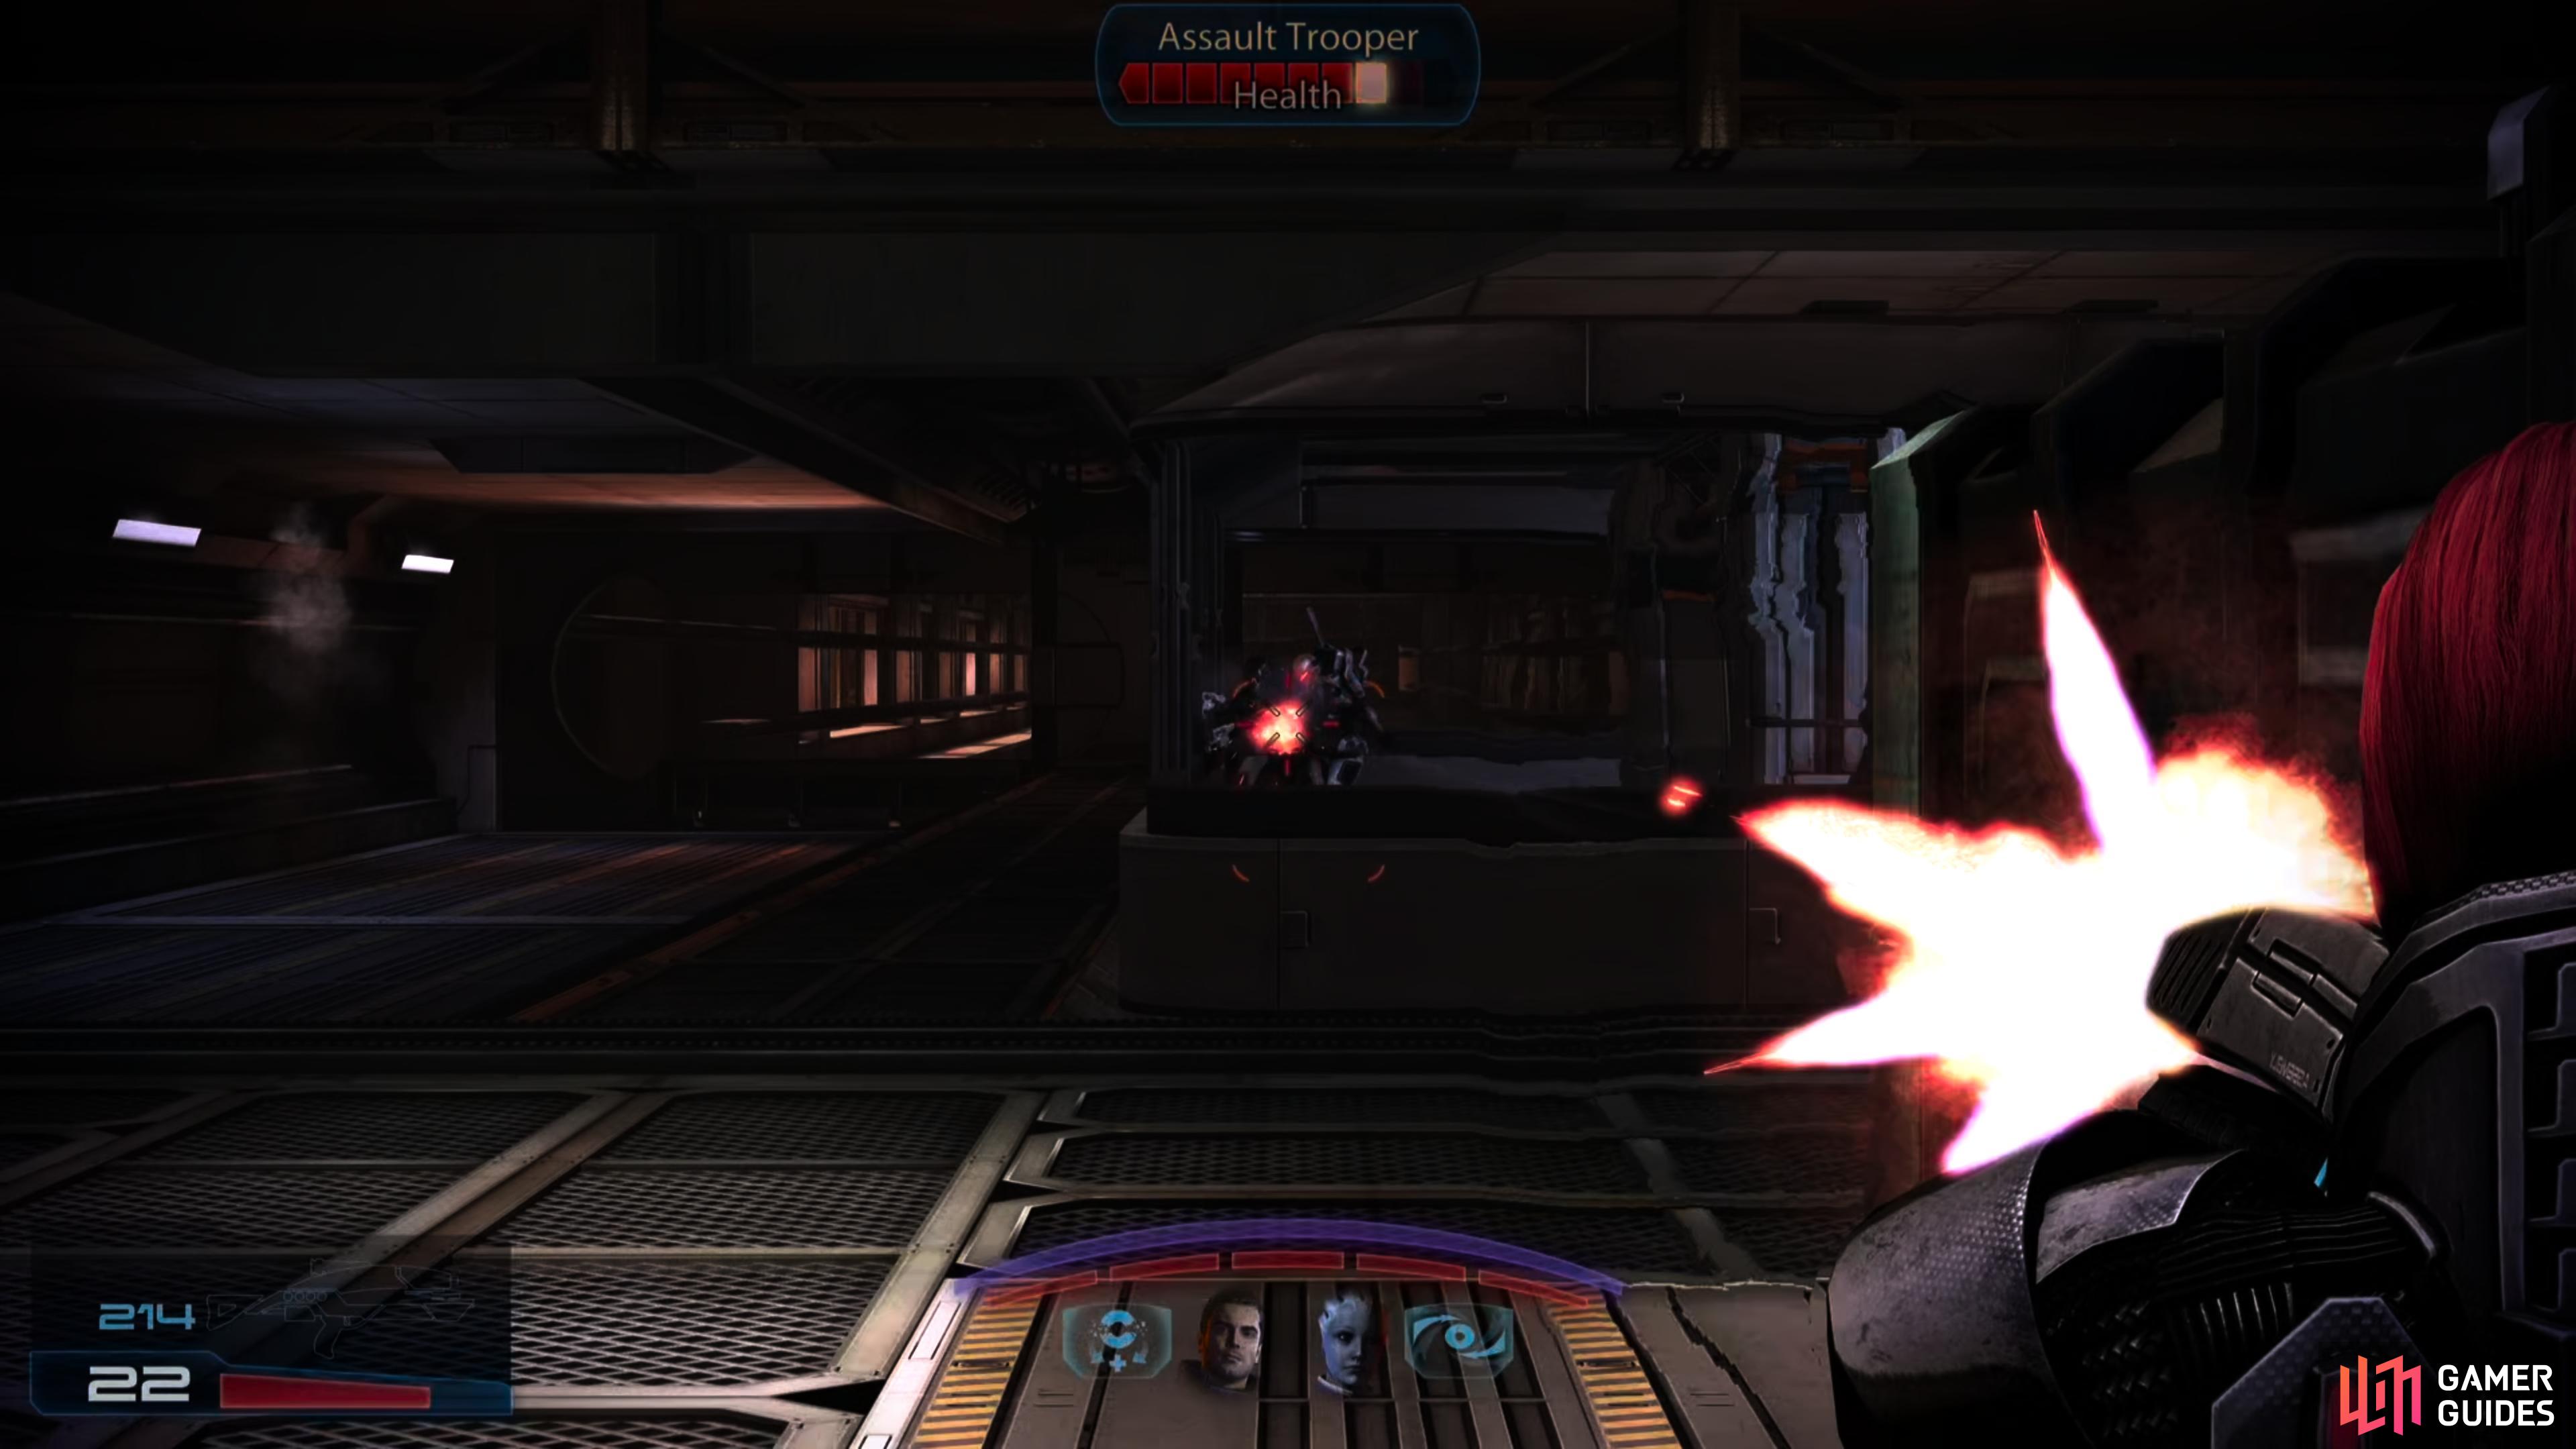
A short distance down the path you’ll find a group of armed men, who quickly prove their hostile intent. Use the focus prompt to check out what they’re up to, if you wish, but make sure you get into cover - they’ll attack if you get too close. Since a fight is inevitable, you may as well strike first; once you pick off your first Assault Trooper, your first proper battle with a full squad will begin. Exciting! Use cover to protect yourself and whatever powers and weapons you have at your disposal to drop your foes, then seek out any dropped thermal clips before pressing on. You’ll find another squad of Cerberus Troopers up ahead, so be wary. Like before, cover is your friend and pick them off methodically, then head inside the research facility and activate the elevator controls to trigger a cutscene.
Recruiting Liara
After the scene, Liara will join your squad, but because of the unwritten rule that only three characters can ever fight at the same time, you send Vega off to secure your means of egress. This is why you don’t sass your superiors, James.
You’ll also immediately find yourself in another battle, this time with elevated Cerberus Troopers. This isn’t a fight as much as it’s a showcare of Liara’s incredibly useful Singularity power, which will float all enemies near the target. Suffice to say, a bunch of none-too-bright troopers huddling near a railing are a prime target, and once they’re floating around helplessly, you can pick them off at your leisure.
Once they’re all dead, loot a Med Kit on a crate, then search for some “Vehicle Lift Controls” near an APC. This will lift a nearby vehicle; head up the ramp nearby, climb on some crates, then vault onto the raised vehicle to reach the elevated walkway.

(1 of 3) Stay behind cover and sneak up behind the Assault Trooper to perform a cover kill.
Exit this garage via a door and you’ll see a scientist get gunned down. Continue into the room, hide behind some cover, then slink to the side to get behind an Assault Trooper, whom you can execute via a quick-kill. You probably won’t be doing this often, so enjoy it while you can. Kill off the remaining troopers, then press on to find a security office, which is full of loot.
In the lobby outside you’ll find a datapad on a chair which you can read some lore… and 75 XP, if the story isn’t a good enough reason to assail your eyeballs with text. Inside the security office you’ll find Ariake Technologies Gauntlets in a locker and the M-4 Shuriken Submachine Gun near the feet of a dead security guard. If you need a lightweight weapon and prefer fire rate over raw damage and accuracy, it’s a good alternative for the M-3 Predator pistol. Last and least, there’s also a Med Kit on the floor to the left of the M-4 Shuriken.
Once you’ve scrounged for loot, use a “Security Console” to trigger the next cutscene.
Through the Exterior Airlock
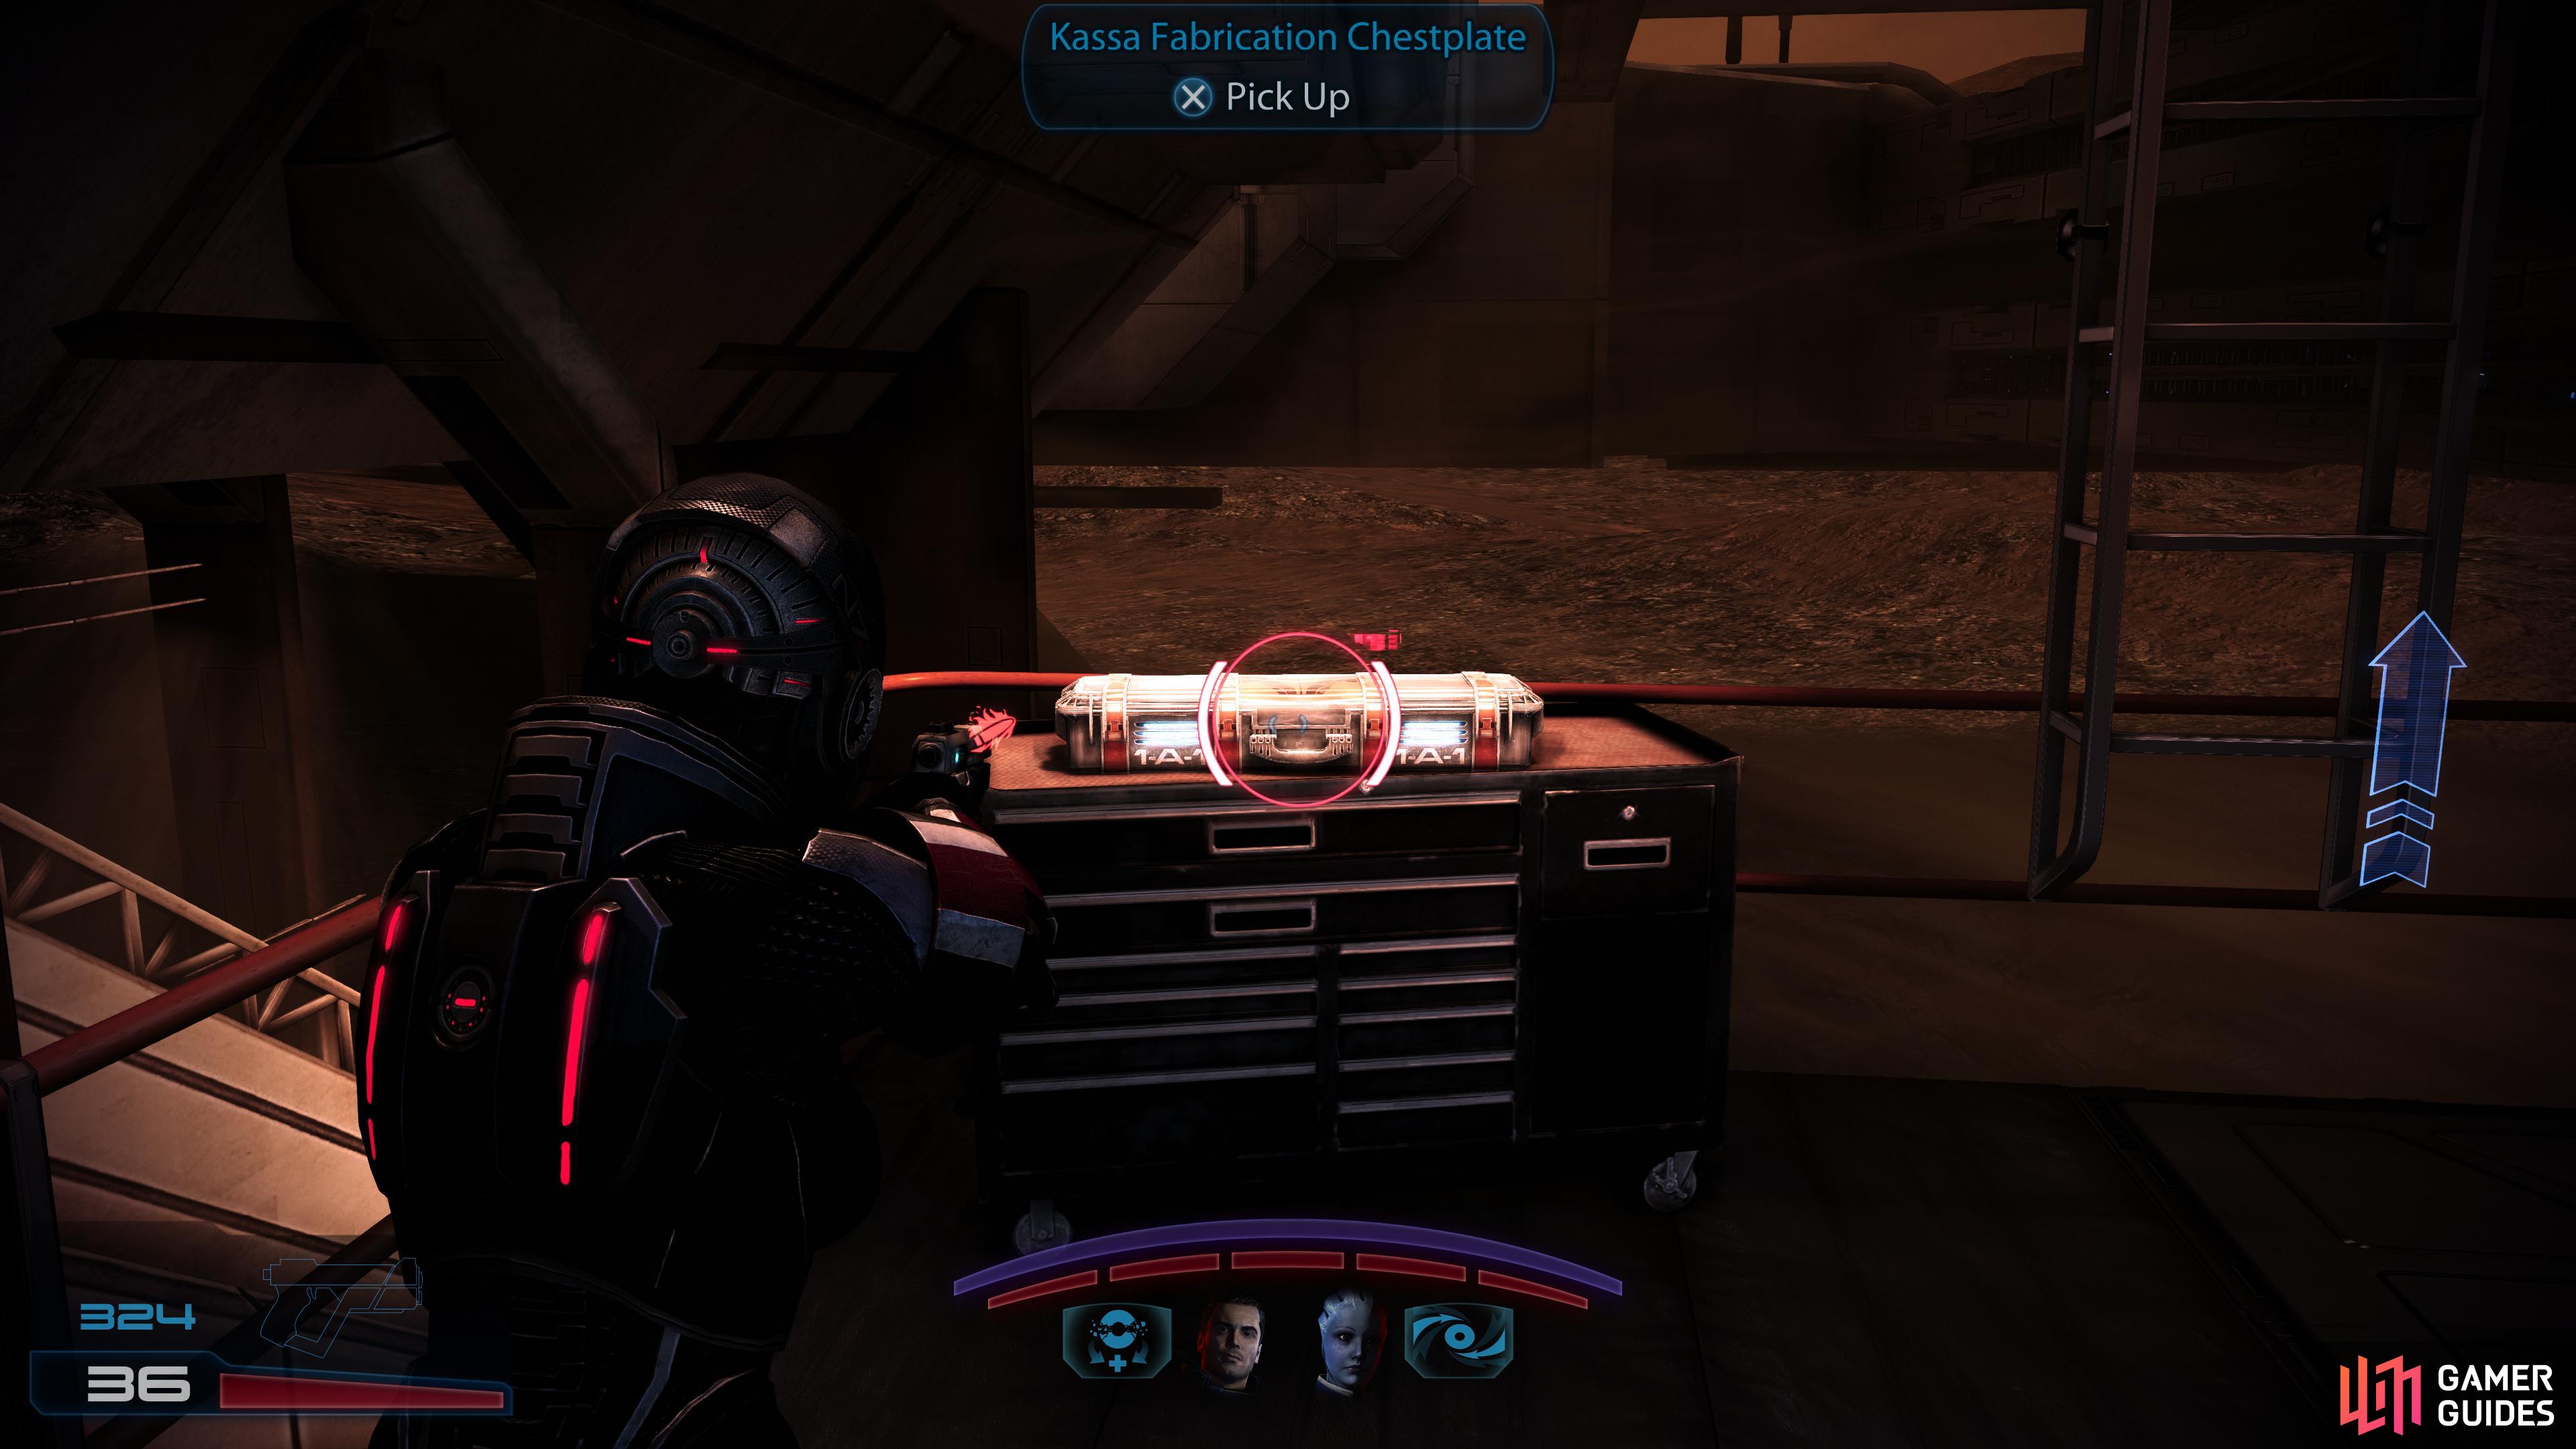
Exit the security office and go through two doors to the right, passing through the exterior airlock and returning to the lovely Martian outdoors. Climb down a ladder, focus on a firefight on a distant tram, then turn left to find another ladder. Pick up the Kassa Fabrication Chestplate before climbing the ladder, heading up a ramp to the right, jumping a gap, then passing through an airlock to the left.
Back inside the facility you’ll be treated to another innovation for the Mass Effect franchise: areas that aren’t adequately lit! Fortunately you have a flashlight, unlike other sci-fi games, where such technology is incredibly rare and fickle. Continue forward, turn right when you can, read another datapad for some XP, then head downstairs until you spot some Cerberus troops behind some glass. Line up a skull-busting headshot but be aware that once you execute it, the other troopers will know where you are.
Wipe them out, then search the darkened cafeteria beside the stairs you just descended for an SMG Scope - keep this in mind, as you’ll be able to install it soon.
Hope through the window behind which the Cerberus troops lurked and turn right to find another, smaller security office. Grab some thermal clips, if you need them, then loot a Medical Station for some XP or Medi-Gel, depending on your needs. Once done, use the nearby “Environmental Controls” console to move the story forward and give you access to the next area.
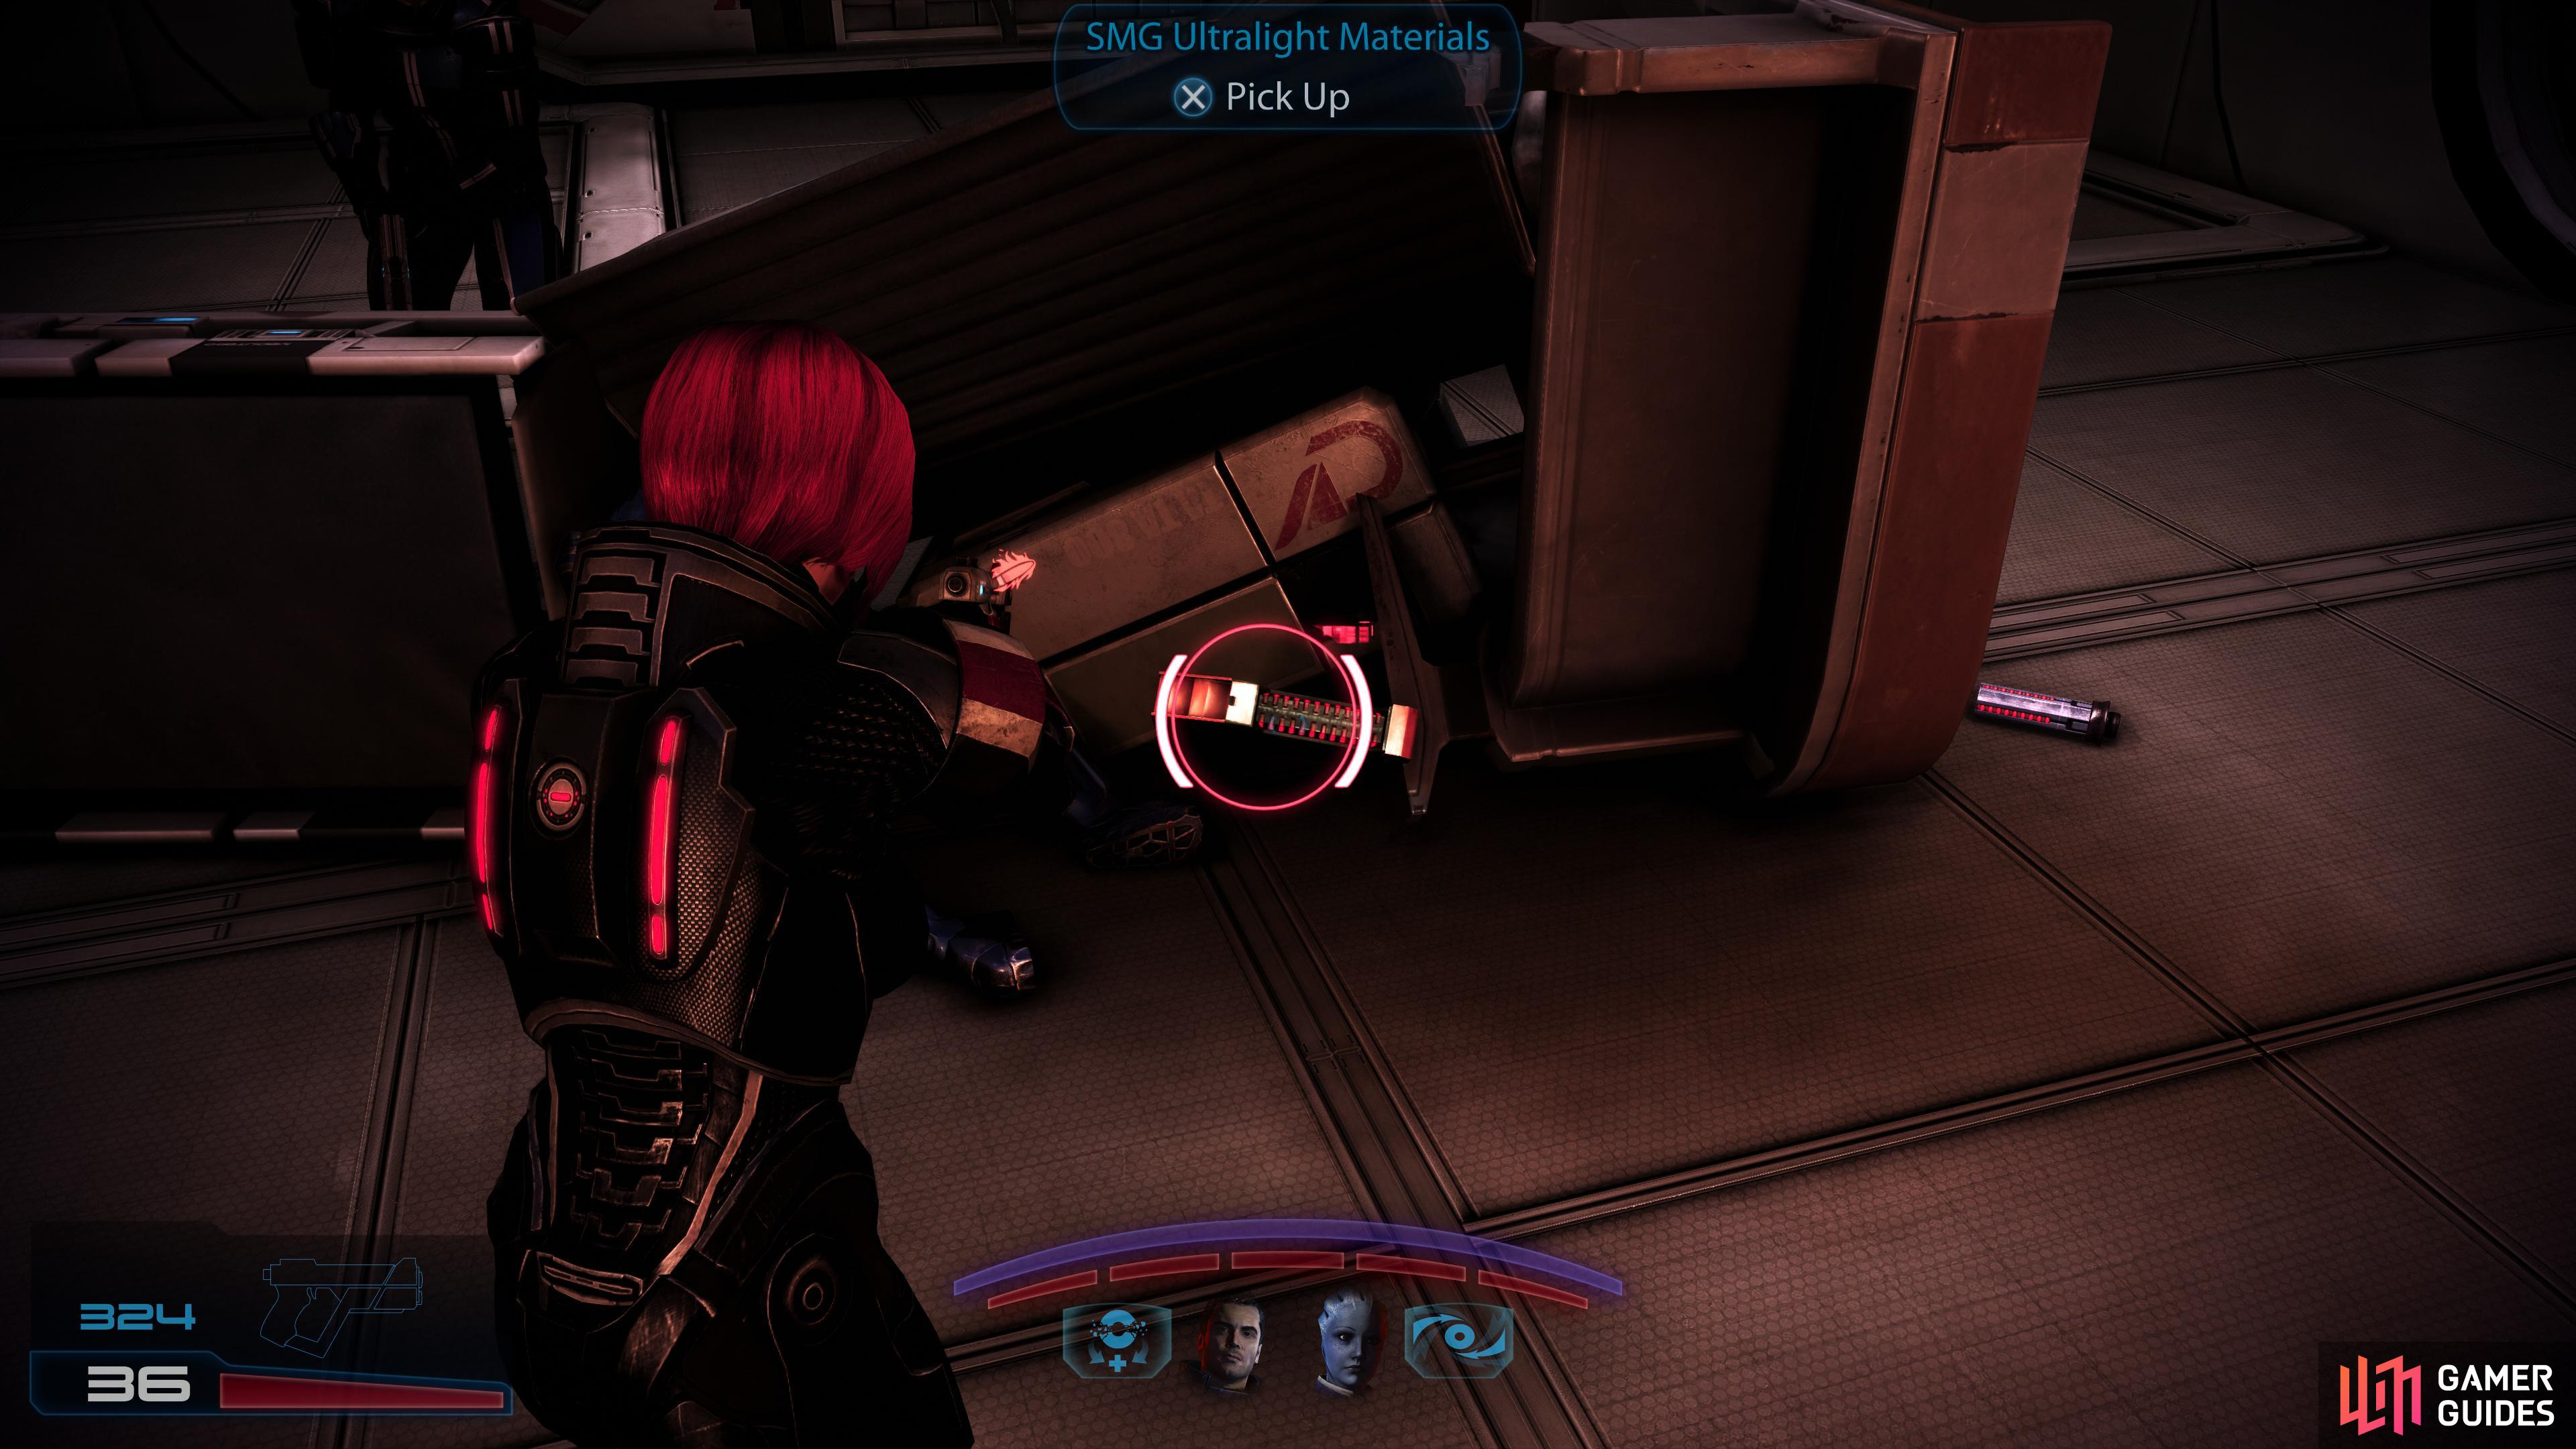
Pick up an SMG Ultralight Materials mod,
then put these mods to good use at the nearby Weapon Bench.
To the Core Transportation Section
Head through the next door and search behind some hastily erected (and ultimately futile) barricades to find an SMG Ultralight Materials mod on the floor near a corpse. With this in hand, examine the “Weapon Bench” near the stairs, where you can finally add and remove weapons and mods at will.
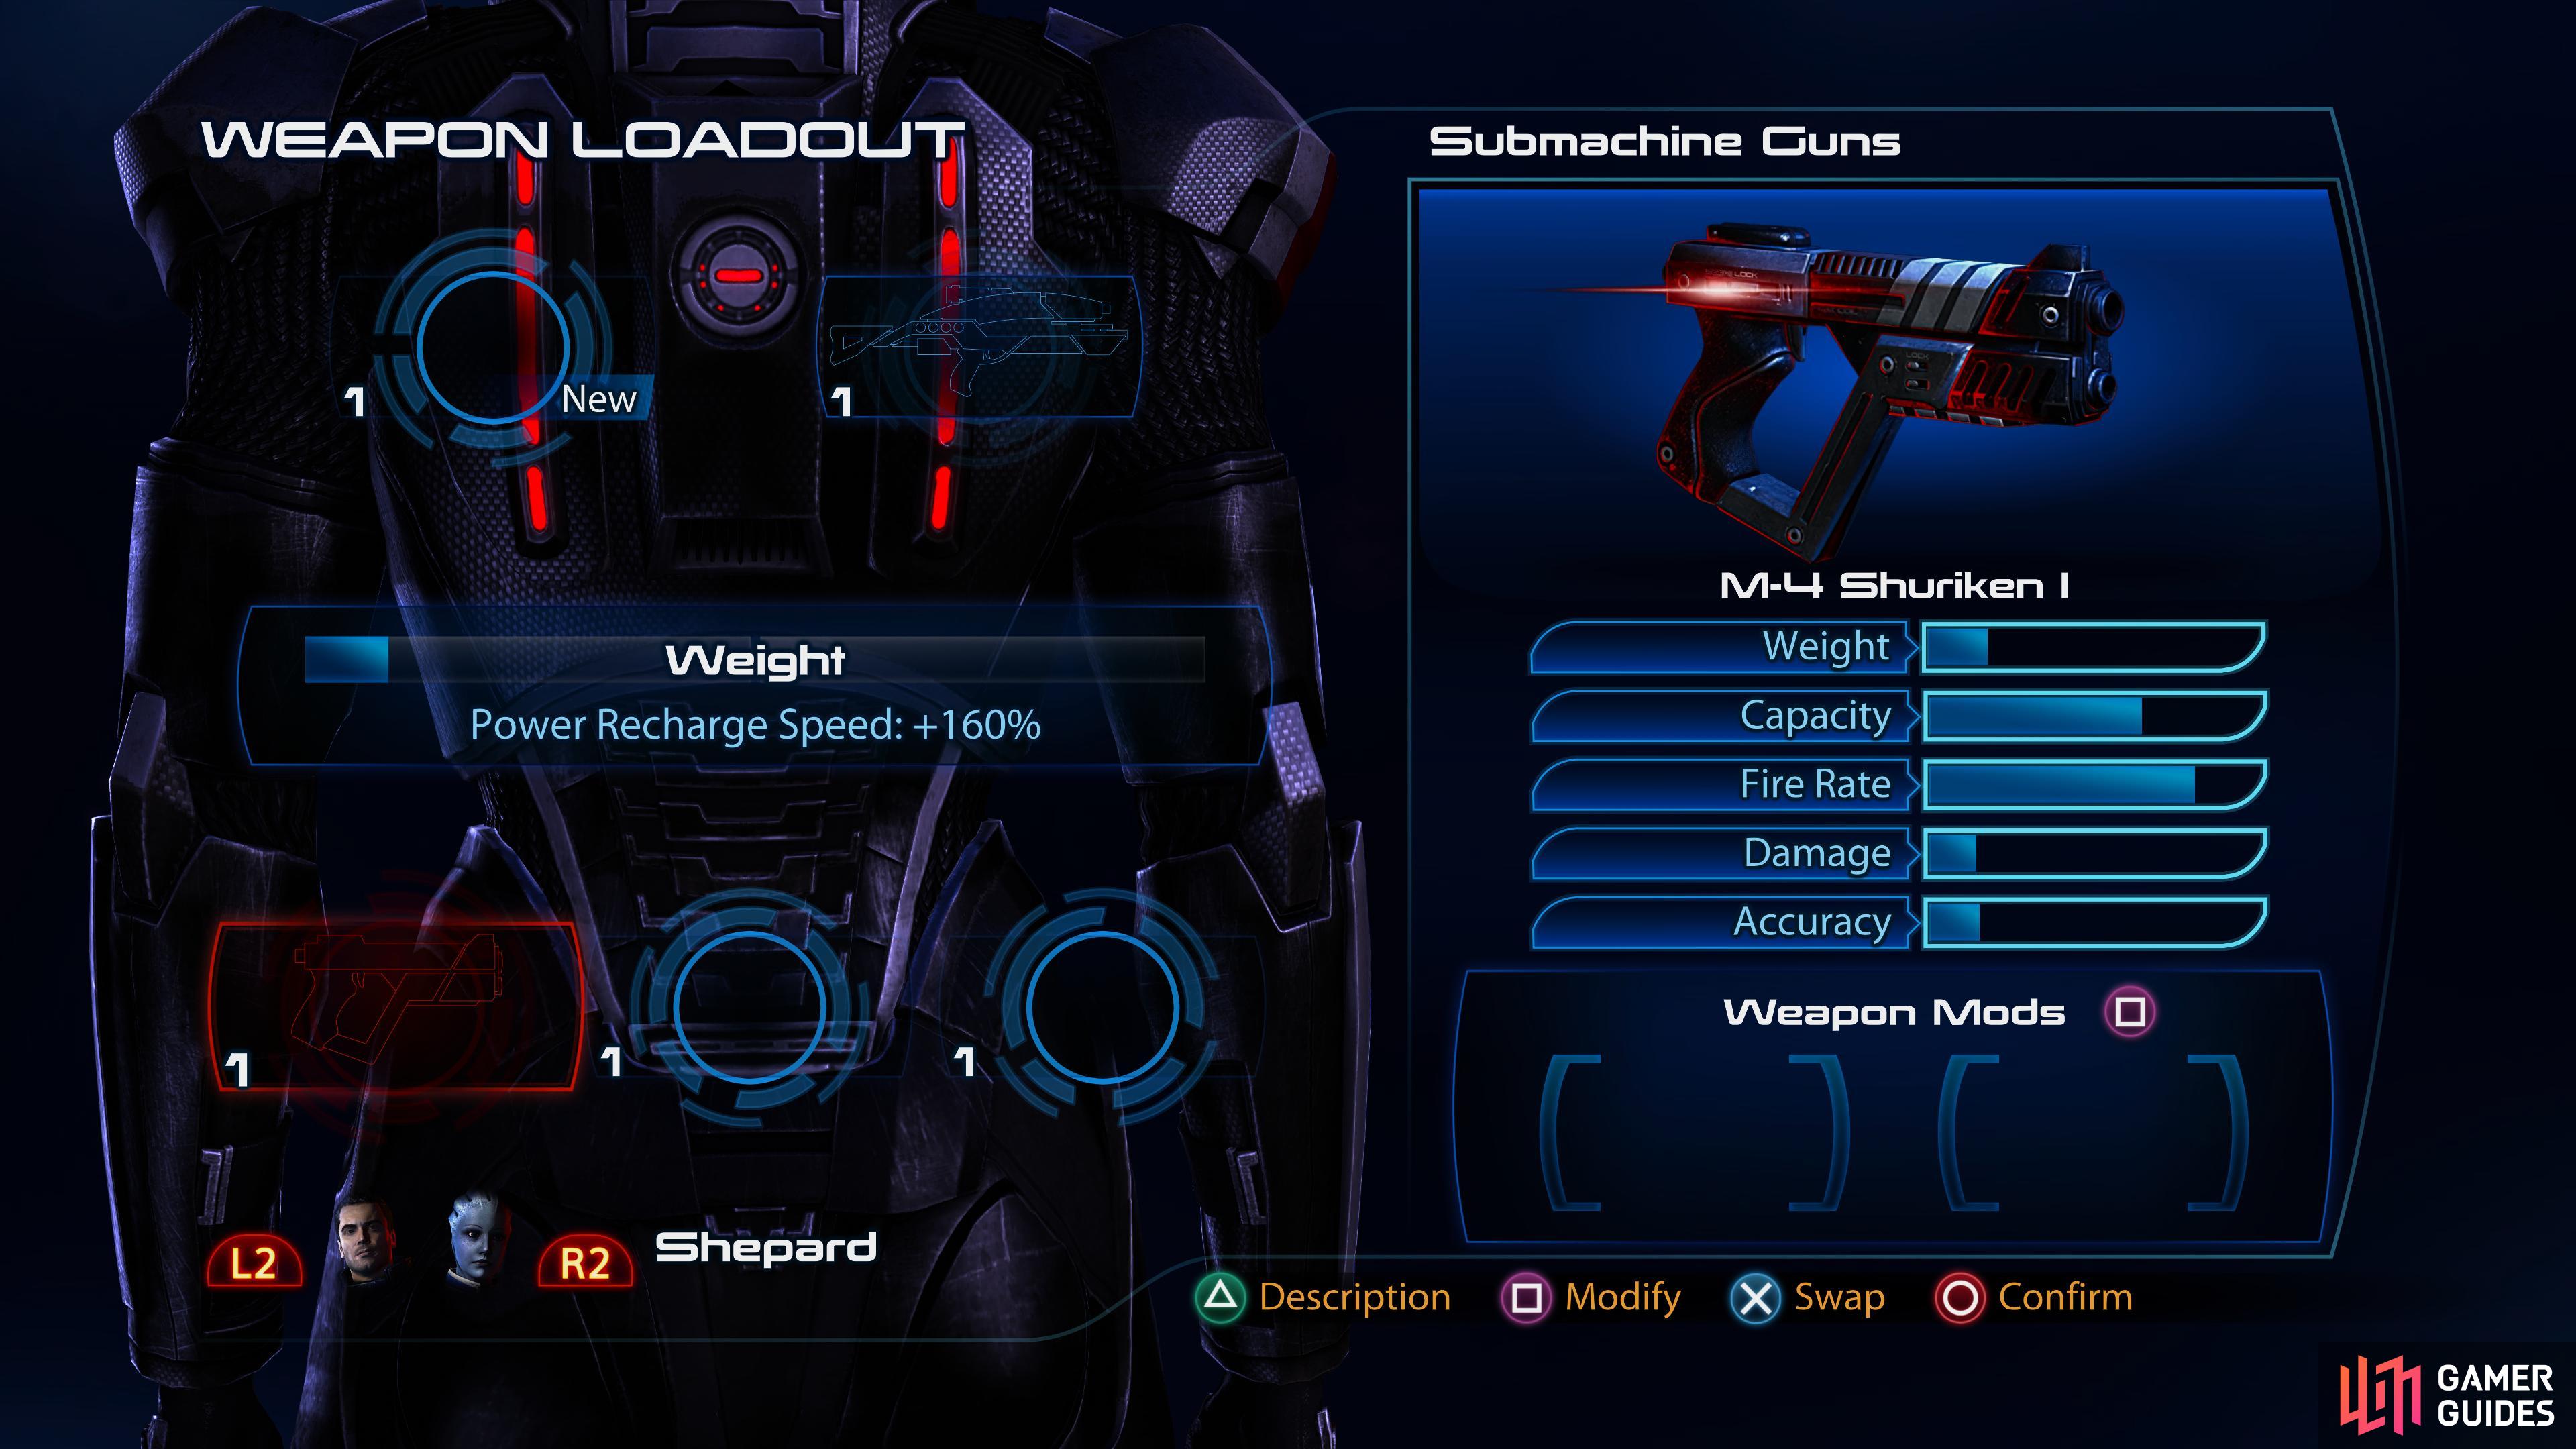
You’ve got five weapon slots - one for each type of gun (Sniper Rifles, Assault Rifles, Submachine Guns, Shotguns and Heavy Pistols). Again, the weight of each weapon may vary, but every weapon has weight, and as a general rule, the more guns you carry, the slower your powers will recharge. To equip or unequip a gun, just select the appropriate slot and select the chosen weapon (or “empty” if you wish to travel light). In case you’re wondering, yes, you do have to have at least one gun equipped.
To attach mods, simply select an equipped weapon you currently possess mods for (right now, that’s only SMGs), press the corresponding “Modify” button, and equip mods in various slots the same way you’d equip weapons. If you fancy SMGs and/or remaining unencumbered, at least give that SMG Ultralight Materials mod a go, as it’ll reduce the weight of your M-4 Shuriken, halving its weight penalty.
Sadly you can’t tinker with your armor right now.
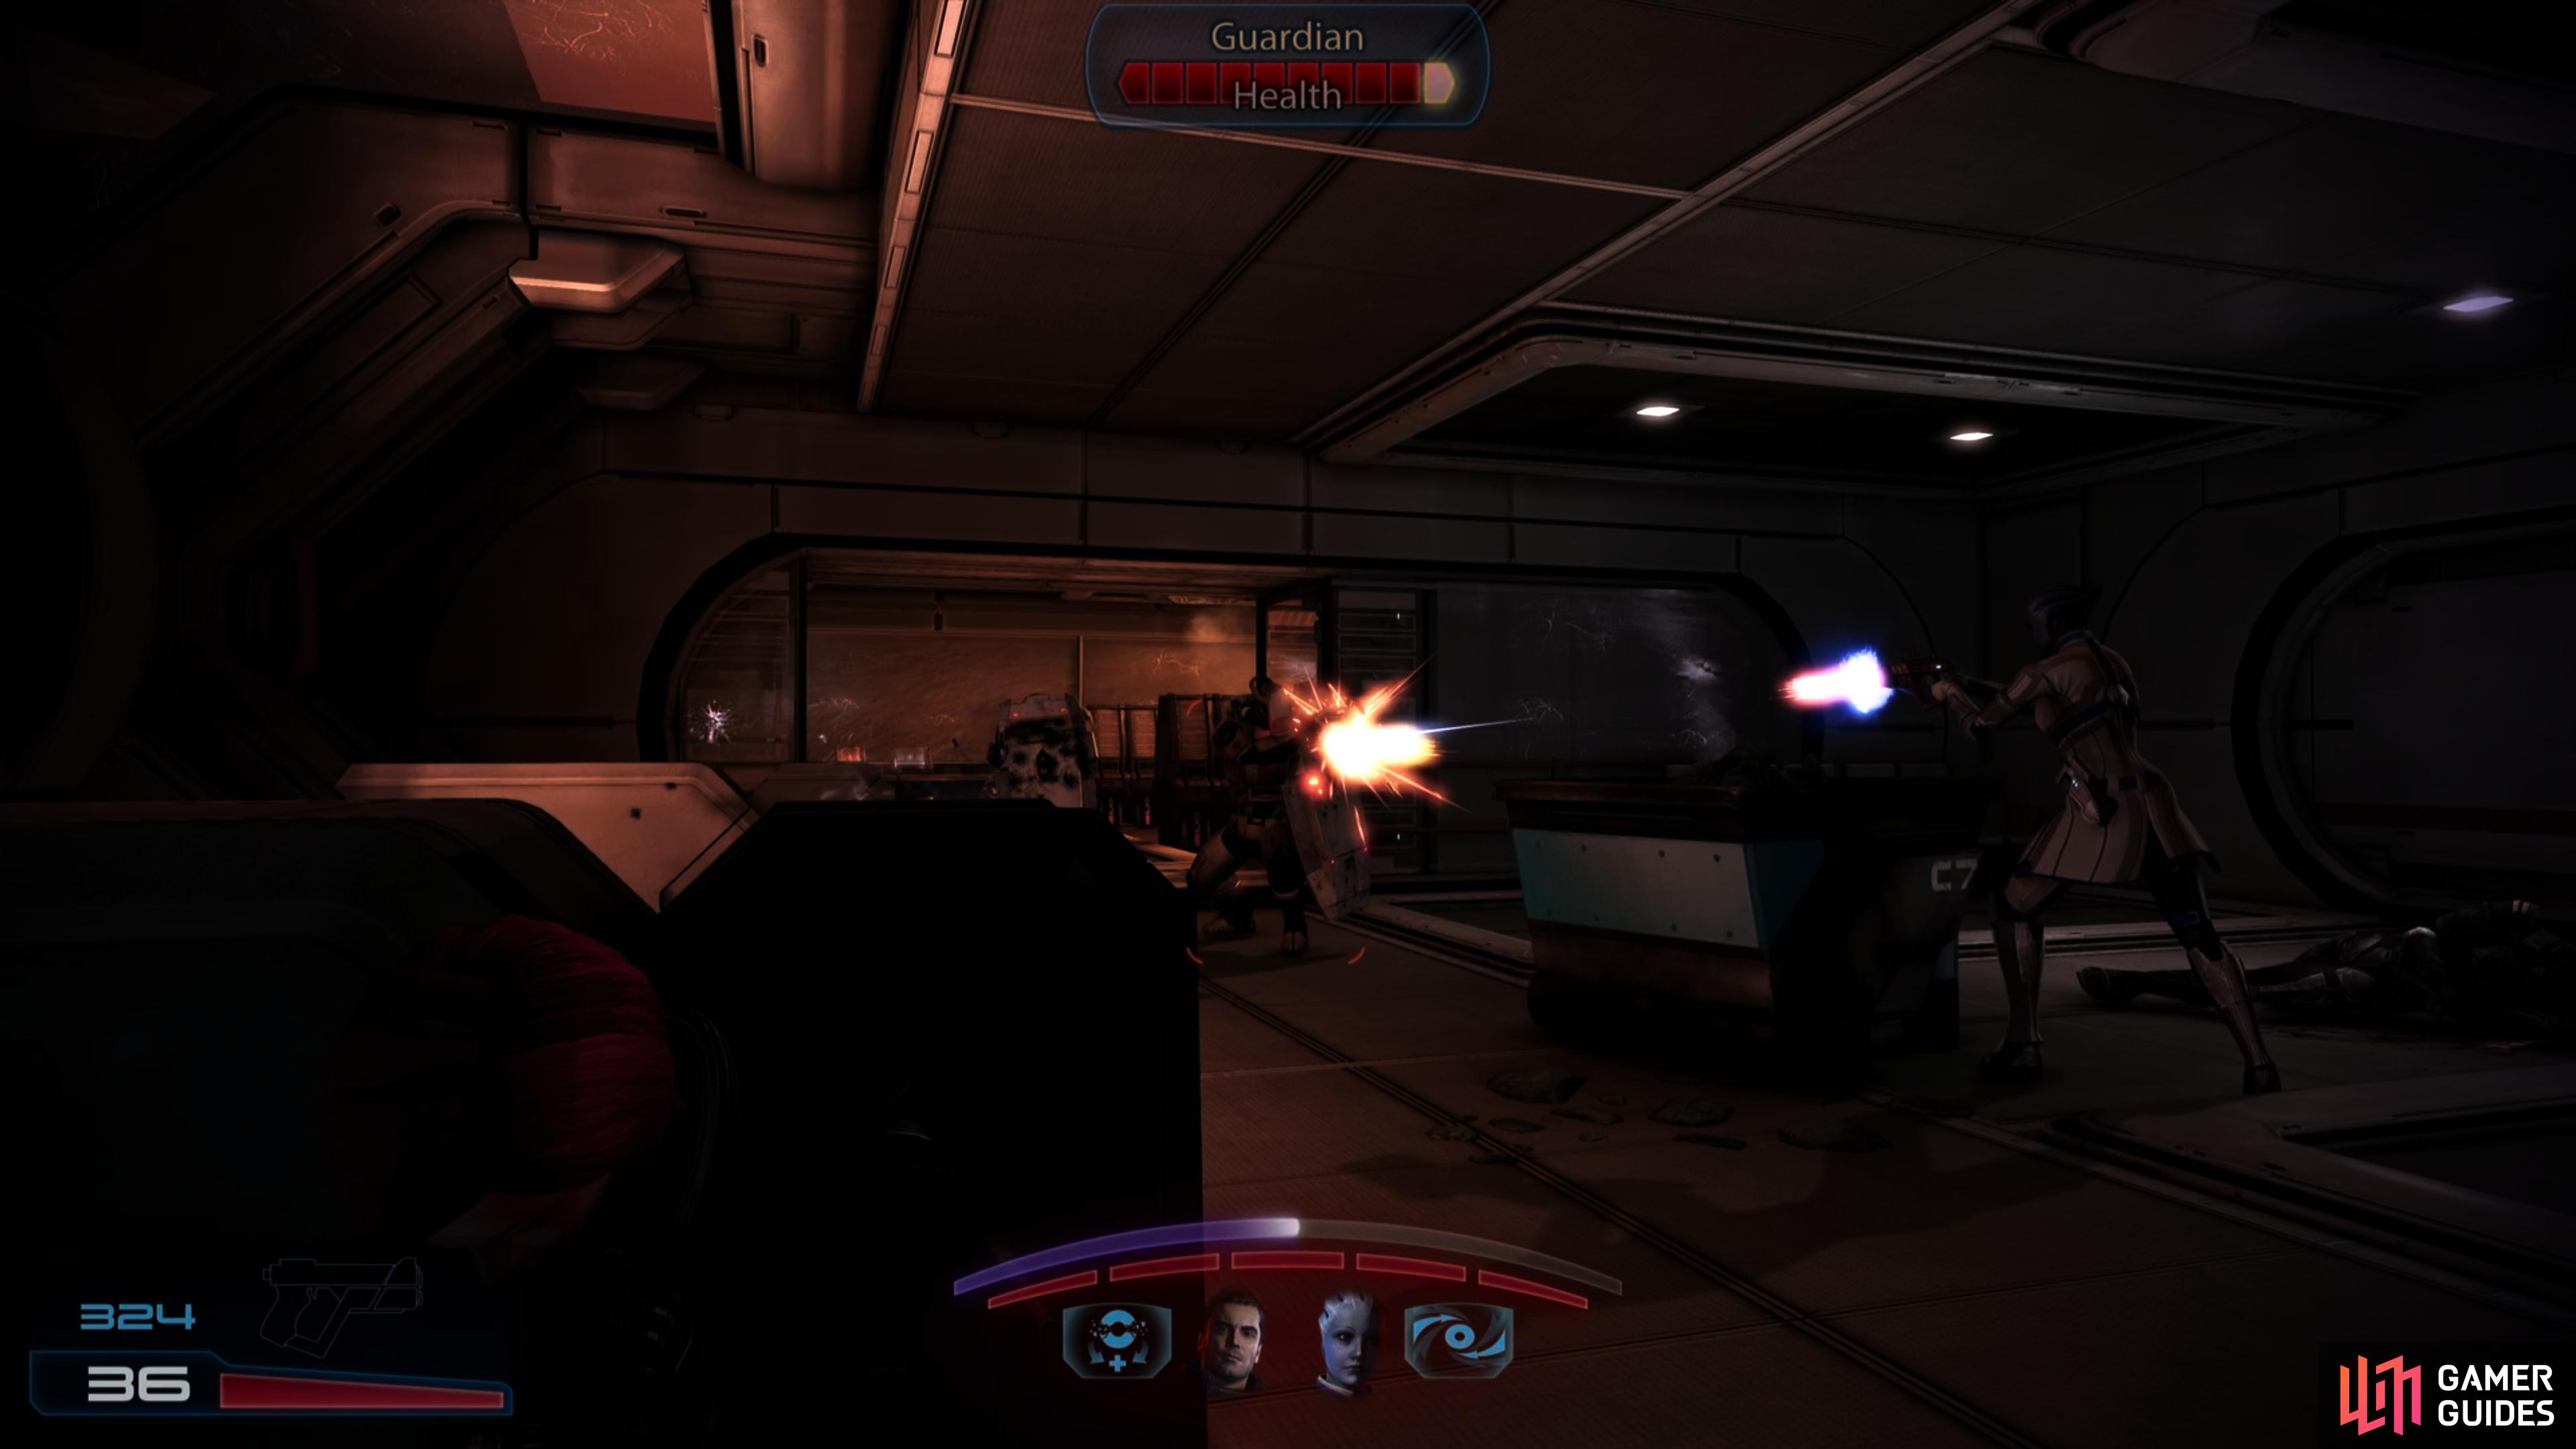
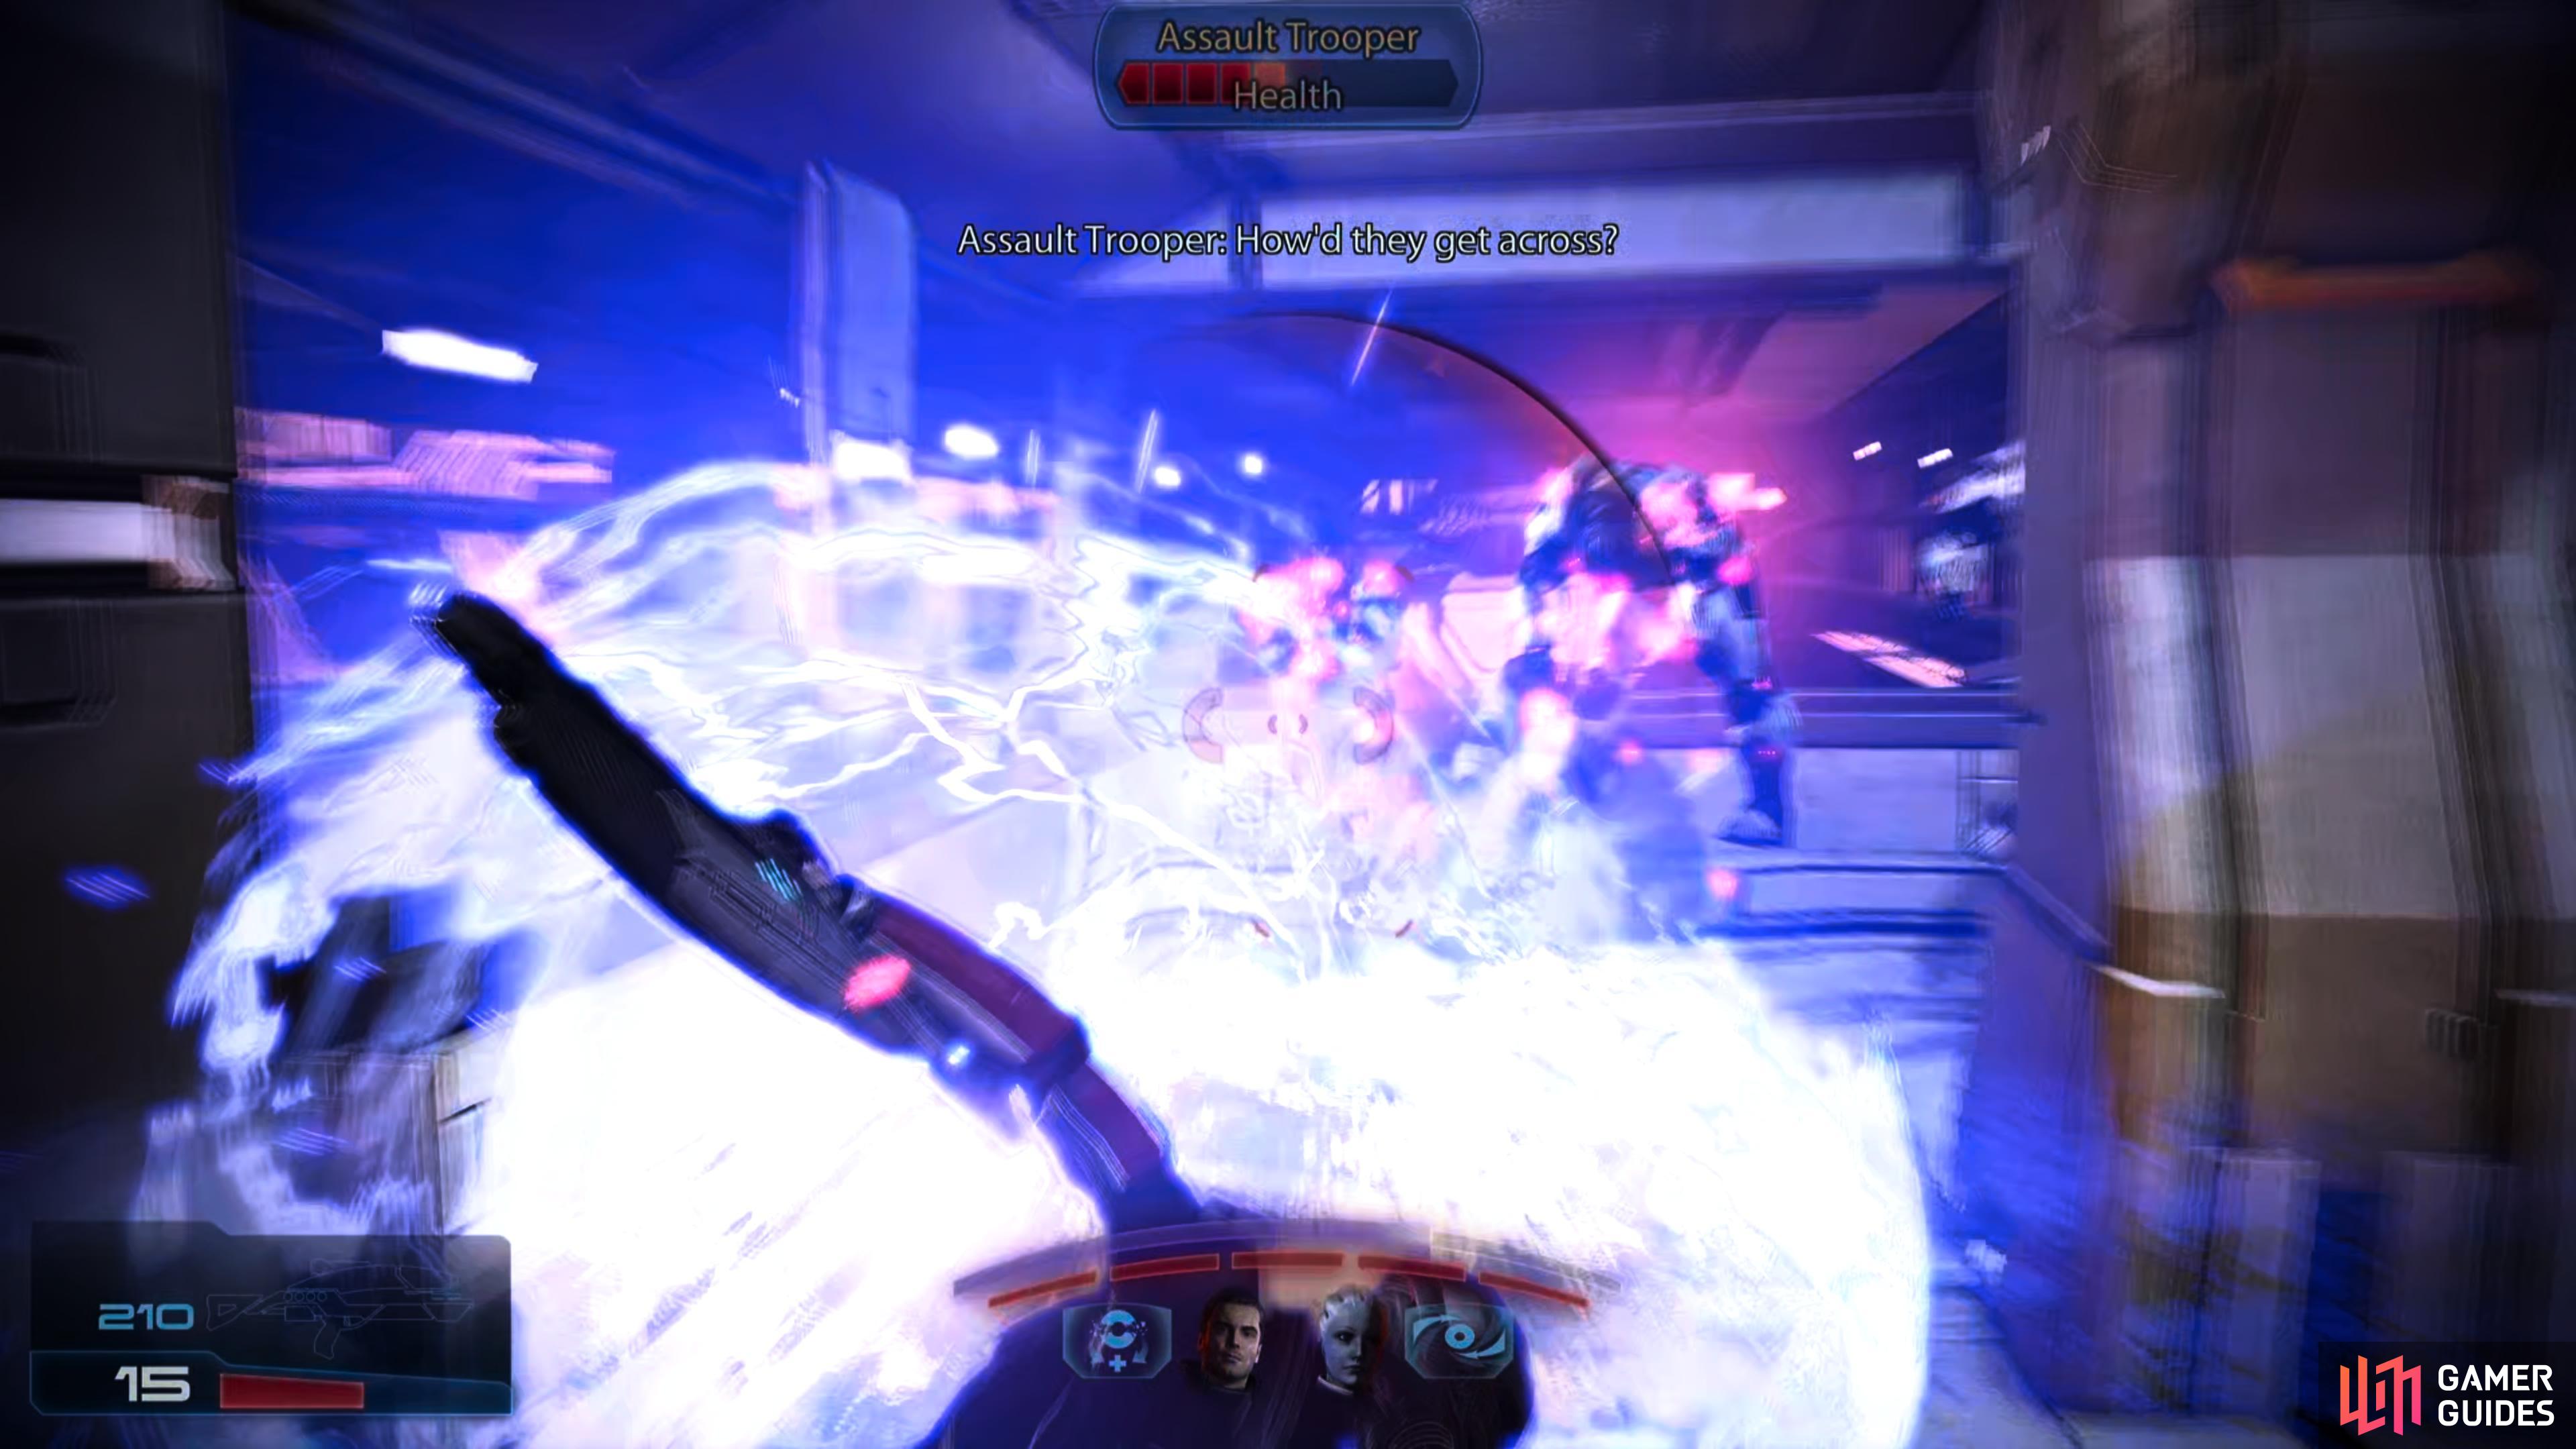
When you’re done with the Weapon Bench, examine a datapad by the stairs for more XP, then ascend them and pass through the doorway beyond, where a fight awaits you. Not only will you encounter multiple Assault Troopers here, but they’ll be joined by two new foes: the Guardian and Centurion. Guardians are distinct due to their heavy shields, while Centurions possess… shields. Hmm… Same word, different things. Guardian shields are big slabs of metal that protect from gunfire, while Centurions possess more typical (at least, in the Mass Effect sense) shields - a secondary form of defense that must be depleted before you can start inflicting health damage.
You can eventually deplete a Centurion’s shield with enough firepower, but Disruptor Ammo and powers like Overload are especially useful at taking down these defenses (you’ll need to Overload 100 shields for the Shield Breaker achievement). Guardians, however, are another matter entirely; their shields are made of sterner stuff, but alas, they still require puny human arms to lug them around. The limitations of human flesh can be exploited to cause them to momentarily drop their guard - pretty much any power that touts the Force with which it strikes (Concussive Shot, Charge, etc.) will accomplish this. Debilitating powers like Singularity will also make their shields irrelevant. Failing that, you can always just aim for the slot on the front of the shield, and while this isn’t the best solution, you’ll need to kill ten Guardians this way to earn the Mail Slot achievement.


There’s quite a few enemies down this hallway, and more down an adjoining hallway to the left, and their numbers and variety together make this the first battle you may actually have to employ some strategy to win. Be wary of the grenades the Assault Troopers throw, as well as the smoke grenade the Centurions deploy. In the latter case, the enemy are aware that they have infinite ammo and you don’t, and take advantage of this fact to fire with suspicious accuracy through what is apparently one-directional smoke. Guardians are less sophisticated, but arguably more dangerous, as they’ll slowly - but inexorably - advance, flushing you out of cover if you neglect them too long.
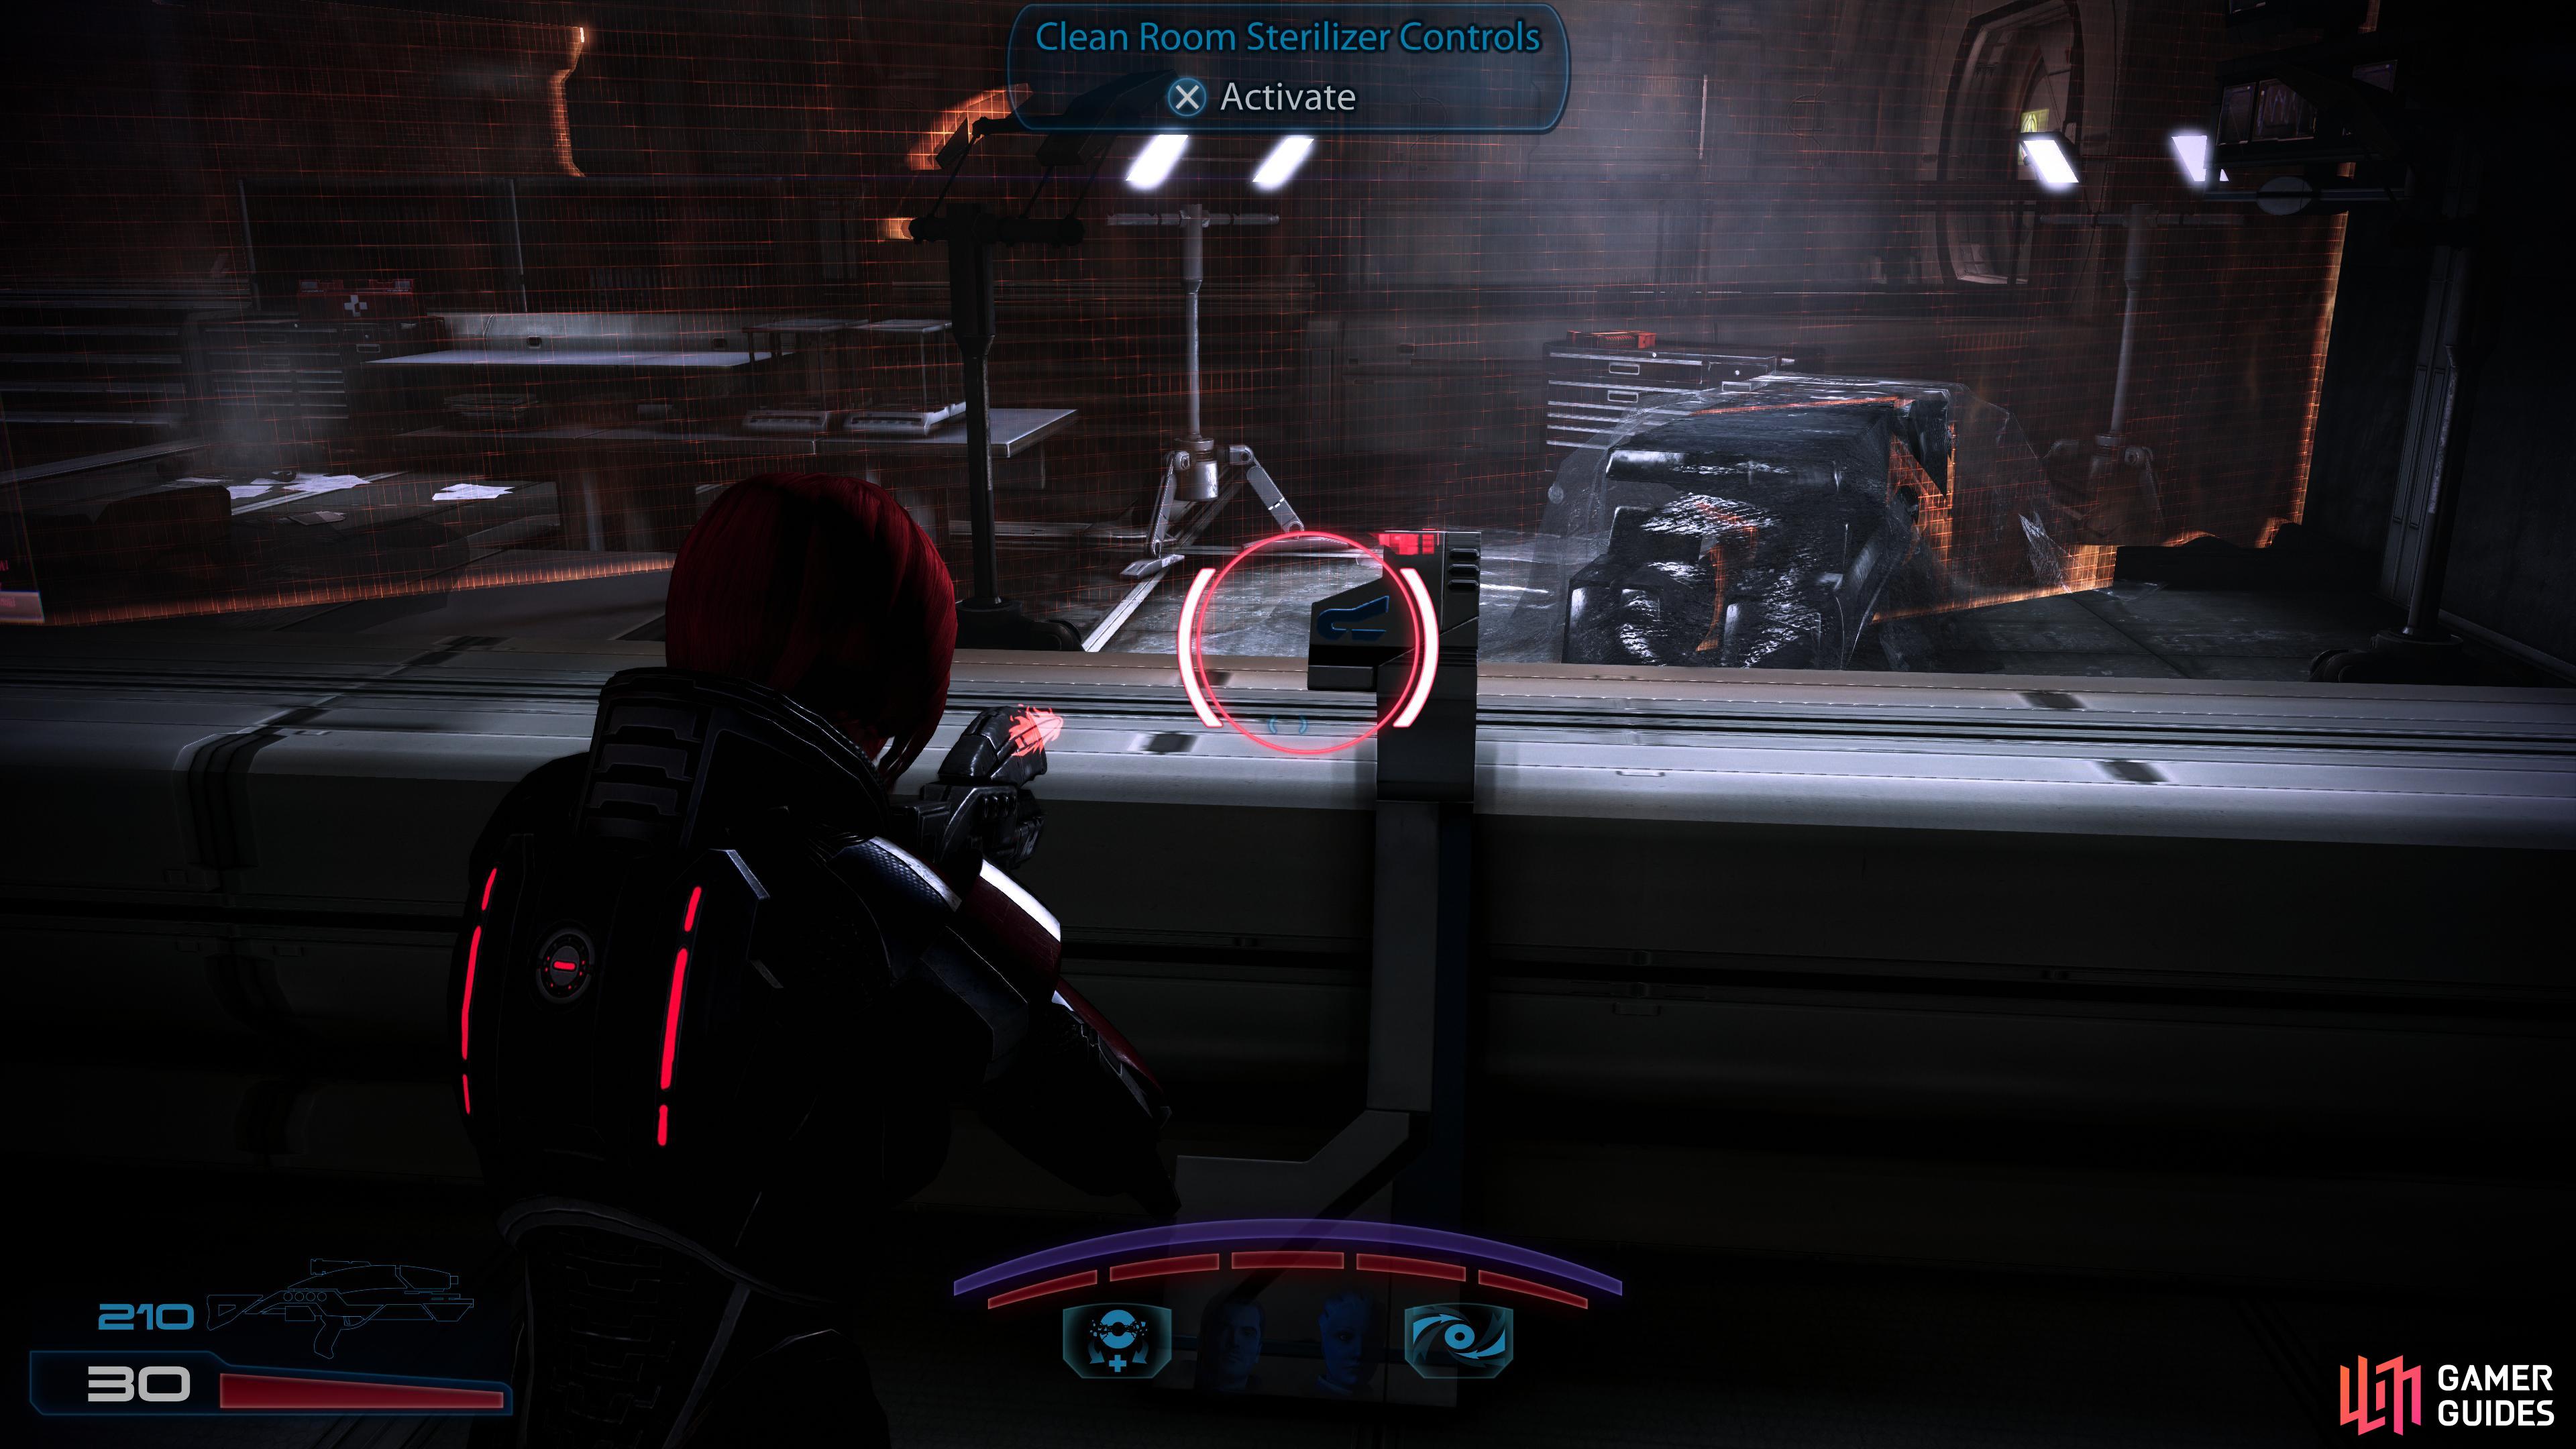
(1 of 3) Activate some “Sterilizer Controls” when the sterilization fields have exposed most of the chamber,
Defeat all your foes and at the end of the second tunnel turn left to find an active decontamination chamber. Near the windows are two “Clean Room Sterilizer Controls” which control the progress of two decontamination fields sweeping the room. Stop them when they’re both near the edges of the room so you can safely open the door and access a majority of the room’s interior. Inside the room you’ll find a Shotgun High Calibre Barrel mod, a datapad worth some XP, a Med Kit and a Sniper Rifle Extended Barrel mod.
Loot the room, then go through a door in the far right corner, and when you reach a fork hang a left. Keep an eye out for a new weapon - the M-23 Katana shotgun - on the ground near a corpse and take the next left, passing through a doorway to confront the next obstacle in this installation.
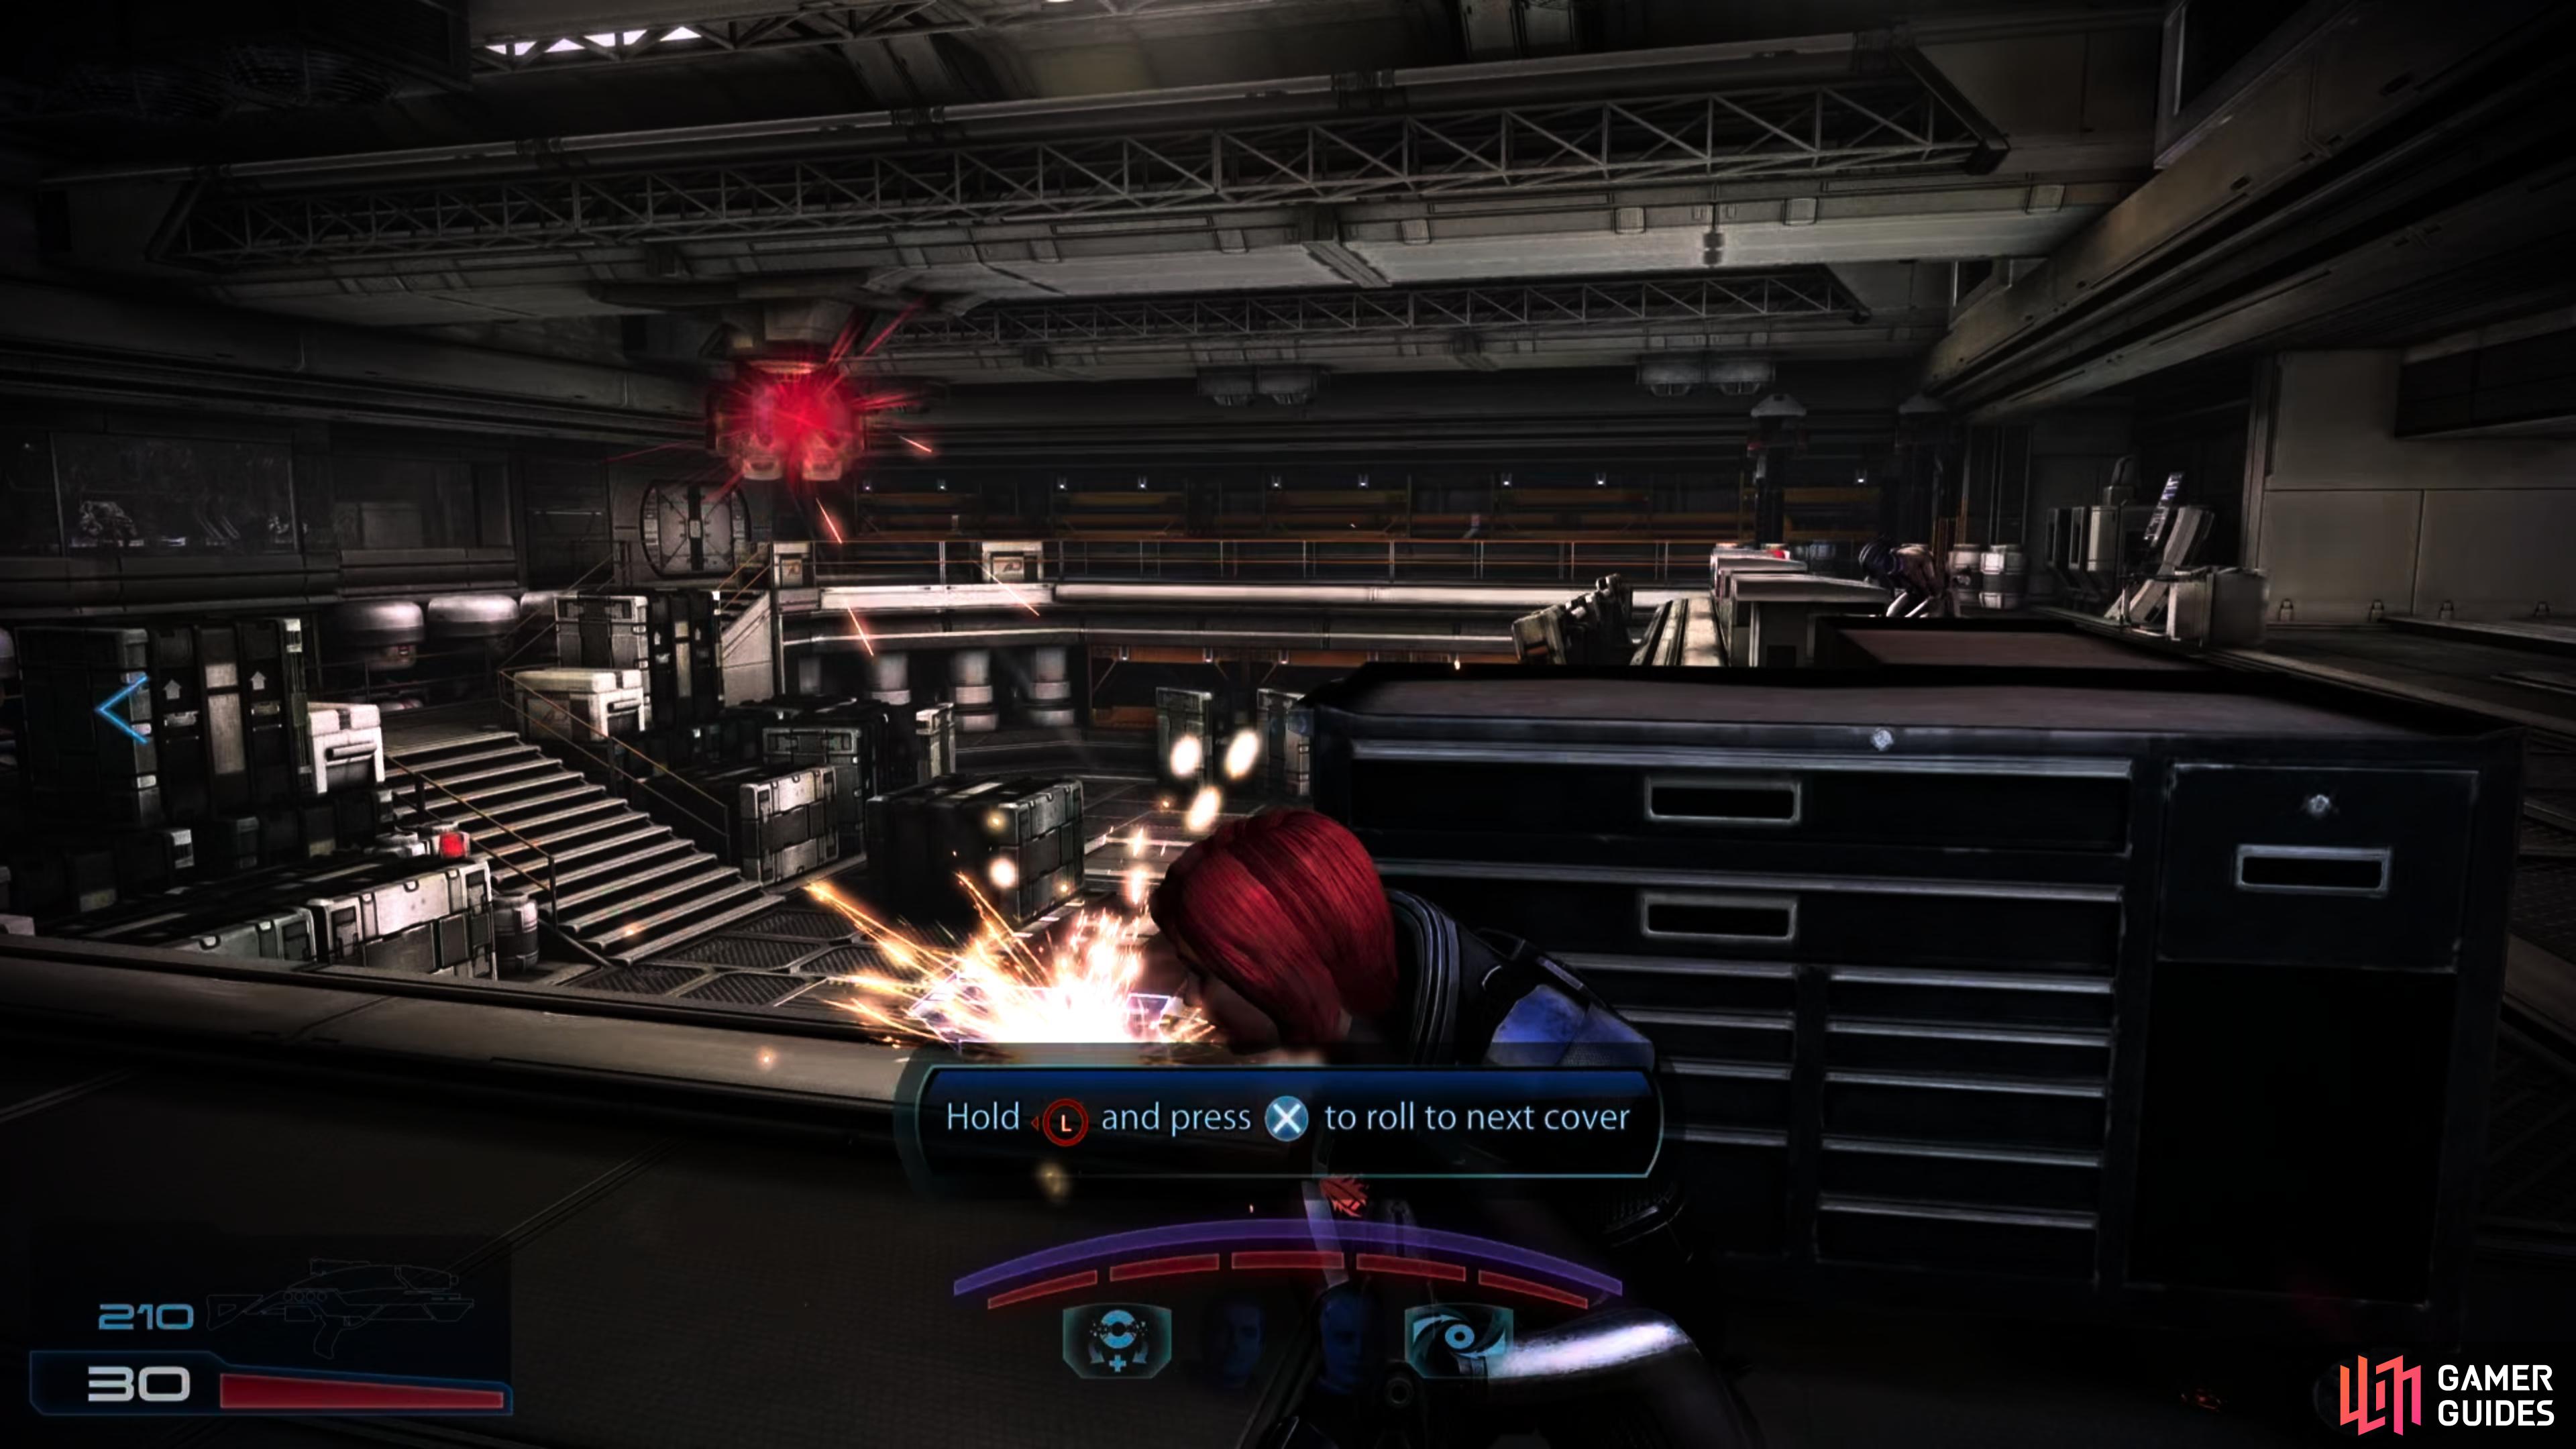
(1 of 3) Dive from cover to cover, limiting your exposure to the turret’s withering fire.
In the room ahead, a security turret will impede your progress. There’s no fighting this thing, you’ll just have to follow Ashley/Kaiden’s lead and dash from cover to cover, limiting your exposure to the turret’s withering fire. Work your way around the turret, and once you’re behind it, you’re golden - the Cerberus goons in the control room will deactivate it, so you won’t have to worry about it anymore.
Speaking of which, go through the door ahead of you and put down several hostiles, including Assault Troopers and a Centurion. Restock up on ammo, open the Medi Kit, examine a datapad for some XP, and pick up a Sniper Rifle Concentration Module mod in a locker. Once all that loot’s yours, use the “Auto-turret Controls” console to trigger another cutscene… and provoke an enemy attack.
Assign your squad members to take up position flanking the tram,
then ambush the Cerberus troopers that arrive on the tram.
Ride the Tram
The only way to your destination is via the tram, and fortunately Cerberus is dull enough to fall for your ruse. When you’re back in control, assign one or both of your comrades to take up position in the indicated area, then head downstairs and wait for the tram to arrive. When it does, lay into the Cerberus troopers on board with whatever powers you have at your disposal - they’ll start out fairly grouped up, so a combo can do you an awful lot of good. The standard Assault Troopers are fortified by the presence of a Centurion and two Guardians, the latter two of which probably won’t be much of an issue if your initial offensive is potent enough, as they’ll turtle up while you take out their companions.
(1 of 4) After your tram is disabled, dispatch the Cerberus troopers and steal their tram.
Make your way onto the tram and activate the “Cablecar Control”. Unfortunately, Cerberus is somewhat competent here, as about halfway down the rail you’ll trigger a booby trap - immediately take cover as there’s a welcoming committee trying to shoot at you from another tram car. If the two tram cars align, the enemy will attempt to board yours, which could get messy, depending on your class - a Vanguard will absolutely thrive in such an environment, while an Infiltrator is better off using their sniper rifle to thin the herd from afar. When the half-dozen or so Assault Troopers on the tram car are defeated, activate the “Cablecar Control” on their tram to ride to the other side.
And to think, if Cerberus had just left well enough alone after the bomb disabled our car, this all might have had a very different - if anticlimactic - ending.
As it stands, Cerberus is content to try to win by force of arms which they could have achieved with neglect. When your tram car arrives you’ll face opposition in the form of several Assault Troopers led by a Centurion. Once these are defeated, another Centurion in a control room will open some gates, forcing you to fight the aforementioned Centurion, more Assault Troopers, and three Guardians.
Defeat your enemies, then search the area. In the control room you can find a Medical Station, while in a locker behind and to the left of the control station you’ll find the M-15 Vindicator, arguably one of the best assault rifles in the game. It deals more damage and has much more accuracy than the Avenger, but does so at the expense of lower ammo capacity, fire rate and more weight. It fires in three round bursts and has significant recoil… so it might take a few mods (and some restraint) for the best results.
Catch Dr. Eva!
(1 of 5) During your conversation with the Illusive Man, you’ll get a Paragon/Renegade option - be sure to stick with this choice in all your dealings with the Illusive Man going forward.
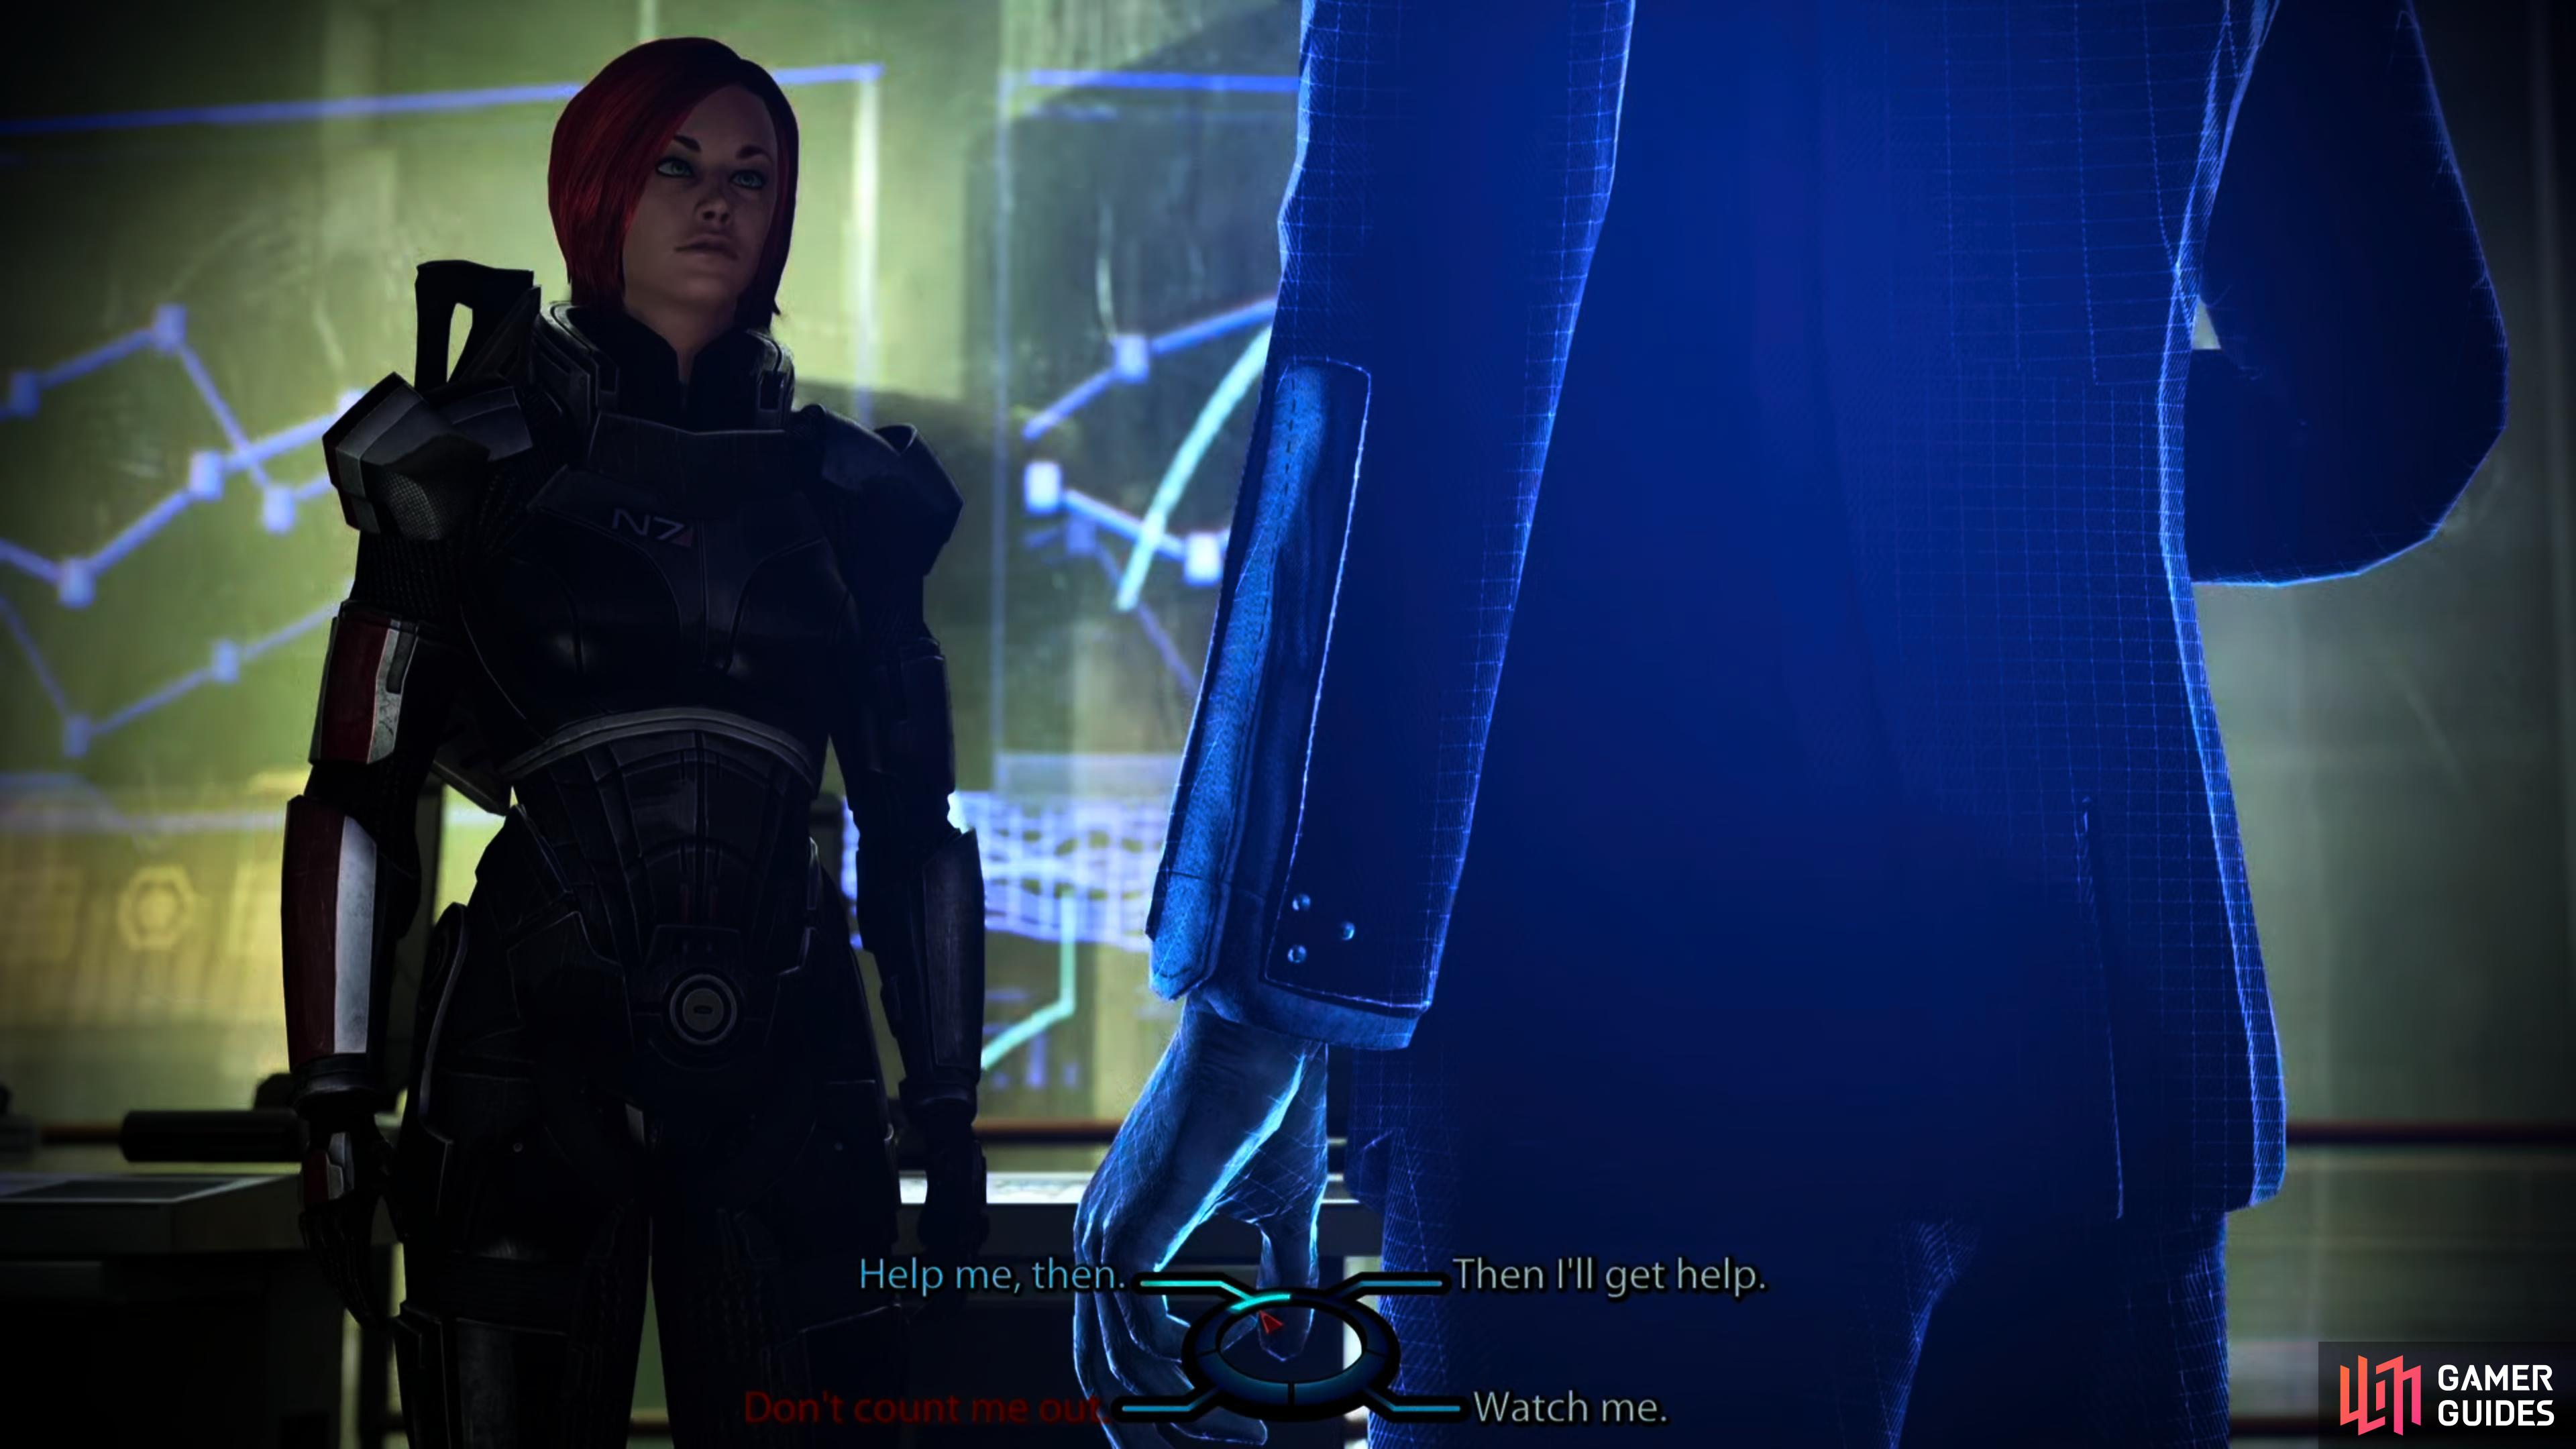
Go through the door beyond the control room and you’ll trigger another cutscene. Soon you’ll find yourself talking to your old partner in crime, the notorious human supremacist, the Illusive Man. If you want to keep your options open for interactions with him much, much later in the game, be sure to start out this conversation by picking “You’re wasting time!”, after which you’ll get the opportunity to pick a Paragon/Renegade response. It doesn’t matter which of these you pick, but be sure to pick one and stick to it for the rest of your dealings with the Illusive Man. While this doesn’t technically mean you have to play a strict Paragon or Renegade, you’ll need to max your Paragon/Renegade points throughout the game to keep passing these checks with the Illusive Man, so you should really focus on one or the other to ensure you gain enough points.
Either way, after the cut-scene is over, hold the run button and give chase to the Cerberus assailant. After escaping the room where you confronted the Illusive Man, she’ll flee into the control room from the previous encounter. Don’t rush, wait for the prompt to open the door to appear, then chase her into the control room and when she escapes, open the security shutters, vault over the wall, and keep up the chase. As long as you aren’t too slow, she’ll effectively wait a few seconds for you to catch up in each area. She’ll also take potshots at you and use Incinerate, and while the former is just a distraction, the latter can actually slow you down, so try to dodge it. It’s fairly hard to mess this up (especially as a Vanguard, where you can use Charge to close the distance), just don’t worry about trying to kill her and settle for a chase.
After Vega intervenes, Eva will make one final charge at Shepard - all you have to do here is take aim and put enough bullets in her head before she gets too close. Once Eva falls, the mission on Mars will end and you’ll make your way to the Citadel. Aside from earning Paragon/Renegade points based on your responses on the Normandy, not much of consequence occurs on the trip.
| Reward |
|---|
| 35,000 Credits |
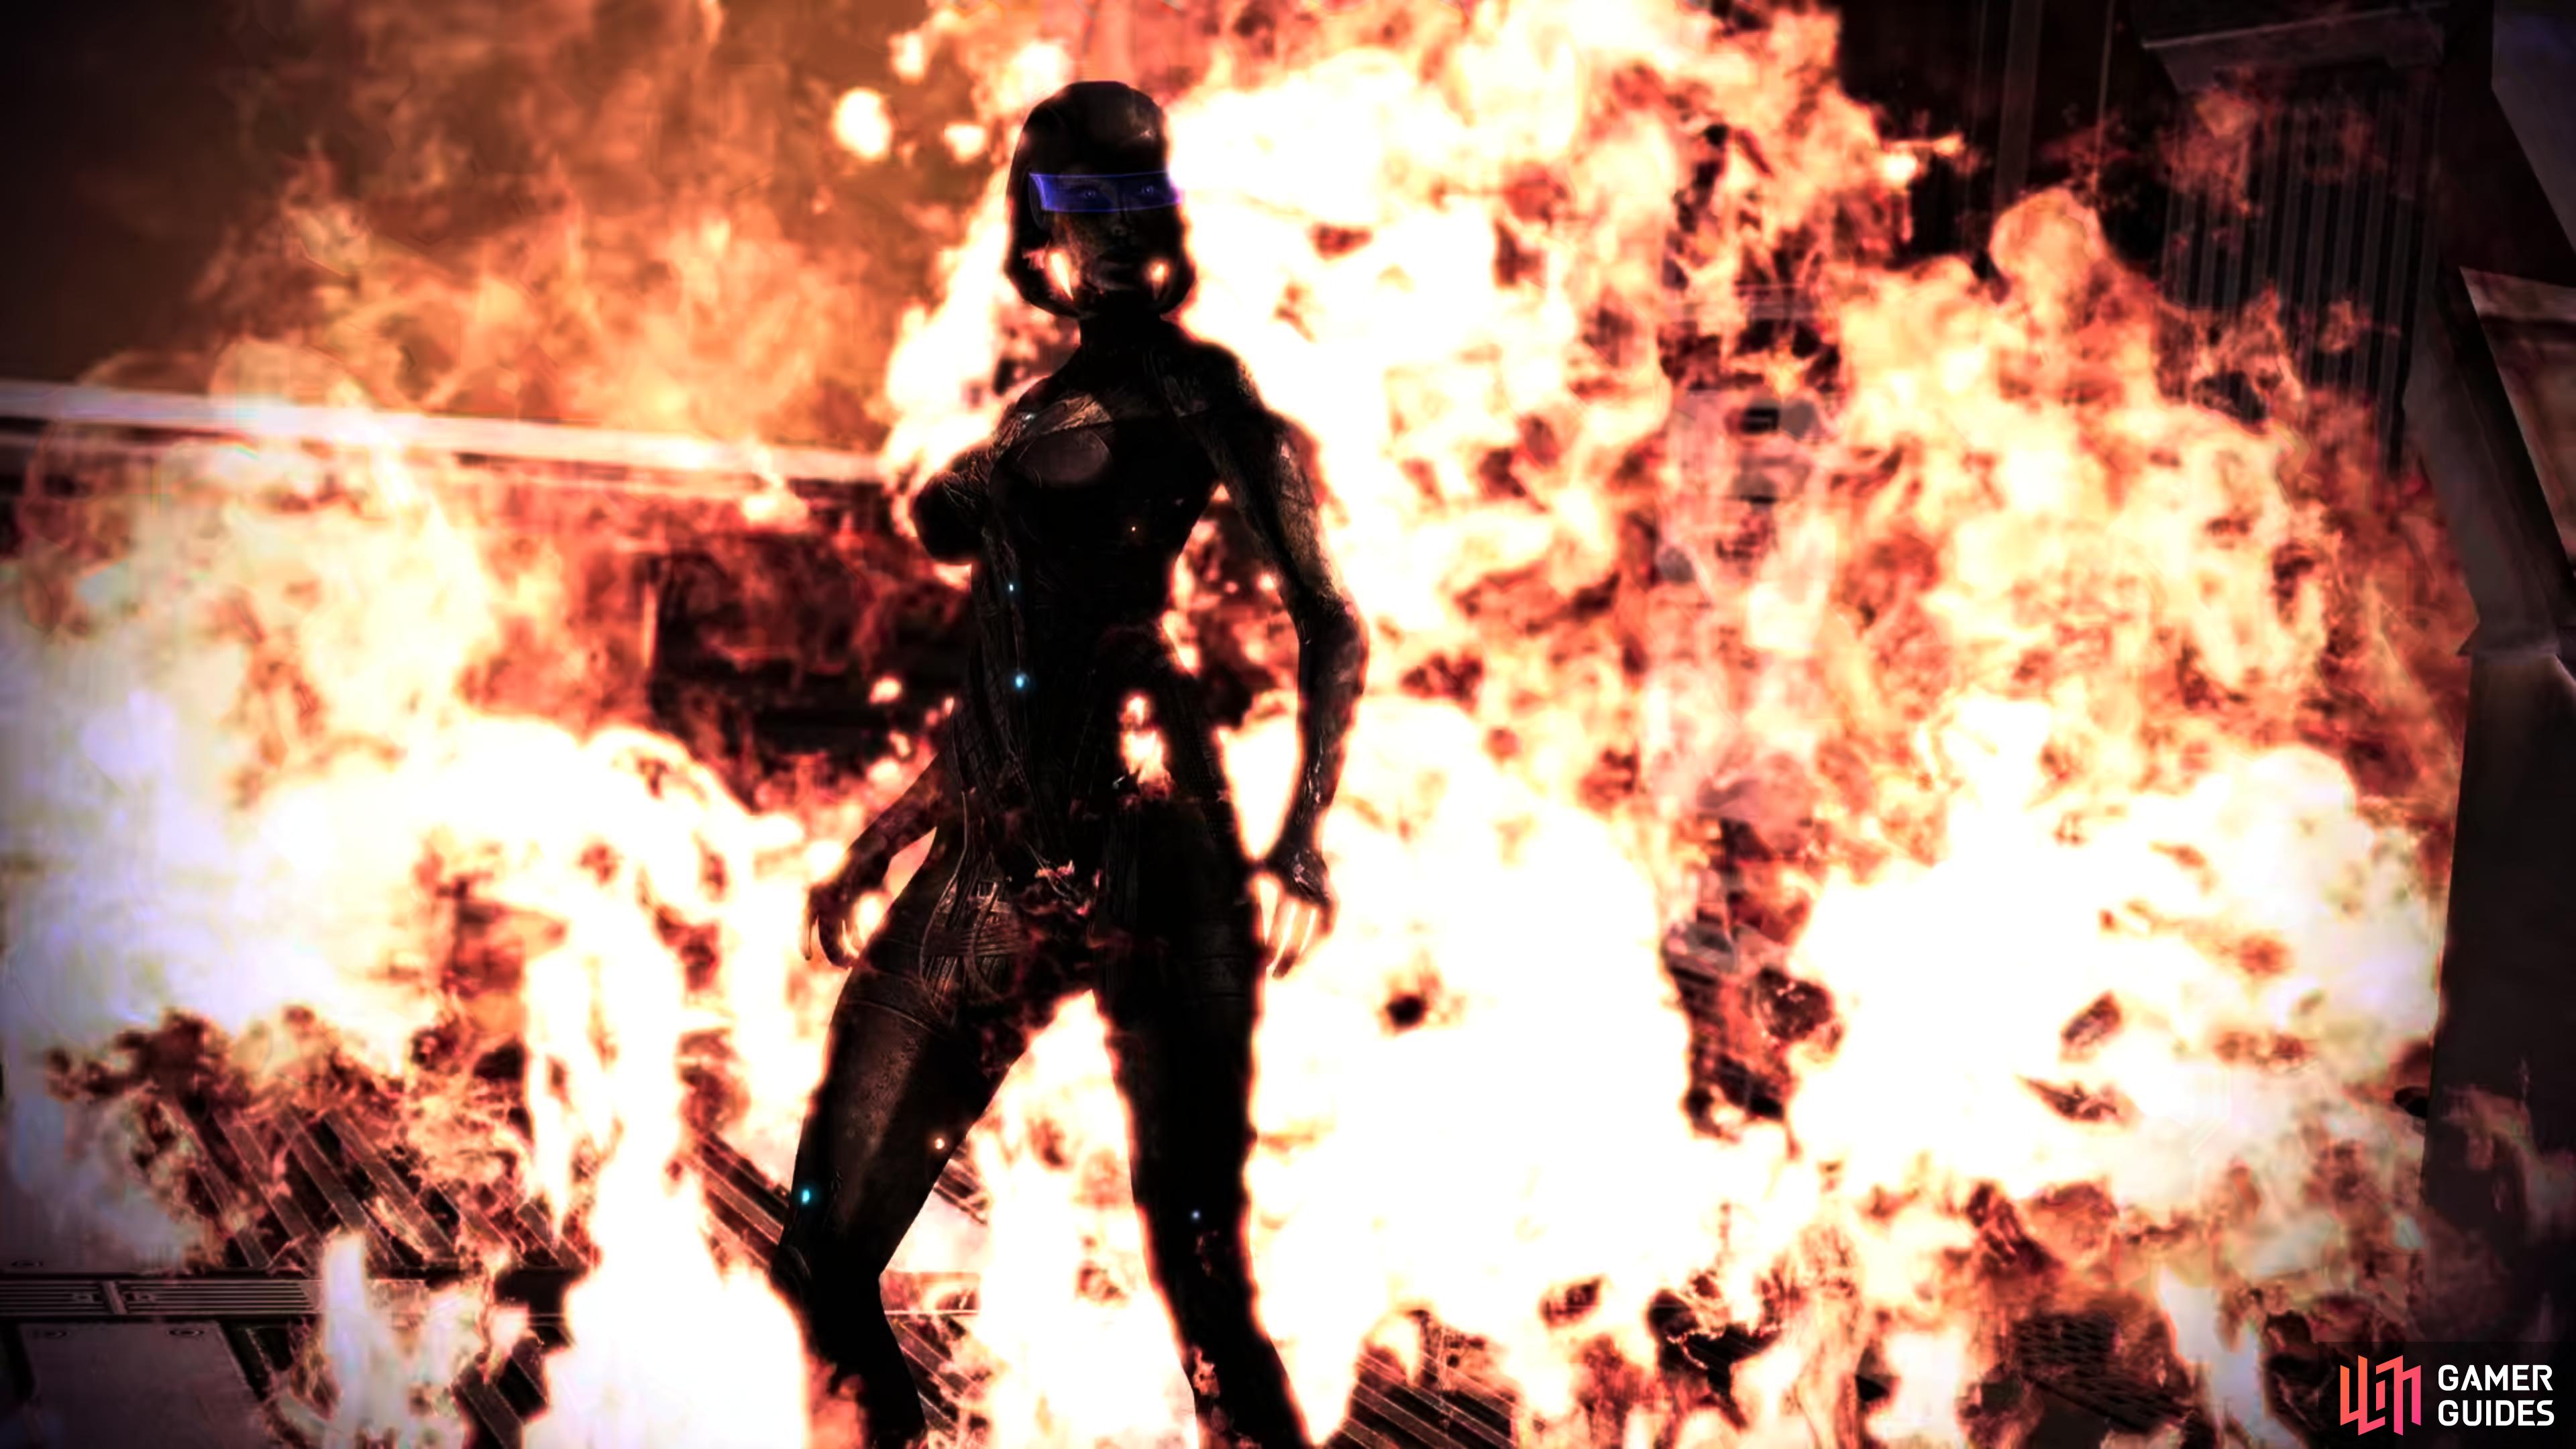
The Cerberus gynoid very nearly thwarts your mission on Mars, and even in defeat shows how dangerous Cerberus can be.
No Comments