
At long last the Quarians return to their homeworld.
If you’ve got Tali with you, then she has to come along leaving you with one other choice. When you land, it’ll be in a hot zone against multiple Geth fighters, so hit a couple with Sabotage to keep a bit of pressure off you as you pick off the others from behind the pipes that you’re using as cover.
Keep using Sabotage/Overload/ammo-enhancers to make light work of the Geth and when they’re all dead, run down to the closed door and pick up the SMG High Calibre Barrel and ammo refills.
Upwards and Onwards
Climb the ledge with the ammo on it, then you can climb the left or right ladder to the platforms above. We recommend using the left ladder as there’s a Geth on the right side, so taking the left route provides a bit more distance and conversely, safety as well.
Watch out for the additional troops that appear on the walkway above (hit them with Sabotage or simply snipe their metallic heads off, whichever one works best for you). Climb up a level and look into the corner near the ladder going up for the Kassa Fabrication Gauntlets . Climb the ladder, then up onto the pipes and then up to the other platform towards the upper entrance.
A couple of Geth will be patrolling the lower walkway; let your team drop down there whilst you head left instead, up onto the pipe. Watch out for the Rocket Geth up here, stay behind cover as you take it out and use this height advantage to flank the Geth hiding at the back of the walkway.
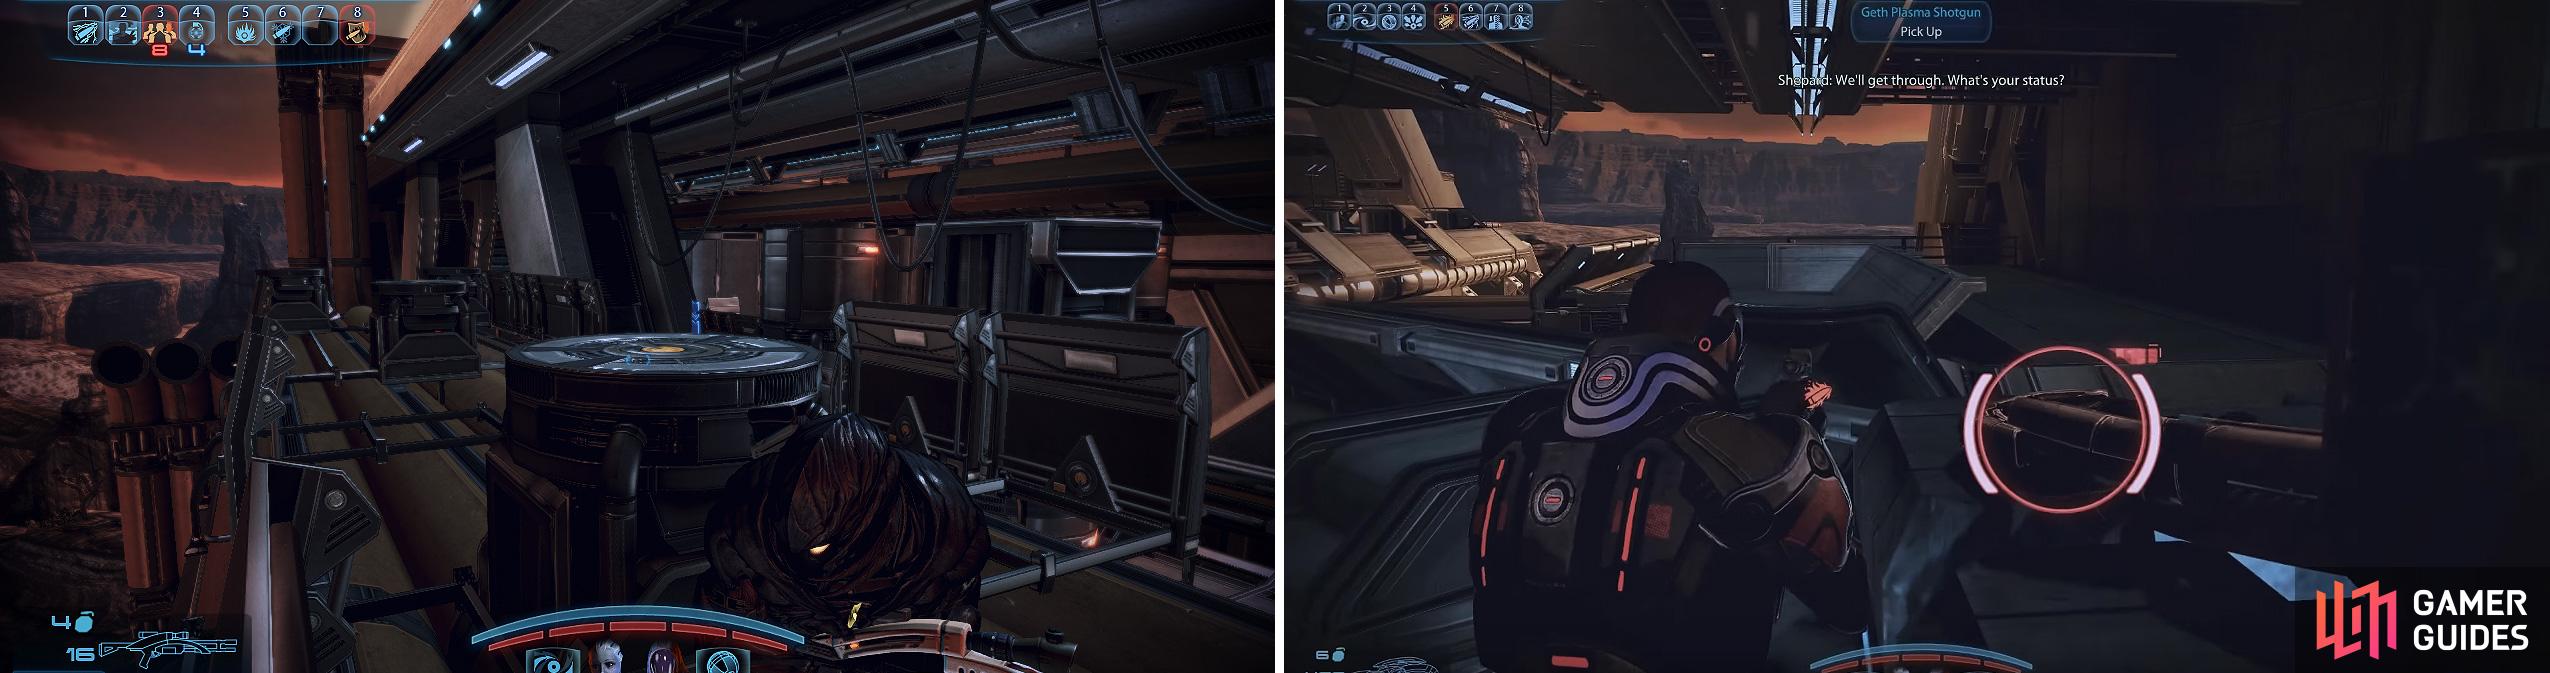
Watch out for the Geth on the lower walkway (left). Collect the Geth Plasma Shotgun (right) on top of this crate.
Enter the Reaper Base
Walk into the corridor at the end of the walkway and in the next room, scan the terminal on the right for an impressive 10,000 Credits . Head up the ramp and when you’re outside, make a beeline left and down the ramp. There’s an SMG Ultralight Materials Mod waiting to be picked up here, so grab it then go down the other side of the ramp to some cover.
There’s a walkway here with multiple Geth types hanging around, so hit at least one with Sabotage (preferably two if you can), and let them slug it out between themselves (especially handy on the higher difficulty levels).
To the right of the circular area leading to the walkways, there’s an Assault Rifle Stability Damper to collect and add to your ever-growing collection. Keep pushing up with the cover, but watch out for Geth further away on the platforms in the distance (a sniper rifle works perfectly against these foes). When the Geth VI starts talking, that’s when you know the coast is now clear.
Just before you enter the door, look beside the flashing ammo cache for a new weapon; the Geth Plasma Shotgun (there’s also a nearby terminal worth 5,000 Credits once scanned). In the next room past the door, scan this terminal for a further 10,000 Credits and a Medi-Kit for XP and any gels if needed.
Console Override
As soon as you turn the corner and enter the next room, a small army of Geth will spot you and start firing on your position. Take to cover and - if you have a sniper rifle - pick them off from a safe distance (and selectively use powers like Sabotage on Pyro or Rocket Geth-types).
Hit the panel and when the last Geth is dead in here, go down the left-hand walkway and on your right is a panel you need to activate. The Geth VI will operate an elevator for you, but it holds a very nasty surprise, so, run to where the elevator is indicated and take a right into the central walkway.
By taking cover on the central walkway (opposite the elevator), the red Geth Prime that appears is less of a direct threat. You can hit it with an upgraded Sabotage to turn it on the smaller Geth, buying you some time to hammer it with high-velocity rounds or biotic combos (depending on your chosen character class).
When it’s dead, head upstairs and directly opposite you is another Geth Prime. But what you don’t see are the other two Geth Primes, also in close proximity! There’s a Geth Spitfire gun sitting on a crate directly in front of you, so pick this up and then immediately get behind cover as the Geth Primes will be alerted to your location!

Using the Geth Spitfire (left) here will help you bring the Primes down swiftly. Beware that they will try to flank you (right).
You can make your life somewhat easier by hitting the first Prime with Sabotage (slowing it down); grab the Spitfire, hang a right, hit the Prime here with Sabotage as well and use this time where it’s effectively ‘paralysed’ to shoot it in the head until it explodes (keep your finger on the fire button as they can regenerate their own shields).
You can pick up a replacement Geth Spitfire on a crate where you just killed the first Prime. Now hang a left and if there’s another Geth Prime straight ahead of you, hit it with Sabotage/Overload and then focus on the Prime to your right instead. Hit this with Sabotage and/or Overload to freeze it long enough for you to unload your gun into its metallic face. Repeat this with the third and final Geth Prime to clear the area fully.
Destroy the Target
Approach the platform and Shepard will draw the laser-designated gun. Aim it at the red dot below you and hold down the fire button until the targeting beam joins into a single line, firing the gun. When the reaper is alerted, run towards the Hovercraft and it’ll trigger off a cut-scene.
Destroy the Reaper
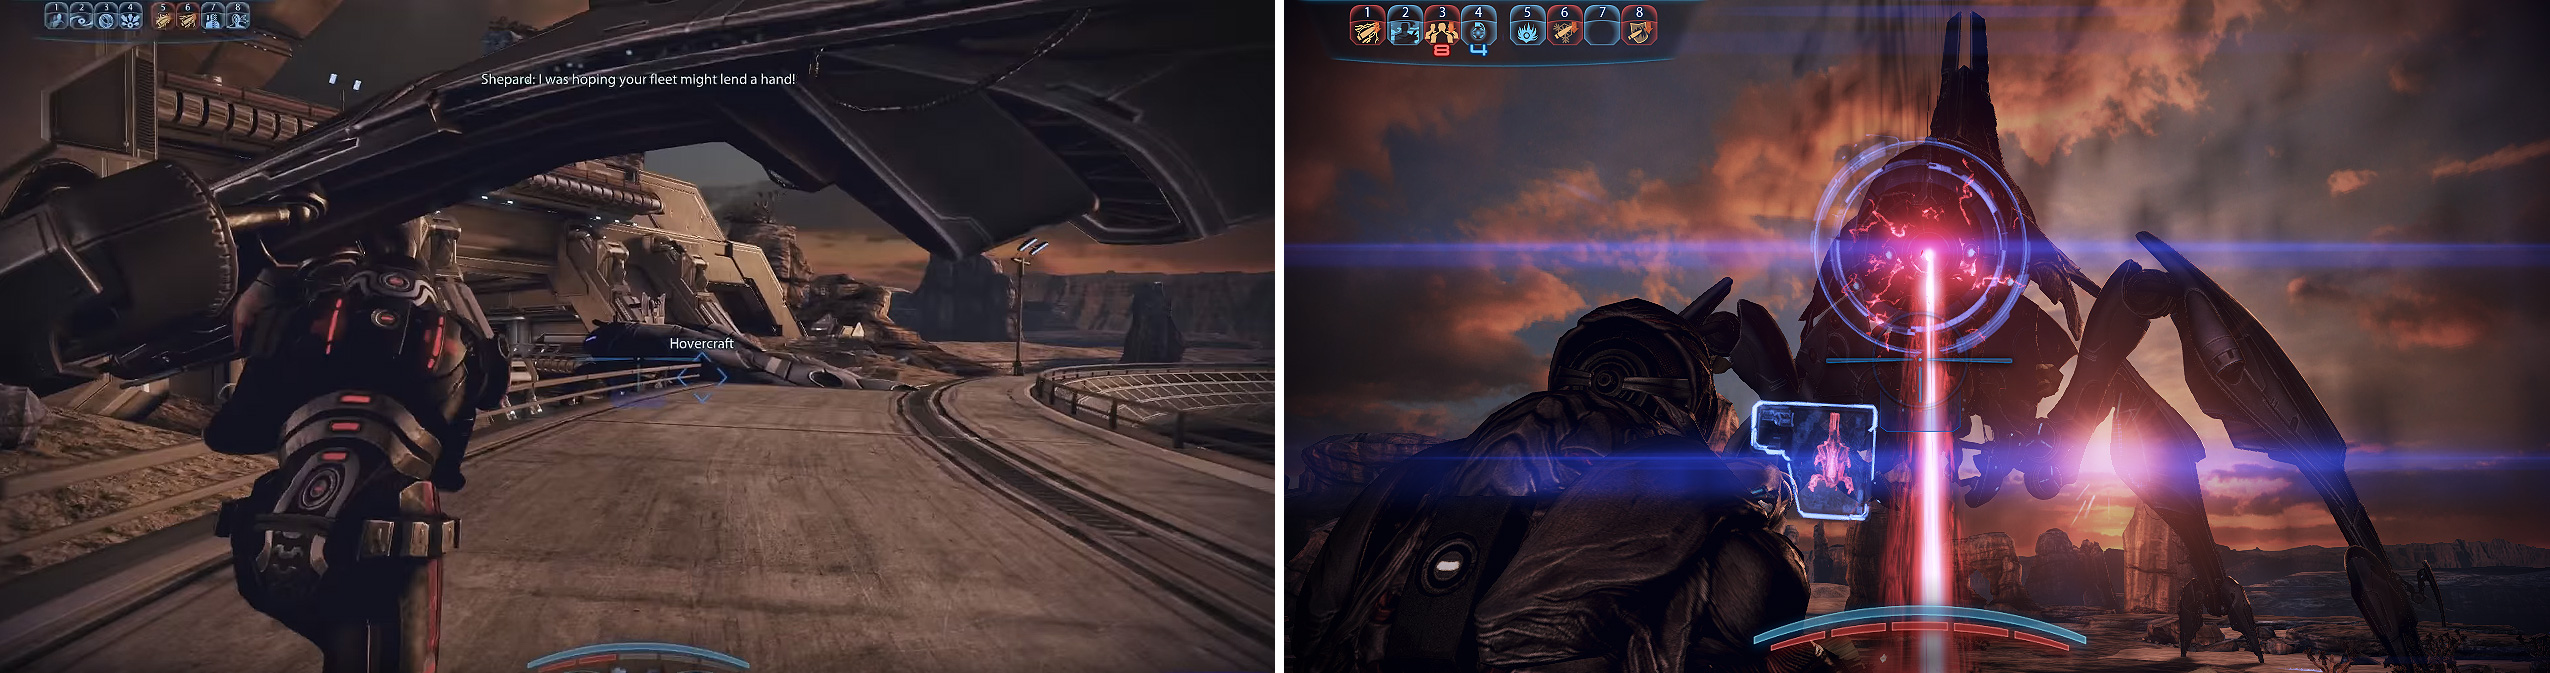
Run to the hovercraft when the Reaper appears (left). Later, dodging the laser beam can be tricky on harder difficulties so try dodging right at the last second before it hits you (right).
You can dodge the laser as soon as it’s fired on regular difficulty and it’ll miss, but if you dodge too quickly on harder difficulties, it’ll follow you. So be sure to dodge at the last minute when playing on Hardcore or Insanity difficulties.
No Comments