
An Encounter at Sea
Sisters and brothers of the Fifth Fleet, it’s time to voyage to the New World! Enjoy the jovial atmosphere below deck and you’ll be engaged in conversation by a fellow voyager, another A-List Hunter who will drop some vague background information before prompting you to customize your character and Palico. Take your time and create your character in meticulous detail, as you’ll be playing this character for quite a while if you intend to beat Monster Hunter World!
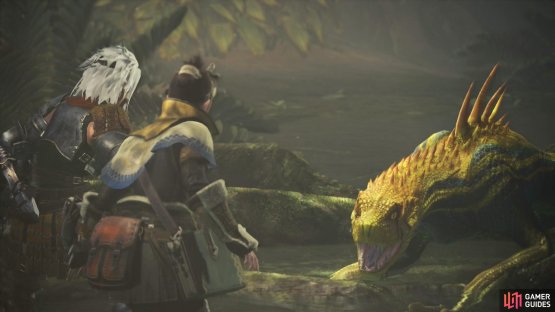
After you’re done creating your character (and your Felyne friend!), you’ll have to endure more dialogue and witness a few more scenes before your ship has a close encounter of the monster kind.
When the scenes end you’ll find yourself on a moving mountain of molten monster. Use the [Left Analog] to move forward towards a cliff, and when prompted, press [L3] or [R1]/[RB] to sprint to speed the process up. When you reach the cliff, walk into it to automatically climb (using [R1]/[RB] to climb faster), after which you’ll reunite with The Handler, one of your fellow shipmates. When she’s done chatting, follow her forward, with your run turning into a climb as the colossus you’re on contorts. Follow The Handler as she climbs and ignore the apparent hazards, which are purely cosmetic.

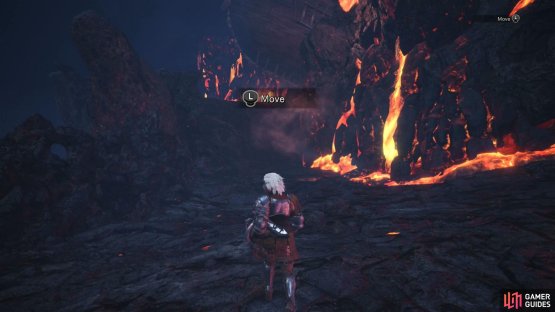
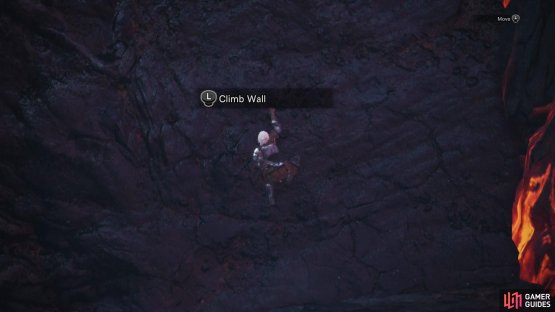
(1 of 2) On the back of the mountainous monster you’ll get basic tutorials for movement
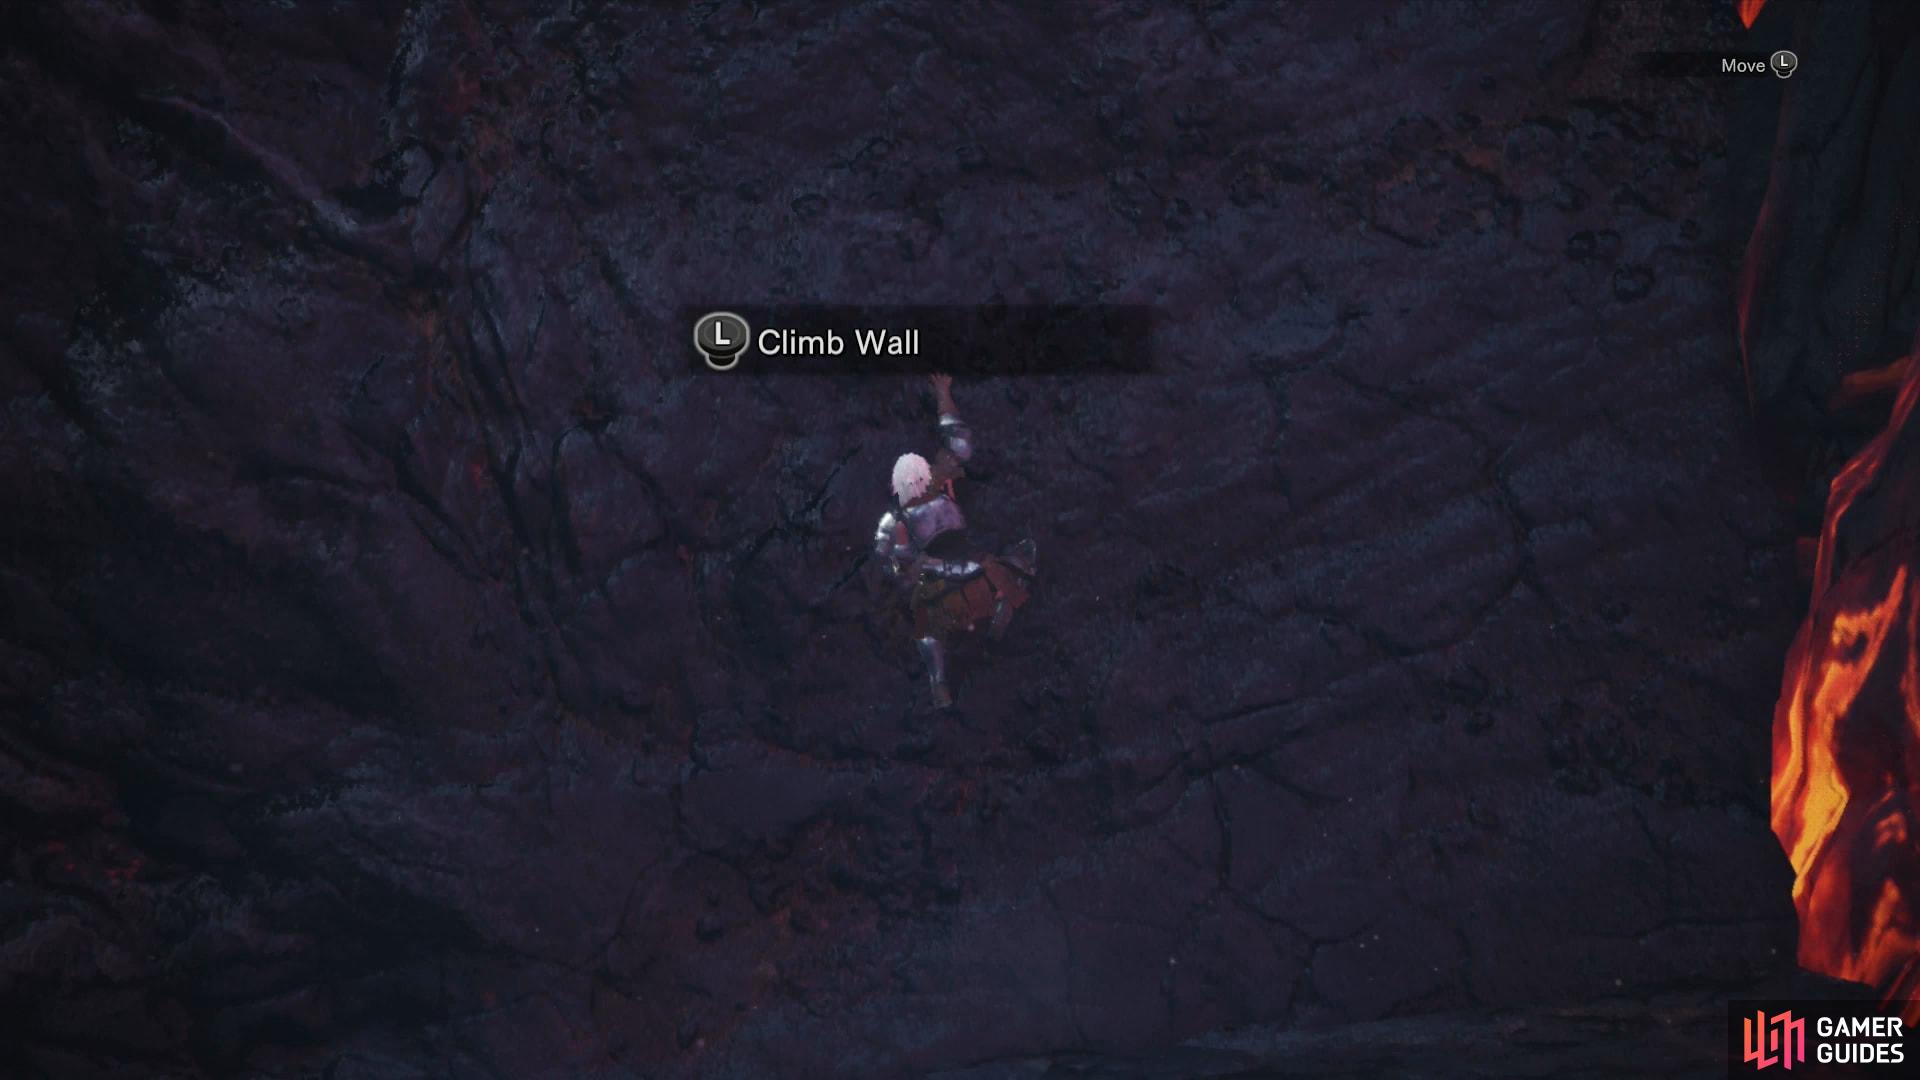
On the back of the mountainous monster you’ll get basic tutorials for movement (left), and for climbing (right)
When you crest the “cliff” ignore some flying monsters and persist in chasing after The Handler, scaling yet another cliff as the monster you’re on moves. Atop this next cliff, sprint downhill off the monster and you’ll perform a most improbable trick-shot, resulting in a rather unorthodox means of egress from your current predicament.
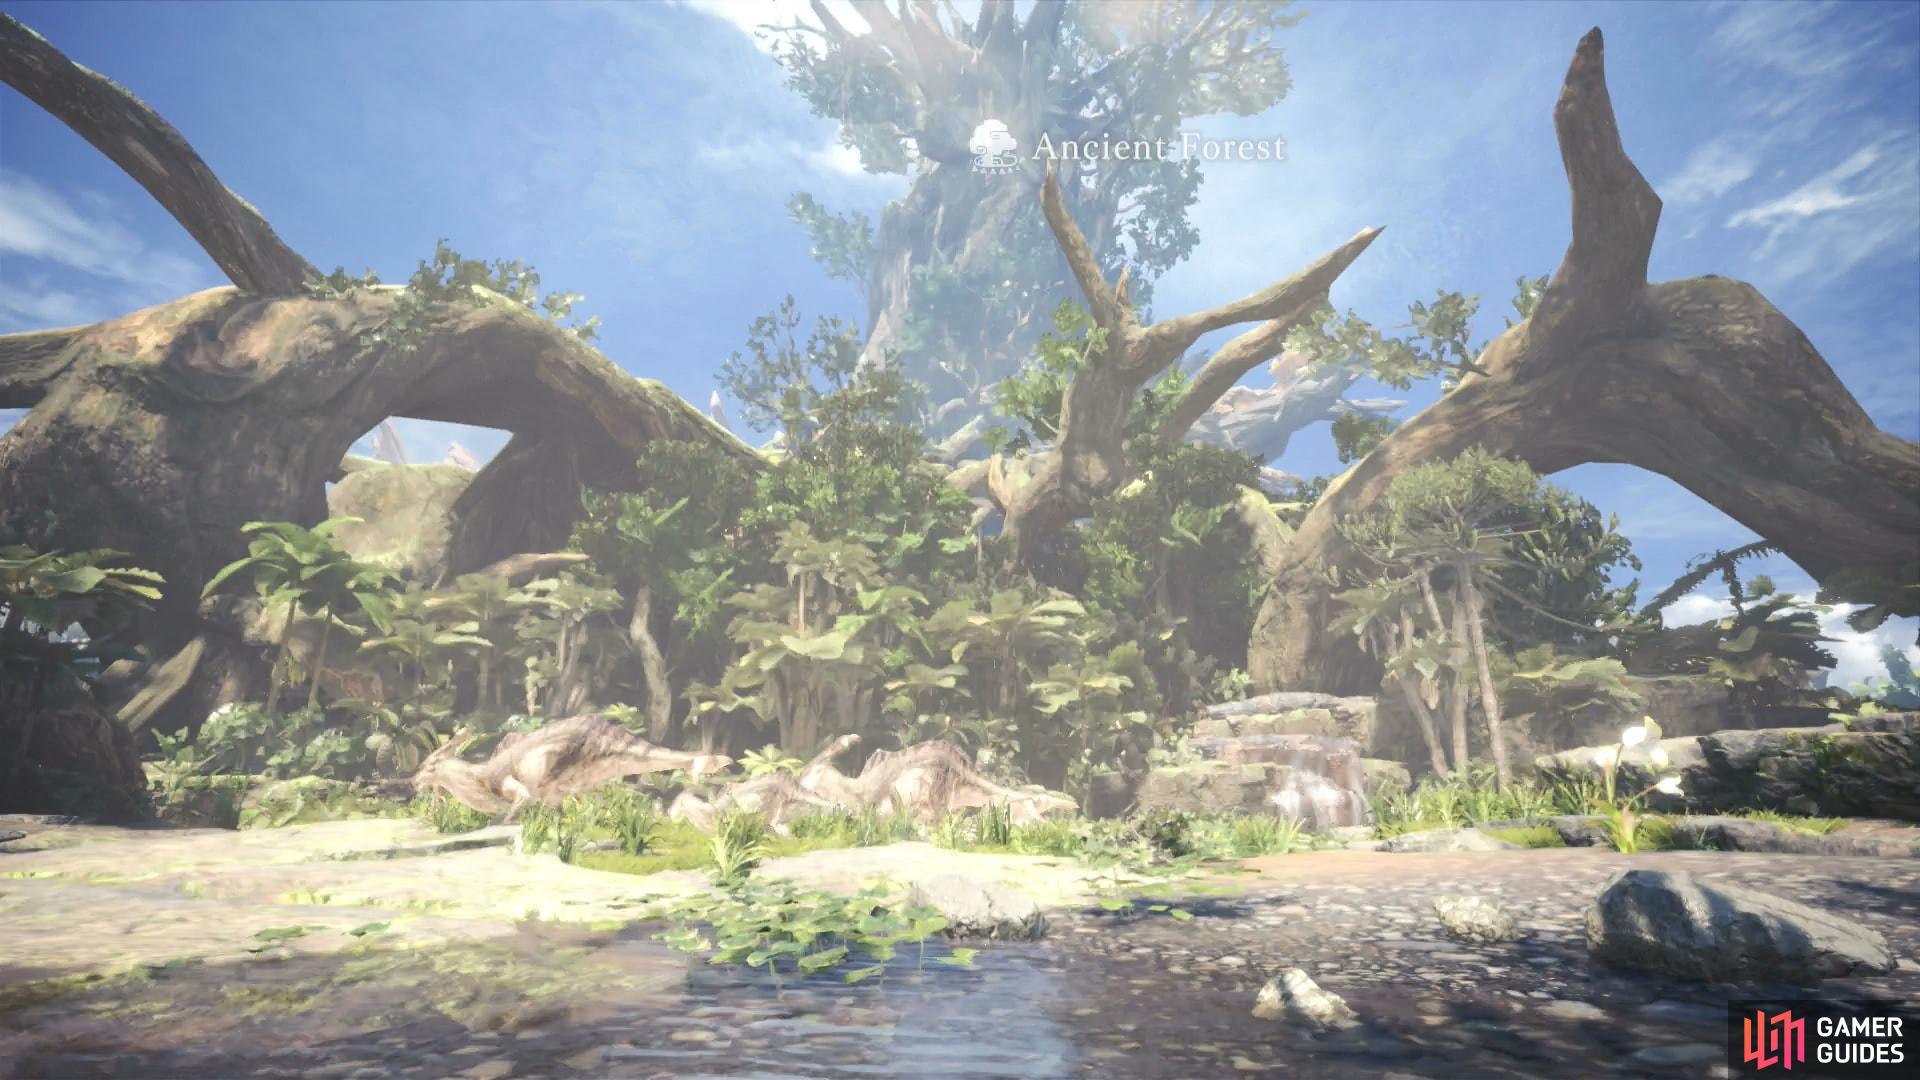
Through the Ancient Forest
Unorthodox, but ironic - using one monster to escape another! Unfortunately, your ride isn’t the most well-mannered of beasts, and eventually you’ll find yourself in a forest, forced to make the rest of the journey on foot. Being unarmed in a mysterious new land teeming with monsters isn’t ideal, but it’s better than being back on that moving mountain!
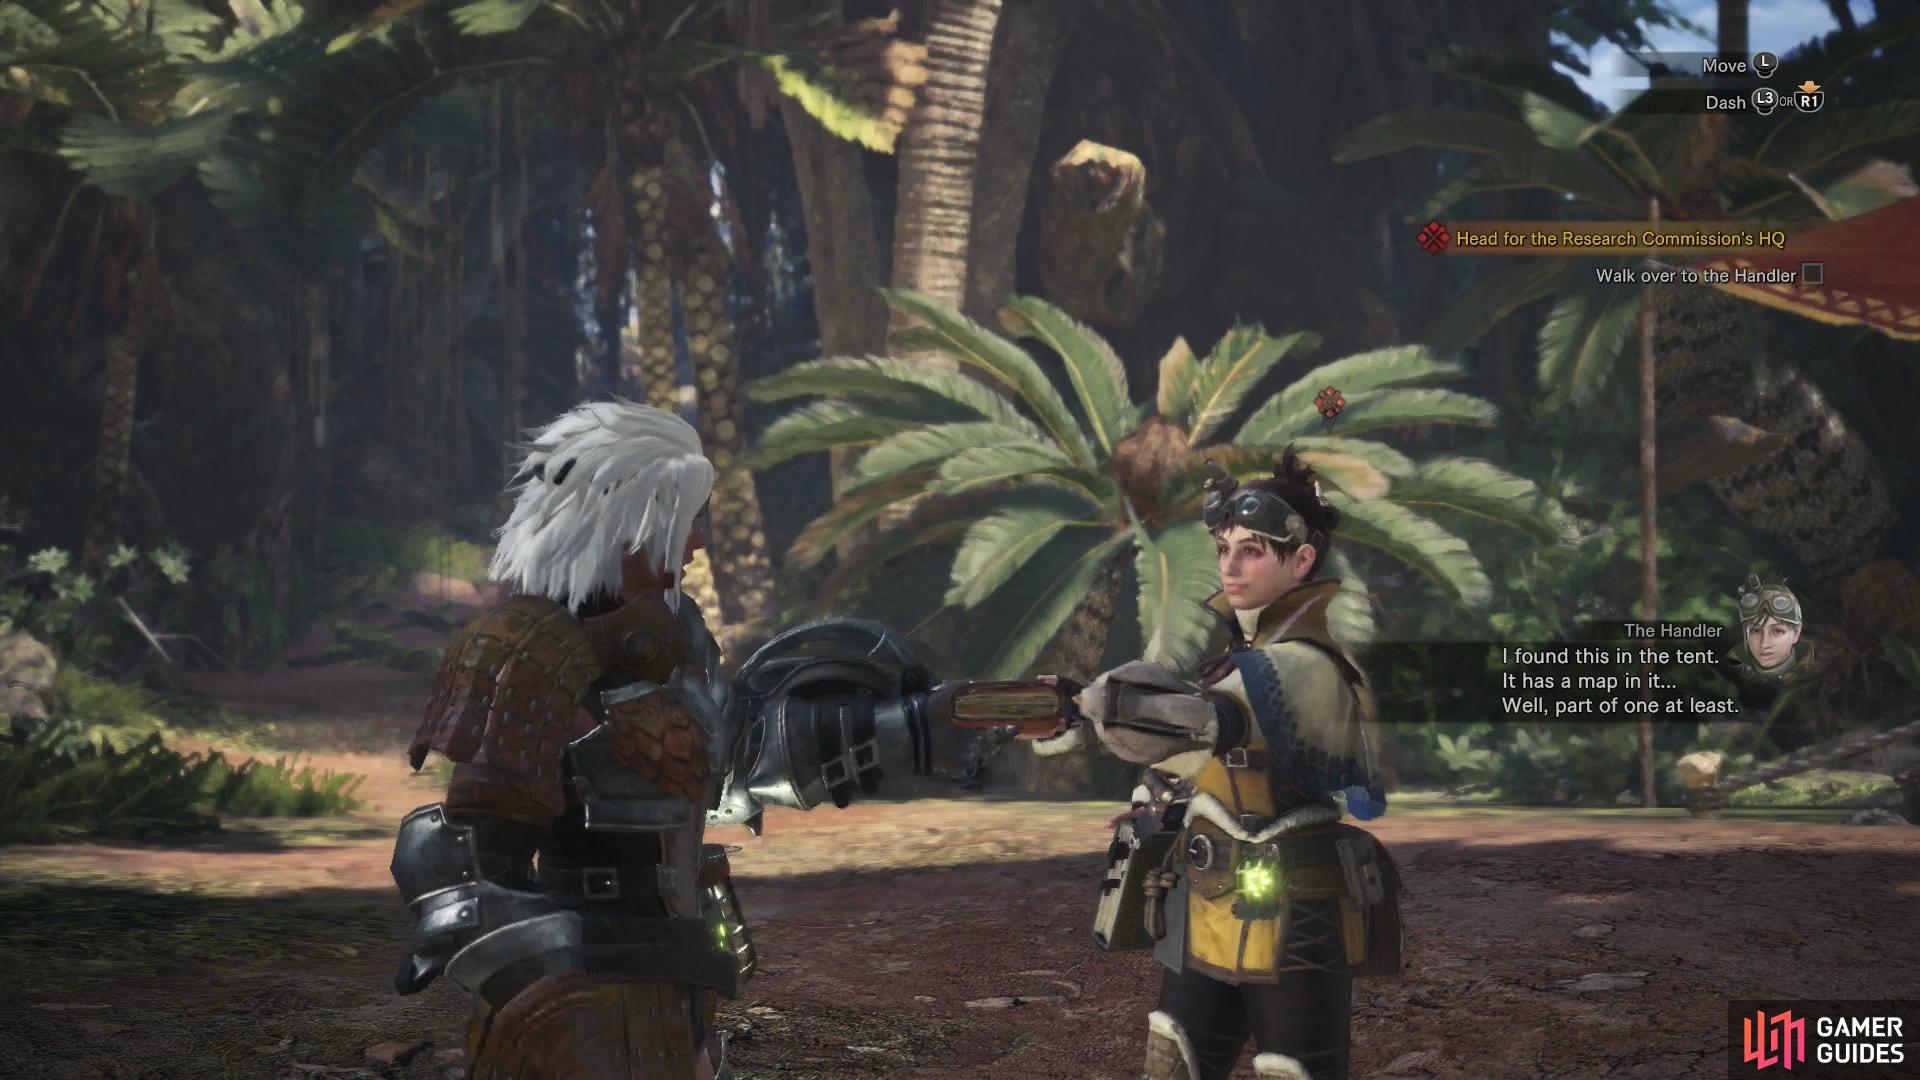
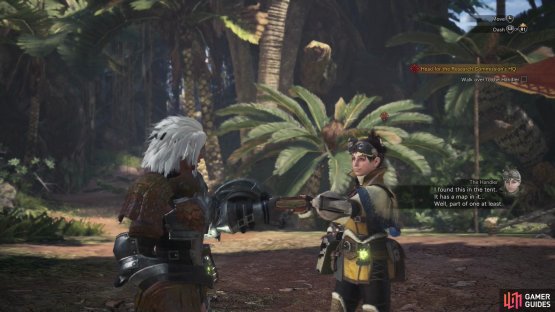
Pursue The Handler, who has found an abandoned camp nearby. Fortunately, she found a map, which she’ll pass onto you. Press the [Touchpad] to open the map and get your bearings, after which you’ll get a mini-map on the bottom left of your screen.
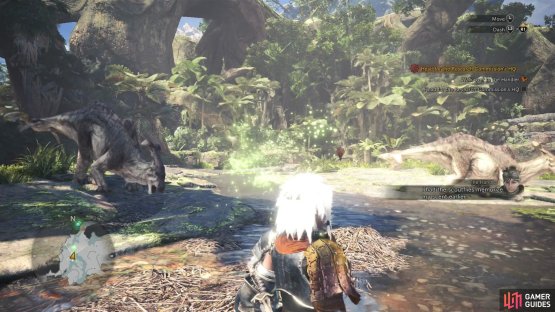
(1 of 2) The Handler will give you what will become your Hunter’s Notebook, one of the features of which is to check the local map
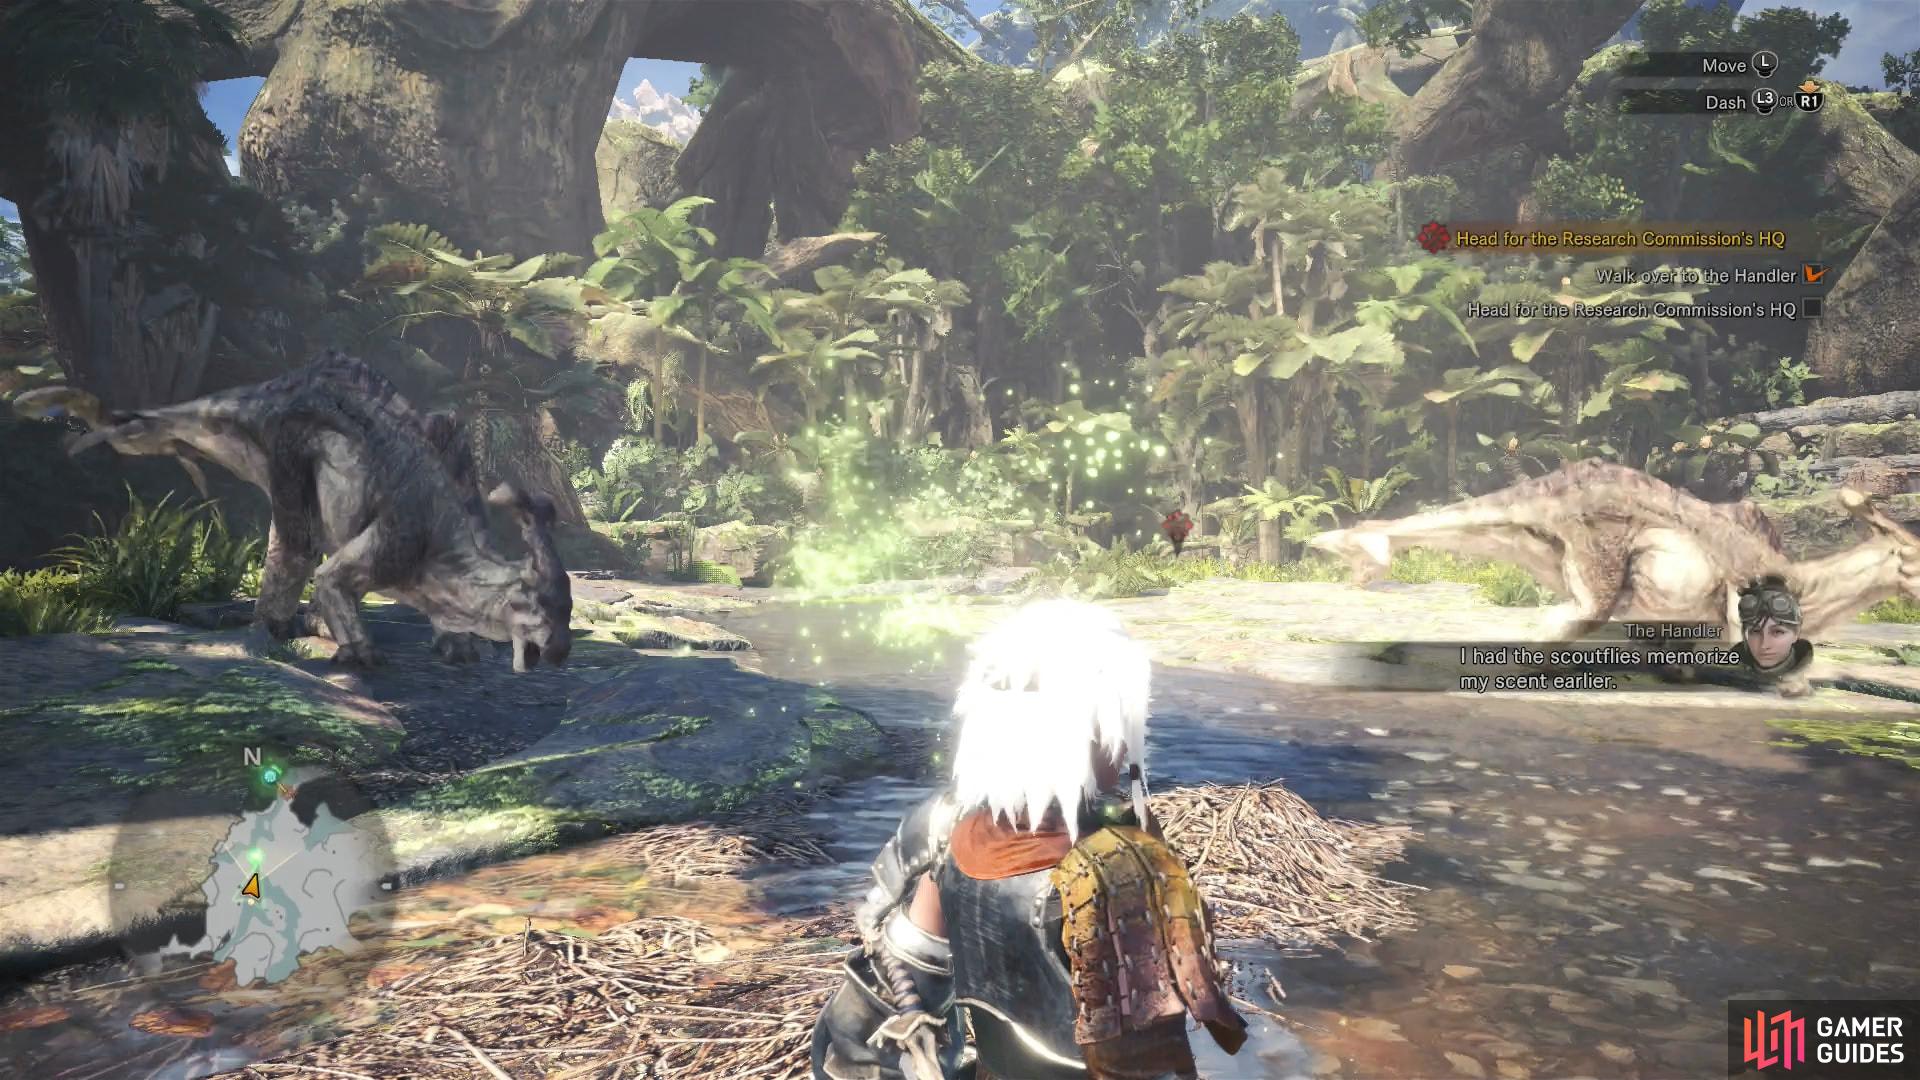
The Handler will give you what will become your Hunter’s Notebook, one of the features of which is to check the local map (left), Scoutflies will also help you find your way to your objectives (right)
When The Handler runs off, follow her to get properly introduce to your locale - the Ancient Forest - then jump (press [X]/[A]) off the cliff you’re on and make your way northeast across the river-crossed lowlands, ignoring some Aptonoths and enduring The Handler’s insatiable curiosity as you go. Eventually she’ll mention some “Scoutflies”, which serve as a navigational tool. Simply put, follow the glowing bugs whenever you see them to reach your objective.
Chase The Handler and she’ll lead you to some vines, which you can - albeit with some effort - push your way through. Unfortunately, on the other end of the vines you’ll find some overly-inquisitive lizards, who seem to have mistaken you for their lunch. No sense in trying to clear up the misunderstanding, especially without a weapon available, so when you have control, find some foliage suitable for hiding in, and when prompted press [X]/[A] to evade the lizards.

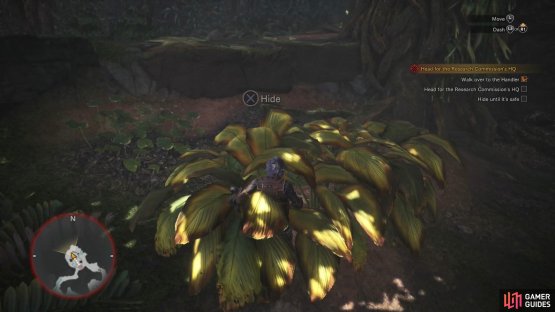
(1 of 2) In the interior of the Ancient Forest you’ll be accosted by a pack of Jagras

In the interior of the Ancient Forest you’ll be accosted by a pack of Jagras (left), Hide in some foliage to elude them (right)


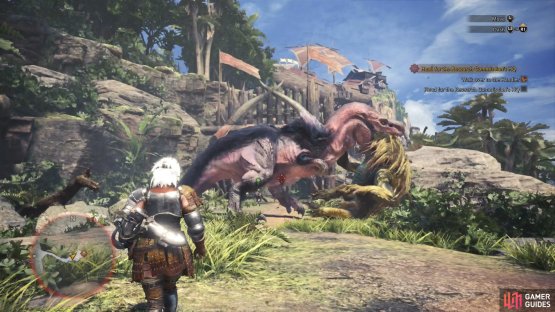
Seeing their would-be meal vanish, the lizards depart, and shortly afterwards, so should you. Trail The Handler southeast up some ledges and pass through another shroud of vines, then jump off (or climb down, if you must) another cliff and rejoin The Handler. When reunited, follow your companion as she snoops around some strange monster tracks. Strange, and very, very large. Give them a gander yourself, if you wish (when near, press [Circle]/[B]), then make your way after The Handler again, who has the misfortune of finding a large monster… or rather, being found by one.
After a bit of deus ex Field Team Leader, race east after your companion, and the monster that’s also chasing them. Salvation will come in another, even more unlikely form, after which you’ll need to muster up the courage to run past the monster mauling and hope they’re too preoccupied to notice you…
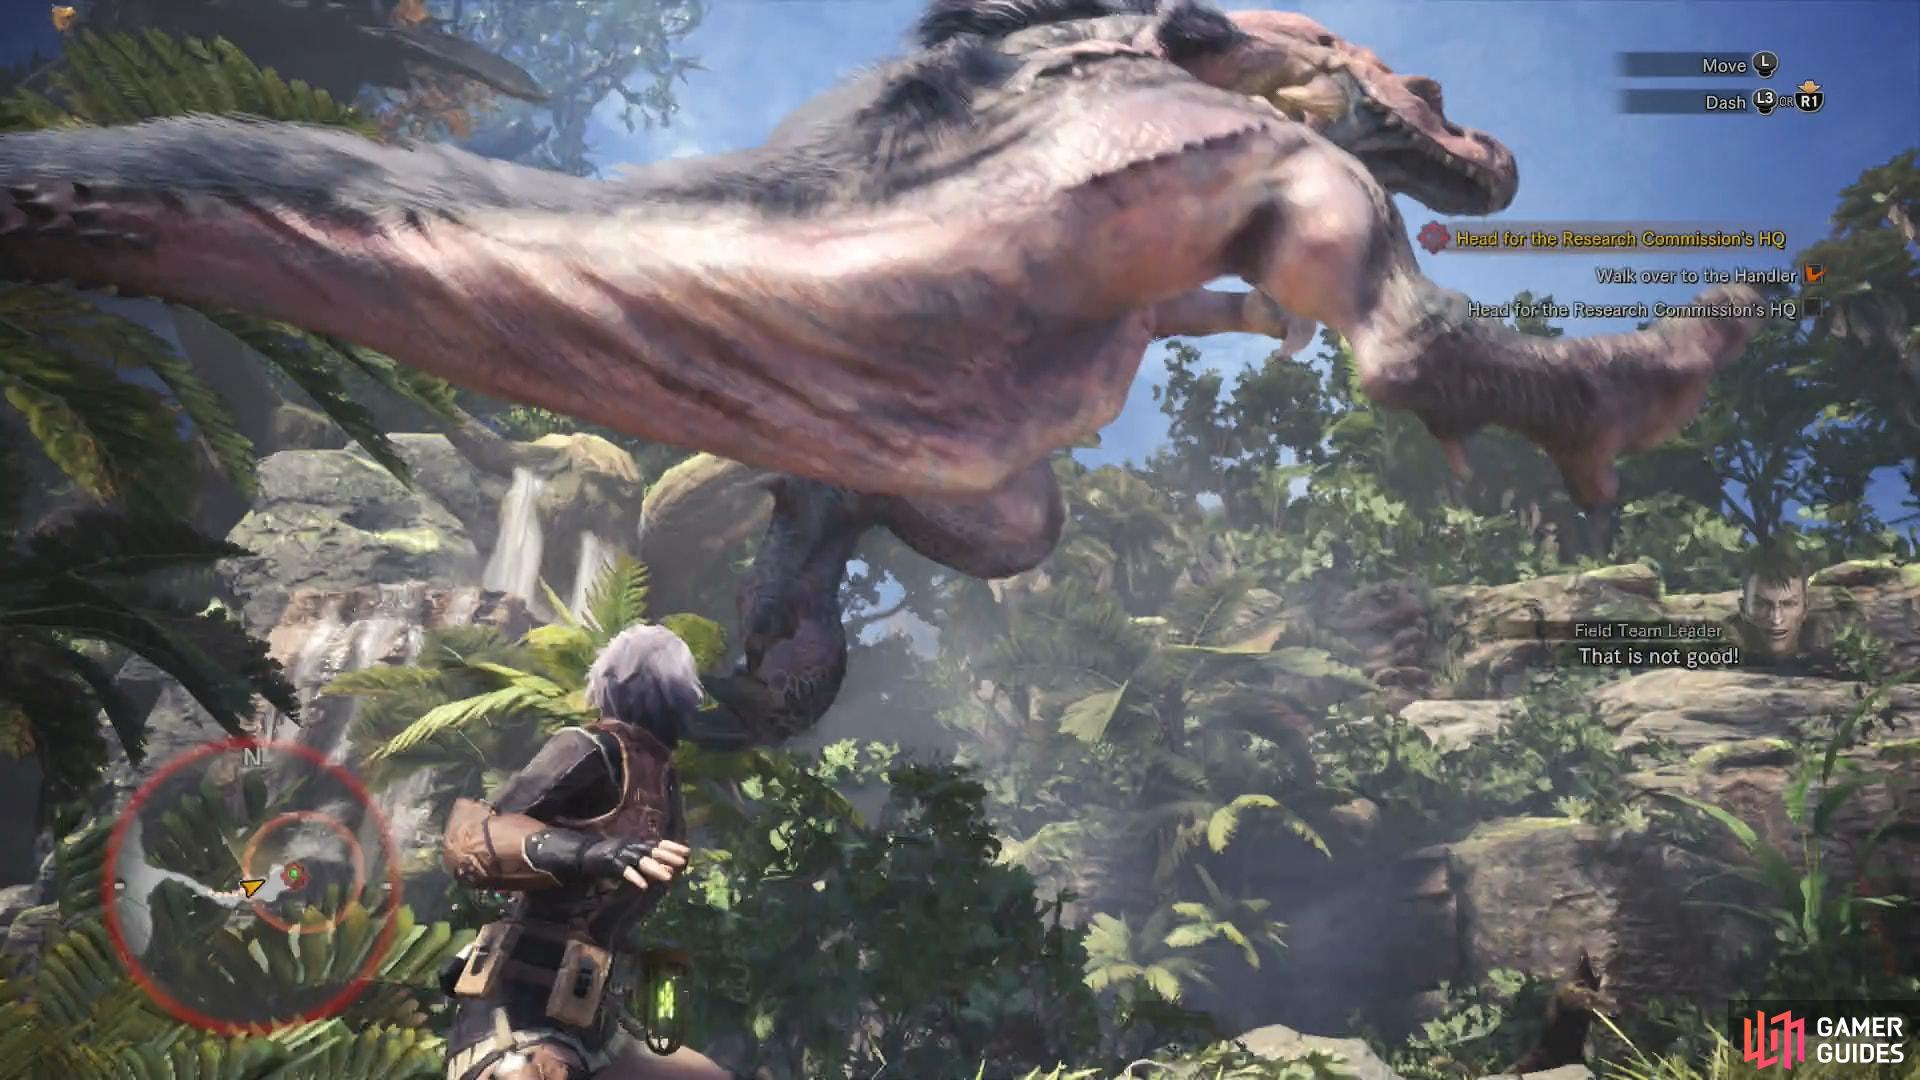

(1 of 2) An Anjanath will show up to complicate your flight from the Great Jagras

An Anjanath will show up to complicate your flight from the Great Jagras (left), Muster up the courage to run past the battling behemoths to reach the safety of Astera (right)
Welcome to Astera!
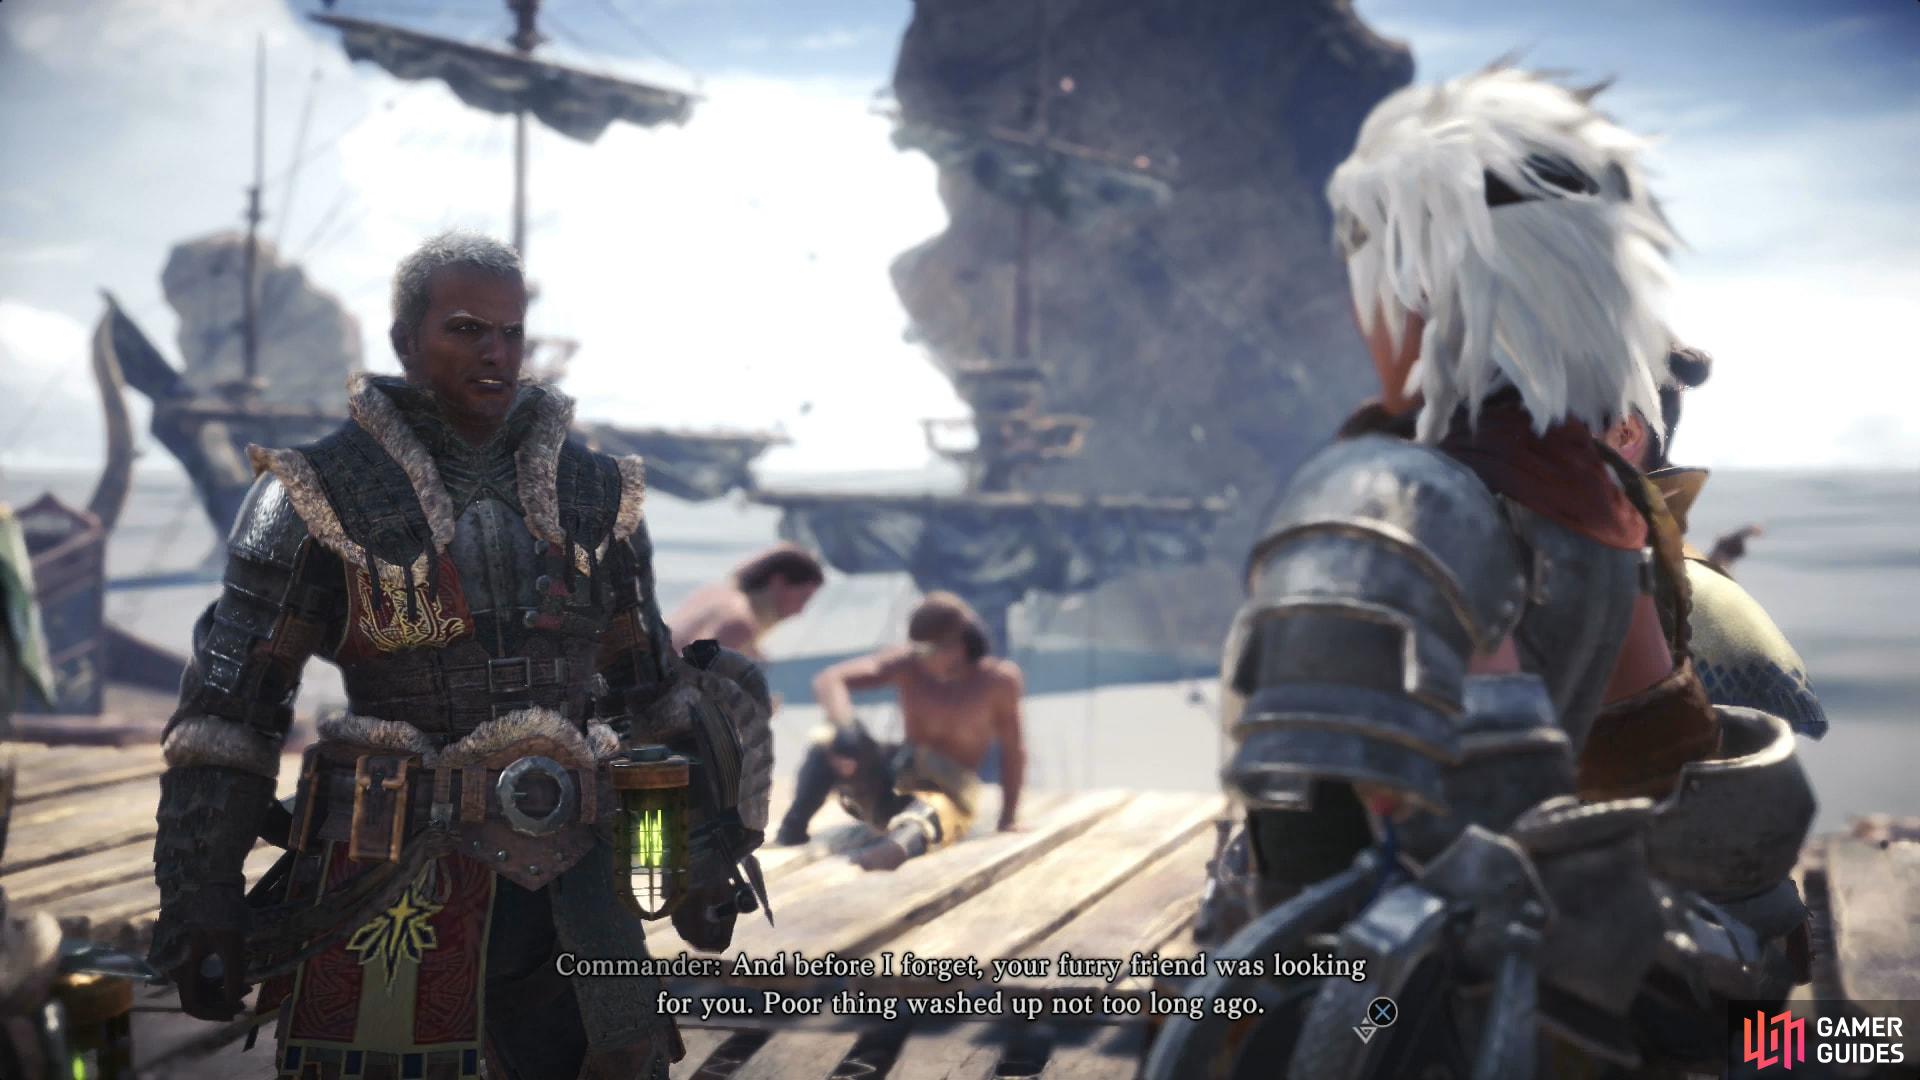
Behold, Astera! The beating heart of the Research Commission, and your home for the foreseeable future. The man who rescued you and some of your shipmates will chat a bit as you’re led to meet the Commander, who promises to explain more at a council he’s holding later. In the meantime, you need to go look for your poor Palico pal, who was separated from you during your earlier run-in (sail-in?) with the mountain monster.
The Field Team Leader will offer to show you around as you look - two birds and all that - so follow him around as he indicates various points of interest, which you’ll get back to later since there’s precious little you can do there now. When you reach the Canteen you’ll reunite with your Felyne friend, who shows its loyalty by showering affection on… The Handler? Treacherous cat…

(1 of 2) When you arrive in Astera you’ll be introduced to the Commander

When you arrive in Astera you’ll be introduced to the Commander (left), and given a tour by the Field Team Leader (right)
Conveniently, immediately after you complete your errand the horn will blow, signaling it’s time to return to the Commander for that council meeting, which you’ll do automatically. After some formalities he’ll get to business, mentioning the monster the Fifth Fleet tracked across the ocean - Zorah Magdaros - which you have the displeasure of encountering earlier. That’s well out of your league right now, however, and in the meantime you’ll be tasked with another, simpler mission: investigating a “Jagras problem”.
Exploring Astera
Your first mission awaits, but first, you’ll need to arm yourself, as the Field Team Leader will kindly point out. Follow him to the Quarters nearby, where you’ll find your humble sleeping accommodations, as well as your Item Box, the Housekeeper, and your own Palico nearby. Ignore the Felynes for now and interact with (press [X]/[A]) your Item Box and select the “Change Equipment” option to get a tutorial explaining - in no great detail - the fourteen different weapon types, how to visit the Training Area, and armor set bonuses.
Pick out whatever weapon strikes your fancy, then leave the Quarters to get more chatter from the Field Team Lead, who will tell you to check out the Armory and Provisions Stockpile, after which you’ll need to meet up with The Handler at the Canteen. All in good time, but first, head back into the Quarters, where not only will you have more options at your disposal, but you’ll finally be able to save your game. To so so, press [Options]/[Menu], then use the D-Pad to find the System sub-menu. Been itching to do that for a while now…
Anyways, return to your Item Box, where you can now pick the “Manage Items”, “Crafting List”, “Sell Items”, “Sell Equipment” and “Change Appearance” menus. The Manage Items menu allows you to move items from storage into your Item Pouch, where they can be used on missions. For now, you should be fine, and you certainly don’t need to be selling any items or equipment just yet. The Crafting List menu allows you to see what you can craft (precious little right now), and finally the Change Appearance option allows you to tweak various minor features of your character.
Next, talk to the Housekeeper who, after bringing up the disturbing lack of privacy you currently suffer, will give you two options. “Go to the Training Area” allows you to travel to a relatively risk-free training area where you can beat up barrels and a pole with the benefit of move lists, which will help you learn the basics of whatever weapon you’re training with. You can also pick the option “Claim Add-On & Bonuses”, which will allow you to redeem any DLC you may have.
Finally, talk to your Palico to manage their equipment. Not really much to do here right now, but you can pick the “Palico Status” menu if you want to toggle whether to deploy your Palico on missions with you or not, while “Change Palico Equipment” and “Sell Palico Equipment” should be rather self-explanatory, and not terribly useful at the moment.
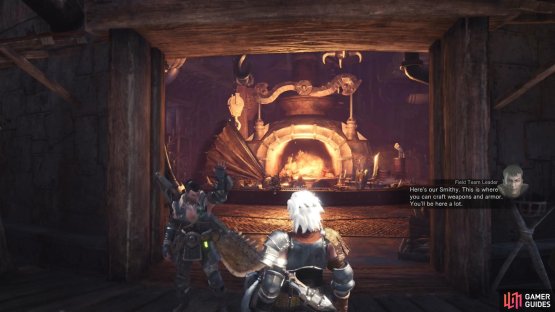
With all that out of the way, leave your Quarters and head up to the eastern end of town, where you’ll find the Workshop. Alternatively, if you prefer a bit of fast-travel, head up the stairs north of the door to the Quarters and use the Lift to reach the Workshop. However you get here, head inside and talk to the two characters of interest inside the toasty building - the Second Fleet Master, a man standing behind a conveyor belt, and the Armory worker, who is behind a counter. The former will dismiss you when he realizes you don’t have any monster bits for him to work with, but in the future, when you do have trophies of your monster hunting prowess, he’ll be able to forge those into new weapons and armor for you. If that’s all a bit too much bother, the Armory vendor will outright sell you new arms and armor. You can, in fact, purchase a weapon upgrade already, if you’re so inclined, for the low cost of 300 Zenny. The new Bone weapons are a marginal upgrade over your basic gear with no significant downsides.
Make what purchases you will, then leave the Workshop and either walk to the western end of Astera, or use the Lift again and ride down to the Tradeyard, which will get you around halfway there. When you arrive, talk to a man standing on top of a pile of provisions (he’s identified with the text “Provisions Stockpile”). Here you can outright buy (and sell!) items such as curatives, traps, ammo, and other useful trinkets. Take his advice and don’t buy anything, instead endeavoring to find the base crafting materials for these items out on hunts.

(1 of 2) Select from the meals available, or create a custom dish from the available ingredients

Select from the meals available, or create a custom dish from the available ingredients (left), The buffs granted by eating meals are essential to successful hunting (right)
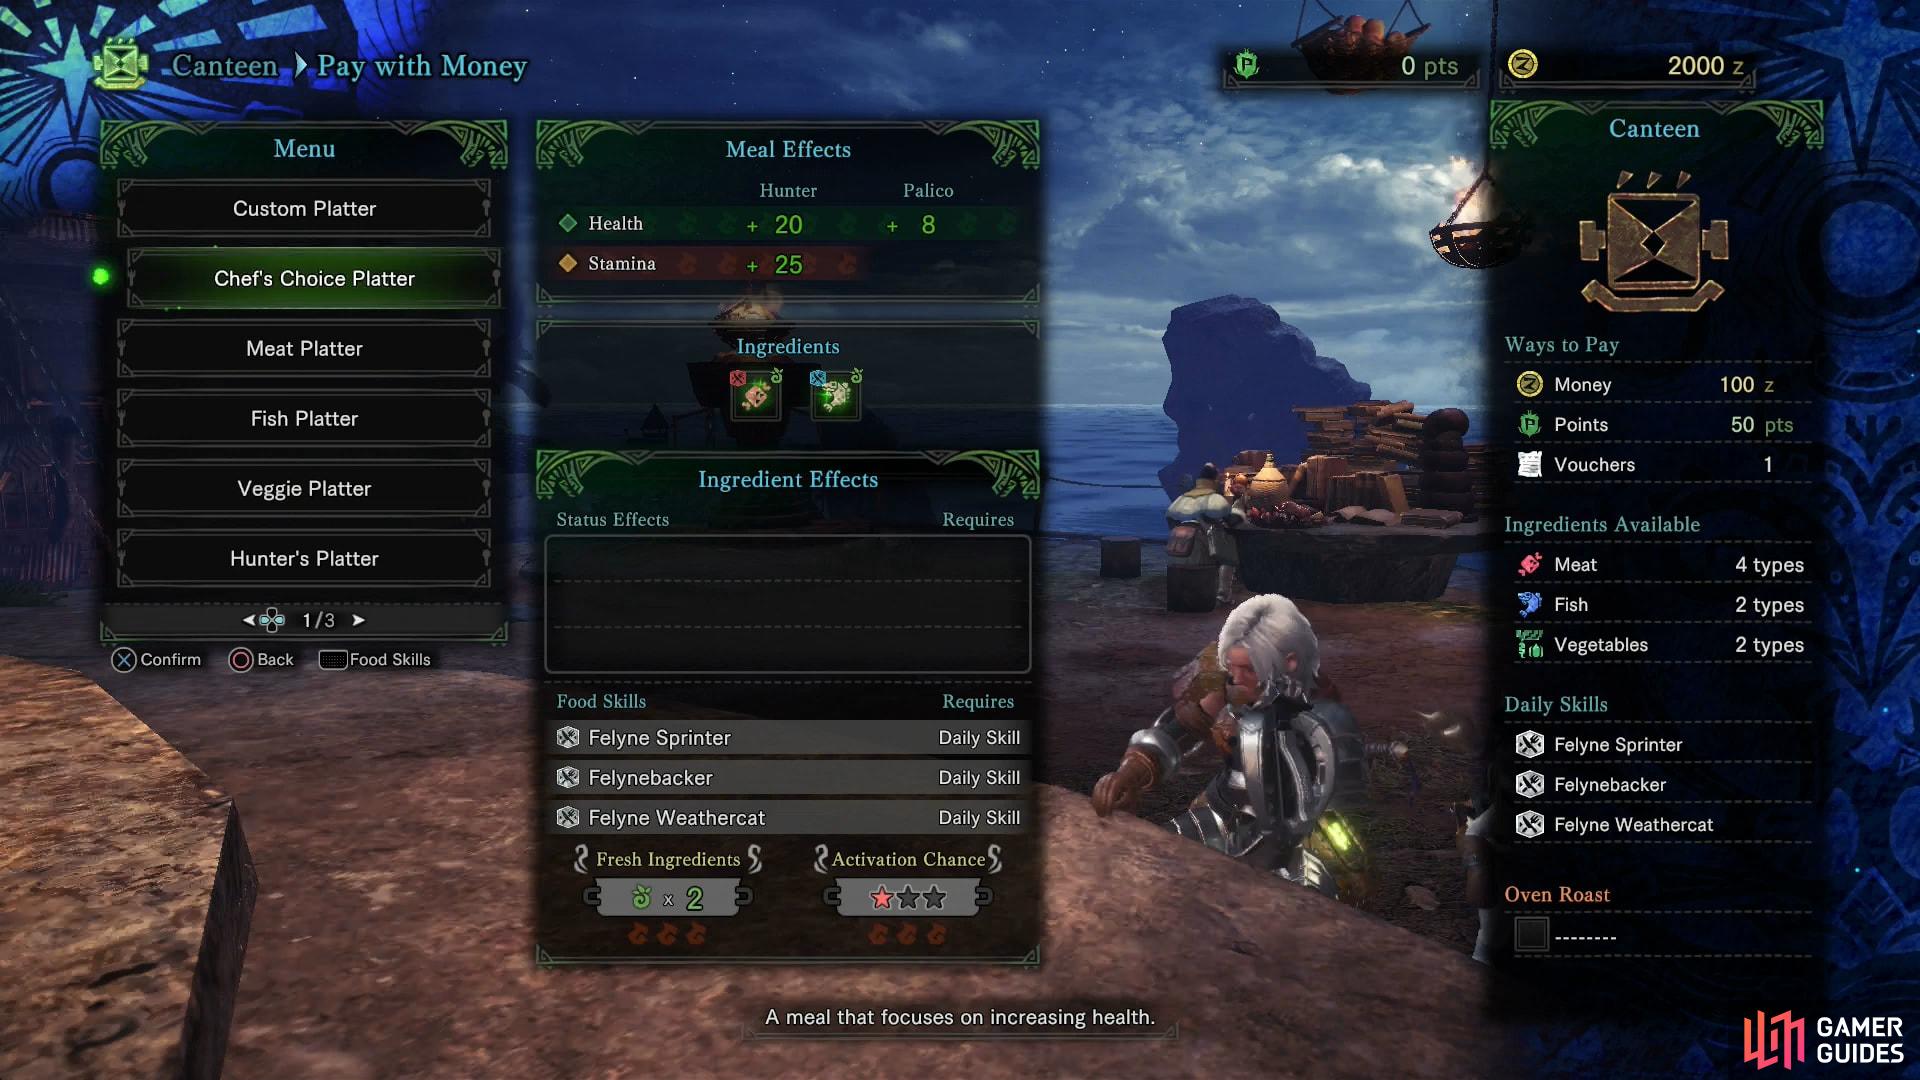
Finally, it’s time to head to the Canteen and meet up with The Handler and see about starting our first mission. Use the Lift to get there or head to the elevated, northern part of Astera on foot. Before talking to The Handler, sit at the stone counter to get a tutorial on meals. Simply put, when you eat meals before heading out, you’ll gain persistent bonuses to various stats, depending on what you eat. That being the case, it’s almost always beneficial to grab a bite to eat before you head out on a hunt. In case none of the set dishes appeal to you, you can make yourself a “Custom Platter” by mixing whatever ingredients you have. Just because to check the bonuses each dish provides under the “Meal Effects” and “Ingredient Effects” tab.
Of course, nothing can be quite so simple in Monster Hunter. The ingredients available to you and to the Meowscular Chef who runs the Canteen affects what meals can be cooked, as do the freshness of the ingredients. Fresher ingredients give greater bonuses when they’re consumed, and the freshness of the ingredients on hand - and the resultant activation costs of the meal - are noted at the bottom of the “Meal Effects” menu. No doubt a bit of hunting and gathering on your part can influence what grub you’ll be able to chow down on! Lastly, there’s the issue of payment, which varies by meal… or rather, it will. You can pay with Zenny, with Research Points (you’ll start earning these soon enough), or with Vouchers.

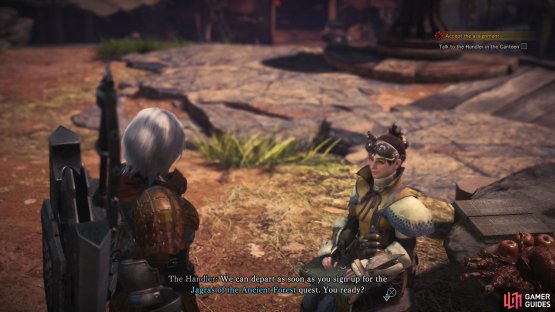
(1 of 2) Talk to The Handler and your first assignment will be posted

Talk to The Handler and your first assignment will be posted (left), Assignmnets, quests and investigations can be selected via The Handler, or from a quest board (right)
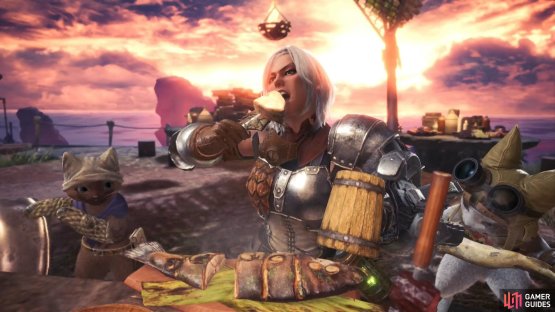
Gobble down your first meal - your choice, and it doesn’t matter too much right now, really, but there’s no good reason not to get those bonuses to Health and Stamina that most meals offer - then talk to The Handler.
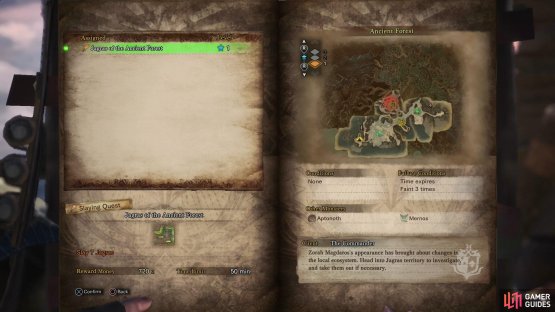
She’ll tell you that the mission of the Fifth Fleet is, in brief, to investigate the Jagras’ habitat, and with the information gained to eliminate the monsters to secure the area. After another tutorial, this time on various types of missions (Assignments, Optional Quests, Investigations and Events) select the option to “Post a New Quest” where you’ll see all four categories. Right now, you can’t do much other than push the story, so pick “Assigned” then accept the quest Jagras of the Ancient Forest.
No Comments