
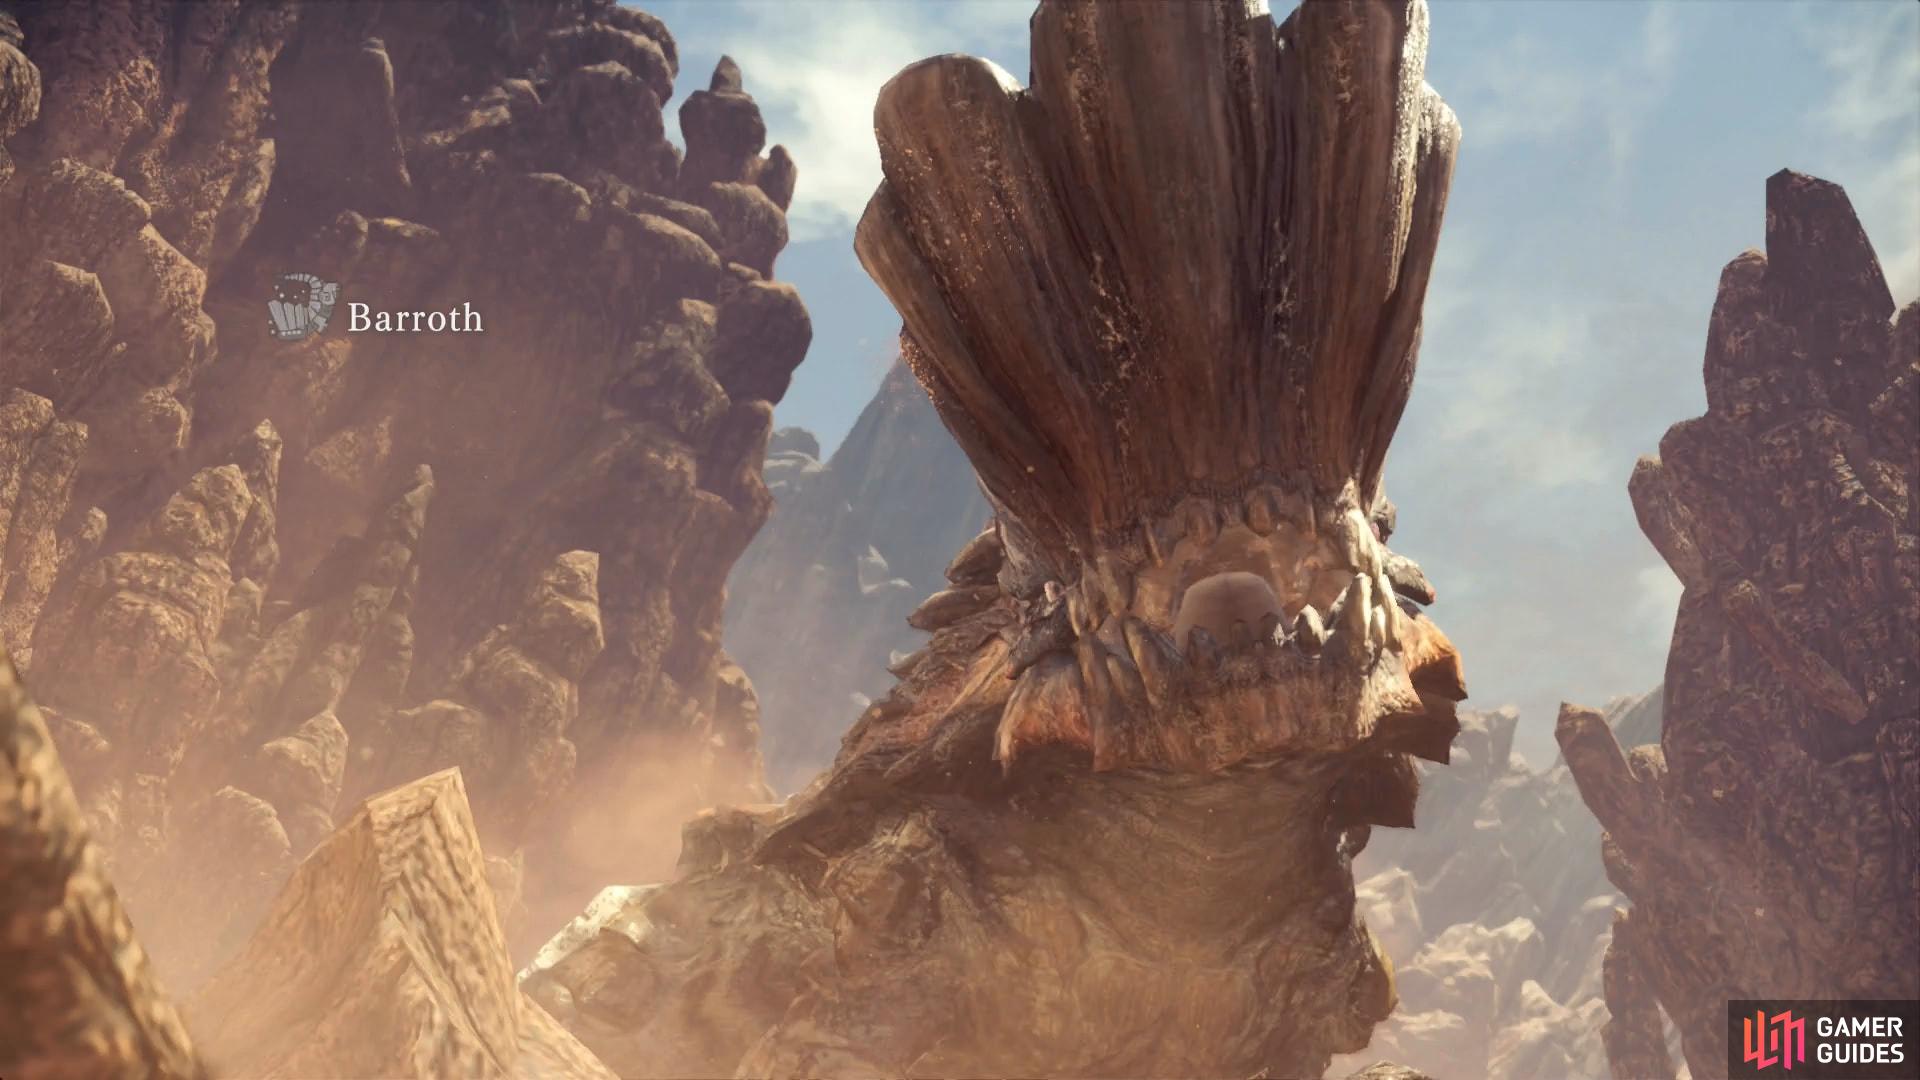
Hunt - Barroth
| Elements (Dry) | . |
|---|---|
| Fire | * * * |
| Water | X |
| Thunder | X |
| Ice | * * |
| Dragon | * |
| Elements (Mud) | . |
|---|---|
| Poison | X |
| Sleep | * * * |
| Paralysis | X |
| Blast | * * |
| Stun | * |
| Ailments | . |
|---|---|
| Poison | * * * |
| Sleep | * * |
| Paralysis | * * * |
| Blast | * * * |
| Stun | * * |
(1 of 2) The Barroth will discharge muddy goo, sometimes intentionally, sometimes as part of other attacks


The Barroth will discharge muddy goo, sometimes intentionally, sometimes as part of other attacks (left), When depleted of mud reserves, the Barroth may seek a muddy pool to wallow in (right)
The Barroth is a mighty, armored Brute Wyvern that appears to be made of stone, and its thick hide can be further supplemented by rolling around in mud, which will deflect most attacks. While in sandy areas, you have little to worry about, but in swamps it’ll take a break from battle to roll about and improve its defense… or if hard pressed, it’ll flee to the swamps where it lairs (southern part of AREA 9). To get rid of this muddy coating, use water elemental weapons, or load your Slinger with Watermoss, which fortunately grows in abundance in AREA 4 and AREA 10.
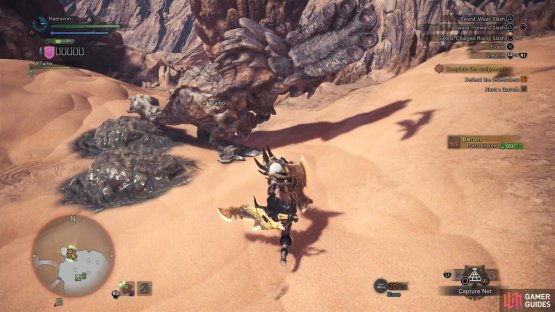
(1 of 2) Despite its massive size, the Barroth’s charge attacks can be quite dangerous


Despite its massive size, the Barroth’s charge attacks can be quite dangerous (left), If you can provoke it into charge you near a spire, the Barroth will smack into the obstacle and stun itself (right)
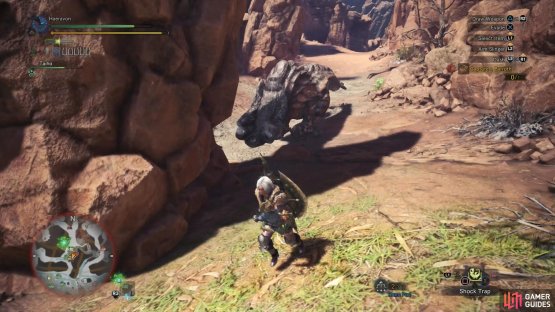
Its rocky exterior and massive, bulky body isn’t just resilient to attack, it’s also well-suited for offense, as well. While it may appear slow at a glance, the Barroth is actually rather quick in close-quarters combat, at least, it’s shifty enough that slower weapons may have trouble connecting. This is also exacerbated by its aggressiveness - expect it to attack relentlessly, and many of its attacks don’t leave much of a window for a riposte.
Common attacks include pounding its head into the ground, swiping with its head (sometimes appending a charge), side-checking into enemies on its flank, thrashing with its tail, and performing a heavy bull-rush. It should be little surprise that such a bulky foe can put enough force into its attacks to stun the unwary, especially with its charge attacks. If all that’s not enough to watch out for, it can also expel mud from it, usually with its head-pound attack, but sometimes it’ll stop and vibrate, dislodging piles of mud around itself. Coming into contact with this mud can inflict the Waterblight status, which will retard your Stamina recovery and ultimately make it harder to dodge its attacks.


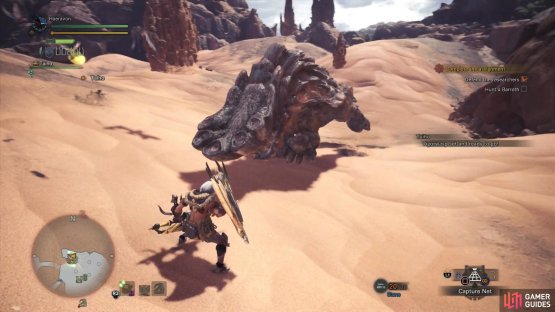
(1 of 2) Its lair happens to have pillars you can climb on - and jump off
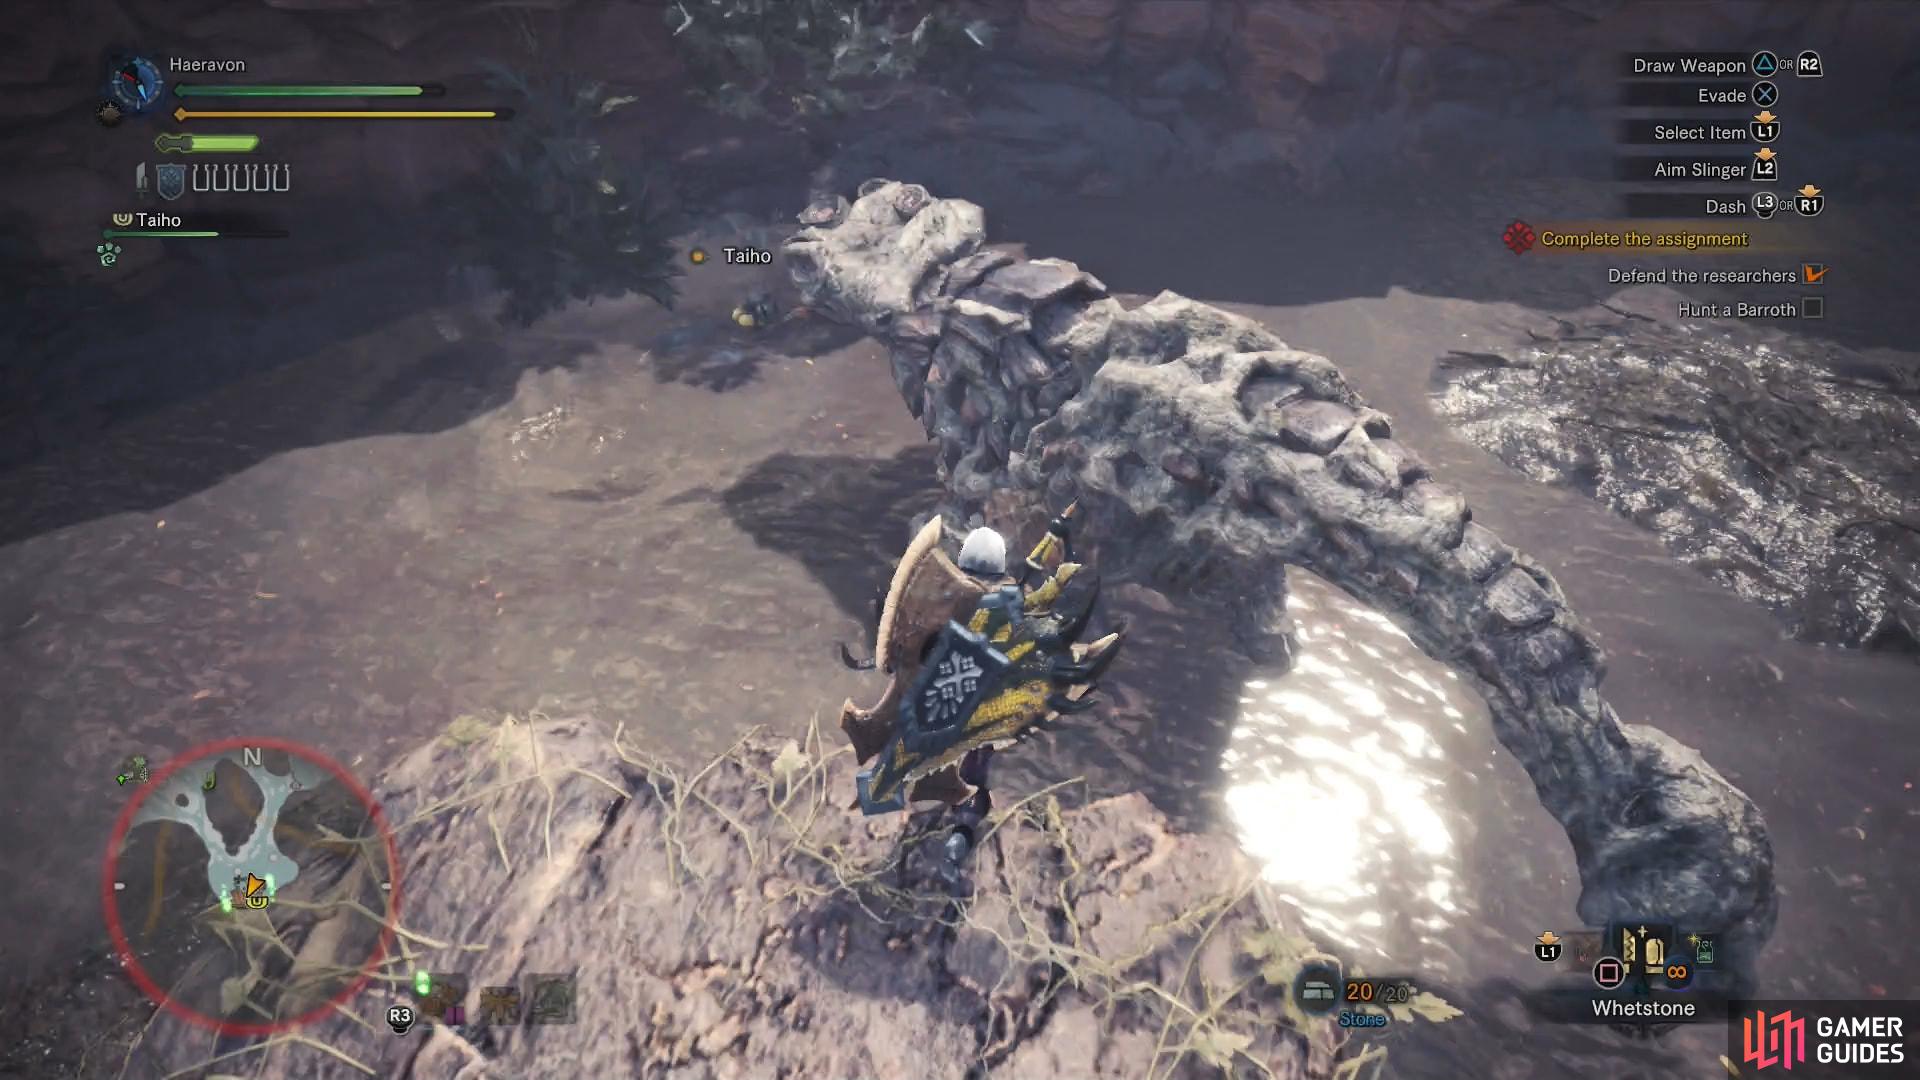
Its lair happens to have pillars you can climb on - and jump off (left), If you manage to land a jump attack on the Barroth and wear it out, you’ll finish by delivering a massive strike (right)
Its head, arms, legs and tail are all breakable, with the latter being severable. Given how front-oriented its offense is, you’d do well to avoid frontal attacks and stick to its flanks and rear, dodging away if it starts to shake suspiciously. While it can attack with its tail, if you’re under it, the tail slams will usually go past you, leaving the rear a relatively safe place from which to attack, even if its arms are more vulnerable to damage.
It’s weak against Fire and strong against water… but only when it’s not covered in mud. When it is covered in mud, it’s weak to water and strong against. Either way, it’s always strong against thunder, leaving ice as the only somewhat reliable elemental damage throughout the fight. It’s highly susceptible to poison, paralysis and blast ailments.
| Carves | Frequency |
|---|---|
| Barroth Ridge | * * * * |
| Barroth Claw | * * * |
| Barroth Shell | * * * * * |
| Barroth Tail | * * * |
| Barroth Scalp | * * * |
| Rewards | Frequency |
|---|---|
| Barroth Ridge | * * * * |
| Barroth Shell | * * * * |
| Barroth Claw | * * * |
| Barroth Scalp | * * |
| Monster Bone M | * * * |
| Fertile Mud | * * * |
After you kill the Barroth, carve it and wait for the quest to end, at which point you’ll be greeted by a mysterious man, who claims to be part of the First Fleet. Have yourself a nice chat in his camp, which he’ll let you use going forward before leaving you to your own devices. Once that encounter’s over, you’ll automatically travel to Astera and talk to the Commander, who will tell you that a researcher got separated from his escort in the Wildspire Waste, and since that’s your domain… looks like you get to go rescue them. This start the assignment Sinister Shadows in the Swamp. Talk to the Commander again and you’ll tell him about meeting the man in the Wildspire Waste, who will be identified as their Wyverian Hunter, a strange, elusive and solitary man who is nonetheless competent enough that the Commander is inclined not to worry about him. Fair enough.


(1 of 2) After defeating the Barroth you’ll meet a rogue hunter from the First Fleet
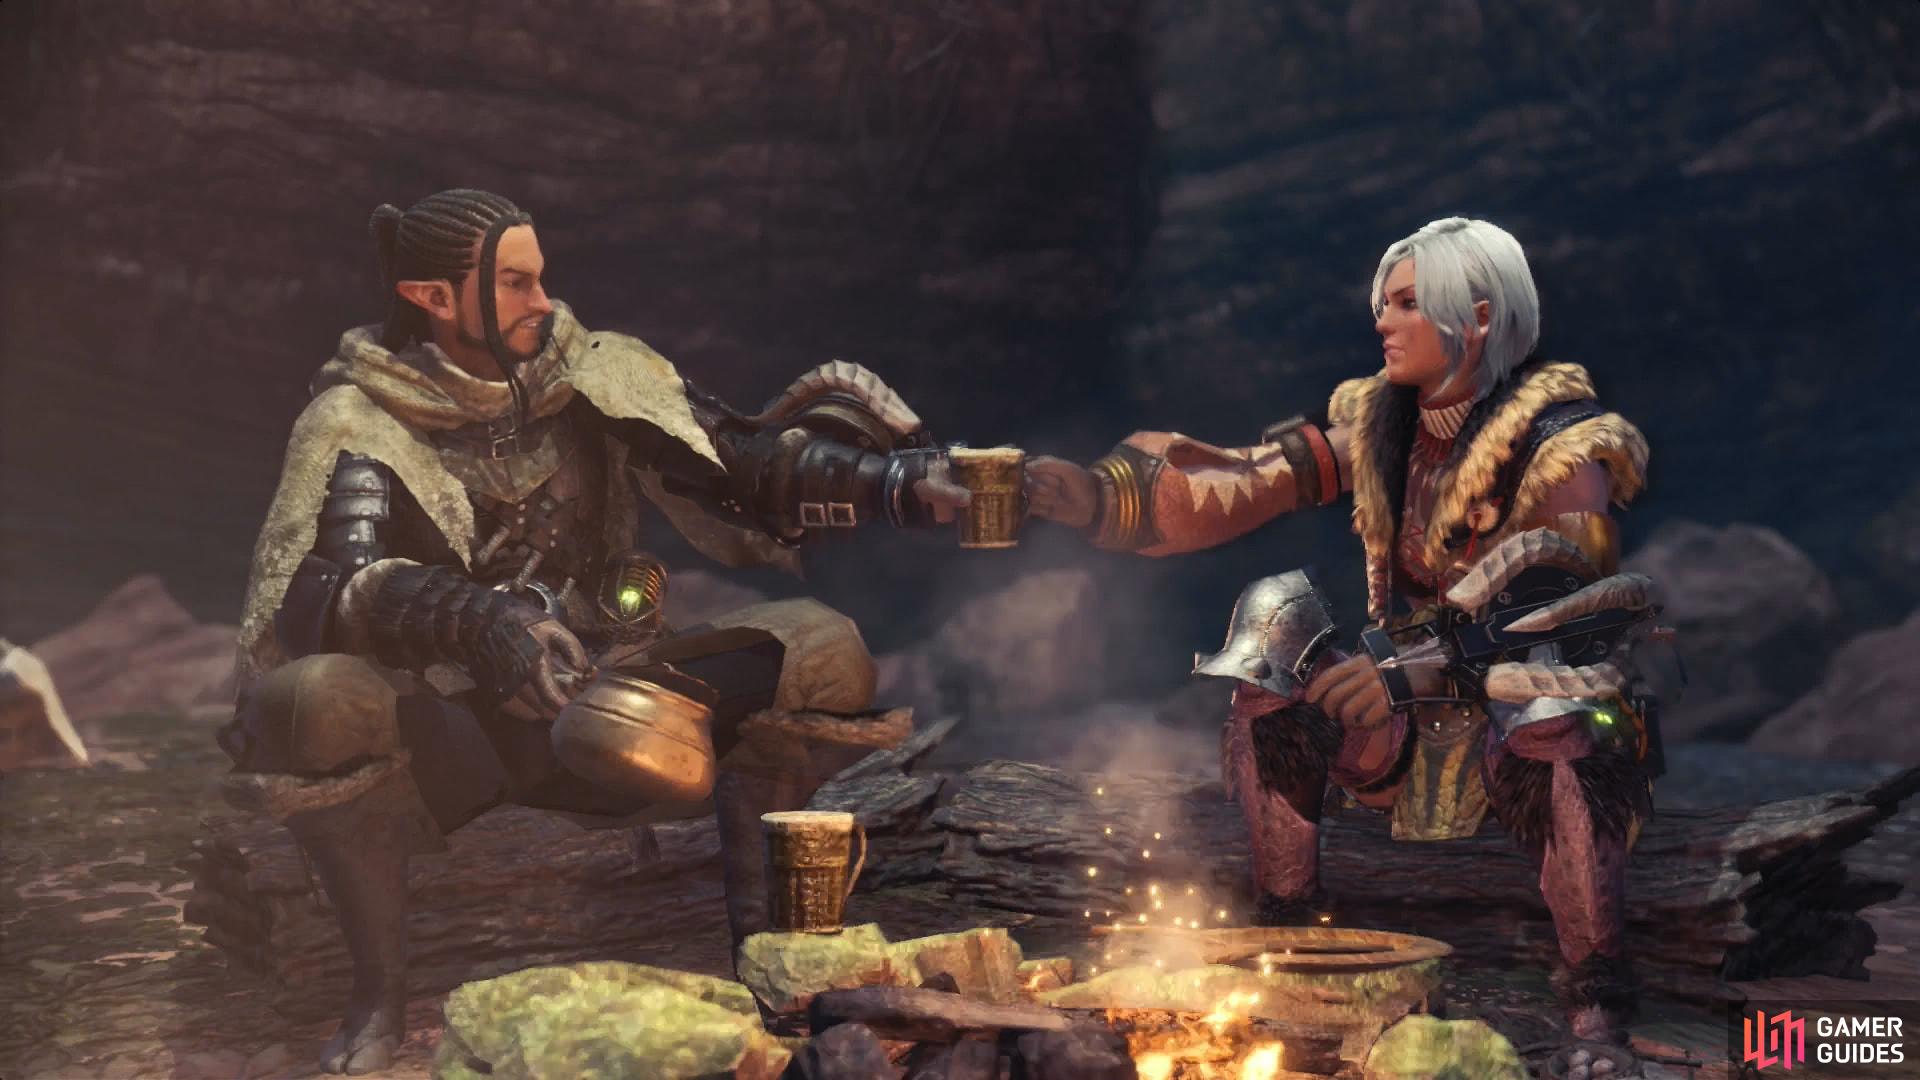
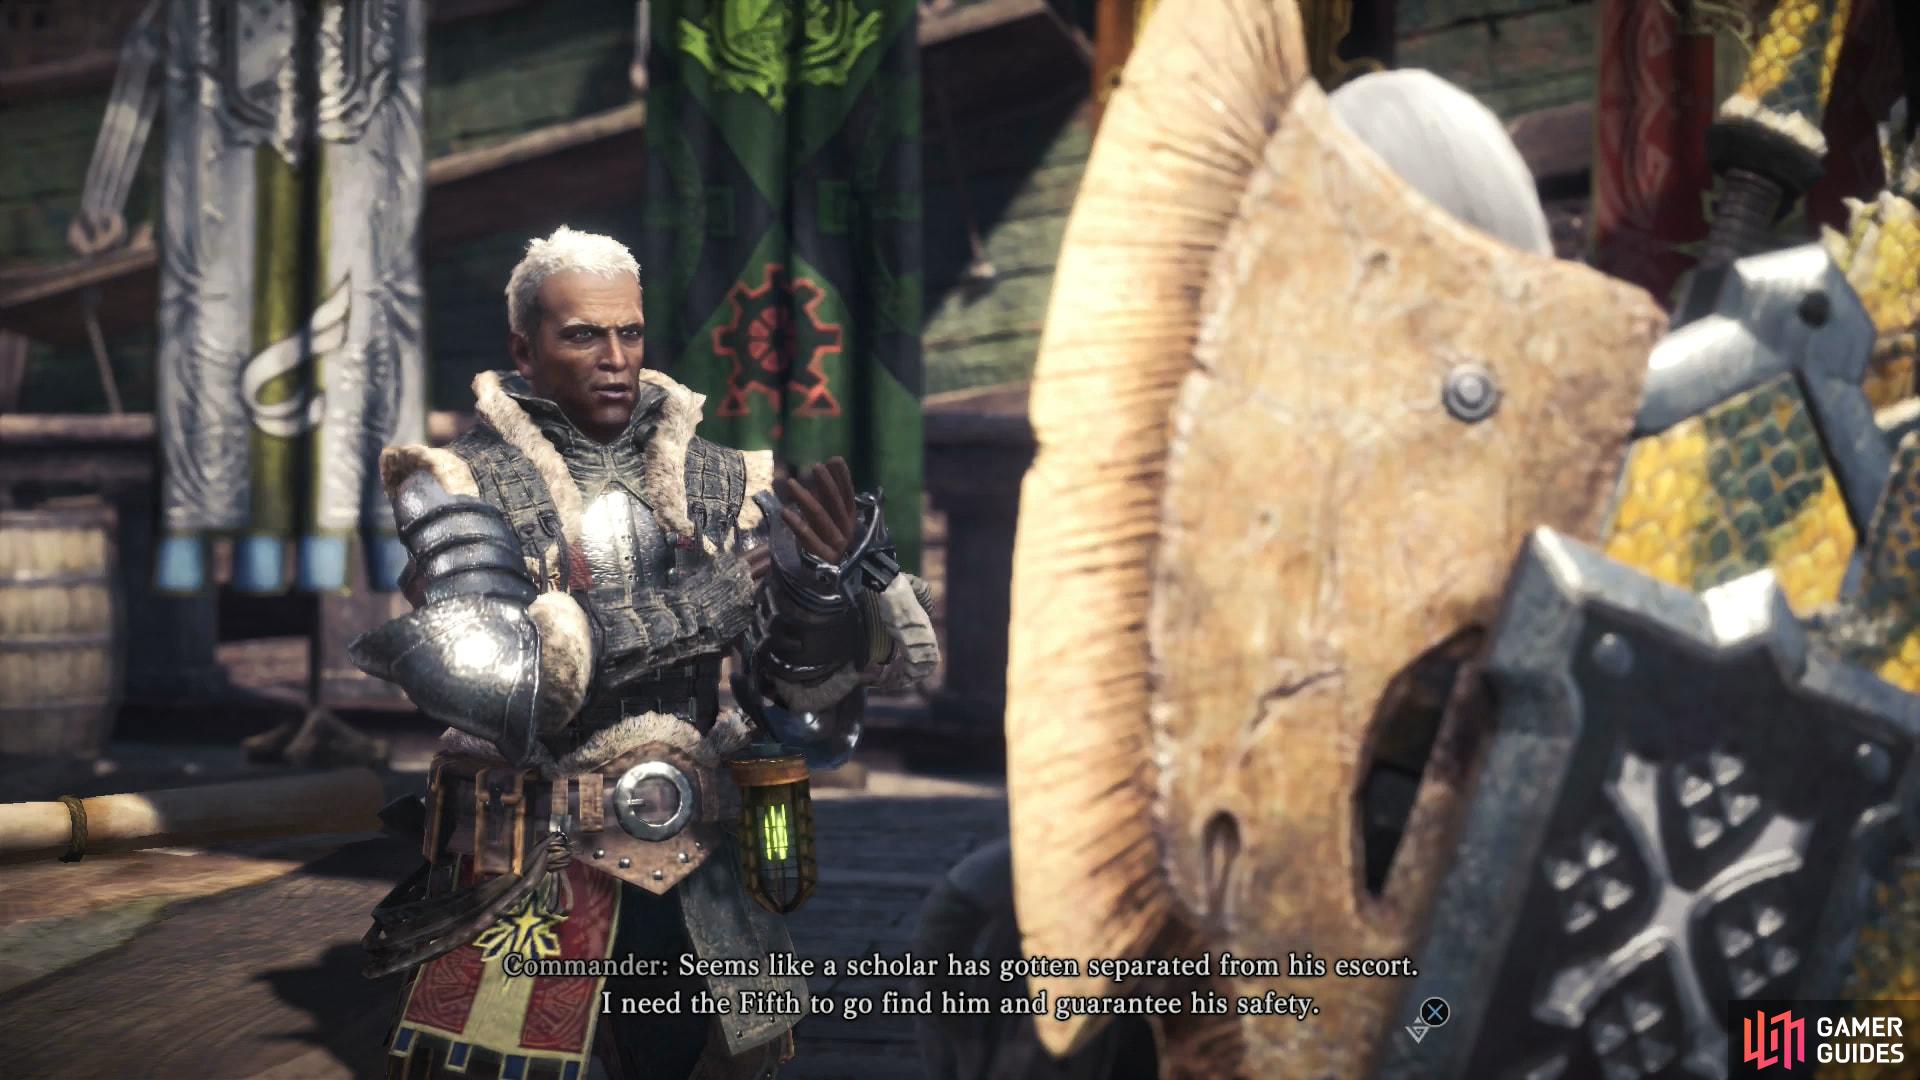
After defeating the Barroth you’ll meet a rogue hunter from the First Fleet (left), and the Commander will give you your next assignment (right)
Kulu-Ya-Ku Capture Quest
Before running off on the next assignment, talk to the Smart Biologist, who can be found west of the Ecological Research Station. He claims to be part of the “Research Commission’s Survey and Capture Squad”, or the “Go-Getters”, for short. How smart can he be if he can’t come up with a better name than that? Oh well. He floated the idea of capturing critters earlier, but now he’s actually got a request, which takes the form of the optional quest Snatch the Snatcher, which tasks you with capturing a Kulu-Ya-Ku.
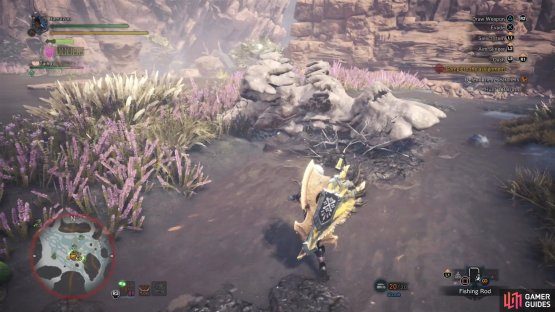
Now that you’ve accessed a new area, you should have easier access to more materials, so getting the components you need (Thunderbugs, Ivy, Spider Webs, Parashrooms, Sleep Herbs, and the Zenny to buy Trap Tools) shouldn’t be too difficult. The basic principles aren’t too different, you just beat a monster until it’s nearly defeated (having a Scoutfly Level of three will help by putting a skull near the monster’s icon on the mini-map, but visual cues work, too), place a trap and lure it into it, then hit it with a Tranq Bomb. The capturing process will be covered more in-depth under the Snatch the Snatcher quest heading.
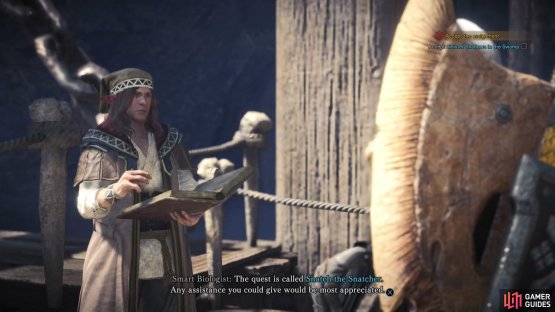

(1 of 2) Back in Astera, you can pick up a new quest from the Smart Biologist
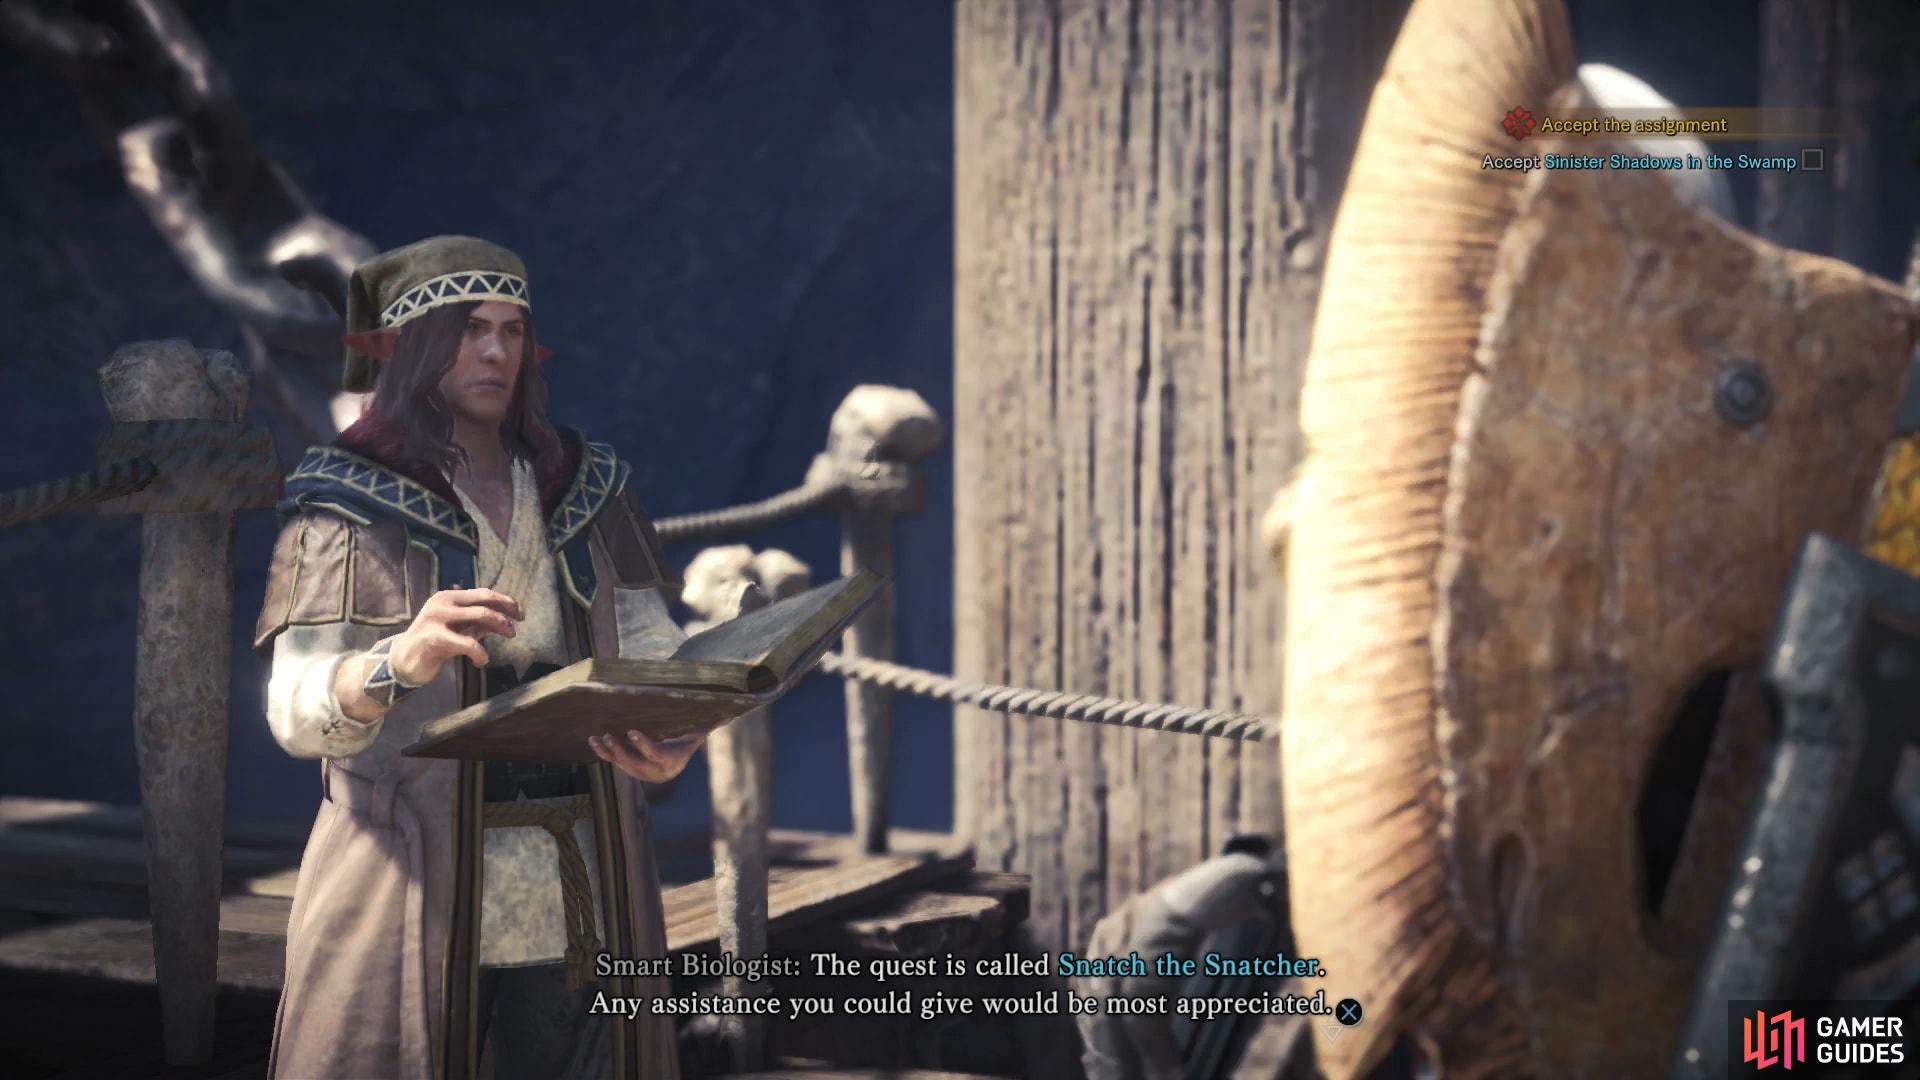
Back in Astera, you can pick up a new quest from the Smart Biologist (left), and two new quests from the Meowscular Chef (right)
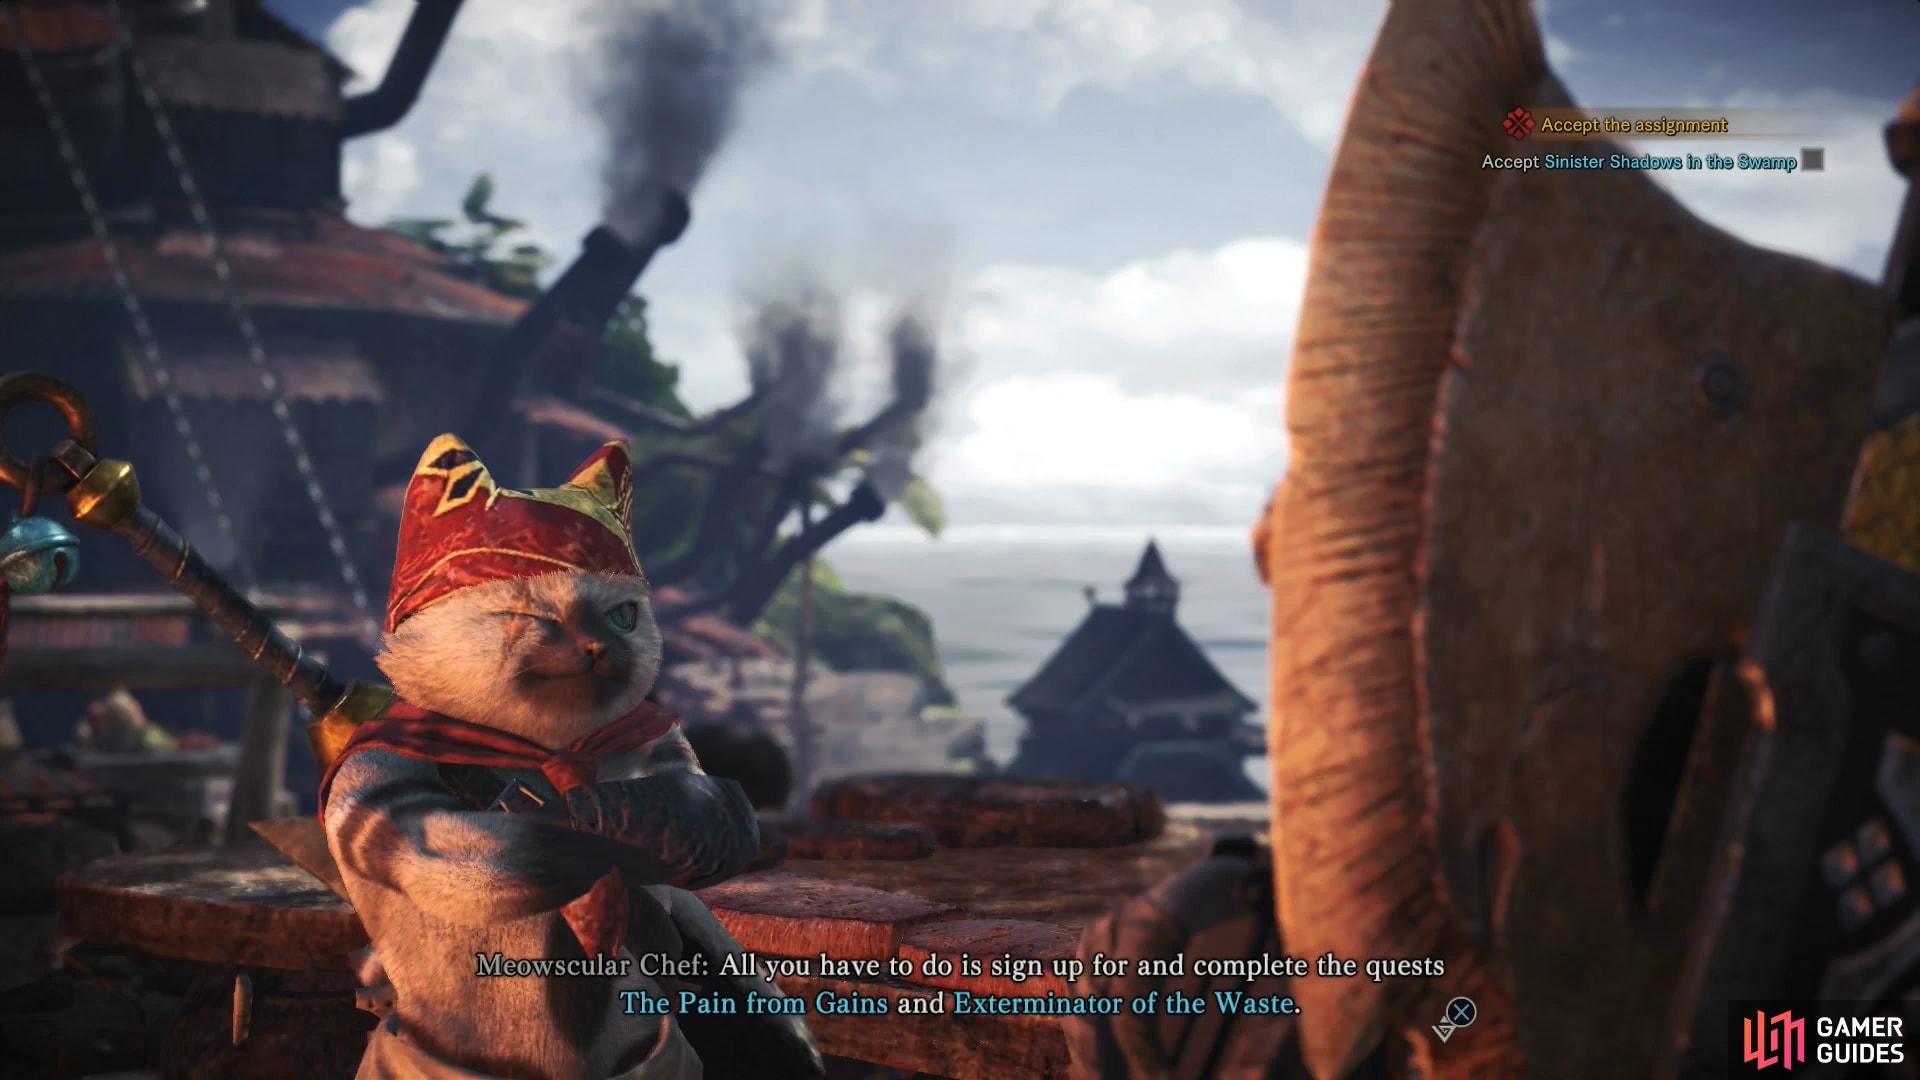
More Canteen Quests
Next up, head to the Canteen and talk to the Meowscular Chef. Since you’ve found a new area, there’s naturally new ingredients you can find there, and everybody should be interested in that! This will lead to him posting the optional quests The Pain from Gains and Exterminator of the Waste.
After that, all that’s really left to do is see if you can make any new arms and armor with whatever Barroth bits dropped, then depart on your next quest!
No Comments