
| Quest Info |
|---|
| Objective: Hunt a Rathian |
| Reward Money: 4320z |
| Time Limit: 50 min. |
| Conditions: HR 5 or higher |
| Failure Conditions: Time Expires / Faint 3 Times |
| Other Monsters: Apceros / Kestodon / Gajau / Noios |
A mean ol’ Rathian is preventing useful research from being done, which naturally means it’s up to a hunter to resolve things. Get yourself a good meal and make sure you have Mega Potions and Antidotes ready to go, as the Rathian can be quite a mean beast. When you’re ready, depart for the Southeast Camp in the Wildspire Waste and begin looking for tracks. You’ll most likely find the Rathian in AREA 2, perhaps moving south from AREA 3, which is where it likes to begin battle in this particular quest. After dealing damage to it, it’ll retreat to AREA 3, if not there already, and from AREA 3 it’ll flee to AREA 8. When it’s near death it’ll retreat to its lair in AREA 12. If it flees here and starts resting, that’s a good sign it can be captured.
| Elements | . |
|---|---|
| Fire | X |
| Water | * |
| Thunder | * * |
| Ice | * |
| Dragon | * * * |
| Ailments | . |
|---|---|
| Poison | * |
| Sleep | * * |
| Paralysis | * * |
| Blast | * |
| Stun | * * * |
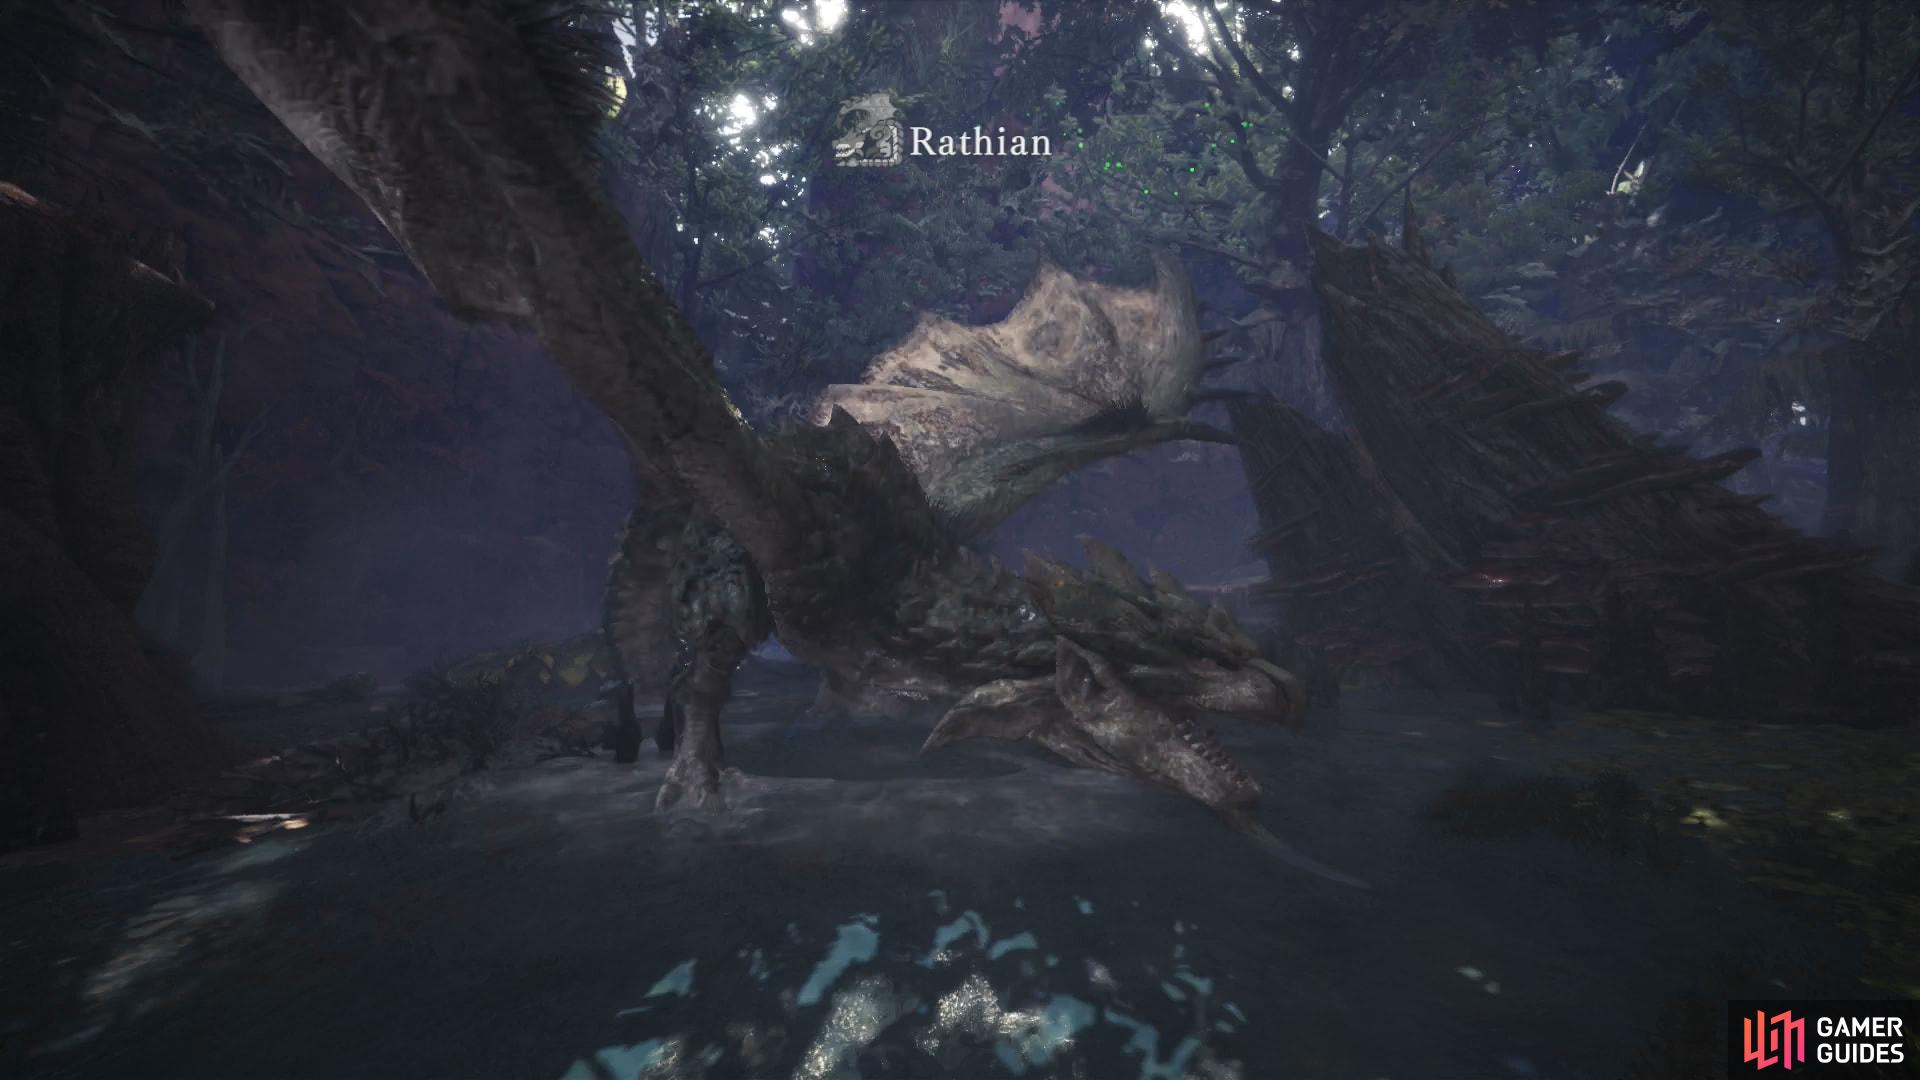
Hunt - Rathian
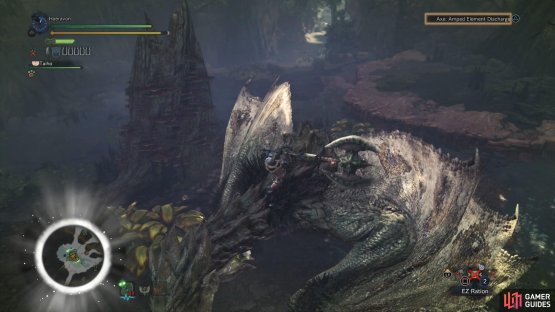
The Rathian is a Flying Wyvern - both its specific monster categorization, and a fair lay description - and as such you should be prepared for aerial attacks, although frankly, aside from a somewhat mediocre dive attack it only has one aerial attack to be wary of, otherwise using its wings more for mobility rather than as a component to offensive maneuvers. This one note-worthy aerial attack is a vertical spin it’ll do in air, smashing the ground with its tail. Not only does this do a bit of damage, but it’ll inflict poison, too. This is the Rathian’s one attack that envenomates struck enemies, and while it does leave the Rathian vulnerable for a few seconds (if you can time your attacks to coincide with its landing), that doesn’t preclude it from using it again shortly afterwards, so don’t let your guard down just because you see this attack.

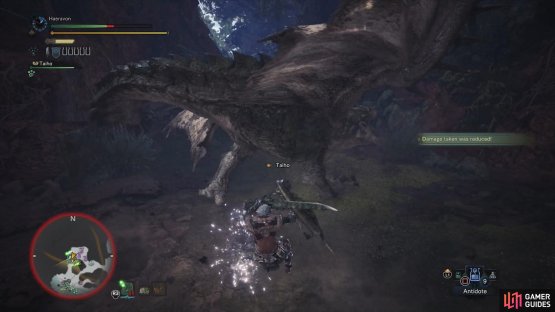
(1 of 2) Along with bites and annoying “charge” attacks, the Rathian can spit fireballs with tremendous force, sometimes in volleys of three
Along with bites and annoying “charge” attacks, the Rathian can spit fireballs with tremendous force, sometimes in volleys of three (left), Its tail is also a dangerous weapon, as it can perform a tail sweep attack (pictures) and a spinning tail flip (right)
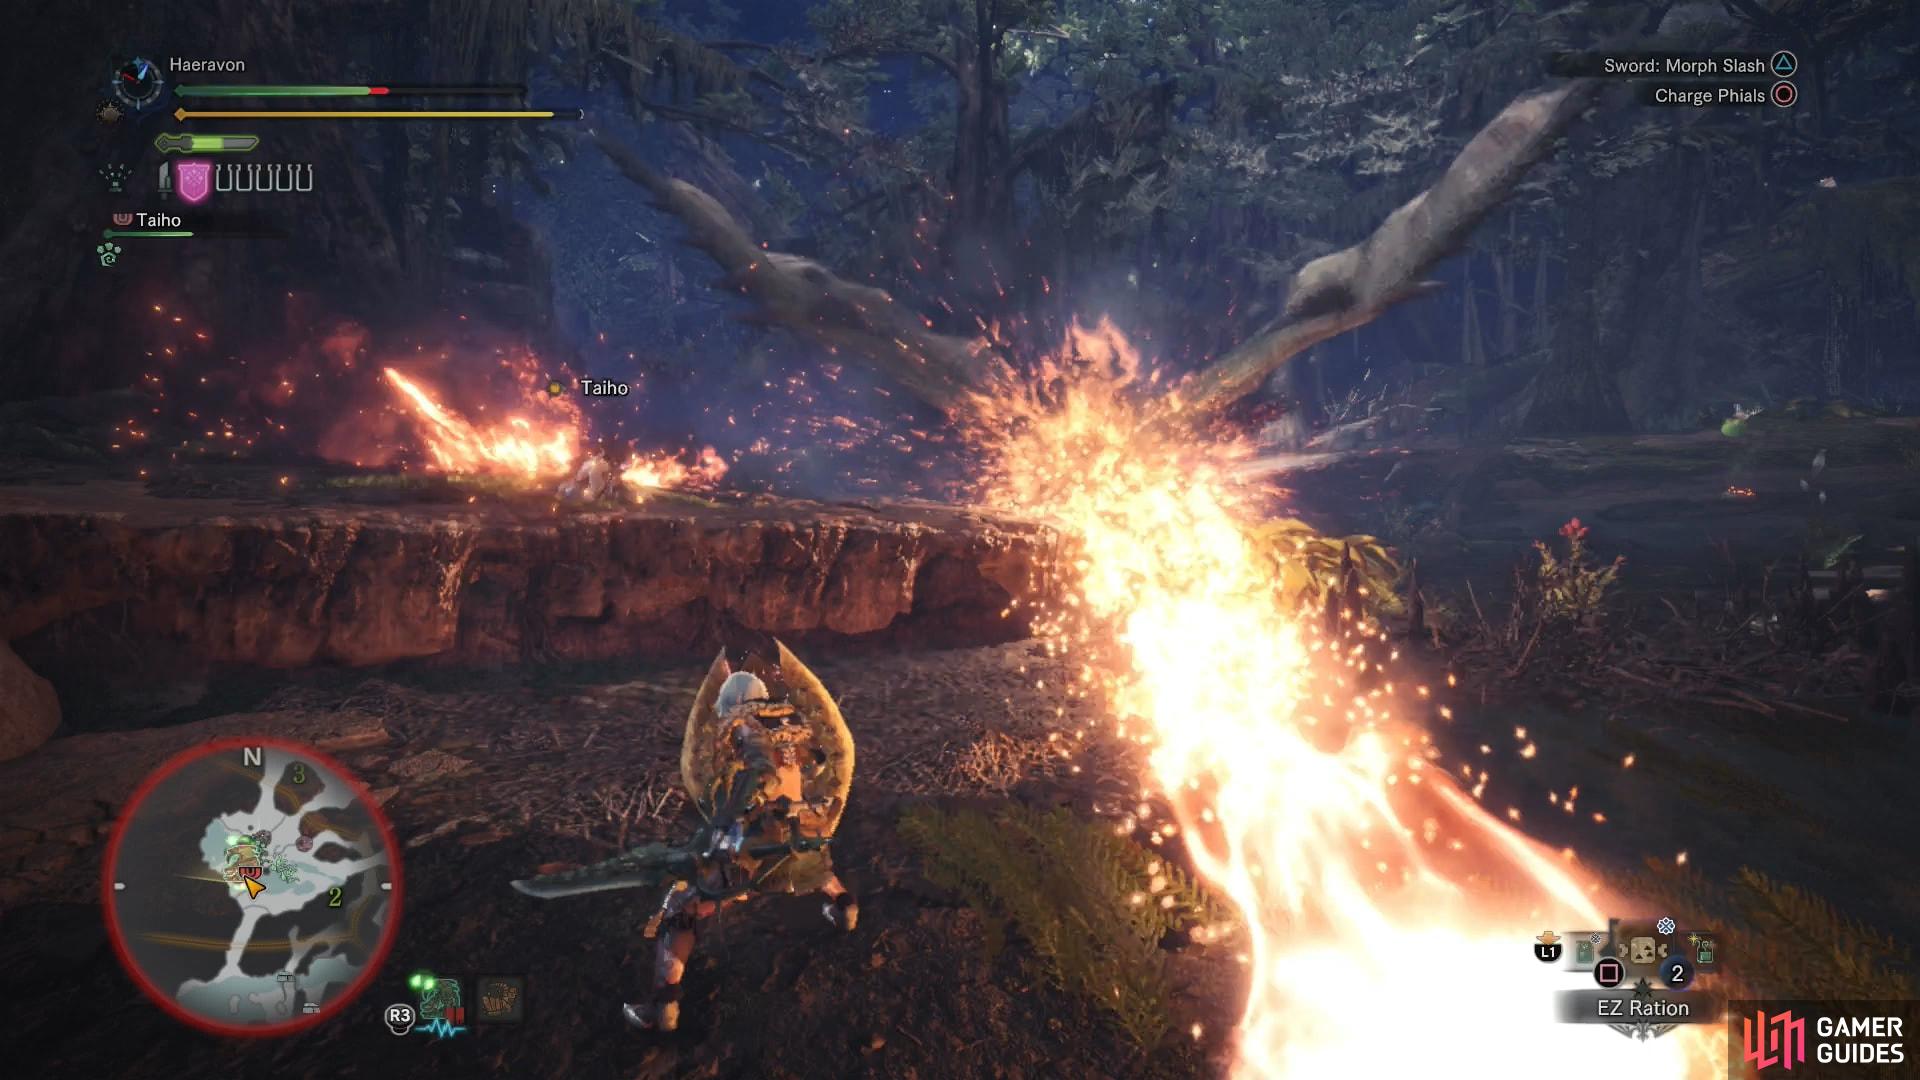
Other attacks include the usual bites and tail sweeps, and the Rathian turns enough during combat that there’s no clear favorable side to attack… although as usual, the monster’s head is the source of much of its offense. Namely, it can breathe fire, shooting a single blast of fire or a succession of three blasts. The Rathian’s fire damage isn’t as dangerous as the Anjanath’s was, but being set on fire is still annoying enough, especially since this monster can inflict another damage-over-time effect. The most annoying attack this monster has, however - and one it’ll continually employ - is simply rushing back and forth… which for some reason deals damage. Often times it’ll just pace back and forth, dealing damage to all who stand in between it and its destination.
This is a fine excuse to introduce another item which will come in handy, as there are numerous flying monsters left undiscovered, and many of them will keep to the air much more than the Rathian does. Against pretty much all flying, Flash Pods are worth their weight in… well, maybe not gold, but they’re still terribly useful items, as there’s a good chance they’ll blind the flying monster. While this holds true with non-fliers, as well, against flying foes it also has the benefit of knocking them out of the air, leaving them vulnerable for follow-up attacks. A Flash Pod only requires one Flash Bug to create, too, so it shouldn’t be hard to get several of them. Just be sure to load it into your Slinger (select it via the Item Bar and press [Square] or [X]) so it’s ready for use.

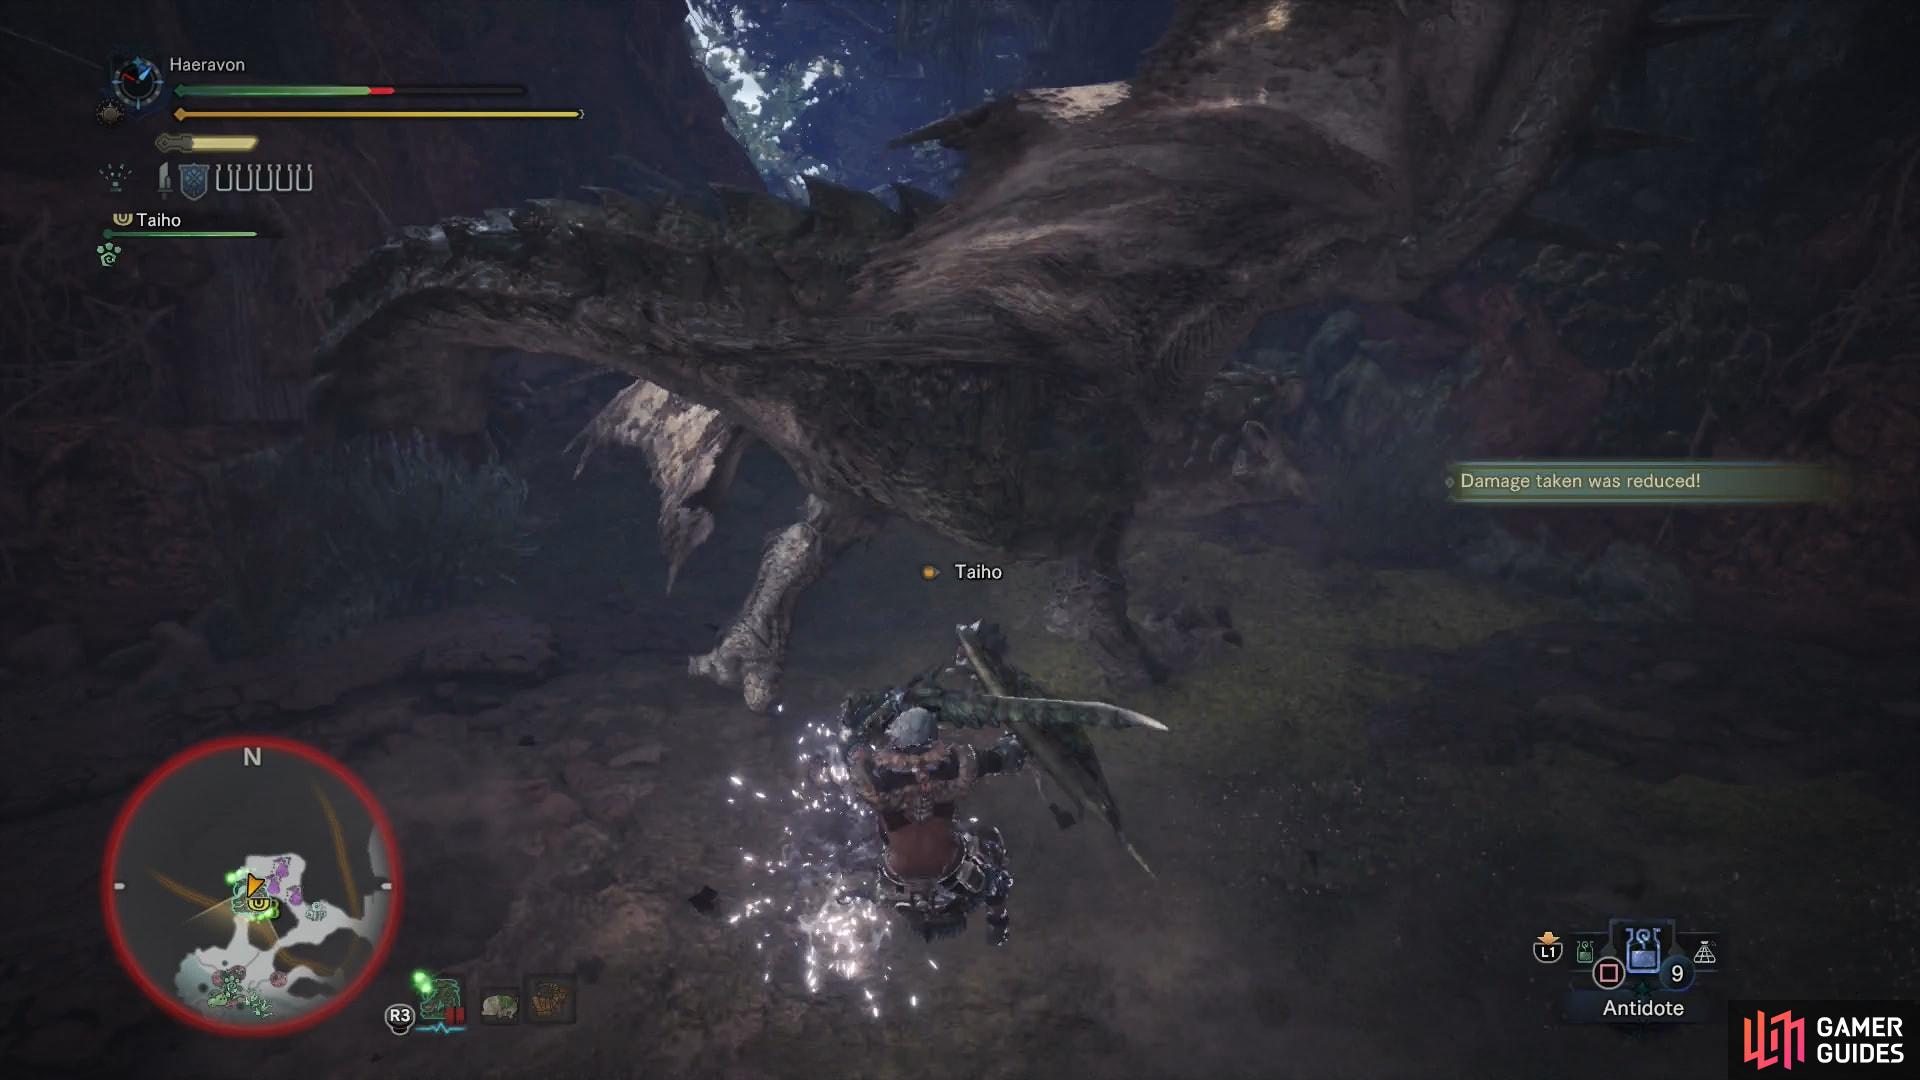
(1 of 2) The Rathian tends to occupy areas with uneven terrain. Use it to your advantage to mount the beast and deliver a telling blow

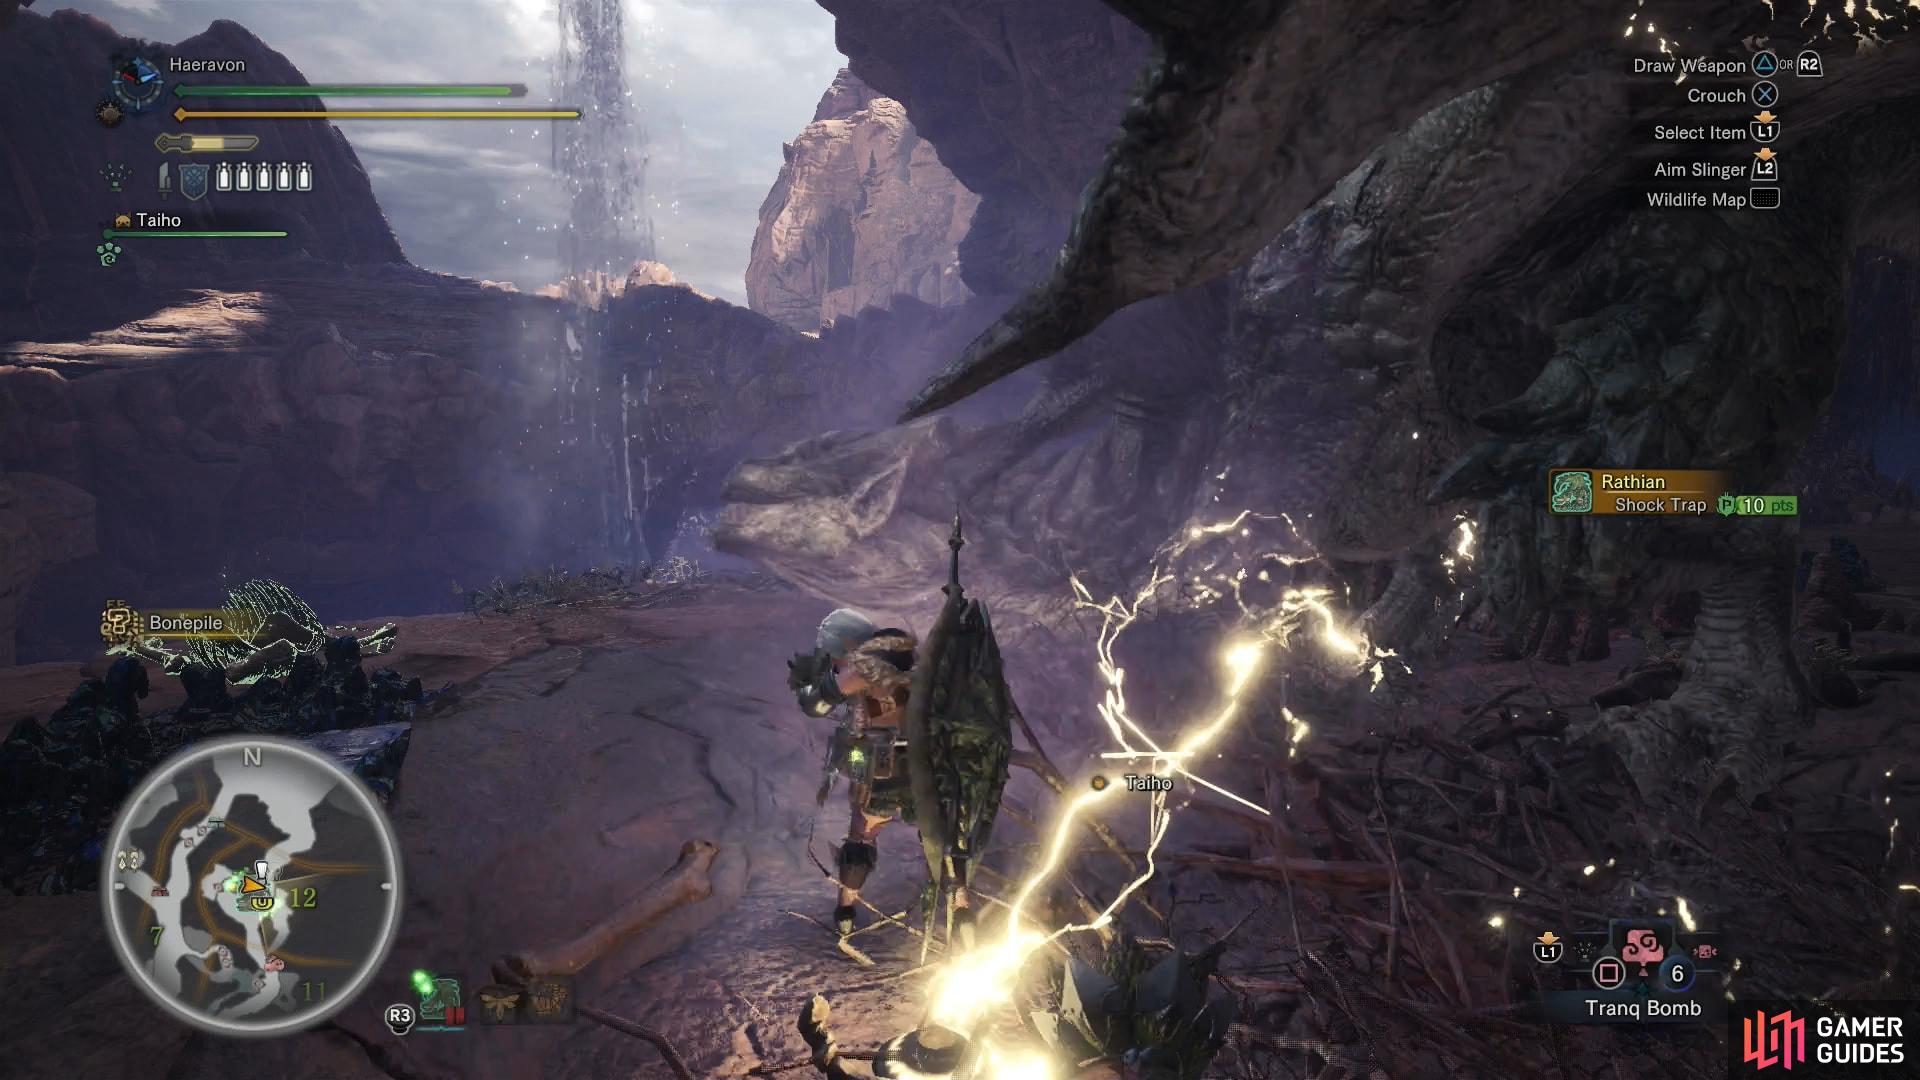
The Rathian tends to occupy areas with uneven terrain. Use it to your advantage to mount the beast and deliver a telling blow (left), After it’s sufficiently wounded, the Rathian will flee to its nest, where you can capture it if you wish to end the fight more quickly (right)
The Rathian’s head, wings, body and tail are all breakable, with the last also being severable. Its head takes the most damage from attacks, while it’s wings and tail are also more vulnerable to damage than normal. Since its tail is severable and a less risky target than the head, it may make a good objective… especially since it’s pretty easy to score hits on after the Rathian’s aerial tail flip attack and whenever the Rathian is using its head for dastardly fire-breathing attacks. It’s resistant to fire, weak against dragon elemental attacks, and highly susceptible to the stun ailment, while being resilient to both poison and blast.
| Carves | Frequency |
|---|---|
| Rathian Shell | * * * * |
| Rathian Scale | * * * * * |
| Rathian Wingtalon | * * * |
| Rathian Spike | * * |
| Rathian Webbing | * * * |
| Rathian Plate | * |
| Rewards | Frequency |
|---|---|
| Rathian Shell | * * * * |
| Rathian Scale | * * * * |
| Rathian Wingtalon | * * * |
| Rathian Webbing | * * |
| Rathian Plate | * |
| Monster Bone L | * * * |
| Flame Sac | * * * |
For completing this quest, you’ll be further rewarded by being able to cultivate new types of materials at the Ancient Tree. The expanded materials include Parashrooms, Godbugs, Thunderbugs and Spider Webs - components useful in crafting.
No Comments