
| Quest Info |
|---|
| Objective: Hunt a Tobi-Kadachi |
| Reward Money: 3240z |
| Time Limit: 50 min. |
| Conditions: HR 4 or higher |
| Failure Conditions: Time Expires / Faint 3 Times |
| Other Monsters: Aptonoth / Jagras / Mernos |
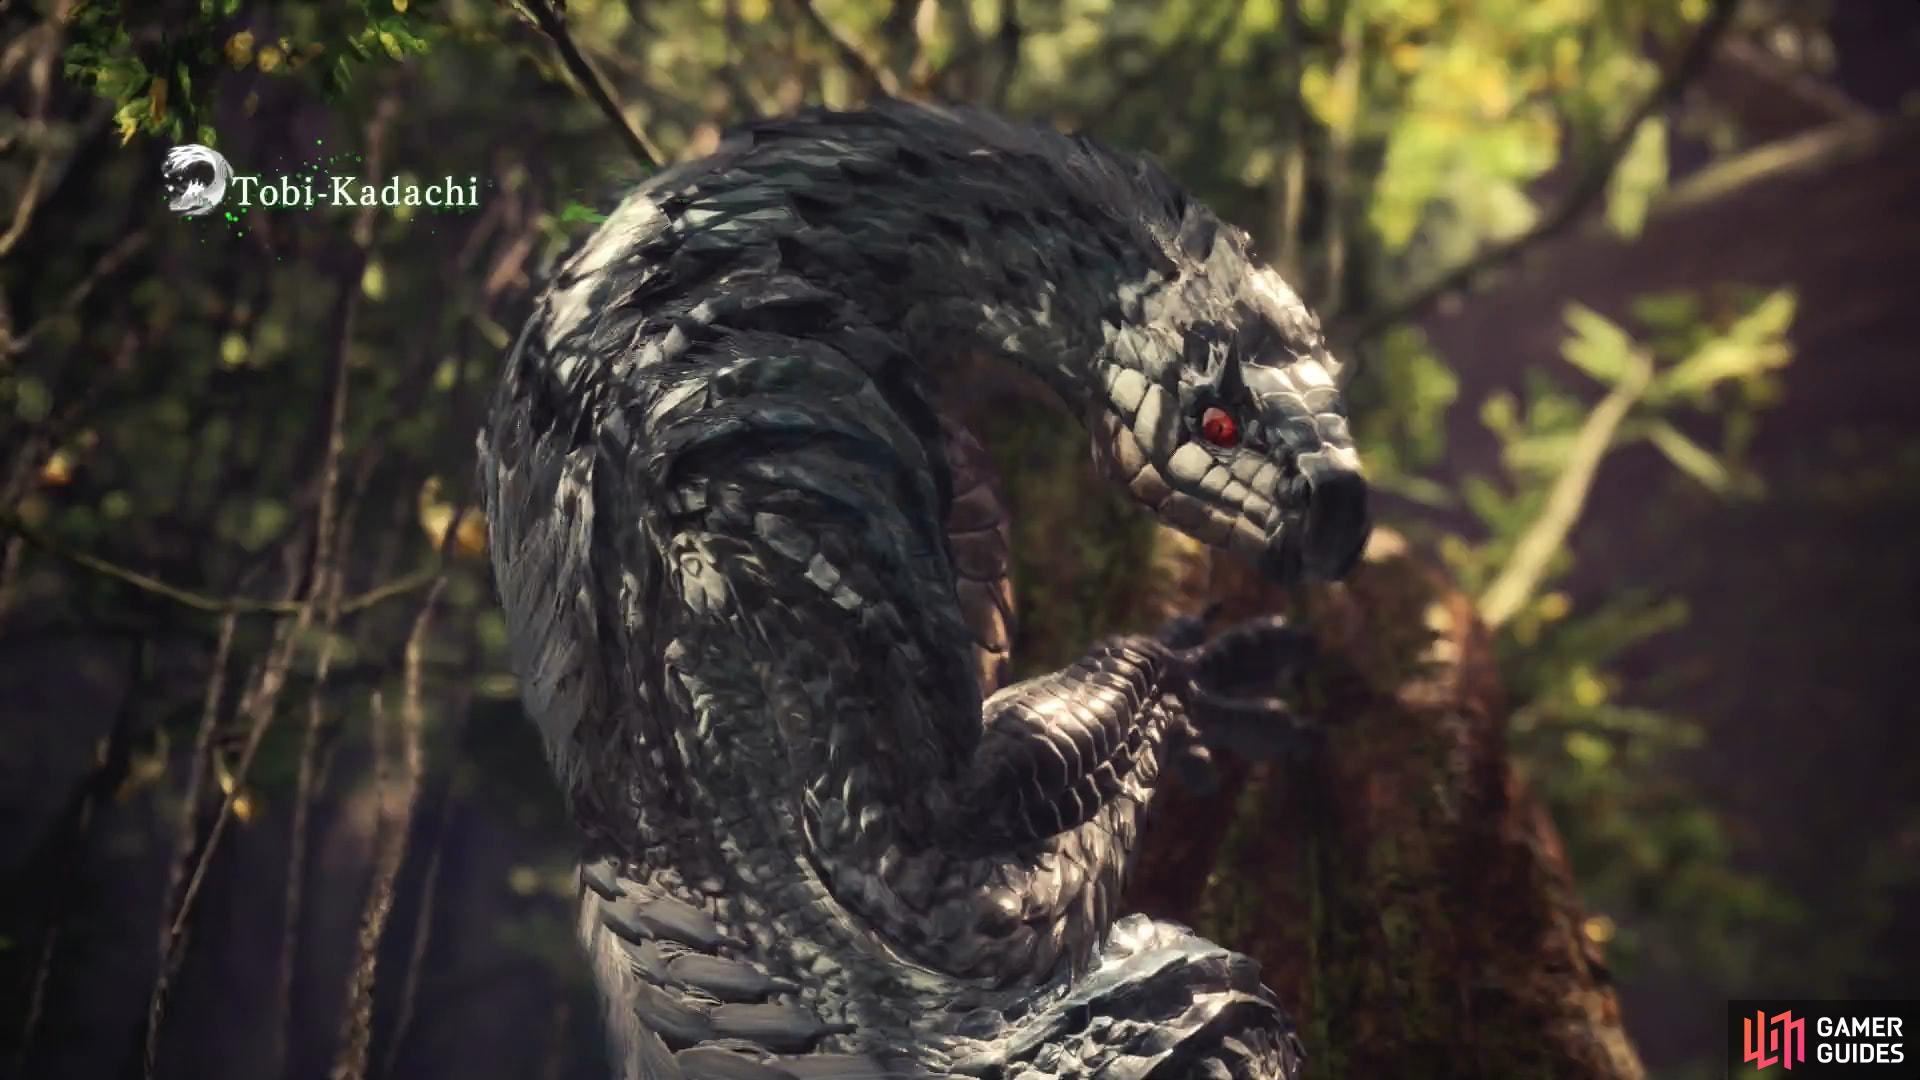
Hunt - Tobi-Kadachi
Accept this assignment from the Quest Board and travel to the Ancient Forest, where your target - the Tobi-Kadachi - can be found. This is a pretty straight-forward assignment here, no distractions or sub-objectives, just find the Tobi-Kadachi and kill it. It lairs up in the boughs of the Ancient Forest, in AREA 14, but you could find its tracks as near to camp as the northern part of AREA 1, just outside of the Jagras lair, so some running about and searching for clues might be necessary. When you find signs of the beast, follow them to find your monster.
| Elements | . |
|---|---|
| Fire | * * |
| Water | * * * |
| Thunder | X |
| Ice | * * |
| Dragon | * |
| Ailments | . |
|---|---|
| Poison | * * * |
| Sleep | * * |
| Paralysis | * * |
| Blast | * * |
| Stun | * * |
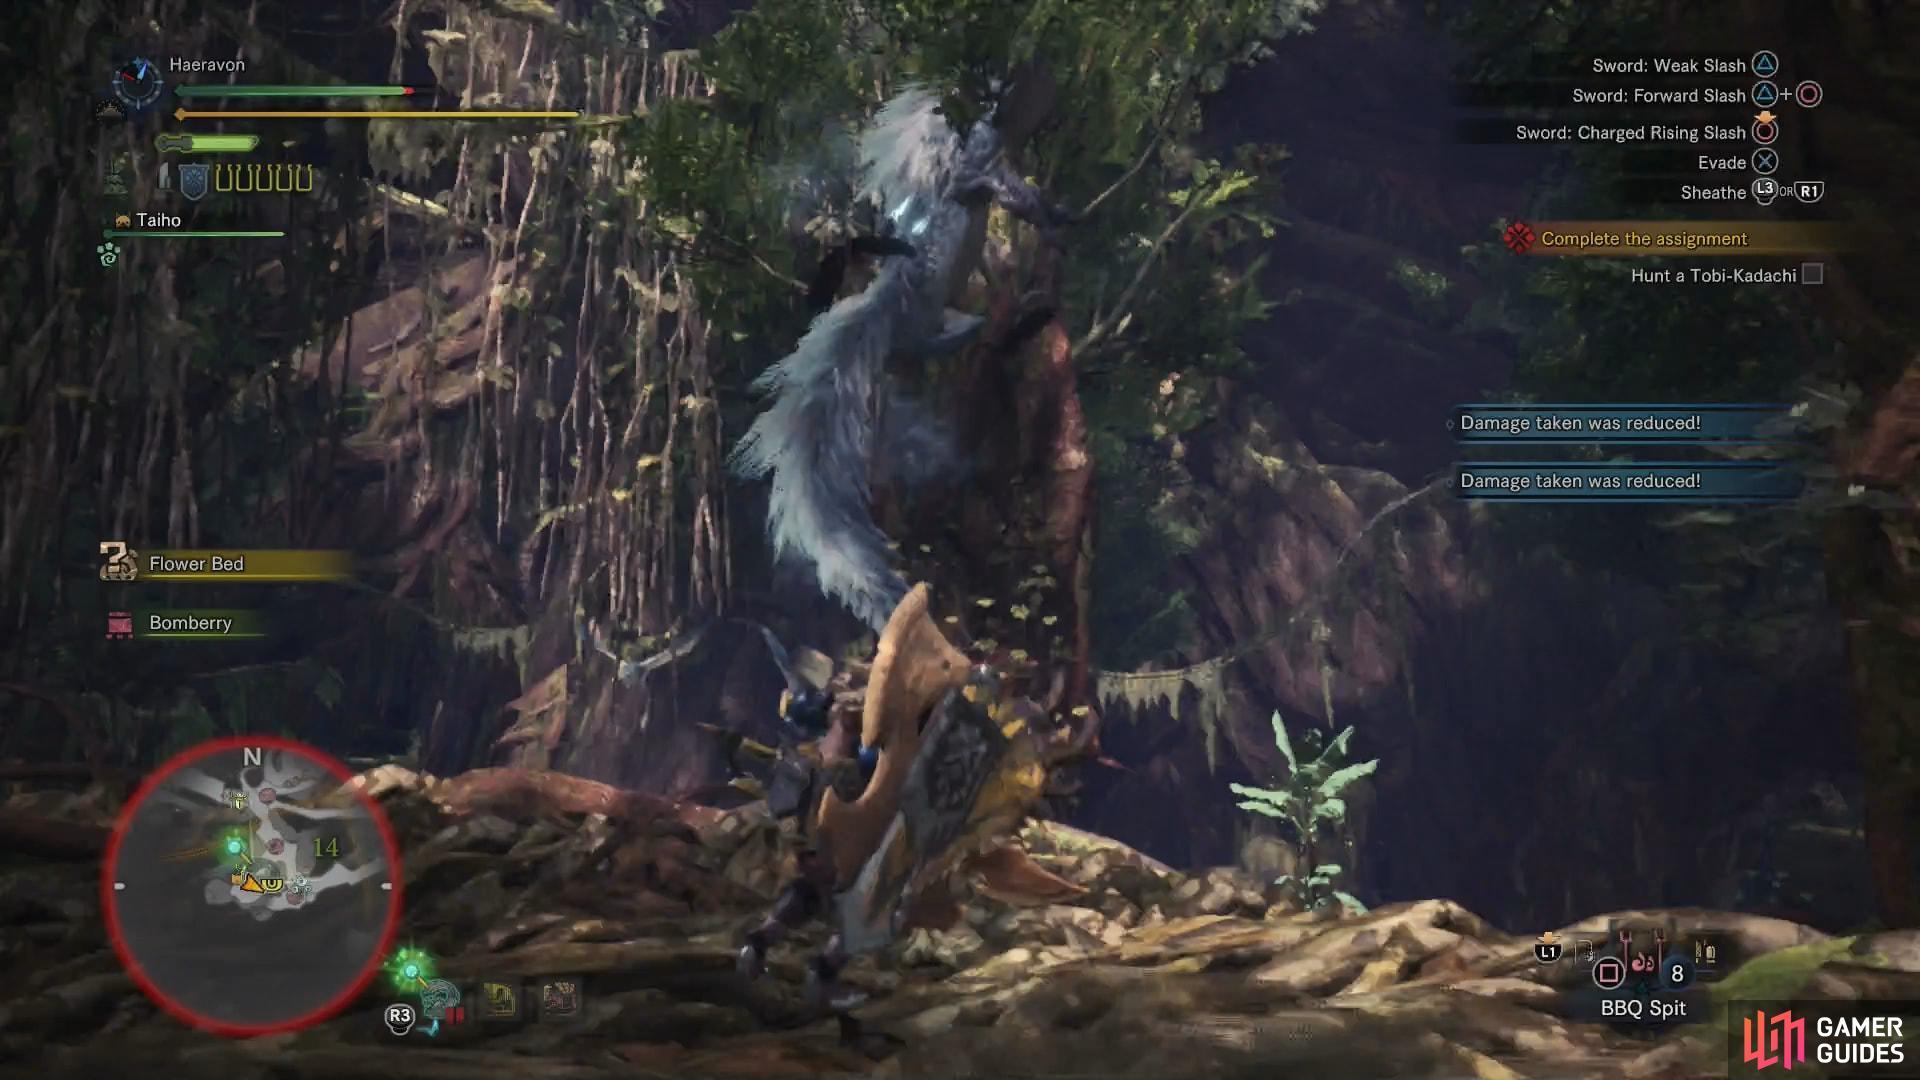
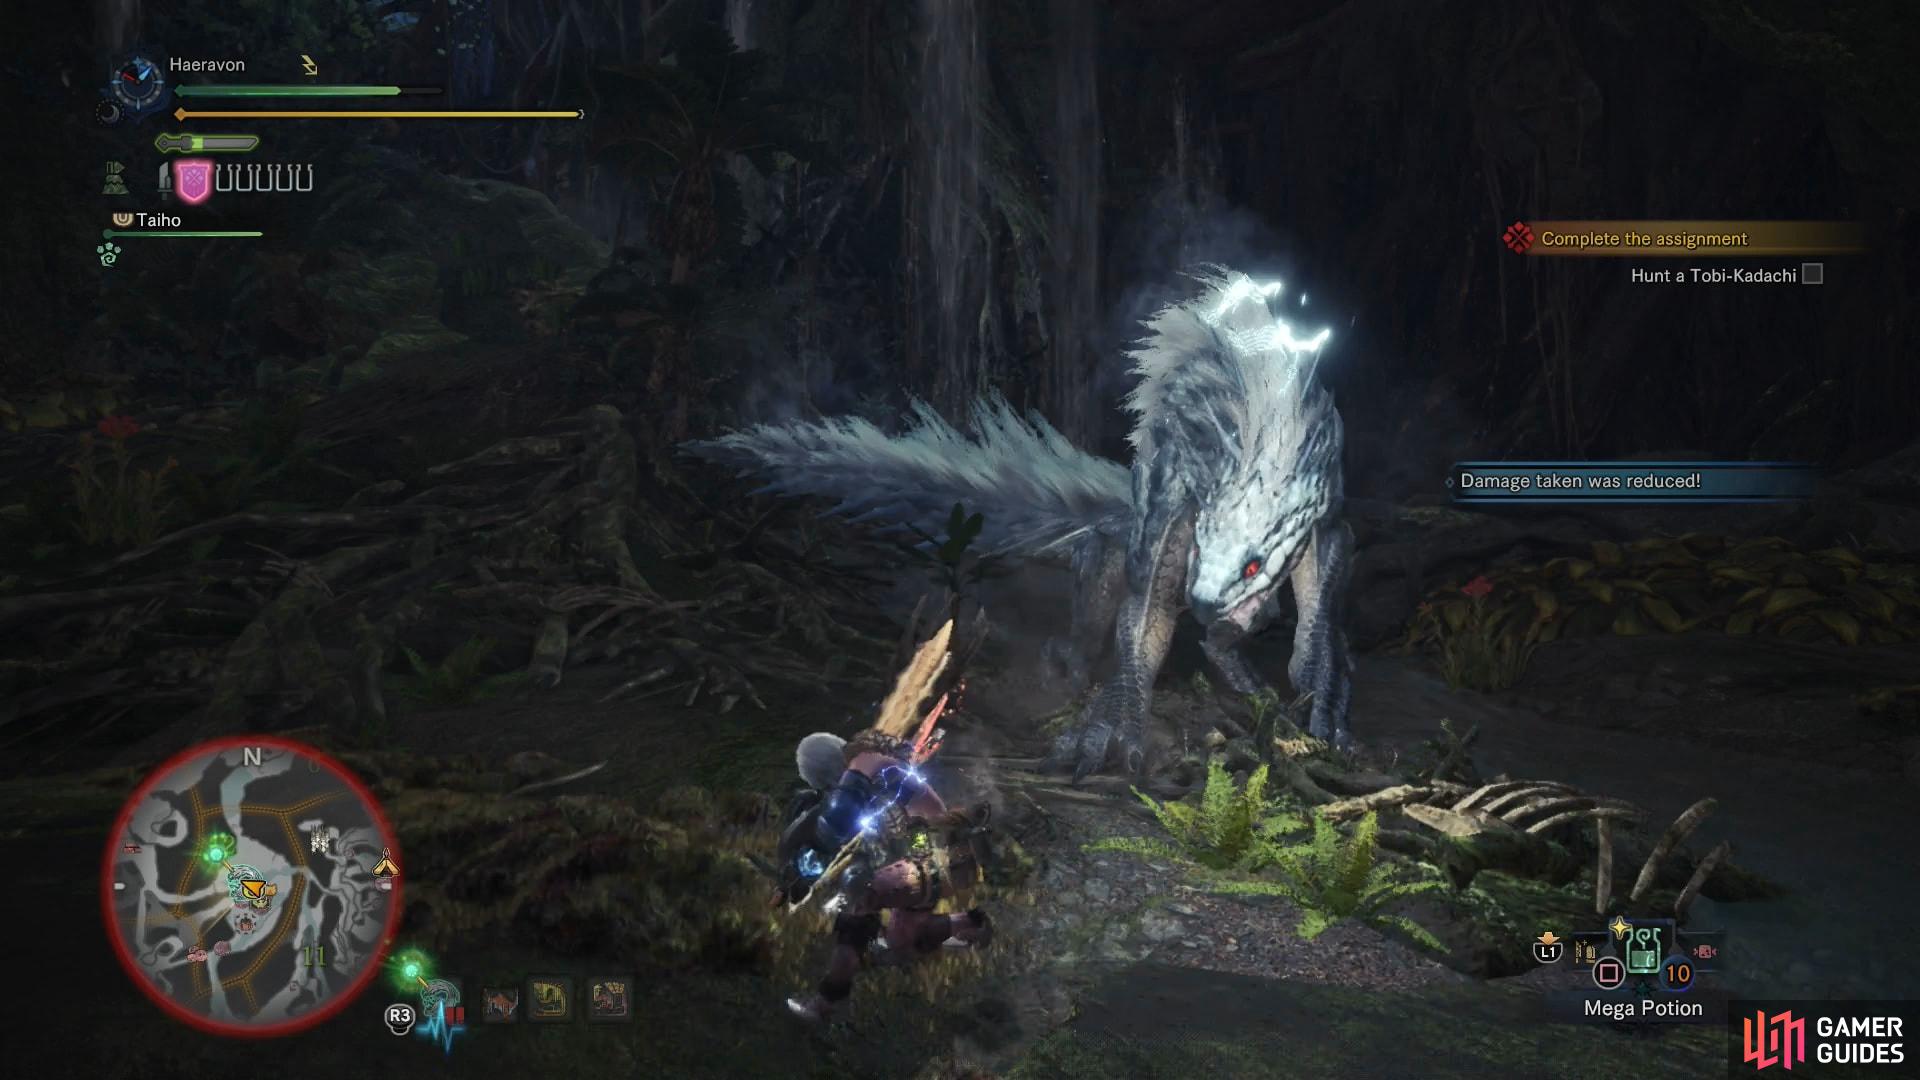
(1 of 2) The Tobi-Kadachi will, in certain areas, use vertical surfaces as platforms from which to attack
The Tobi-Kadachi will, in certain areas, use vertical surfaces as platforms from which to attack (left), but when necessary it’ll settle for less elusive attacks (right)
The Tobi-Kadachi is an odd monster. Part reptile, part fox, part… flying squirrel? Whatever it is, it’s quicker than anything you’ve fought before, and especially in its lair, it’s fond of clinging to and leaping/gliding between vertical surfaces. It doesn’t just use this mobility for getting around, however, but lightning fast bites, dives and charges as well, although if you’re quick, you can shoot him with your Slinger while he’s gliding to knock him out of the air. Speaking of lightning… this monster has an affinity for thunder, and can charge itself with static electricity, dealing extra damage with certain attacks (particularly those involving its tail) and inflicting Thunderblight, which will make it easier to stun you.
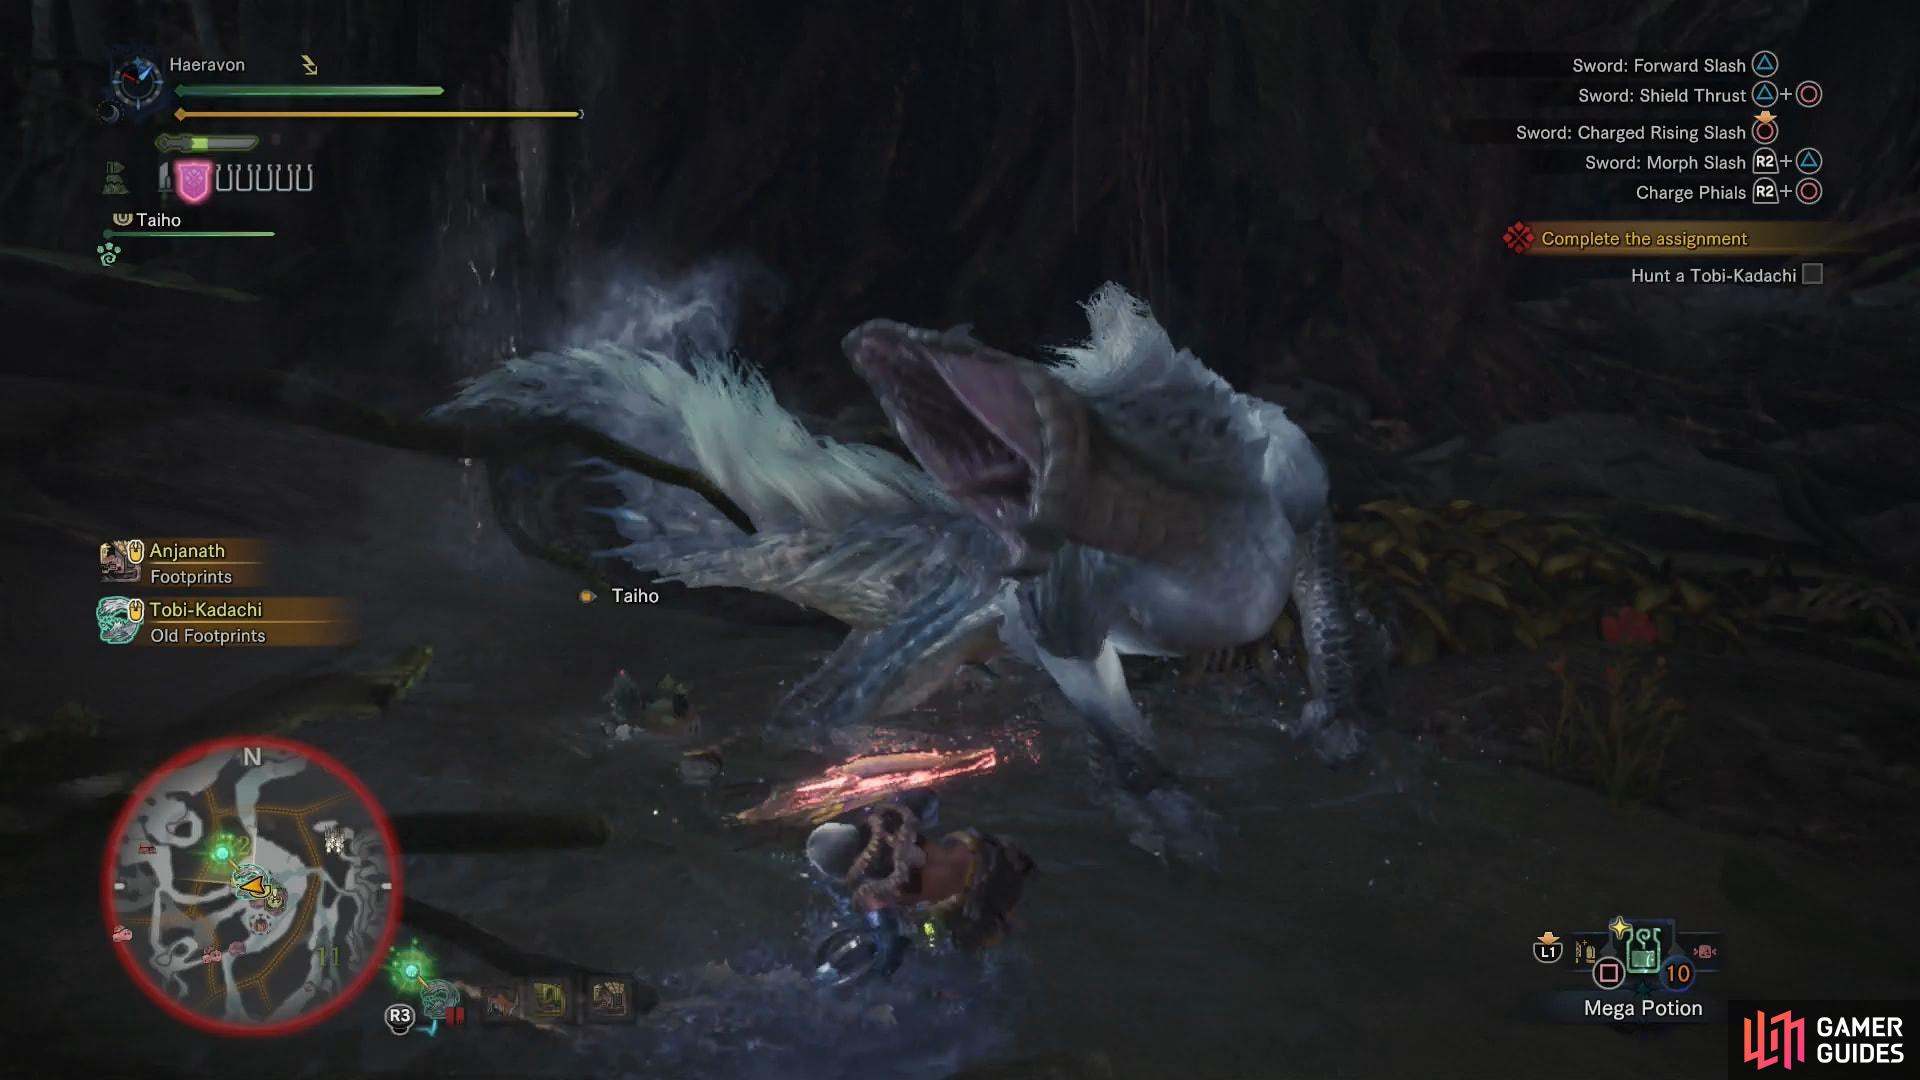
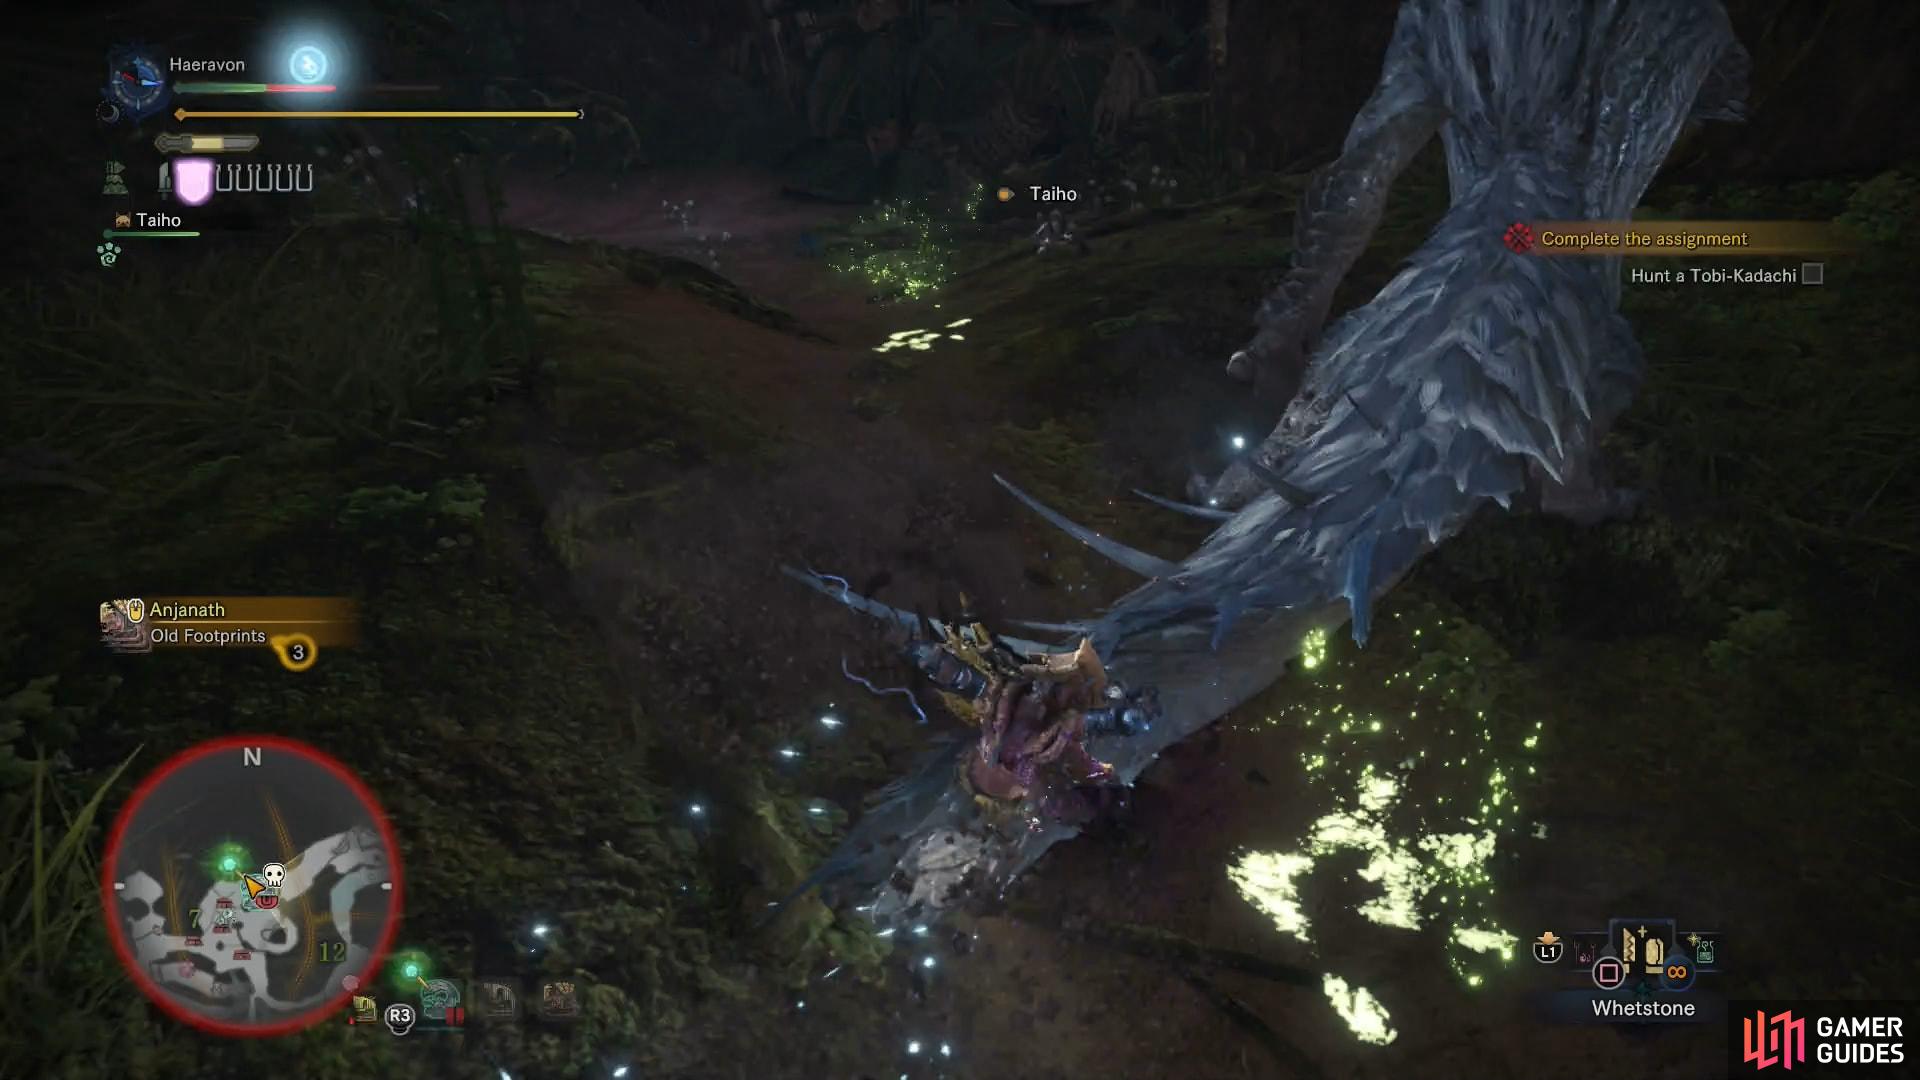
(1 of 2) It’s electrical attacks can inflict Thunderblight, which will make you more susceptible to stunning
It’s electrical attacks can inflict Thunderblight, which will make you more susceptible to stunning (left), When enraged, the Tobi-Kadachi will charge itself up (right)
As mentioned earlier, the Tobi-Kadachi moves around quite a bit, constantly lunging, biting and charging when it’s facing you, but it’s also willing enough to settle for spin attacks and tail swipes if you’re behind it. Attacking from the flank is the safest bet, then, and in general you should take a more conservative, measured approach to this fight. Don’t risk any large attack chains unless you’re sure you can get away with it, keep moving, and if you lose sight of it, dodge constantly until you have it back in your sights - chances are, it’s up to no good. Especially start dodging if you see it take to the air, as it has a spinning tail smash attack that’s best avoided.
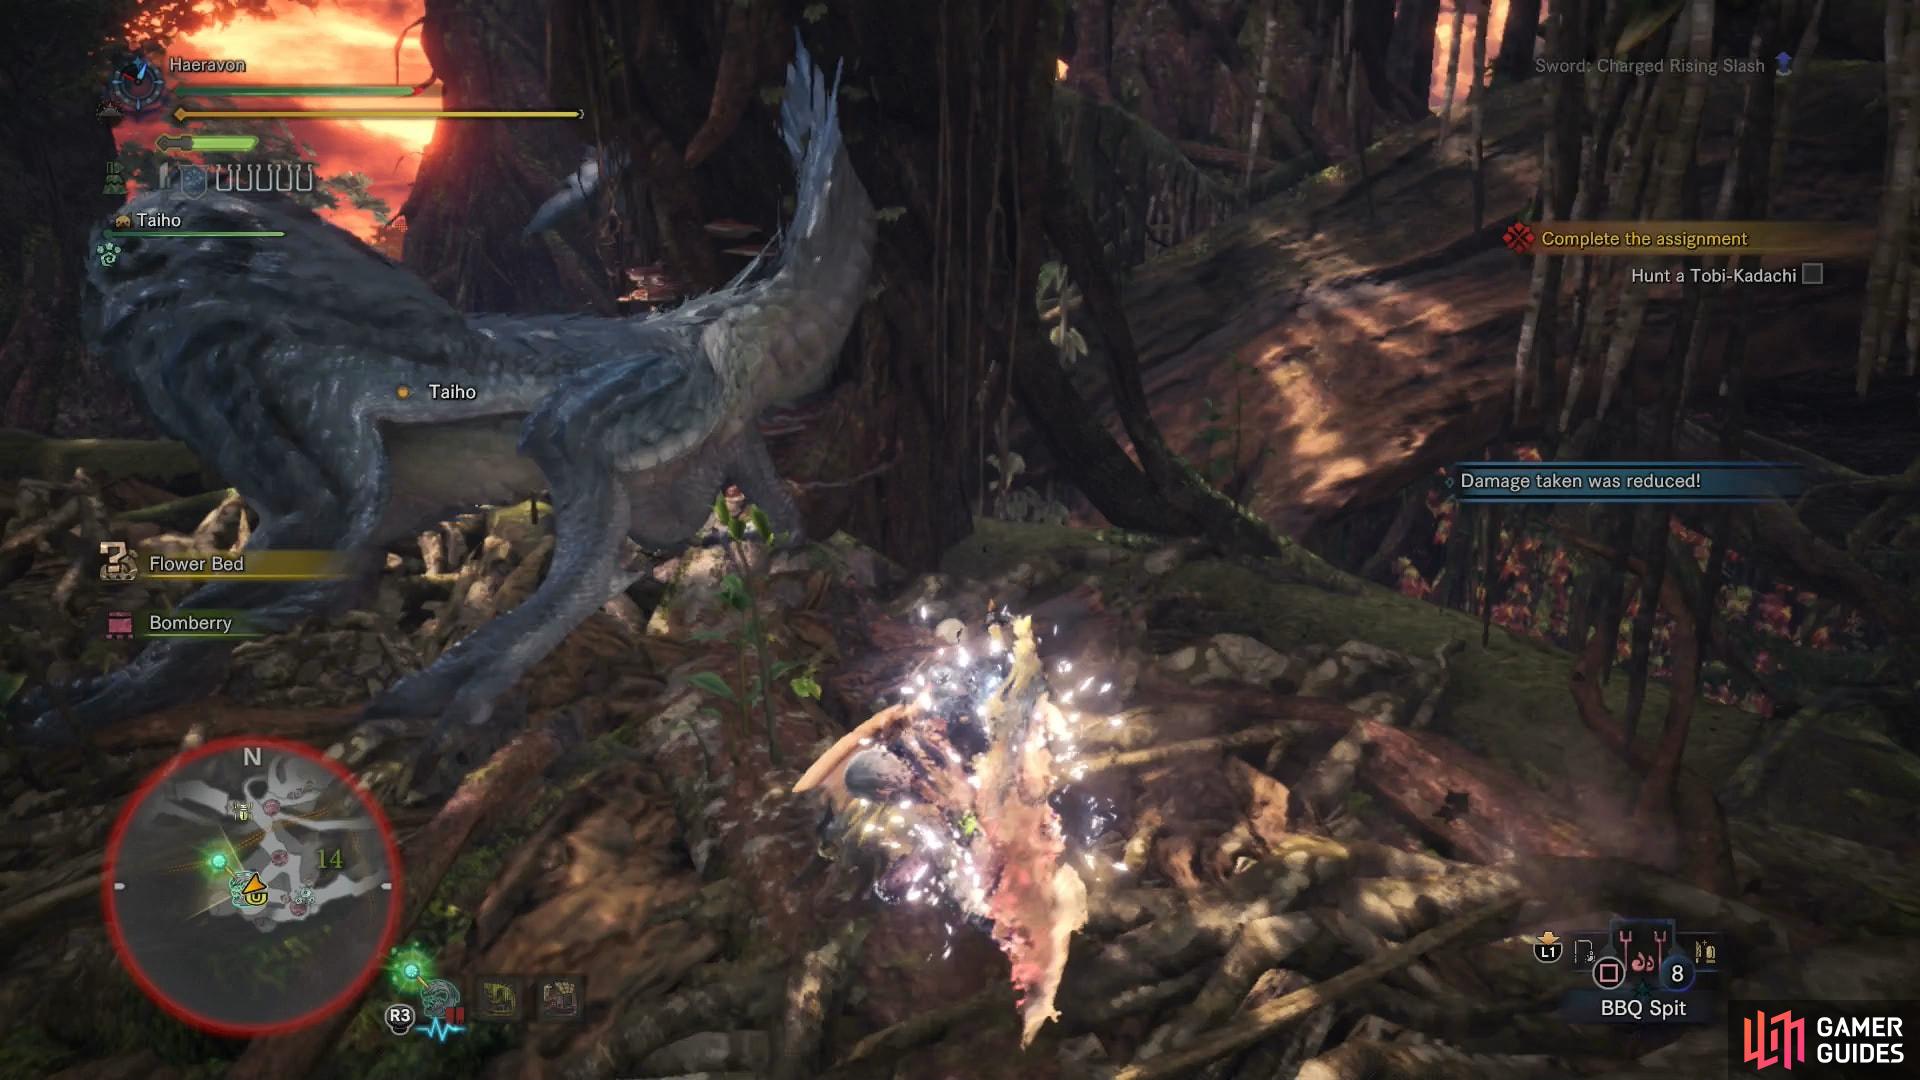
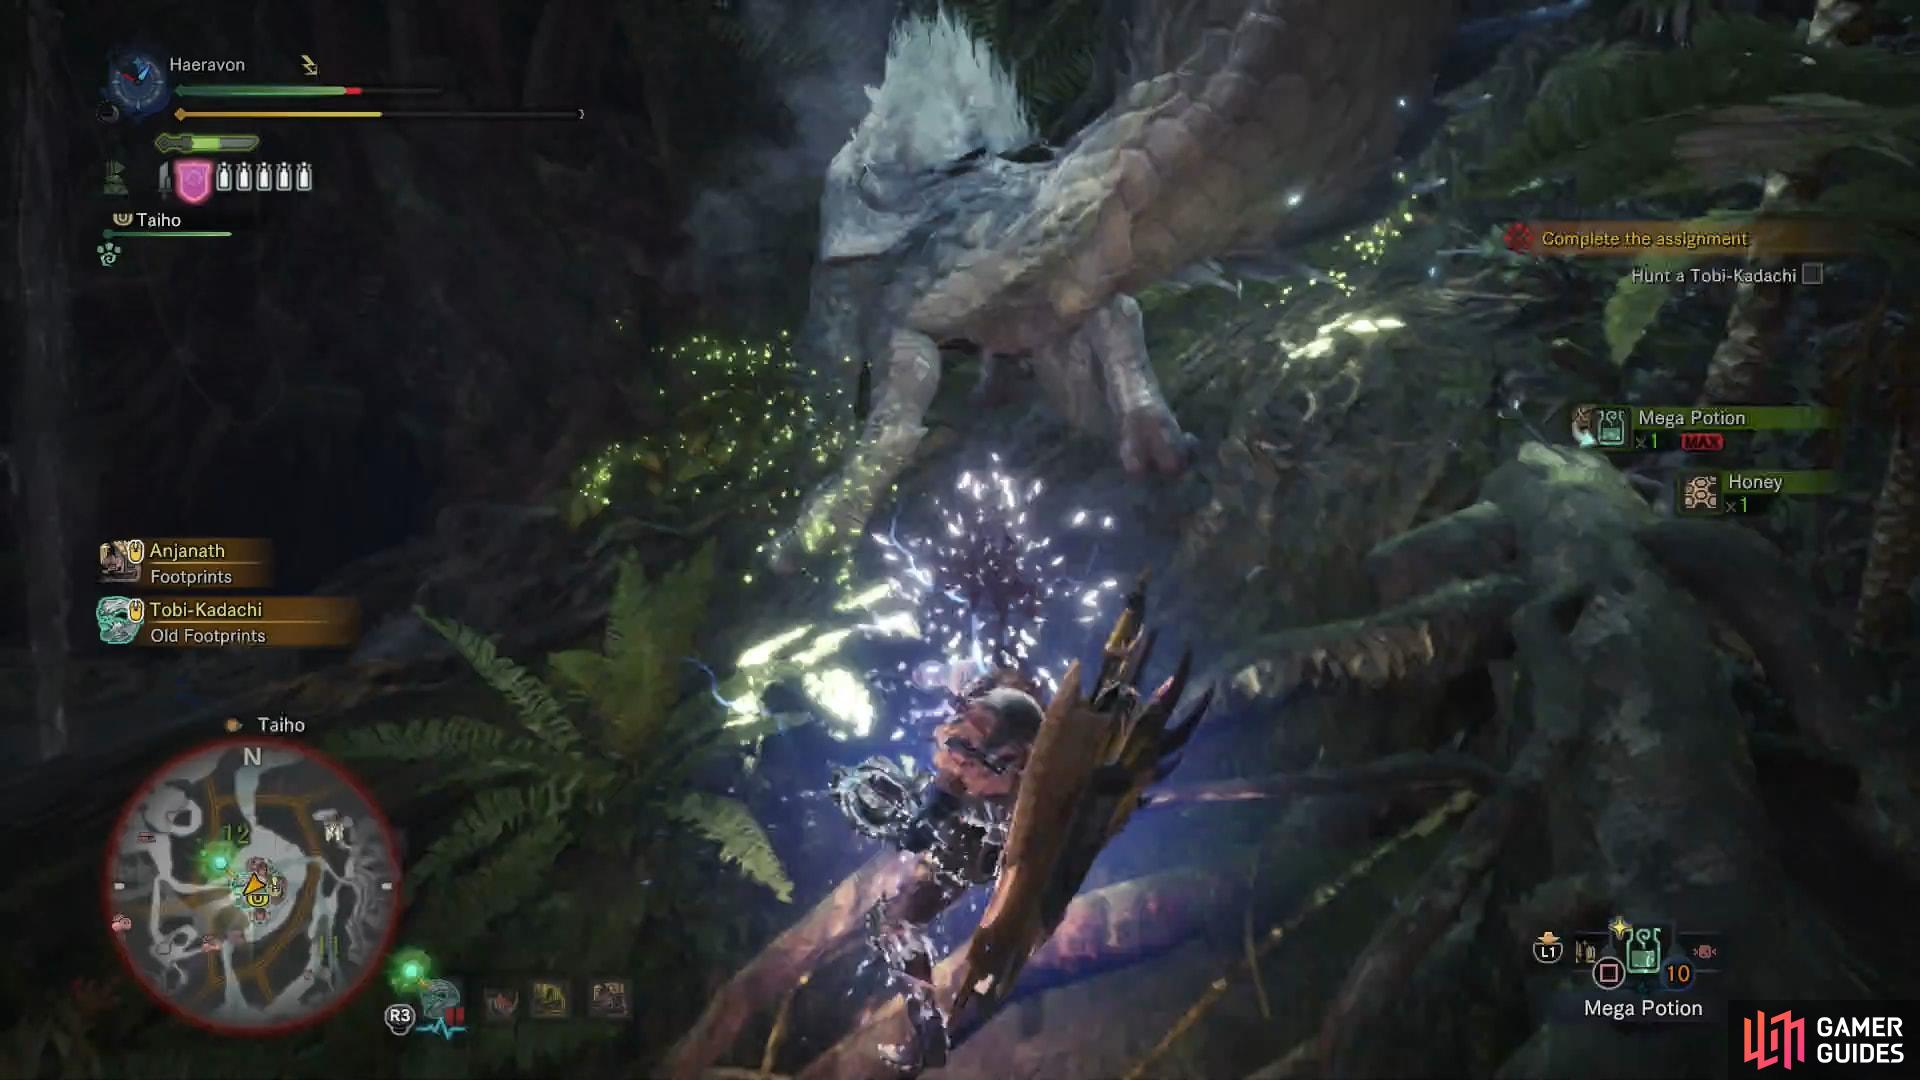
(1 of 2) Despite being dangerous with frontal attacks, the Tobi-Kadachi can also strike with its tail, either on its own, or as an flourish to other attacks
Despite being dangerous with frontal attacks, the Tobi-Kadachi can also strike with its tail, either on its own, or as an flourish to other attacks (left), The Tobi-Kadachi’s most devastating attack is an aerial tail slam (right)
Despite the flanks being relatively safe, large targets, the head and the tail take the most damage, particularly the latter. Both the head and tail are breakable (as is the armor and legs), but if you’ve got to shoot for something, might as well be the tail. The Tobi-Kadachi is highly vulnerable to water elemental damage, follow by fire and ice. It’s strong against thunder, unsurprisingly. As for status ailments, it’s quite susceptible to Poison, but it’s not particularly strong against anything.
| Carves | Frequency |
|---|---|
| Tobi-Kadachi Pelt | * * * * |
| Tobi-Kadachi Membrane | * * * |
| Tobi-Kadachi Scale | * * * * * |
Tobi-Kadachi  Electrode Electrode |
* * * |
| Tobi-Kadachi Claw | * * * |
| Rewards | Frequency |
|---|---|
| Tobi-Kadachi Pelt | * * * * |
| Tobi-Kadachi Scale | * * * * |
| Tobi-Kadachi Membrane | * * * |
| Tobi-Kadachi Claw | * * |
| Monster Bone M | * * * |
| Electro Sac | * * * |
Kill and carve the Tobi-Kadachi, after which you’ll automatically return to Astera and report your success to the Chief Botanist. After thanking you, he’ll mention that some Ancient Tree seed he planted recently started to sprout, and hints at how it may be beneficial to you…
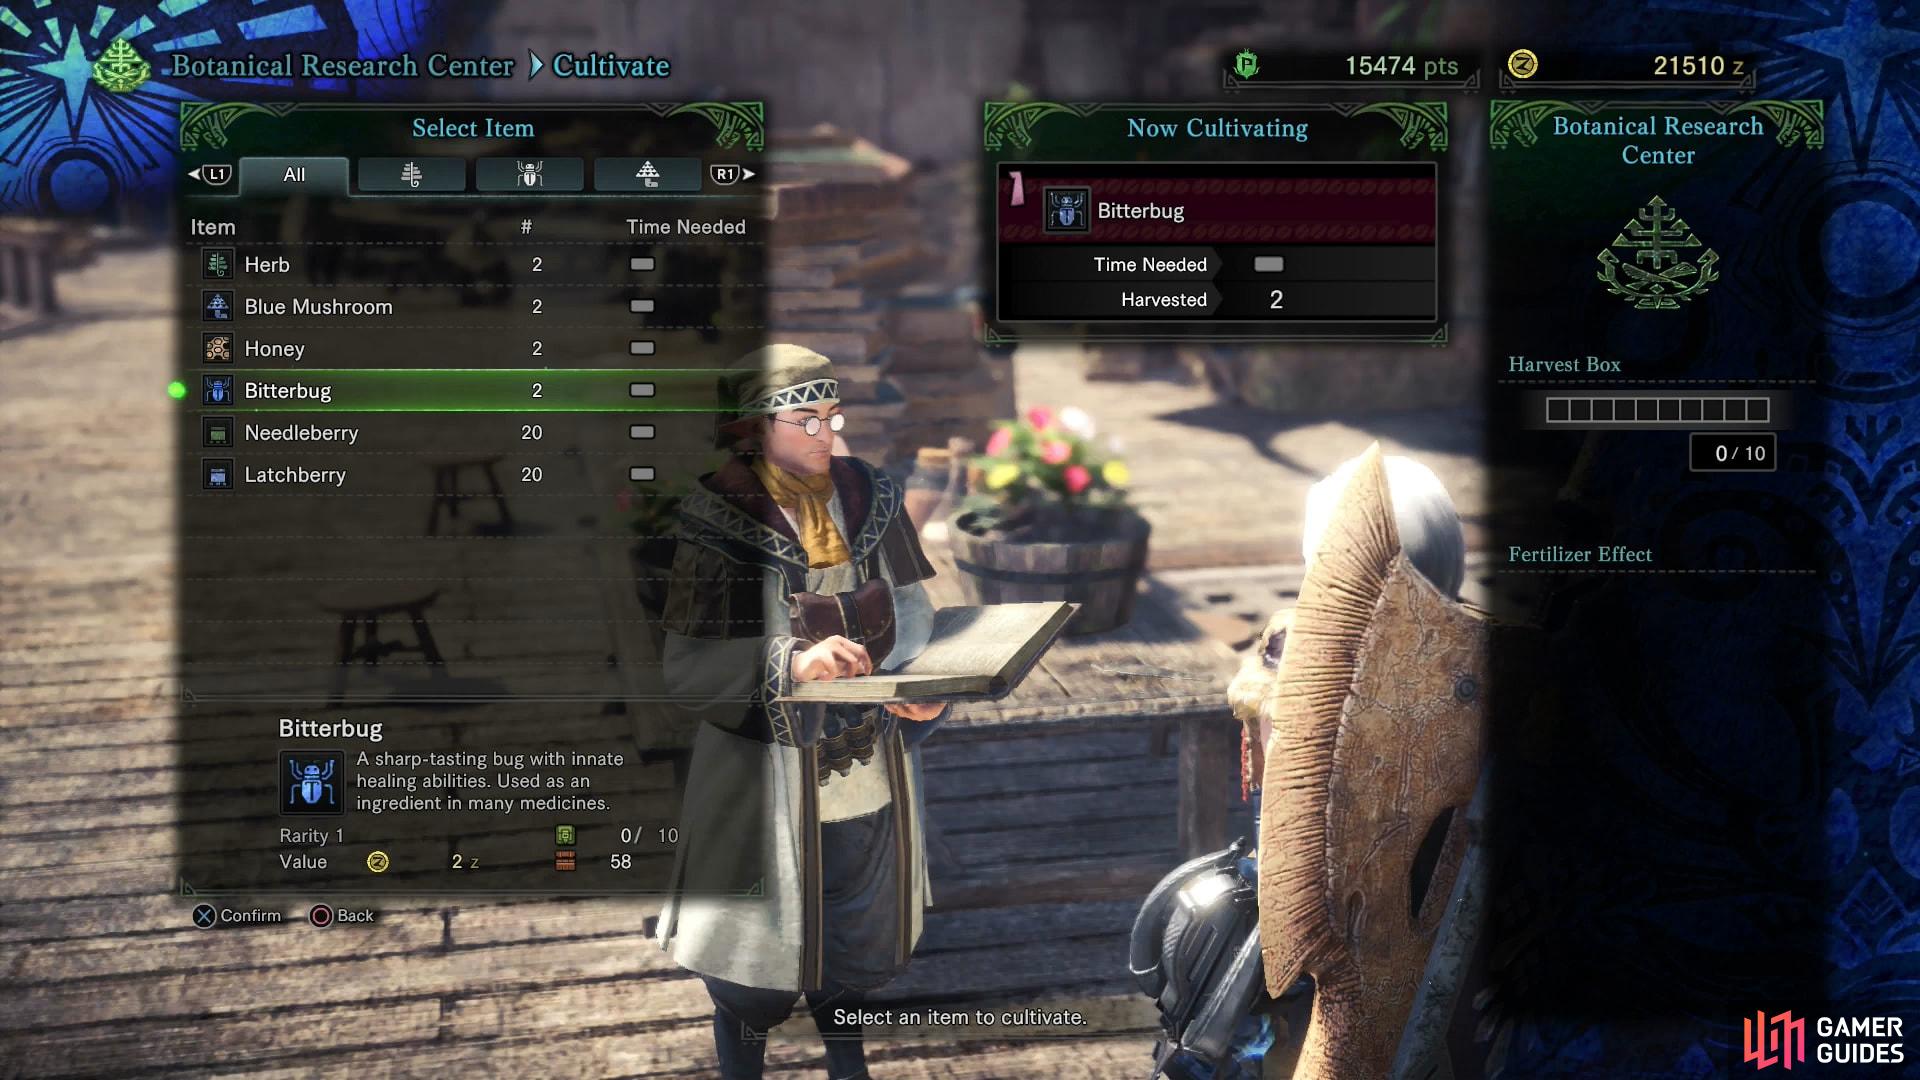
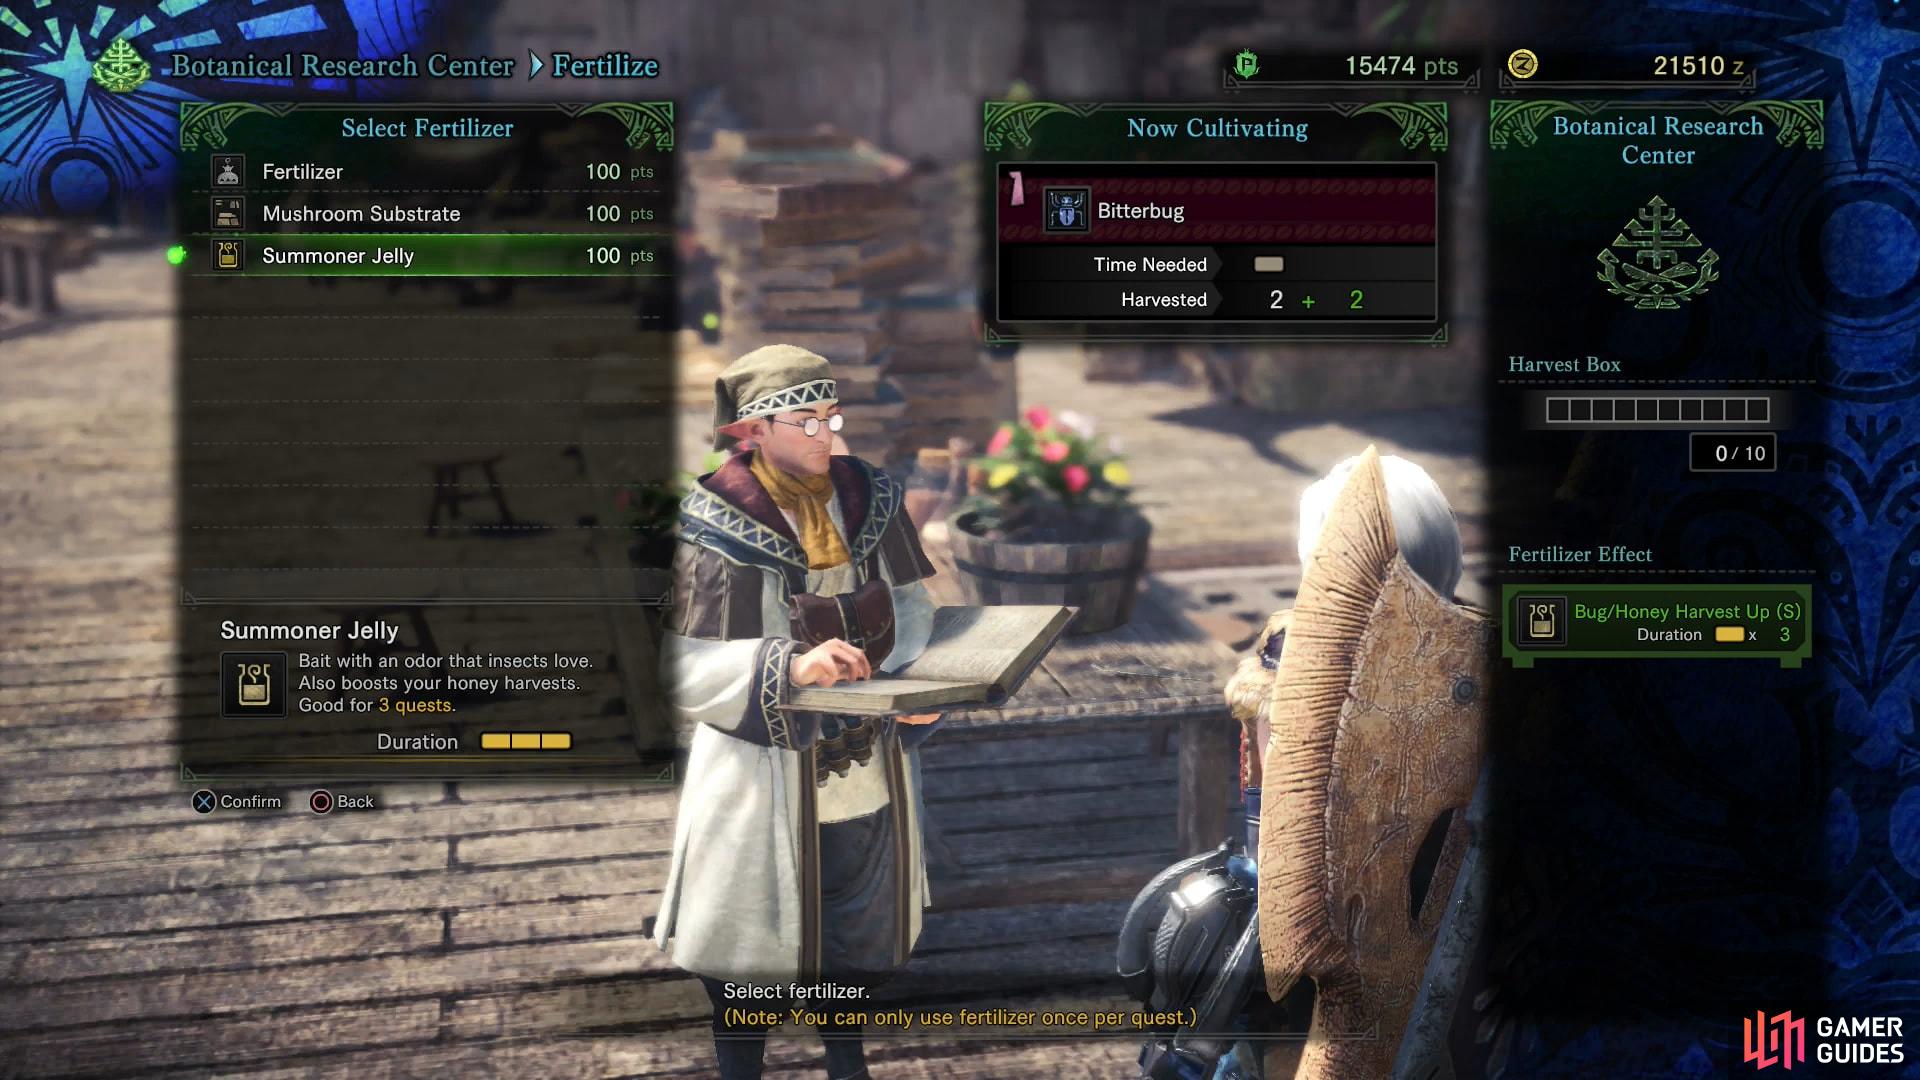
(1 of 2) Select which materials you wish to cultivate
Select which materials you wish to cultivate (left), and use various fertilizers to increase yields and cultivation rates (right)
Ancient Tree Cultivation
Talk to the Chief Botanist again and he’ll tell you that the Ancient Tree sprout has apparently grown into a mighty tree in… a ridiculously short amount of time. Ignore the improbability of this turn of events, as the Ancient Tree will allow you to cultivate more materials.
After the tutorial you’ll be in the Botanical Research Center’s menu, where you have two options; Cultivate and Fertilize. If you pick the Cultivate option, you can pick one a plant, mushroom or insect you possess and leave it behind for cultivation, which will create more of that item. Each item takes a specific amount of time to cultivate (measured in number of quests completed), after which copies of that item will be stored in the harvest box. Be sure to recover your cultivated items before the box fills to avoid wasting them! Meanwhile, the Fertilize option allows you to expend Research Points to grow cultivate more items over a set period of time… just be sure to pick the appropriate fertilizer for what you’re cultivating.
A Botanist’s Request
Next talk to the nearby Laid-back Botanist, who will ask you to help maximize yields gained from the Ancient Tree. This will start the optional quest Prickly Predicament.
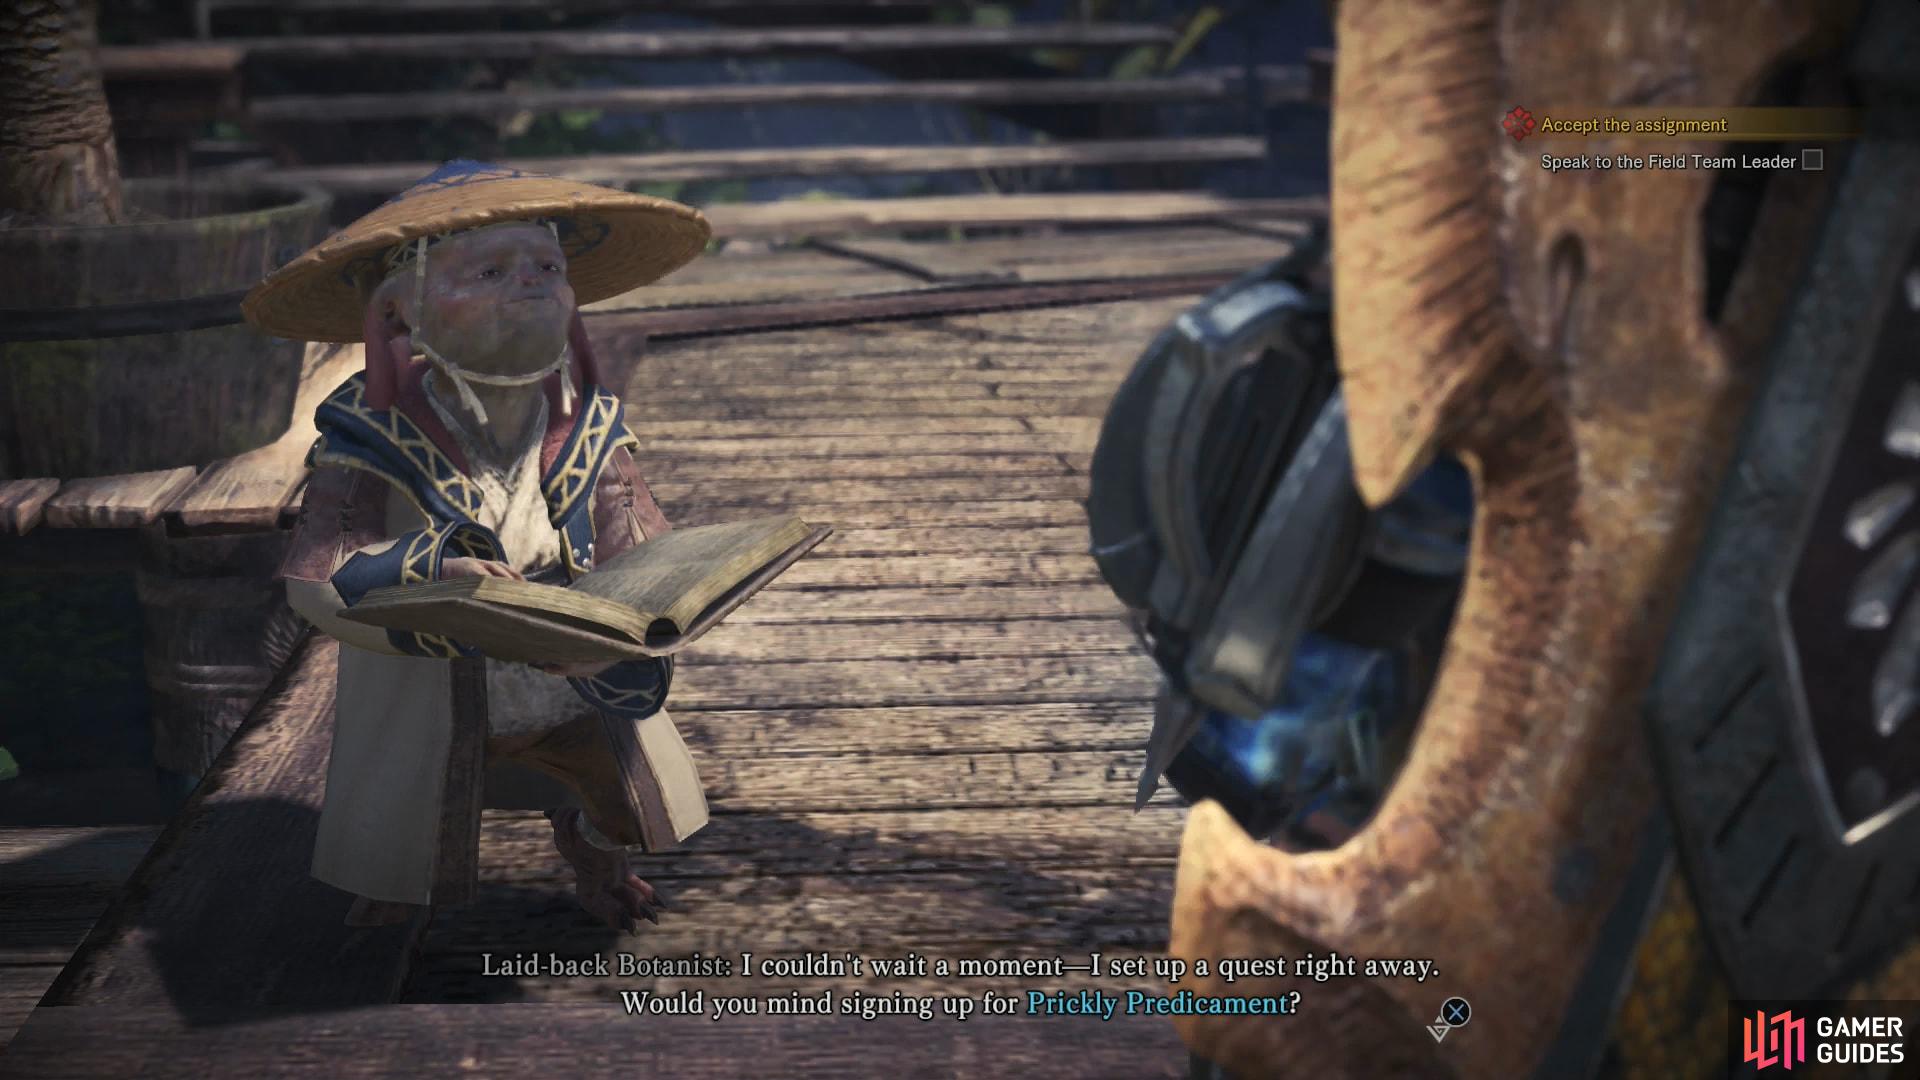
(1 of 2) The Laid Back Botanist will give you the quest Prickly Predicament
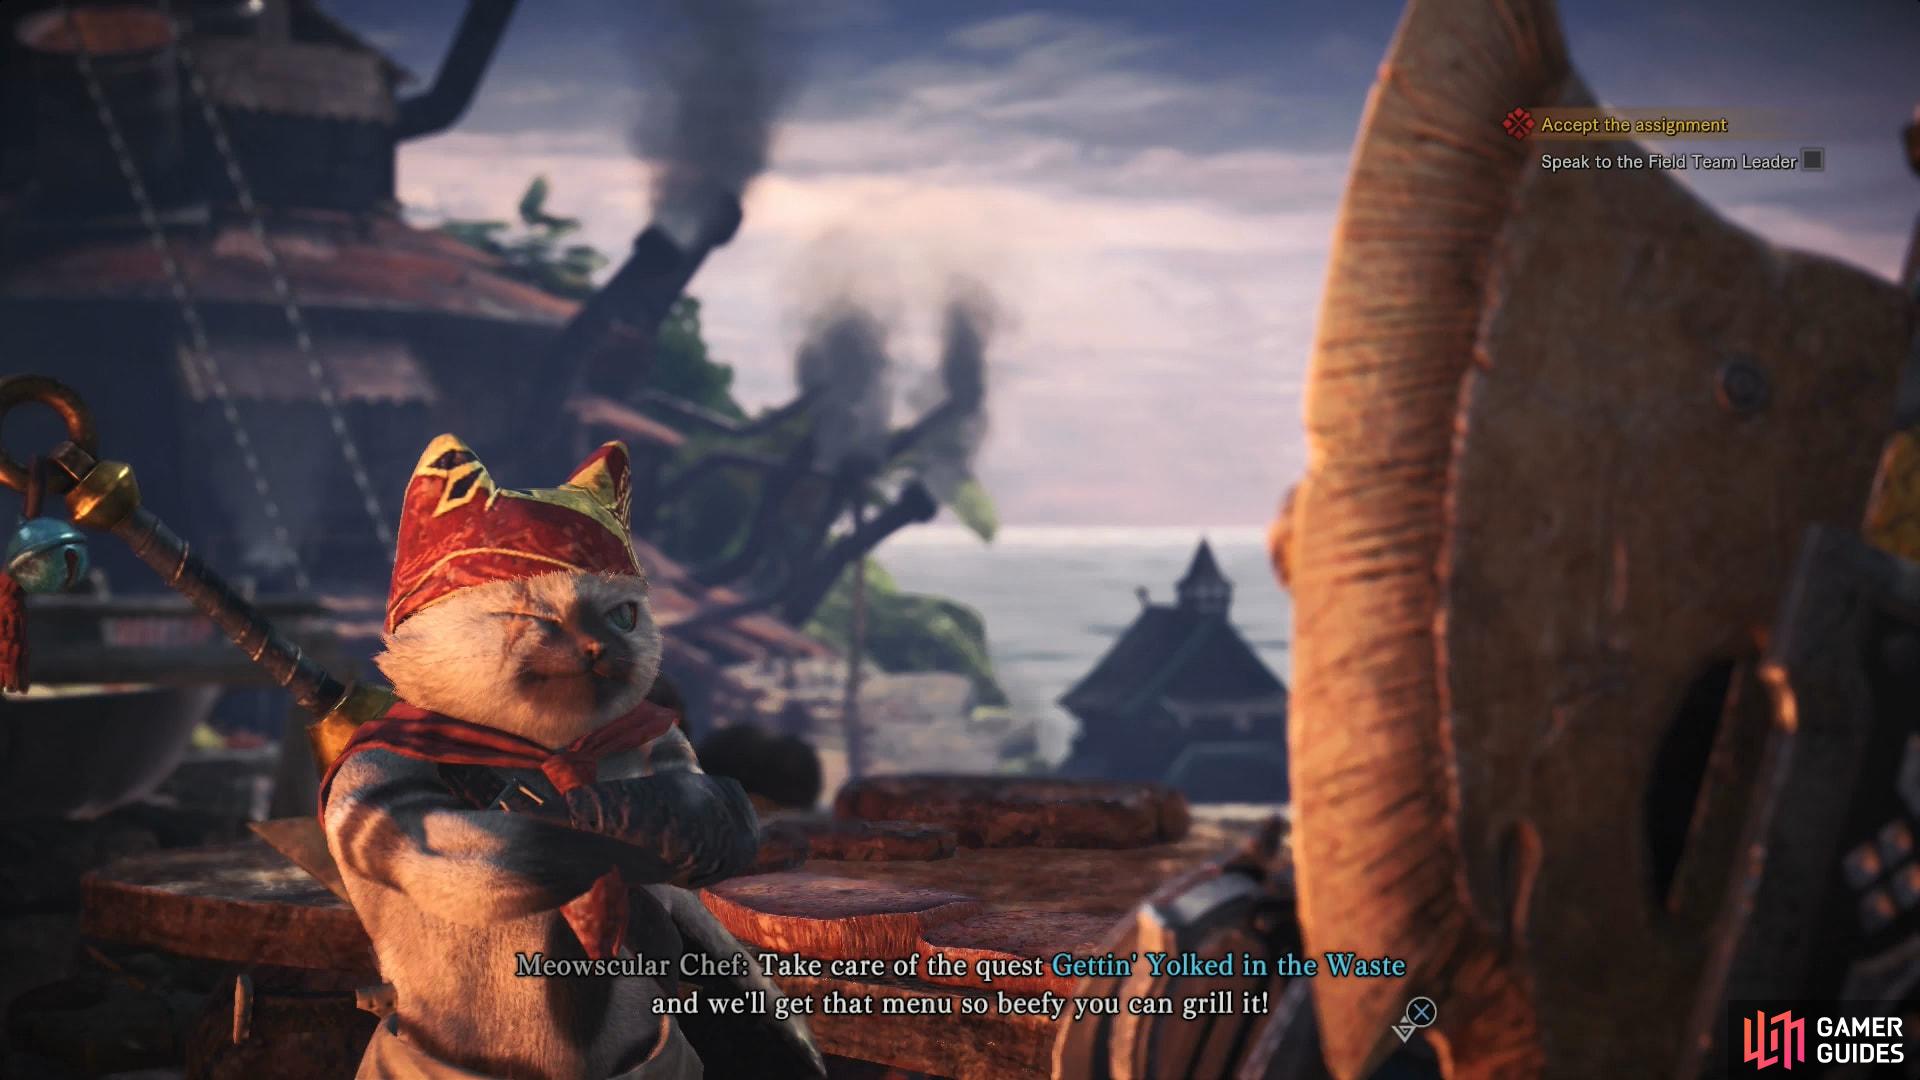
The Laid Back Botanist will give you the quest Prickly Predicament (left), and the Meowscular Chef will give you the quest Gettin’ Yolked in the Waste (right)
Gaining Yokes
If you want another new quest, head up to the Canteen, which has now received an upgrade… at least, it should have if you’re been following this guide. The Meowscular Chef is stoked, but seeks further gains, which you can provide by completing the new quest he gives you, Gettin’ Yoked in the Wast.
When you’re ready to press on with the next quest, talk to the Field Team Leader and he’ll bring your attention back to the task that was floated about before the Tobi-Kadachi interrupted… that’s right, it’s time to hunt an Anjanath. After he babbles on about the Canteen for a bit he’ll give you some token encouragement before you’re directed to talk to The Handler, who now has the assignment The Encroaching Anjanath. The two optional quests you received earlier will be detailed below, after which you’ll find some more tasks you can undertake in the Wildspire Wastes. Following that, when you’re ready, will be the Anjanath hunt. Skip around as your desires demand.

 Sign up
No Comments