Objective: Find a way into the old prison
Follow the passage to the west and scramble up the tree on the cliff’s edge to the left and hop over to the ledge above. From this ledge, jump over and use your pickaxes to climb up the wall here. At the top you’ll find a lengthy, but quite rickety looking wooden walkway ahead. It will collapse if we run across it, so before we do that switch on your Survival Instinct and look for the wall we can climb on the right.
From the top, proceed to the left until you reach the man-made stairs. At this point we need to continue upwards (using the climbable wall nearby is fastest!), but before we do, we can head down the stairs first to reach the far end of the rickety walkway we just avoided and grab a crate of Salvage and a box of reagents for your trouble. Return up the stairs.
Follow the stairs to the top and jump and swing across a branch to the next platform. Here you’ll find a Monolith . Activate this to reveal three Coin Caches on the map.
Objective: Use the communications cables to zip line into the prison grounds
Climb the final set of stairs and you should see a pair of enemies standing in the distance. Pull out your bow and if you have a Poison Arrow, hit one of them with it to knock the pair of them out. There is a third guard in the area who will come to investigate the bodies after a brief time, so stay put and shoot him when he shows up.
Approach the downed enemies to unlock a new Base Camp ‘Communications Tower’. You can use the Base Camp here to apply any upgrades you require and spend any skill points you have. Exit the Base Camp menu when you are ready to continue.
Before moving onwards, we can do a quick sweep of the area to gather a couple of collectibles. Just to the southeast of the camp fire, near a hole in the fence overlooking the cliff, you’ll find a Coin Cache [01/09] in the snow.
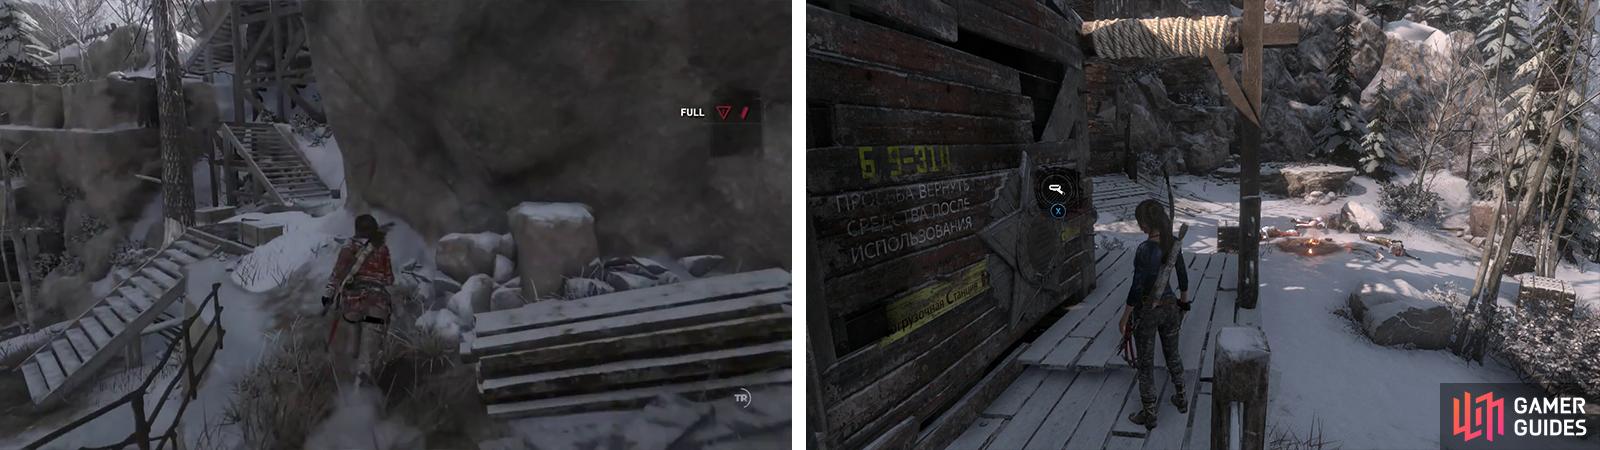
Climb the stairs (left) or the scalable wall to reach the top. After clearing the enemies, check out the wall of the building for Mural 07 (right).
The main structure here has a Mural [07/11 - Russian] on its south facing wall and in the snow by the northwest corner of the structure you’ll find a Survival Cache [06/21]. Approach the entrance door and loot the crate of Salvage before entering the building.
This building is your first Trinity Supply Cache. This acts as a bit of a shop for some extremely useful upgrades, new weapons and outfits. The catch? You can only purchase this equipment using Byzantine Coins . The following items are available here:
- Refinement Tool (175 Coins) – Unlocks an additional tier of weapon upgrades.
- Commando Outfit (50 Coins) – Black tank top outfit, cosmetic change only.
- Rifle Laser Sight (25 Coins) – Red dot laser sight that increases accuracy. Automatically applied to all rifles.
- Rifle Grenade Launcher (120 Coins) – Under-barrel grenade launcher that fires explosive rounds. Automatically applied to all rifles.
- Rope Ascender (30 Coins) – Allows rapid traversal up ropes. Press ‘X’ to activate when on rope lines.
- Pistol Suppressor (25 Coins) – universal pistol suppressor that quiets shots and keeps enemies from becoming alerted when fires. Automatically applied to all pistols.
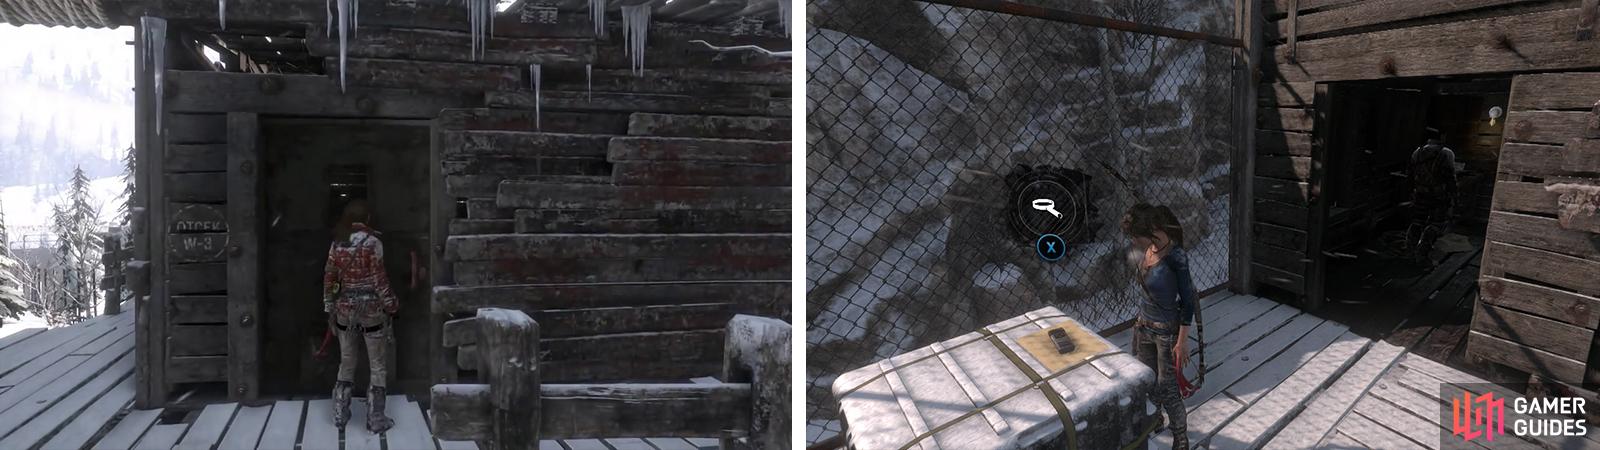
Enter the supply shack (left) to find the Byzantine Coin vendor. Upon exiting the far side loot Document 10 (right) before ziplining down into the prison.
When you are done with shopping, head out the back door. On a crate opposite the exit you’ll find a Document [10/26]. Climb the ladder and use the zip line to ride down to the prison grounds below.
A scene will play.
No Comments