Objective: Find a way through the mountain
After the scene we’ll be in a new setting, an abandoned mine. It starts off fairly low key, just follow Jacob as he drops some backstory on you and leads you through some narrow gaps and under an obstacle or two. Eventually a cut-scene will deploy and you’ll be split up once again.
As soon as you regain control you’ll be in a limited time scenario here. You’ll notice that the edges of the screen start to get dark and dirty – this represents the section of the mine we are in caving in and if the darkness spreads too far, Lara will be killed. As such, it’s important to keep moving and jumping through the next section and sprint where possible.
The good news is that the game provides you with a fairly linear path to the exit. As you go, there will be a few collapsing roofs, rocks appearing out of nowhere, an exit or two being blocked off and lots of debris raining down on us for the duration. As long as you keep to the path though and sprint where possible you should have no issues reaching the exit. A scene will play when you reach the end.
When we are back in control, move up to the end of the hallway to enter a larger room with three enemies in it. They can be found in the following locations:
- Two will come together at ground level in the middle of the room.
- A third can be found on a raised area in the back, left corner.
Whilst you can go in guns blazing, it’s probably easier to be stealthy about it. The best way to do this? Use a Poison arrow on the balcony guard (he has a helmet so head shots are off the menu!). With him out of the way you should be able to sneak up on and take out the two remaining enemies with silent takedowns.
Take out the lookout on the raised walkway first (left) before focusing on the other enemies (right).
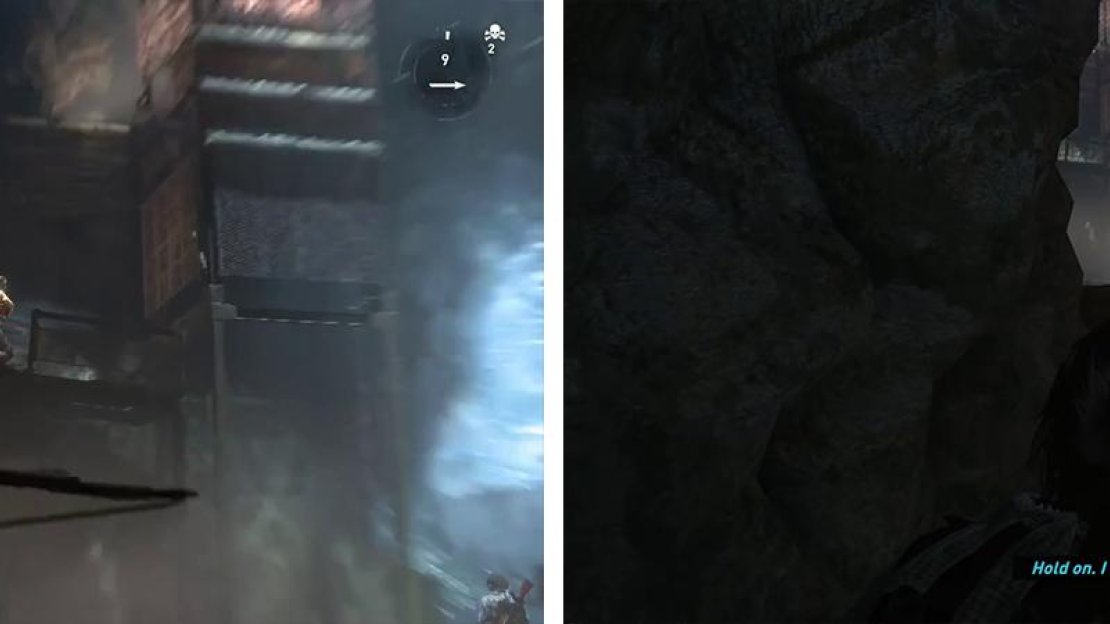
Move over and interact with the green panel the guards were inspecting. Afterwards, locate the railcar in the center of the room and push it along the tracks so that it is below the ledge on the northern end of the room. Before climbing up, look for the Survival Cache [01/03] located in the northern corner of the room, in the area below the hanging crate.
As soon as you climb up to the ledge above, a short scene will play in which Lara will obtain the Combat Knife weapon.
Turn around and use the Combat Knife to slash the rope holding the crate up. Loot the basket of herbs nearby if required before jumping across the gap. Follow the walkway to the end and slash the pair of cables here to send the elevator crashing to the floor.
Drop back down to the lower level and climb atop the elevator. From here you can jump to the nearby ice wall and scale it to the top. Jump back to the elevator cage at this point and use the handholds to work your way around to the ledge above.
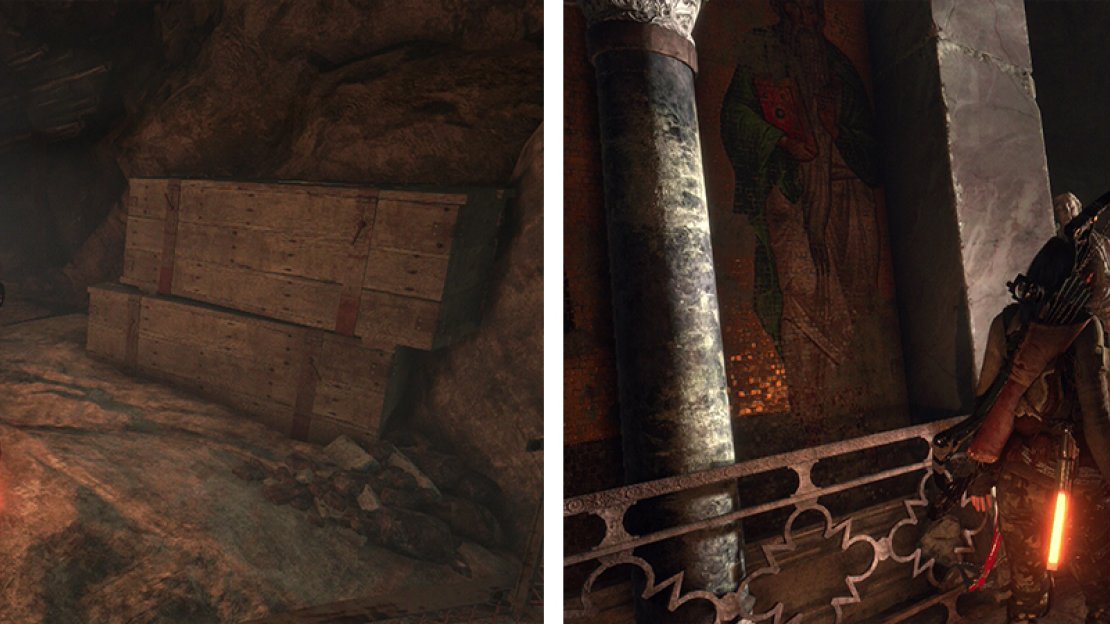
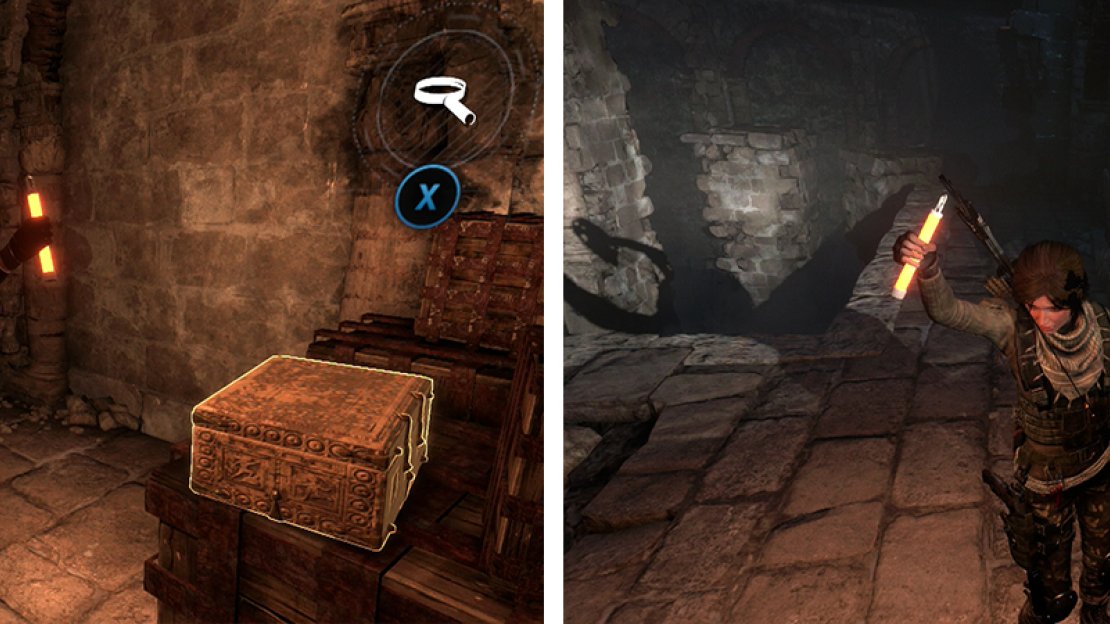
As soon as you climb up, you’ll find a Document [01/05 - Russian] on a crate against the left hand wall. Continue through the cave, grabbing the Mushrooms as you go until you reach a paved area.
At the top of the first room you’ll find Document 01 (left). When you reached the paved area, Document 02 can be found along the left wall (right).
Follow this to the left. Pick up the pile of Byzantine Coins and the Document [02/05 - Russian] located by corpses along the left wall here. Watch out for and avoid falling into the spike pit trap at the end of the hallway.
Make your way up the stairs to find a new Base Camp ‘Pantheon Corridor’. Use this opportunity to apply any upgrades you require and spend any skill points you have. Exit the Base Camp menu when you are ready to continue.
Inspect the wall next to the Base Camp for a Mural [01/01 - Greek] .
Objective: Break through the door
Move up the stairs and take the passage to the left at the top. There are enemies in the pair of adjacent rooms ahead, and a lot of them but thankfully you should be able to take them all out stealthily. They can be found in the following locations:
- In the first room on the near side of the pool.
- In the first room, inspecting the wall on the far side of the pool.
- In the second room on the near side of the pool.
- In the second room inspecting a mechanism to the left of the near side of the pool.
- In the second room there are two by a rope launching device on the far side of the pool.
In the first room, wait a few moments for the two enemies to move into the room. Get into cover and then sneak up behind the fellow on the near side of the pool and take him out. Move around the left hand side of the pool and take out the fellow inspecting the wall.
Take out the enemies in the first room silently (left) before focusing on either shooting or stealthing the other enemies in the adjacent room (right).
Continue to the right into the adjacent room. Here you’ll see another pair of enemies nearby and another two in the distance. Shoot the fellow closest to you in the head first and then quickly unleash a Poison Arrow on the pair in the distance. Finally, shoot the fellow who was inspecting the mechanism to the left of the pool as he comes to investigate his buddy’s death.
If things go south and you are unable to deal with them quietly, there are plenty of cans for Grenades, explosive generators and barrels around to help thin out the numbers. Either way, once you have cleared the enemies, it’s time to have a look around for some phat lewtz!
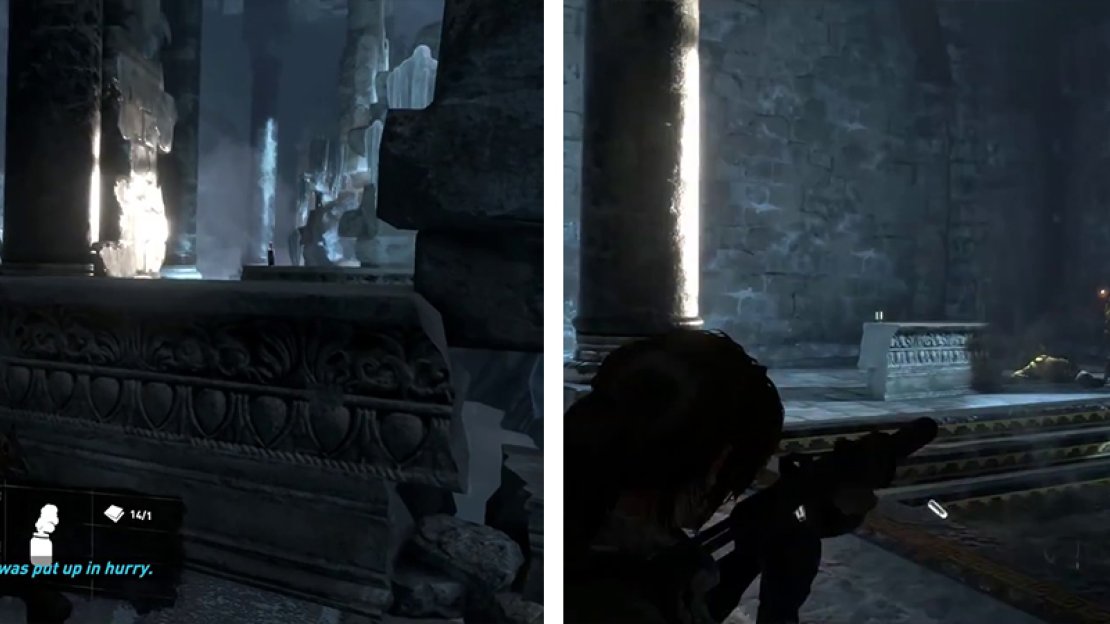
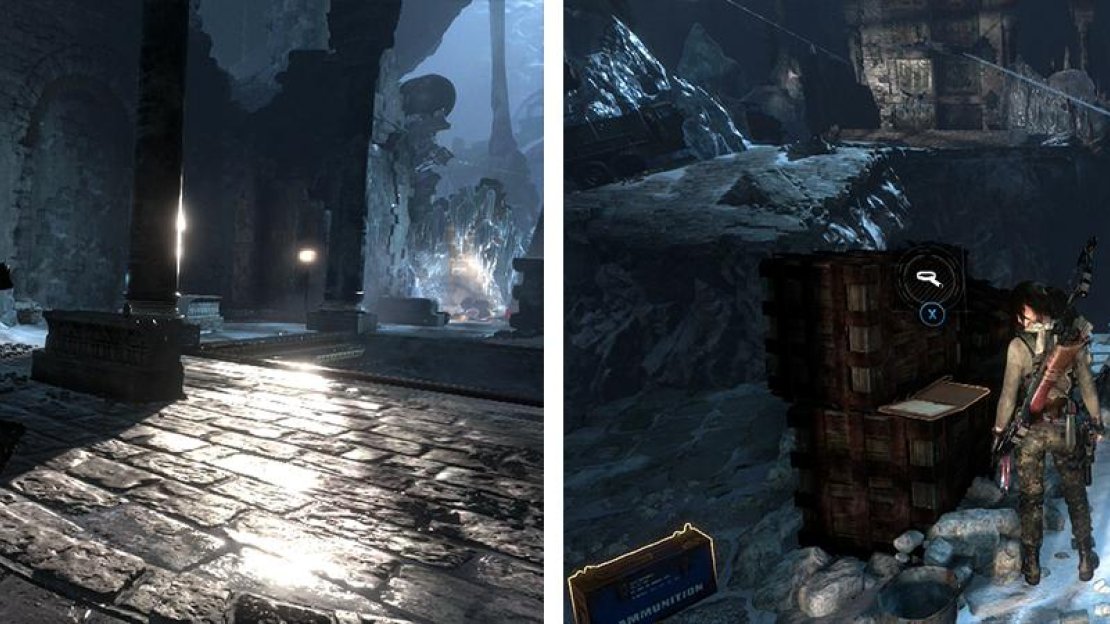
In the first room, along the left hand wall (from the initial entry point) you’ll find a table with a Document [03/05 - Russian] sitting atop it and a crate of Salvage nearby. There is a basket of Herbs near where the fellow was inspecting the wall. In the second room is three bundles of Hardwood, a crate of reagents to the right as you enter and by the mechanism on the left side of the pool is a Strongbox [01/02 Gear: Crafting Tool] . By the rope launching device at the far end of the second room is a Document [04/05 - Russian] on a crate.
Once the enemies are dead, loot Document 03 in the first room (left) and then Document 04 from the crates by the rope launcher (right).
Approach the rope launching device at the end of the platform and use the rope to navigate to the far end of the chasm. Drop down here to grab a pair of Mushrooms from the left of the main door and near the truck on the left side of the platform. Head to the right of the gate and jump to the zip line here to ride it over to the next platform.
As you arrive you’ll grab the back of a truck. Quickly shimmy to the left and onto the ledge. Climb up and you’ll see a flatbed train car to the right. Push this off the ledge and continue up the slope until you reach the rope covered cogwheel. Stand behind the cogwheel and use a Rope Arrow to shoot the cart with rope in front of the truck we climbed up from at the bottom of the slope. Use the crank on the side of the cogwheel to pull the cart up the slope. When it nears your position, use the Combat Knife to slash the rope for a scene.
After the scene, the truck that was blocking your way at the top of the hill will have also disappeared giving you access to a path. Follow this to the end. Grab the basket of Herbs here (if required) and use the rope to reach the next platform across the pit.
Follow the path on the far side of the rope and grab the Mushrooms when you drop down the first time. At the end of the path, you’ll drop down into a large, more open area and will immediately be under attack.
Quickly get into cover. During this combat section, you’ll be third-person shooter mode again and as such you’ll want to stay in cover as much as possible. Watch out for grenade indicators that flash up on the screen and if necessary use your scramble moves to reach another piece of cover before it explodes. There are a couple of red barrels and gas containers around the area which can be shot to explode nearby enemies. You’ll also want to keep an eye out for cans to create some Grenades to help out. Poison Arrows are especially effective towards the end of this encounter as enemies spawn relatively close together during the second and third waves.
To begin with, there will be a group of three enemies directly in front of you. As you kill them a further two will enter via the doorway at the back of the area. After dispatching the lot of them, a smoke grenade will go off in the distance and three spec ops enemies will rappel in from the roof at the back of the area. You’ll be able to guess their locations thanks to the laser sights on their weapons.
Fighting off and killing a couple of these guys will have a second wave of spec ops soldiers rappel in and they’ll do so in the same location as the previous crew and without the cover of a smoke grenade. As they are relatively close together, this makes them a perfect target for a Poison Arrow to knock most of them out at once. Mop up any survivors.
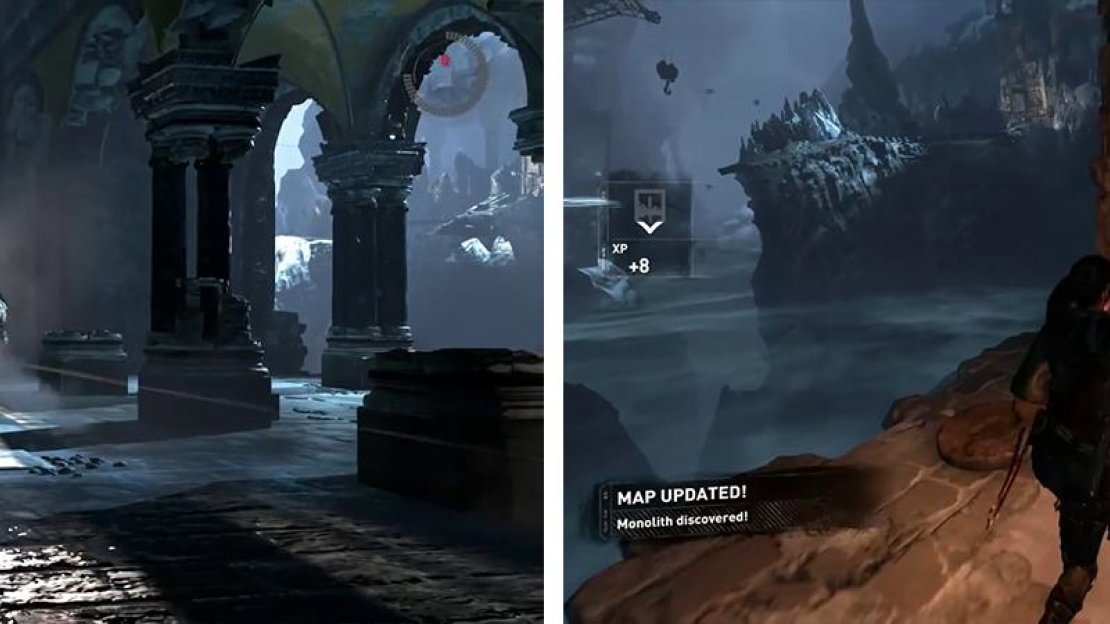
Before moving on, check out the left hand wall of the main room to find a basket of Herbs , a bundle of Hardwood and a Survival Cache [02/03] . On the right hand wall you’ll find a pile of Byzantine Coins to loot. Outside the door way that the enemies entered from on a small deck overlooking the cliff there is a cylinder of resources and a Monolith . Decipher this to reveal the Coin Caches on the map. Return to where we dropped down into the room to find Coin Cache [01/03] .
Grab the boxes of Ammo if required before continuing out the doorway to the north. Move down the stairs and jump as you slide near the bottom towards the ice wall and use your pickaxes to grab it and evade the spike trap below. Climb to the top.
After dealing with the ambush (left), exit onto one of the balconies to find the region’s Monoloth (right).
At the base of the next set of stairs, you’ll see Mushrooms opposite. To the left in a corner you’ll also find a chest containing a Relic [01/01 – A Father’s Sword] . Inspect the broken end of the blade to improve Lara’s Greek language proficiency.
On the opposite end of the corridor is a series of pillars sticking up above a massive spike pit. Jump across the pair of these to reach the far side. Loot the Mushrooms (if required). Continue pas the tunnel on the left and hug the left hand wall to find Coin Cache [02/03] near the corner. Jump across the spike trap to the right and in the dead end here you’ll find a pile of Byzantine Coins and an Explorer’s Satchel .
Return to the side-tunnel that we ignored a minute ago and pull down the barrier inside using a Rope Arrow. As you move into the tunnel, look for a ledge you can climb up on the left-hand side. There is a crate of Salvage , Herbs and a Document [05/05 - Russian] up there.
After climbin the ice wall, look to the left in the next room for Relic 01 (left). Cross the spike pit and look in the corner for Coin Cache 02 (right).
Continue along the hallway and avoid the spike trap in the floor and jump to the far side for a cylinder holing reagents. Move back to the spike trap and use the climbable wall to reach the area above.
As soon as you are up, you’ll be attacked. There are three enemies in the area. One appears on a ledge high up and to the left and will constantly throw grenades at you. A second enemy brandishes a shield and will immediately converge on your position and there is a third, who will stay in cover at ground level and shoot at you with his semi-automatic weapon.
Fortunately, there are several cans and bottles around to help deal with the shield guy first. Afterwards, you’ll want to focus on killing the fellow on the balcony to stop the grenade parade (there is a red barrel to his left that will do this quickly!). Finally focus on the final enemy at ground level to clear the area.
When it is safe to move about, look at the map and retreat a short distance back to where the Base Camp is to locate the final Coin Cache [03/03] . Make your way back to where you just fought off the enemies and use the new ladder to climb up to where the grenade lobber was located.
On the small platform you’ll find a Strongbox [02/02 – Weapon: Rifle] and opposite a Survival Cache [03/03] . Scramble up the wall at the end and look on the crate to the left at the top for an Archivist’s Map . Hop across the next gap and jump onto the zip line to continue.
After the short scene you’ll be hanging from the edge of a crane. Shimmy around the handhold to the right and climb up. Follow the body of the crane back to the platform it is resting on and follow the short passage here until you drop down. Push the flatbed railcar here until it reaches the end.
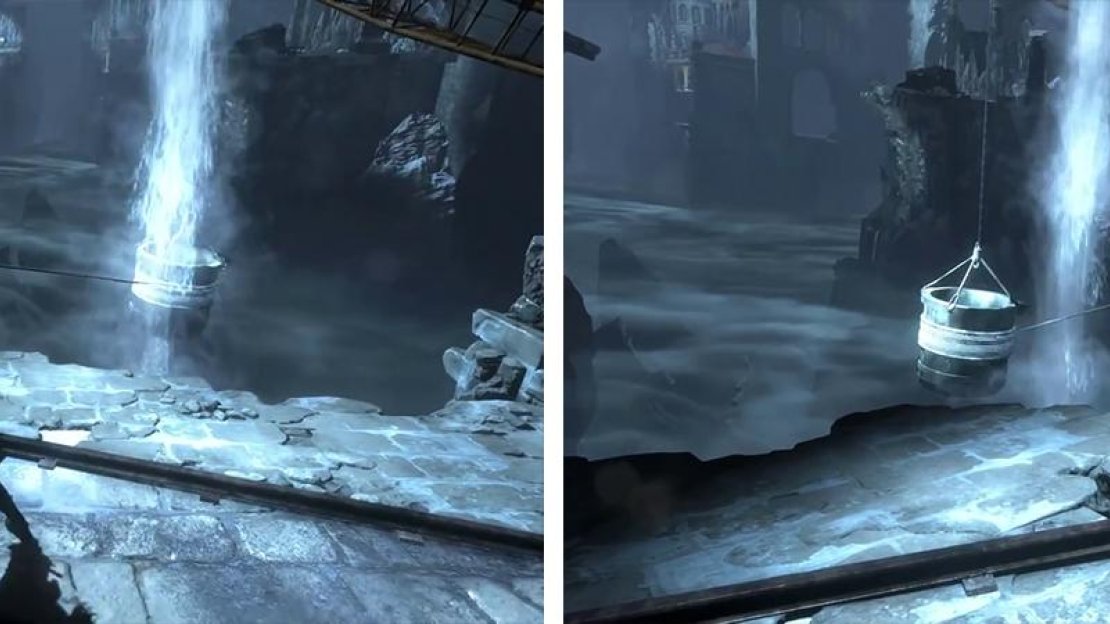
Stand behind the cogwheel on the railcar use a Rope Arrow to shoot the rope covered bucked hanging beneath the crane. Use the crank on the side of the cogwheel to pull the bucket as far as you can towards your location. When it is as close as it can get, pull the cart back up the hill until the bucket is directly below the stream of water falling nearby. Hold it in this position for a few moments and another short scene will play.
As soon as you regain control you’ll be in another limited time scenario. You’ll notice that the edges of the screen start to get dark and dirty – this represents the section of the mine we are in caving in and if the darkness spreads too far, Lara will be killed. As such, it’s important to keep moving and jumping through the next section and sprint where possible.
Move the minecart into position (left) before attaching it to the hanging bucket with a Rope Arrow and winding it in until it is beneath the waterfall (right).
The good news is that the game provides you with a fairly linear path to the exit door that we just busted open. Run over, across the crane and jump to the far side. Race up the hill towards the exit and be vigilant as there is a large hole will open in the floor on the stairs right in front of the exit you’ll need to jump across and falling in that is a one-way trip to the previous checkpoint.
Upon reaching the destination safely, a scene will play.
No Comments