Objective: Find Jacob
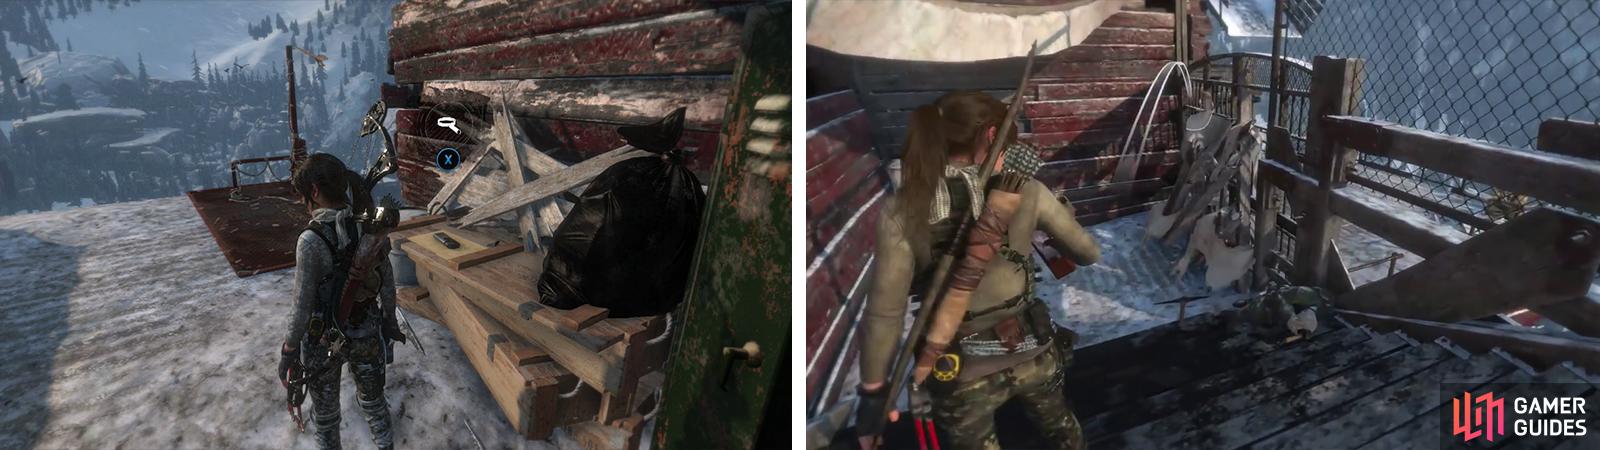
Once you have finished with the Red Mines Challenge Tomb (or if you aren’t interested), continue up the stairs. Open the door to the right for a crate of Salvage and a locker full of reagents. Back outside, find a bottle, craft a Molotov and toss it at the canvas obstruction at the top of the stairs.
Grab another bottle before moving inside to explore the interior. To the right of the opening opposite the entrance is a room containing a Relic [16/18 – Hero of the Soviet Union Medal] . On the wall above the door here, there is a Poster [Difference of Opinion 02/07] use your bottle to craft a Molotov to deal with it. Further to the right (from the initial entry) in the main room you’ll find a Mural [11/12 - Russian] .
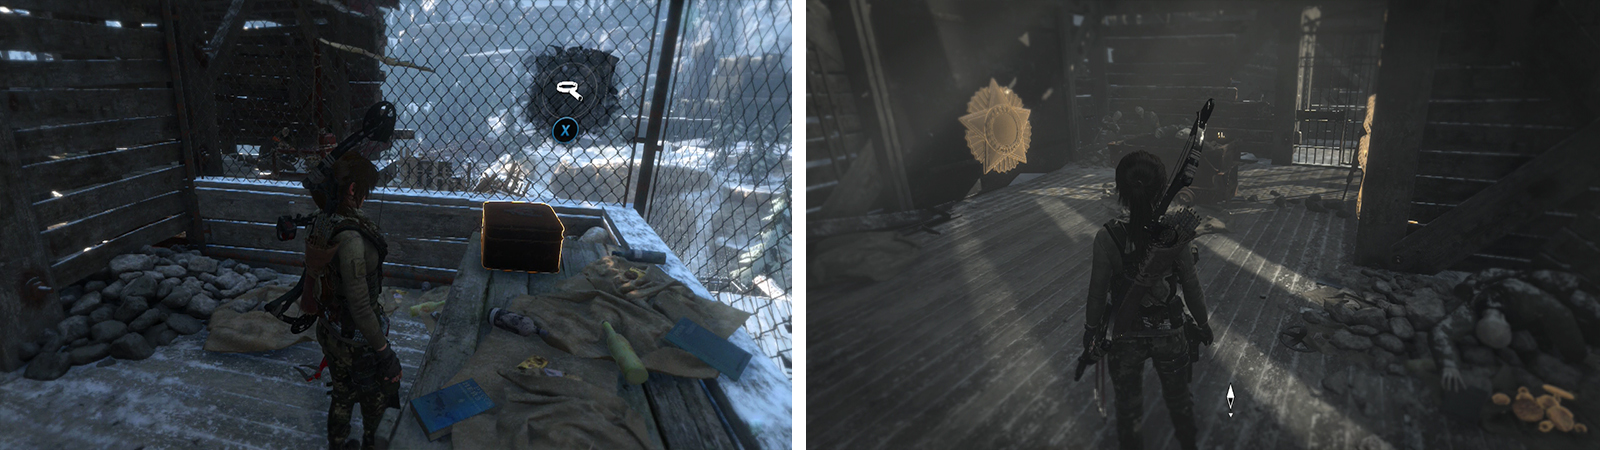
After entering the building you’ll find Relic 16 on a desk (left) and Mural 11 on a wall opposite a rope barrier (right).
Opposite the Mural is a rope barrier, pull this down with the Rope Arrow and slide down into the building below. Jump at the base of the ramp to reach a raised wooden walkway.
On the walkway that you land on, you’ll find a crate of Salvage , a locker to loot and a Strongbox [09/14 - Weapon Part: Sub-Machine Gun Component 02] . There is also a Molotov-able Poster [Difference of Opinion 03/07] on the wall by the Strongbox.
Climb the wall by the Strongbox and stand by the rope pillar. Use your Rope Arrows to create a zip line to the building opposite using the rope attachment point provided. Climb across to find a basket of herbs and a Relic [17/18 – Order of the Red Banner Medal] in a chest on the table.
Hop on the crate by the Relic and scramble up the wall to the platform above. Loot the cylinder of reagents and the quivers of Arrows if required. Look up at the roof to locate a Rope Arrow barrier that we can pull down. Climb the ladder here to return to the room we slid down from a minute ago.
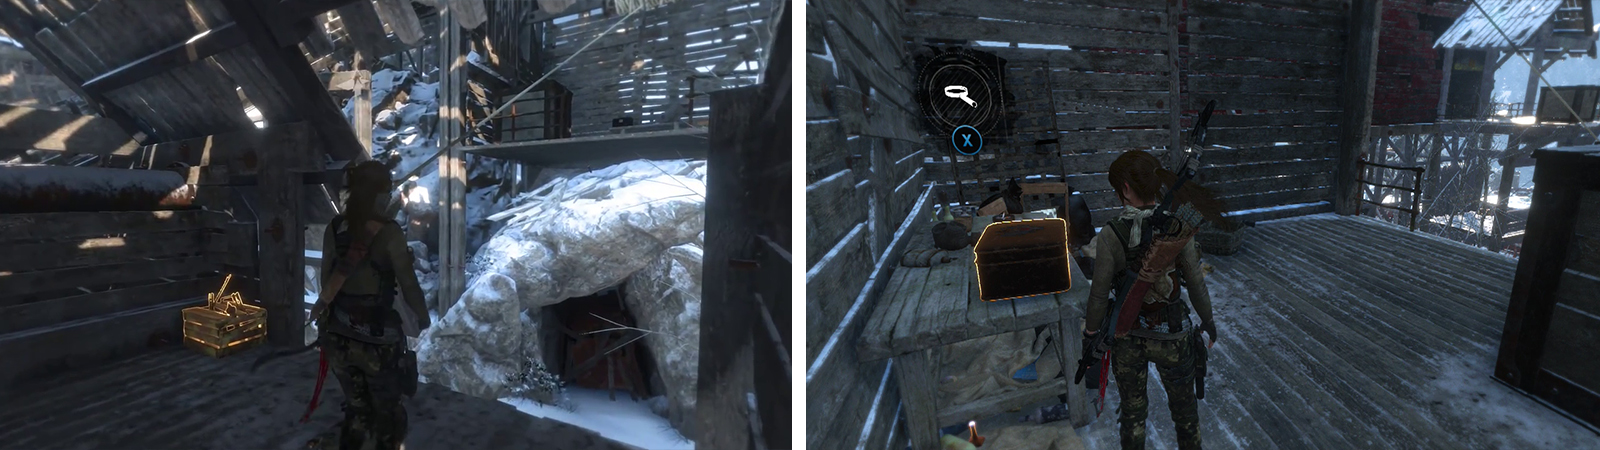
From the lower building use Rope Arrows to create a passage back to the upper building (left). You’ll find Relic 17 in the lower room here (right).
This time, climb up the ramp. Upstairs there is a piece of Magnesite Ore , a cylinder of resources and a crate of Salvage. You’ll also find a rope pillar. Stand next to the pillar and use the Rope Arrow to target the attachment point on the large water tank in the distance. This will create a shortcut back to the area below (and a couple of cylinders of resources and Salvage ).
Let’s ignore that for now and instead return to the lower level and find the opening in the wall opposite the entrance. You should see a hanging log wrapped in rope. Use the Rope Arrow to shoot this and Lara will perform a rope swing to the far platform.
Loot the crate of Salvage here and use the Rope Arrows on the obstruction ahead to clear it. Jump over and use the handholds to climb to the top. Use the beam here and jump to the next, follow this around the corner and quickly jump to the scalable wall and with the help of your pickaxes climb to the top.
After pulling yourself up onto the platform, look behind the large red cylinder to the right to find a crate of Salvage . Return to the cylinder and use the ladder to climb to the top.
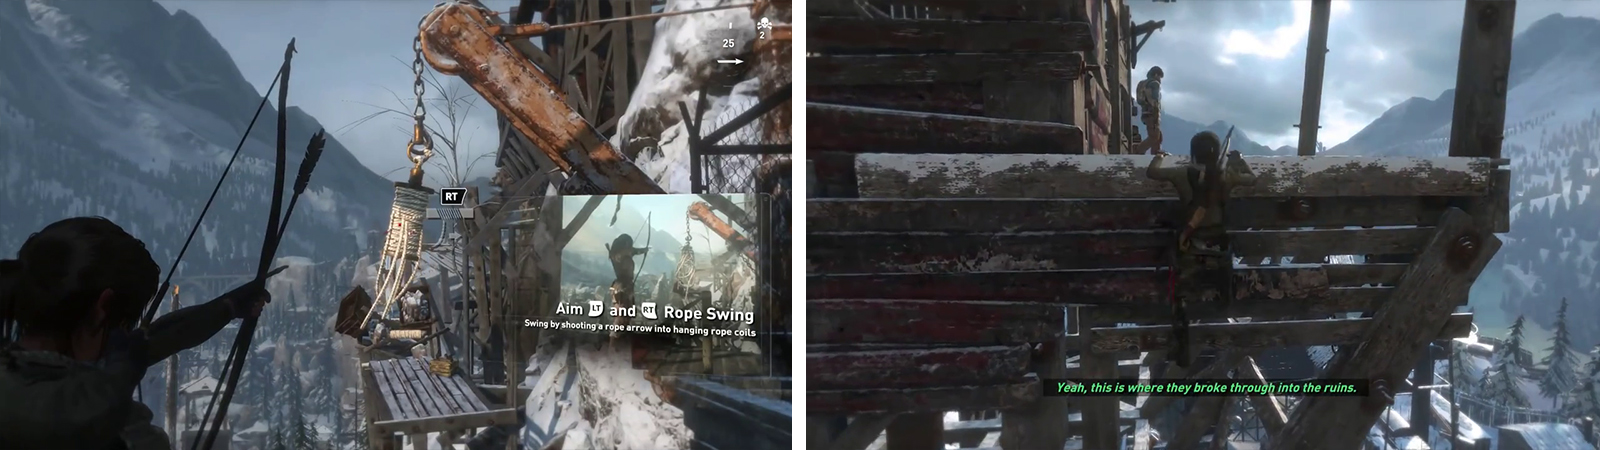
Use a Rope Arrow on the hanging log to swing across the gap (left). Stealth kill the guard at the top of the platforming section (right).
From the top of the cylinder, hop across to the handholds opposite and wait for the enemy to walk over to the ledge ahead of you. Climb up and perform a silent kill on him.
Enter the room that he came from. Jump across to the hanging ladder and climb to the top. Use the handholds here to climb up and around the corner of the building to the left. Here you can drop down to a balcony area below for a cylinder with resources. Climb to the top and use the zip line to slide down to the platform in the distance.
As you land, look to the left for a Strongbox [10/14 - Weapon Part: Bolt Action Rifle Component 01] – use your Lockpick to open it. Stand next to the roped up pillar on the balcony here and use a Rope Arrow to hit the attachment point below. Slide on down to continue.
As soon as you land, you’ll find yourself in combat. Quickly get into cover. During this next little section, you’ll be in full on third-person shooter mode and as such you’ll want to stay in cover as much as possible. Watch out for grenade indicators that flash up on the screen and if necessary use your scramble moves to reach another piece of cover before it explodes. There are several red barrels around the area which can be shot to explode nearby enemies and you’ll also want to keep an eye out for bottles to create some Molotov Cocktails to help out.
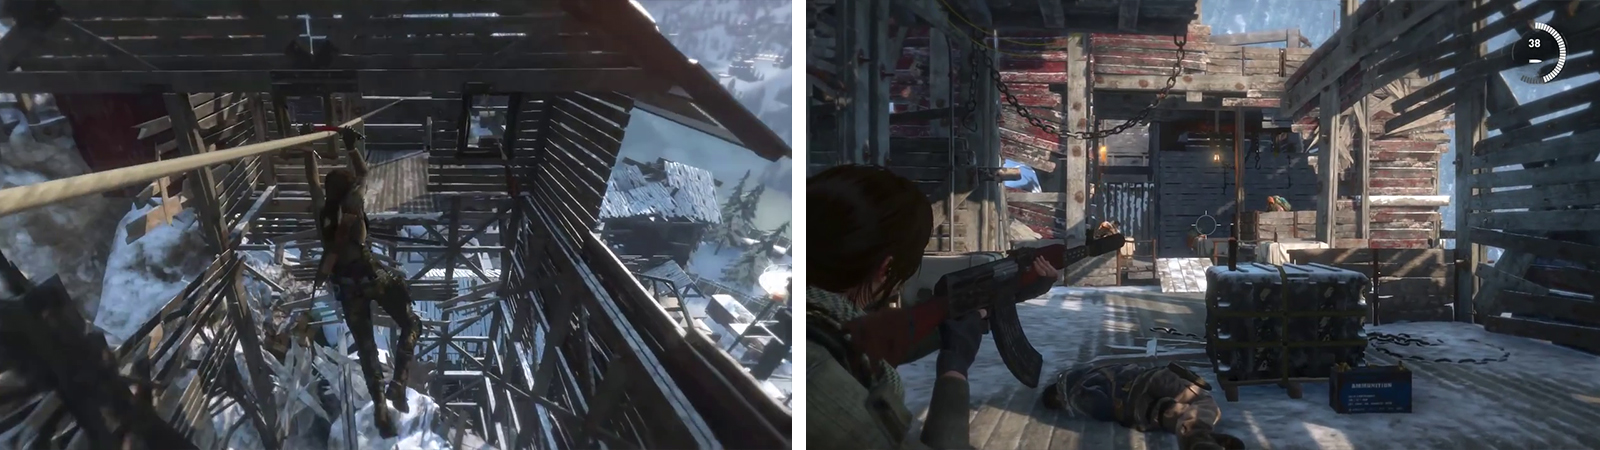
After ziplinging down this rope (left) you’ll immeditaely be attacked. Use your Molotovs, Poison Arrows or rifles to take down the two groups of enemies quickly (right).
To begin with, there will be a pair of enemies directly in front of you. Killing one will have the door behind them bust open and a third join them. There is a red barrel here to make things a little easier, but as long as you are a fairly good shot, a few headshots will wipe them out quick smart.
When the initial enemies are clear, move up to where they were loitering and turn to the left. In the distance, across a small gap you’ll see another three enemies with automatic weapons firing at you from behind cover and a fourth on a raised platform behind and to the left of the others. Again, there is a red barrel here so detonate this to thin the numbers a little before using your bow or firearms to mop up any survivors.
When it is safe to do so, jump across the gap, loot the enemies and grab the box of Ammo and crate of Salvage. Scramble up the ledge at the back of the room and follow the path to the right. Here there is a basket of Herbs and on a table Document [23/26 - Russian] .
Keep moving up the short set of stairs here and grab the bottle from the crate (we’ll be needing it shortly!). Scramble up the white wall to the right. At the top, grab the box of Ammo (if required) and loot the locker. Use the handholds to climb up to the next level and take the ladder to the top. Here you’ll find Document [24/26] on a crate opposite.
Upon reaching the top of the ladder, you’ll find Document 24 (Left). To its right is a cloth barricade to destroy (right) behind is another Poster and Relic 18.
Facing the crate with the Document , turn to the right and at the base of the stairs you’ll see a canvas barricade. Use the bottle you brought with you to craft a Molotov and use that to burn it down. Mounted on the wall high above this is Poster [Difference of Opinion 04/07] – don’t worry there are bottles on the other side of the barricade! Behind the barricade you’ll find a crate of Salvage , another Molotov-able Poster [Difference of Opinion 05/07] and a chest containing a Relic [18/18 – Pillbox] (be sure to examine the half-open top for a boost to your Russian language proficiency).


Return up the stairs and locate the hanging log wrapped in rope. Use the Rope Arrow to shoot this and Lara will perform a rope swing to the far platform.
Continue down the stairs and inside. There is another box of Ammo here and a Strongbox [11/14 - Weapon Part: Sub-Machine Gun Component 03] . Scramble up the wall to the left, continue through the low passage here and grab the Mushrooms as you go. Move up to the exit for a short scene.
Objective: Regroup with Jacob
As soon as you exit the crawlspace, you’ll hear enemies. There are three in total and they are all standing together in the middle of the room ahead. From your starting position, you should see a bottle straight ahead by the pillar in front and a can in the small alcove to the left. Grab either, craft a Molotov/Grenade and toss it into the group to kill all three at once.
Before continuing, look on the walkway just above and behind the lamp. On the back of a piece of machinery here, you should be able to make out a Poster [Difference of Opinion 06/07]. Hit that with a Molotov before proceeding.
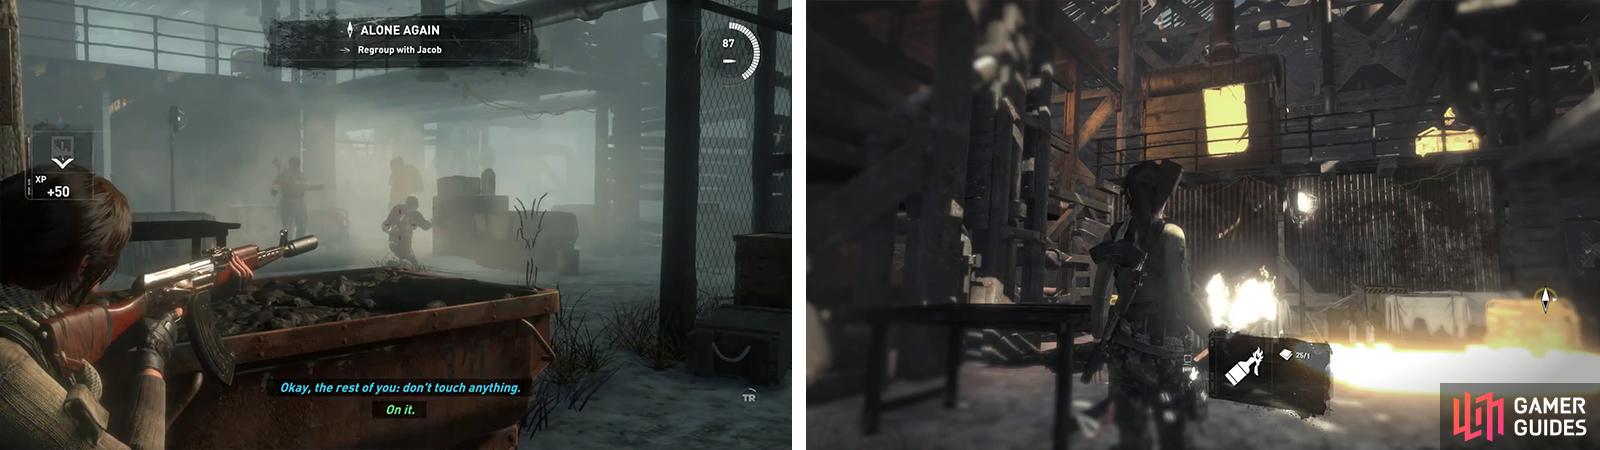
There are three enmies in the first room (left) - hit them with a Molotov or Grenade! Before continuing, hit the Poster above with a Molotov (right).
Move through the room and grab the boxes of Ammo if required and the crate of Salvage just before the hallway in the back right corner. Destroy the cloth/canvas barricade here by either shooting the pipe above it or using one of the nearby bottles to craft a Molotov. Doing so will have the effect of alerting the enemies in the next room to your presence.
Keep going around the corner to the left and take cover. There are a pair of enemies here at your level and another two will come down the stairs at the back of the room as you progressively kill enemies. Use the bottles here to create Molotovs and utilize the gas leak pipe on the roof in the center of the area to your advantage.
Climb the stairs when the area is clear. As you climb, be careful as behind some cover at the top of the stairs there is a grenade happy enemy waiting for you. After taking him out, turn to the right and take cover. There is another bad guy with a rifle at the far end of the hallway. Upon taking him out another two will emerge from the far right corner of the area. Dealing with them will allow you to move up.
Head to where the last pair of enemies came from (and grab the boxes of Ammo if needed). Climb the stairs to the top grabbing the crate of Salvage on the first landing as you go. Once you have progressed far enough, a scene will play.
Following the scene, you’ll find yourself in a small room, behind cover with two other enemies with semiautomatic weapons. Killing the pair of them will have another scene play.
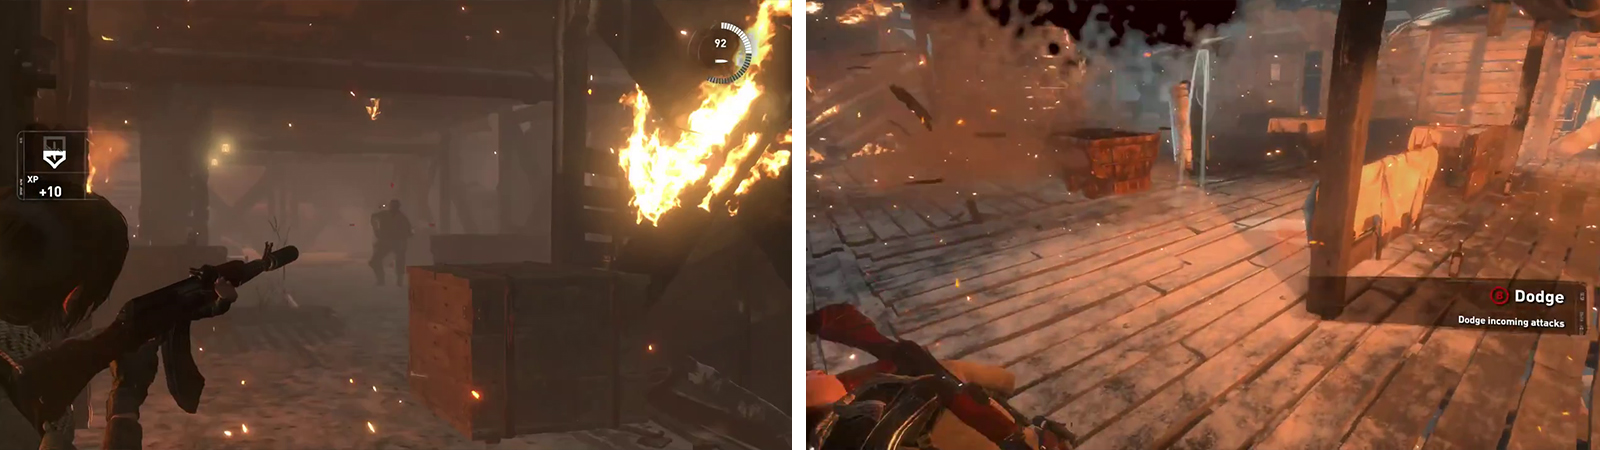
Fight your way through the burning building (left) until you reach the top. When fighting the shield enemies use Molotovs/grenades or lead them through fire to defeat them (right).
Once you are back in control, you’ll be fighting off a group of three spec ops soldiers with shields who will advance on your position. The shields mean that you’ll be unable to get a clean shot on them, however if you have some Poison Arrows available, hitting the shields will knock them out. If you are able to get a shot off, head shots are effective. If neither option is viable, use the bottles on and beside the cover you start behind to craft Molotovs to hit them with, or alternatively lure them into grenades thrown by other enemies or the fire that spreads through the area to clear them quickly.
After they have all been dealt with, climb the stairs at the back of the room and utilize the ladder to reach an outside balcony area. Have Lara stand near the pillar with the rope atop it and use the Rope Arrow to hit the attachment point below. Use the zip line for a scene.
No Comments