Objective: Find a way out of the archives with the Atlas
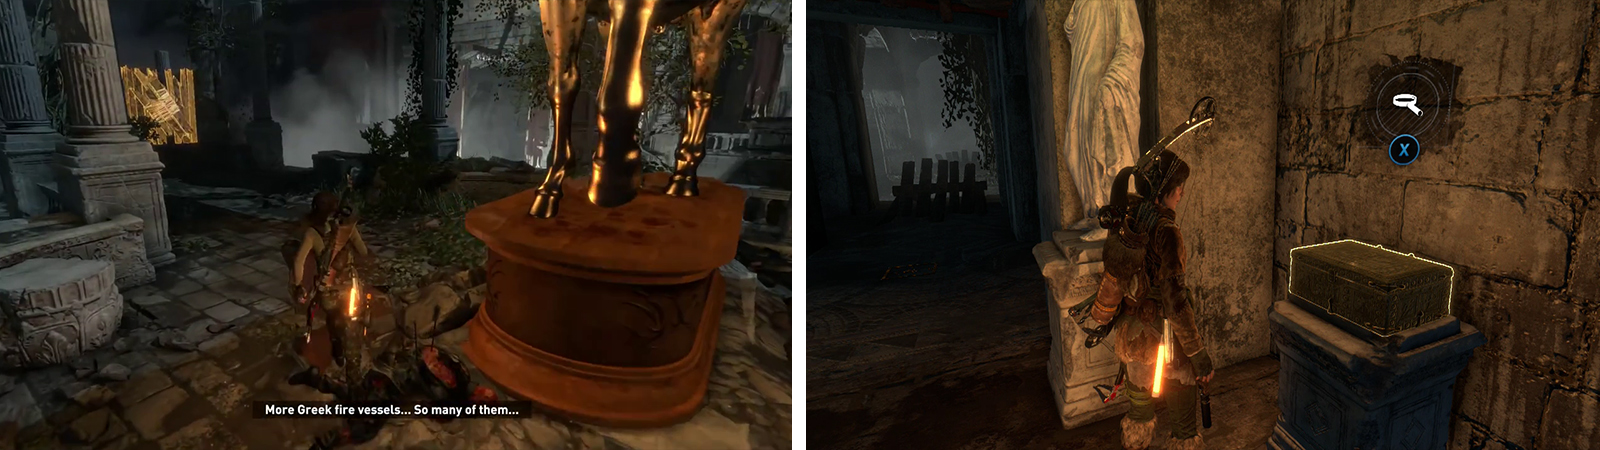
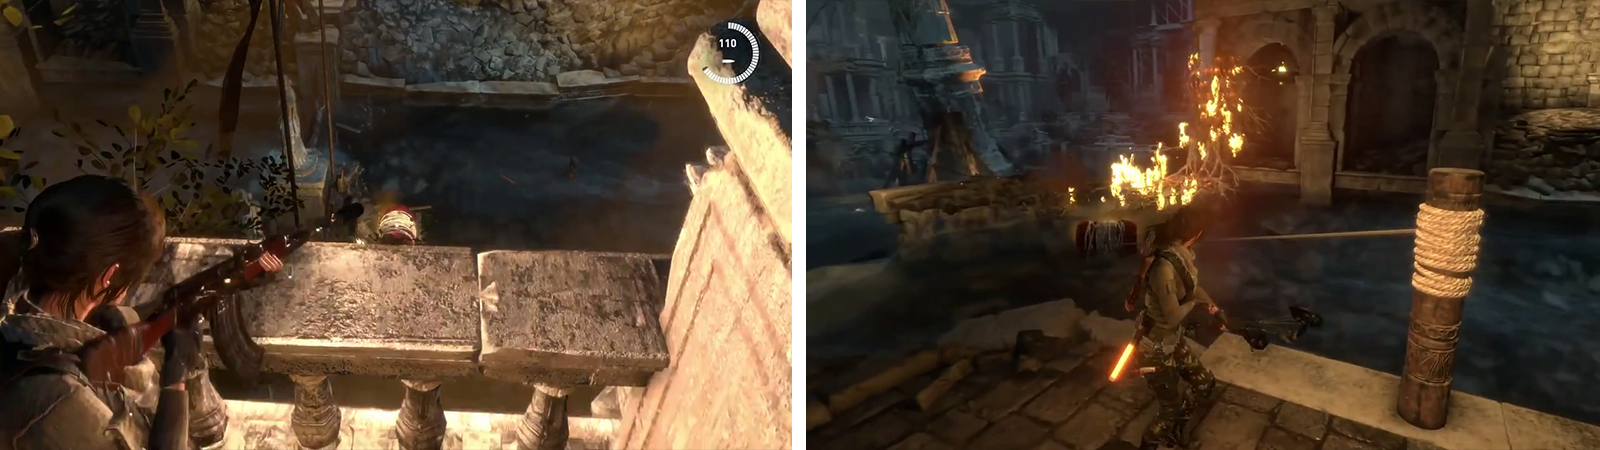
As you climb out of the water a scene will play giving you a hint as to what you are going to have to do next. Yep, we’ll be knocking down that statue. Shoot the vessels of Greek Fire located at the base of the statue.
Continue to the south to find a new Base Camp ‘Greek Fire Depot’. You can use the Base Camp here to apply any upgrades you require and spend any skill points you have. Exit the Base Camp menu when you are ready to continue.
If you look at the map, you’ll notice that there are two objective markers located on it at the moment. We’ll need to tackle both of these to progress. To start with, let’s deal with the objectives on the northern side of the room first.
The Northern Objective Marker
Return to the hole we entered the room from and use the small set of stairs just north of it. Follow the hallway to the end an approach the gap to have Lara crawl beneath it. Climb up to the ledge on the right and slowly move up the stairs.
In the room below there are three enemies. Wait for them to split up and take them out one at a time from a distance. Note that you should either leave the enemy with the helmet on for last, or hit him with a Poison Arrow if you want to keep things quiet. Loot the room when it is safe to do so – there is an abundance of Ammo boxes of here of all varieties, several pieces of Magnesite Ore and a basket of Herbs in the back, left corner from the entrance.
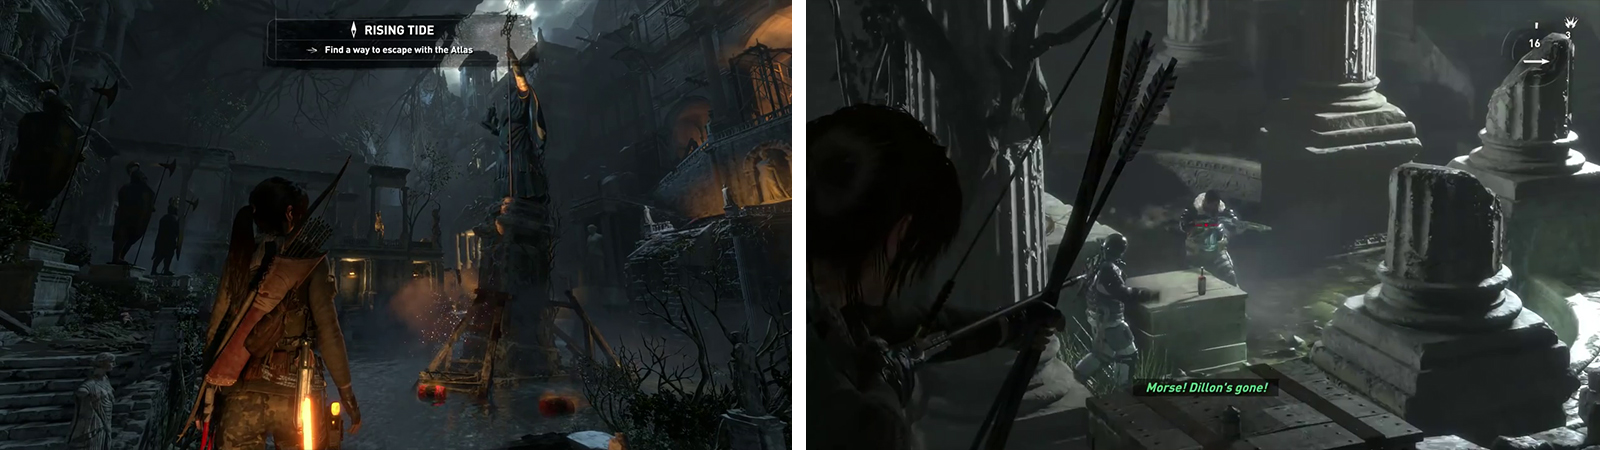
Destroy the barrels at the base of the statue (left). Head through to the north and take out the enemies in the room below (right).
When you want to continue, find and climb the scalable wall in the back, right corner of the room. At the top, turn to the right and run along the hallway whilst avoiding the two spike traps in the floor. In the small room at the end you’ll find a chest containing a Relic [01/02 – Pennon Flag] .
Return back past the top of the climbable wall and enter the hallway. Find one of the archways to the right that allows you to drop down to a wooden platform below. Grab the cylinder filled with reagents here and look for a hanging box nearby. Use the beams here to jump to the hanging crate and then from the top of this, into the hallway on the opposite side of the room. At the end there is an Explorer’s Satchel .
Head back to the hanging box and back across the wooden platform to reach the original hallway. Follow the hallway to the very end facing the large statue. Jump across to the platform to the left. Here you’ll find a Document [04/05 - Mongolian] on a box and further to the left, near the far wall, a Monolith . Now backtrack to the room where we killed the previous group of enemies.

From the balcony, jump across to the left (left) to find Document 04 and a Monolith. Beneath the wooden structure here is a Survival cache (right).
In the room where we killed the enemies just before, at ground level near the scalable wall, there is a crack in the wall blocked by a wooden beam. Use your Rope arrows to dislodge this. Continue through the crack. On the far side, enter the alcove opposite to grab a Survival Cache [02/03] . In the northeastern corner of the room by the iron fence, there is also a pile of Byzantine Coins to grab.
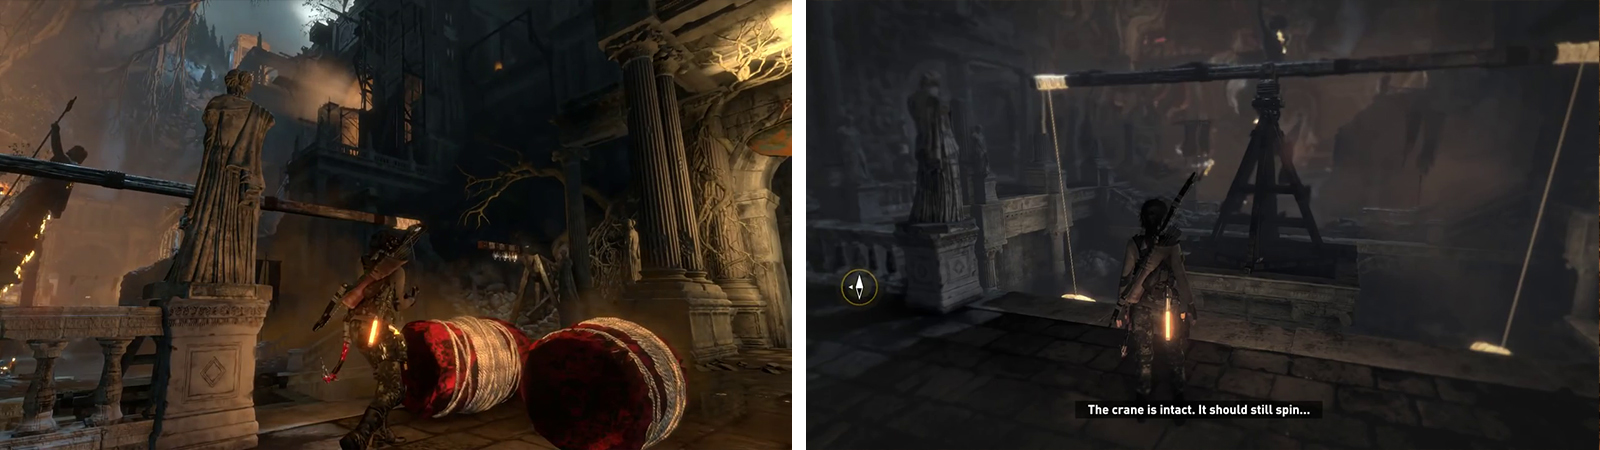
Locate the large, wooden storage barrel ramp in the center of this room. At the end of this, facing the water there is a Rope Arrow attachment point. Shoot this to have a red barrel pop out of the ramp. With the ramp at your back, look for the tripod with a large wooden beam atop it extended either side of the base.
Use the Rope Arrow on one of the ends of the beam to pull it into position above. Use the Rope Arrow to attach one of the red barrels to the beam. Use the Rope Arrow to pull the other end of the seesawing beam over the top of the platform. Use the Rope Arrow to release another barrel from the ramp and attach this one to the other end of the beam so that both ends have barrels attached.
Release barrels from the dispenser (left). Attach a barrel to either end of the wooden beams (right)
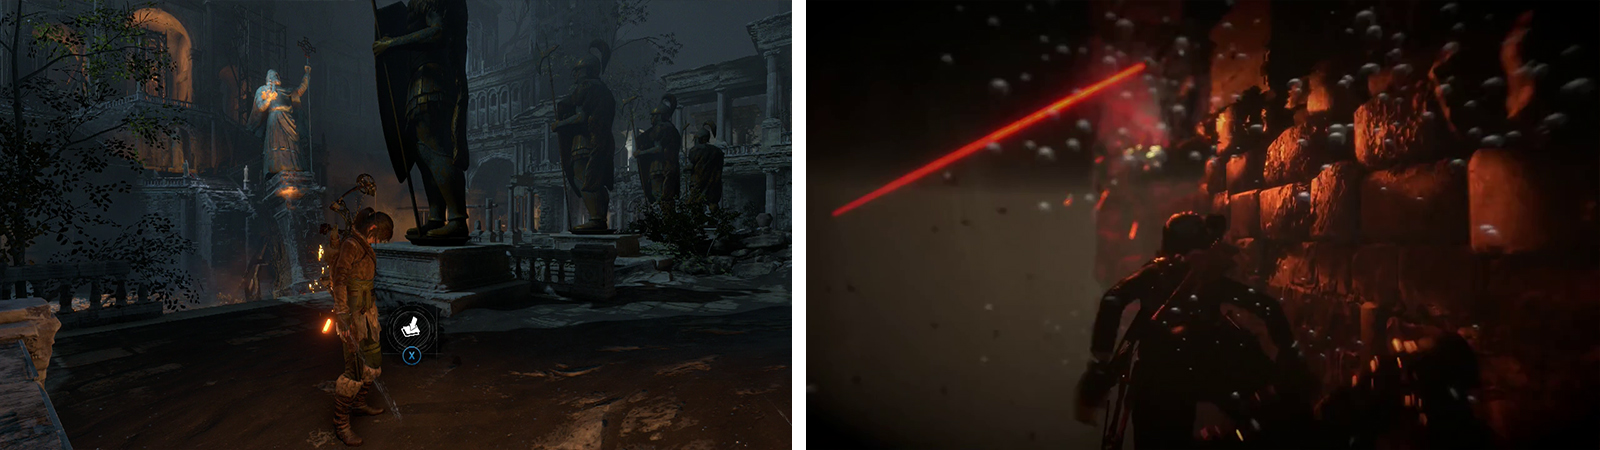
Move to the far side of the tripod/beam mechanism so that you are at the point closest to the statue we need to destroy. Rotate the beam using the Rope Arrows until one of the red barrels sits nicely on the platform with you. Approach it and cut it loose with the Combat Knife to have it roll down the ramp here and float out to the nearby support for the statue. Use a special arrow to blow it up for a scene.
The Southern Objective Marker
Make your way back to the Base Camp. Behind the statue just southeast of the Base camp there is a Survival Cache [01/03] . Enter the lit up archway directly south of the camp fire and enter the pool of water inside.
Dive beneath the planks blocking your way and stay underwater using the Rebreather. In this next room the pool covers a lot of the area and there are three enemies running around on the platforms here. Stay underwater and move next to the platforms. Wait for the bad guys to walk by before performing silent takedowns on them. Doing so on three enemies will unlock an achievement/trophy.


Survival Cache 01 is by the Camp Fire (left). Enter the door to the south and use water takedowns to eliminate the enemies (right).
Once all three have been dealt with, climb out of the water. Loot the room when it is safe to do so – there is an abundance of Ammo boxes of here of all varieties and a quiver of Arrows or two. Proceed up the ladder on the northern wall of the room when you are ready to progress.
At the top, turn to the right and pull down the barrier using the Rope Arrows. In front of the horse statue you’ll find a pile of Byzantine Coins . Follow the walkway against the wall opposite the barrier we broke down to the right until you reach a small room containing an Archivist’s Map . This room has a pair of openings with ramps overlooking the room below. Use either to jump and use the grapple axe on the beams above to swing to a similar room on the far side of the area.
This area features a room on the right with a rope barrier and a hallway to the left. The hallway on the left has a chest with a Relic [02/02 – Battle Standard] in it in a small alcove to the left, but this is guarded by a swing trap that we’ll need to shoot in a couple of places. Once we have the Relic , return to the room and pull down the barrier using Rope arrows before proceeding into the room beyond.
Use Rope Arrows to pull down the barrier (left). Swing across the gap and avoid the trap before looting Relic 02 (right).
Move down the stairs to find a small, rapidly flowing river here, a blockage in the center by some statues and a wooden barrel ramp at one end. Use the hanging beam above the statues in the middle of the room to swing across the water to the platform on the far side.
Follow the platform all the way to the left until you find yourself below a similar wooden barrel storage ramp to the one we utilized earlier. At the base of this, there is a Survival Cache [03/03] . Return back along the platform to the right and enter the lower doorway. Loot the room for a piece of Magnesite Ore and a cylinder of reagents. Exit via the far door and continue up the nearby stairs. At the top, along the left hand railing you’ll find a box with a Document [05/05 - Greek] . Follow this platform to the end an in the corner next to the wooden barrel ramp, there is a pile of Byzantine Coins .
Return to the ground level and use the Rope Arrow to release a red barrel from the wooden ramp. Wait for the barrel to become entangled in the blockage in the middle of the river before shooting it to remove said blockage.
Release a barrel and destroy it when it reaches the barricade (left). Afterwards release another barrel and attach the rope pillar to it (right).
Note the rope pillar on the western side of the room. We’ll need to use this in a second! Move back into range of the barrel ramp and release another barrel. Quickly return downstream to the rope pillar and shoot the barrel with a Rope Arrow as it passes by to connect it to the pillar. This will pull the barrel to the side of the river. When it is in position by the hole in the wall on the left side of the river area, cut the rope to have it fall into the room below.
The barrel will conveniently float out to the nearby support for the statue we need to destroy. Instead of using the zip line here, hop across to the platform in the centre of the flowing water overlooking the statue below for a pile of Byzantine Coins . From here, use a special arrow to blow it up for a scene.
No Comments