Objective: Sneak or fight through the occupied village
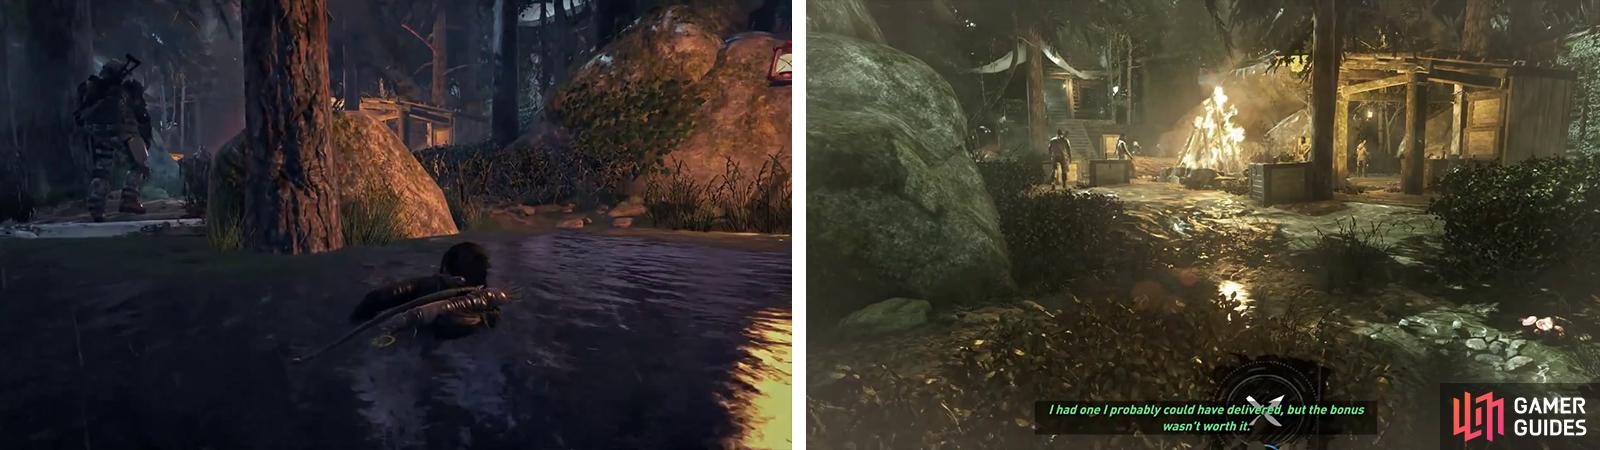
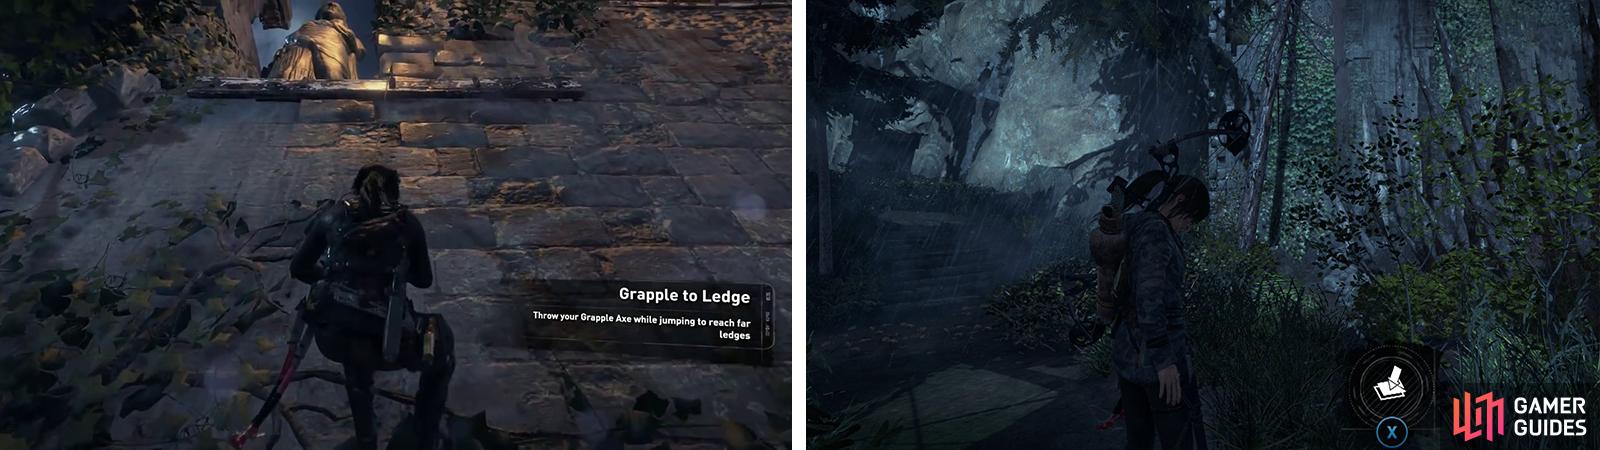
rom the ‘Cliffside Lookout’ Base Camp, use the beam above the nearby cliff to swing over to the zip line beyond it. At the base of the zip line, turn around and climb up the wooden ledge behind to find a Document [18/33 - Greek] and a box full of reagents.
Drop back down, and descend using the successively lower rooftops until you hit the ground – avoid the slope to the right as you’ll fall down and have to come back later for the next couple of collectibles in this area. Approach the next structure ahead to find a blocked door near the short set of stairs. Shoot this with a Grenade Arrow to find a Strongbox [07/08 - Weapon Part: Heavy Pistol Part 03] inside.

Document 18 can be found on a ledge requiring the grapple axe to reach (left). Strongbox 07 is hidden behind the blocked door (right).
Climb the small set of stairs outside to find a small ledge area. There are three crates of Salvage here, a Document [19/33 - Greek] on the crate flush with the building and in the corner by the cliff you’ll find Survival Cache [14/20] .


Find the tree at the top of the short set of stairs and scramble up its side to grab its branch above. from here, jump across to the nearby lookout platform. Make sure that you loot the Archivist’s Map from the table before using the zip line to reach the valley below.
Objective: Pass through the occupied village to reach the monastery
As you land, you can turn around and speak to a friendly NPC. When you are good to go, follow the river to the north towards the objective marker.
Stealth Enemy Encounter 01
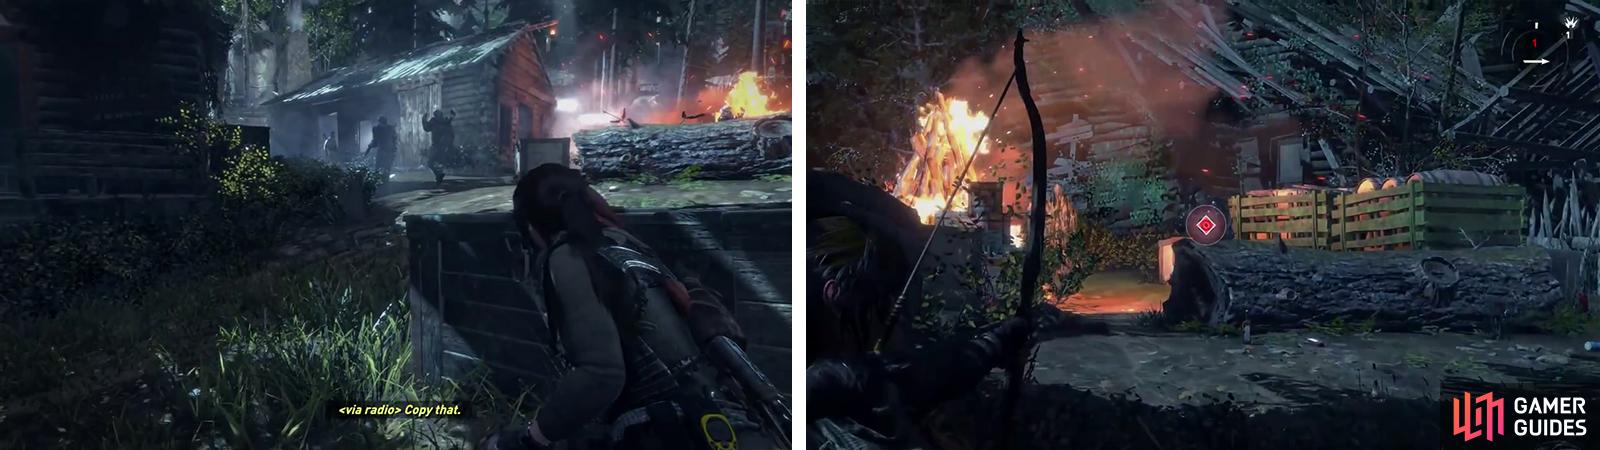
As you approach the objective marker, there will be six enemies in the next area blissfully unaware of your presence. If we are stealthy, we can make it through this area easily, however if you are detected, the guards will break off and behave erratically, leaving you to use more traditional shooter methods to take them all out. From our starting location in the river, the enemies can be found in the following locations:
- One by the river with his back to you.
- Two standing either side of the bonfire in the center of the area (one of the two may not appear on lower difficulties/Xbox360 version).
- One patrolling back and forth along the left side of the area.
- One standing in the far right corner.
- One in the building at the top of the stairs opposite the entry point.
Swim up behind the fellow with his back turned and look for the silent kill button to appear above his head. Hit this as the prompt appears to drag him into the water. Move slightly to the right of his location and crawl out of the water into the nearby shrubs to stay undetected.
When the patroller turns away from you, follow the shrubs around the corner (grab the Mushrooms as you go!), hugging the wall to the right until you can see into the window of the building at the back of the area and observe an enemy inside. When no-one is looking, take aim at the enemy inside the building and head shot him. Next, head shot the enemy in the far, right corner from our entry point.
Swim over and take the first enemy down from the water (left). Climb out and enter the first section of the village (right).
With those two down, wait for the patroller to pause near the base of the steps leading to the building at the back of the area and plant an arrow in his skull. Finally, pick off the two bad guys chatting at the fire one at a time from the shrubs to complete the area stealthily.
Of course, if you want to straight-up fight the enemies here you can and there are several bottles and cans to craft projectile explosives to help you out.
If you were able to decipher the level 7 Greek Monolith by the ‘Ruins Encampment’ Base Camp as I suggested earlier, just to the left of the building at the back of the area there is a Coin Cache [05/09] .
Inside the building at the back of the area, you’ll find a Document [20/33] by a computer console along the right hand wall. Climb up to the open window against the back wall to continue to the next area.
Stealth Enemy Encounter 02
Again we’ll need to either kill or stealth our way through a group of eight enemies. If we are stealthy, we can make it through this area relatively quickly, however as per usual, the second you are detected, the guards will break off and behave erratically, leaving you to use more traditional shooter methods to take them all out. Before you have been detected however, from our initial position, you’ll find enemies in the following locations:
- Two will patrol to the left as soon as you land behind cover.
- One stand stationary by the door to the building to the left of the camp fire (may not appear on lower difficulties/Xbox360 version).
- Two stand by the camp fire directly in front of your initial position.
- One patrols in a loop around the right side of the camp fire (may not appear on lower difficulties/Xbox360 version).
- One patrols the very back of the area up and down a ramp behind the camp.
- One outside the building in the back right corner of the area from the entrance, where the objective marker is located (may not appear on lower difficulties/Xbox360 version).
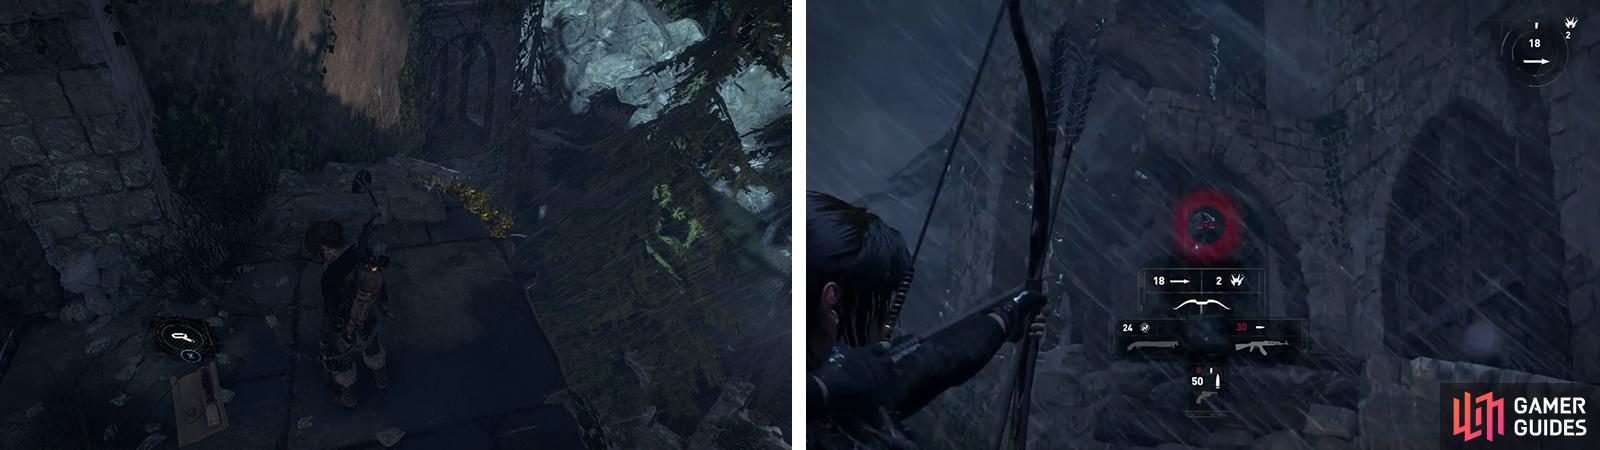
IF you have some Poison Arrows available, this section is a cinch! As soon as you are in control, locate the enemy standing by the entrance to the building to the left of the camp fire. Hold your reticule over him and wait for the two patrollers in front to get close to him before shooting a Poison Arrow to deal with all three at the same time. If the stationary enemy is not there (sometimes does not show up in the Xbox 360 version or on lower difficulties) shoot the patrollers in the same spot, by the door to the building to the left of the camp fire, out of sight of the other enemies.
Wait for the patrollers to move left and hit them with a Poison Arrow (left) before taking out the other enemies either stealthily or with your weapons (right).
Now look to the camp fire. There are two enemies here and a third who will patrol past the camp fire as he performs his route. Wait until he is at the closest point to the two enemies at the camp fire before hitting the middle enemy with a Poison Arrow to kill all three of them simultaneously as well.
Move up to the back of the area and kill the final two enemies whilst they are apart. The fellow by the furthest building does well with an arrow in the head, whilst you can sneak up and silent kill the patroller on the ramp.
As with the previous area, there are a ridiculous number of bottles and cans about to craft projectile explosives. There is also an abundance of Ammo and Arrows if you would prefer the full-frontal assault method.
Once the area is clear, look on the crates in front of the camp fire for a pile of Byzantine Coins . Head for the clearing on the west side of the area. By the small open shelter with the fire barrel there is a Strongbox [08/08 - Weapon Part: Break-Action Shotgun Piece 03] and beneath the shelter on a crate, you’ll find a Document [21/33] . At the closest building to the northeast there is a crate of Salvage outside and a box of reagents inside.
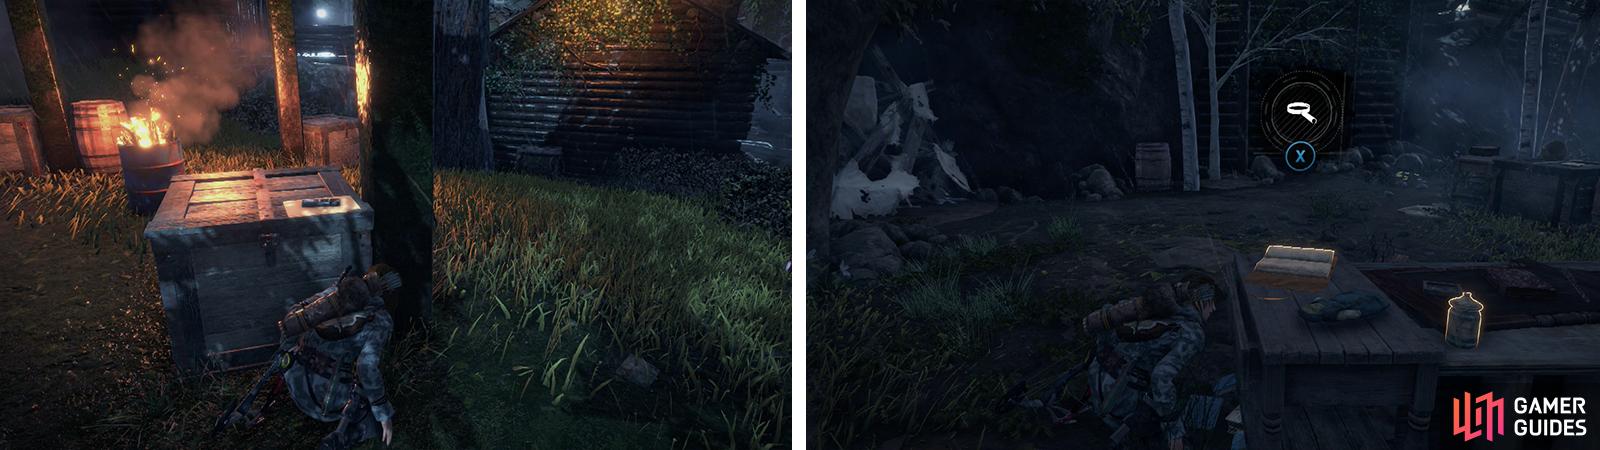
On the west side of the area is Document 21 (left). Find the nearby dirt ramp and at the top you’ll find a blocked cave and Document 22 (right).
From the back door of the building you can find a dirt slope. Climb this to the top to find a small storage area. Look on one of the tables here to find a Document [22/33 - Greek] . Pick up a bottle from the table to craft a Molotov and toss it at the blocked cave entrance nearby. Inside you’ll find three batches of Mushrooms , a vein of Magnesite Ore , a box/cylinder of reagents and a Document [23/33 - Greek] .
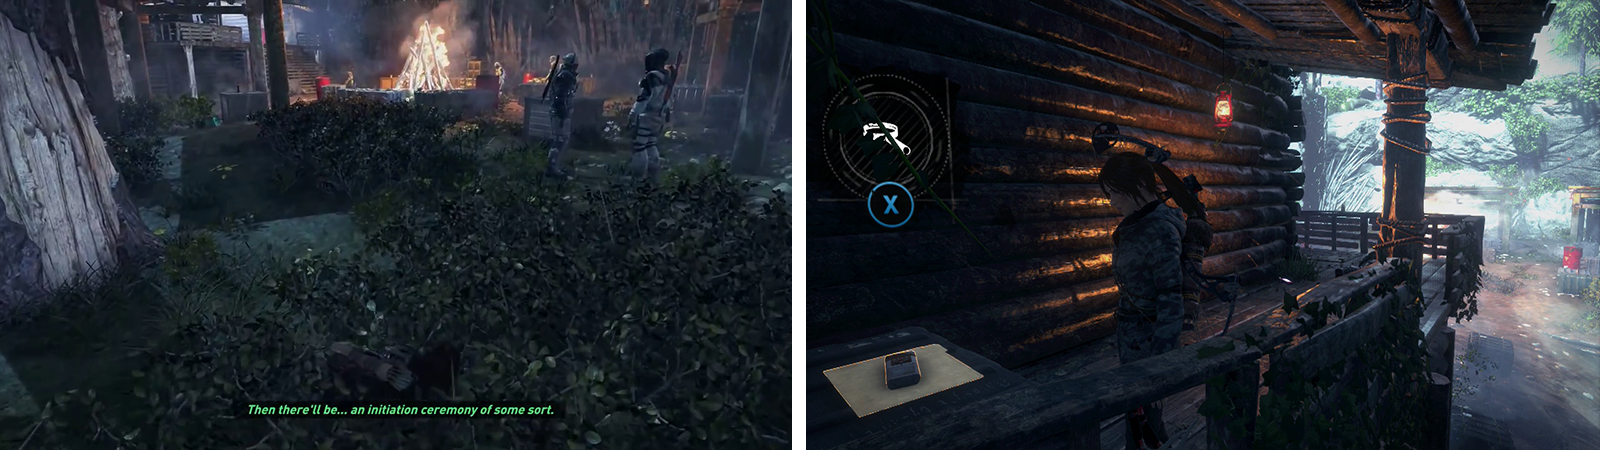
Return to the previous combat area and loot it of any further supplies – there are several Herb bushes, Ammo boxes and quivers of Arrows about. When you are ready to continue, enter the building indicated by the objective marker. There is a Document [24/33] on a crate inside.
Exit the building and continue up the path to the right for a scene.
Stealth Enemy Encounter 03
Yep, you guessed it, another batch of enemies to stealth or murder our way through. This group consists of 10 bad guys. If we are stealthy, we’ll earn a bit of extra XP and can move through the area relatively quickly. Unfortunately, as per the norm, if you get detected, the guards will break off and behave erratically, leaving you to use more traditional shooter methods to take them all out. Before you have been detected however, from our initial position, you’ll find enemies in the following locations:
- Two standing stationary directly in front of your starting posiiton. They will break off and patrol the edges of the camp if you wait too long.
- Two standing by the bonfire directly in front of your initial position.
- One patrols in a loop around the far, left side of the bonfire (may not appear on lower difficulties/Xbox360 version)..
- Two are patrolling on the lower floor of the building on the left side of the area and will emerge on its outer deck regularly. One is on the southern side of the building whilst the other will move in and out of the main doorway (the internal patroller may not appear on lower difficulties/Xbox360 version)..
- One is on the top floor of the building on the left side of the area (may not appear on lower difficulties/Xbox360 version).
- Three inside the building working on computer terminals.
To do this stealthily, you’ll want to use a Poison Arrow on the pair of guards who stop to talk in front of you. Next, move over to the far, right hand wall of the area and work your way along it until you reach the bushes at the end by the spike wall. From here, you should be able to spot the guard on the second floor of the building. Line up a head shot and let him have it.
From the same location, look into the lower level of the building and pick off both patrollers here. Unfortunately, although you can get a clean shot on him from here, the patroller moving around the bonfire has a helmet on, so head shots won’t work - we’ll leave him for last. Use another Poison Arrow on the pair of enemies standing by the bonfire. Once they are all down, use the bushes to sneak up on and silently eliminate the final patroller.
After clearing the third group of enemies (left), loot the area of collectibles including Document 25 (right).
Slowly climb up the stairs into the building. Perform a silent takedown on the enemy just inside the door to the right. Approach the pair of enemies at the back of the room and they’ll come together. Hit them with a Poison Arrow at this point, or wait for them to split up and take them down separately.
Once this area is clear, let’s spend a minute or two exploring it (and remember to loot any Ammo boxes/quivers of Arrows as you go). If you were able to decipher the level 7 Greek Monolith by the ‘Ruins Encampment’ Base Camp as I suggested earlier, in the far eastern corner of the area (just to the right of our initial entry point) there is a Coin Cache [06/09] behind the ammo crates. On the deck, to the left of the main entrance to the building there is a crate with a Document [25/33] atop it. Inside the building, take the stairs to the upper level. There is another Document [26/33] here.
When you are ready to continue, head out onto the balcony on the second floor of the building and look to the wall on the right to spot a scalable wall. Run and jump from the ramp here and use your grapple axe ability to grab the ledge. Climb it to the top.
Objective: Scale the cathedral to find the entrance
As soon as you are up on the ledge, there is a set of stairs to the left. Ignore these and instead drop down to the ground below to the right of the ledge. There is a Survival Cache [15/20] by the spiked wall.
Move into the area to the north and you’ll want to watch out for the leopard hanging out in here. Kill it before climbing the stairs at the back of the area to find a chest containing a Relic [10/13 - Arrowhead] (be sure to examine the base of the arrowhead for a boost to Greek language proficiency). Continue up the next flight of stairs and swing across to the next platform ahead for a crate of Salvage . Drop down to ground level and return to the stairs by the entrance. You’ll find a Document [27/33 - Greek] on a crate at the base of the stairs by a nearby Base camp location.
Use the grapple axe to climb to the top of the wall (left). On the other side, look by the spiked wall for Survival Cache 15 (right).
Approach the camp fire to unlock a new Base Camp ‘Cathedral Courtyard’. Use the Base Camp here to apply any upgrades you require and spend any unspent skill points you have. Exit the Base Camp menu when you are ready to continue.
Use either the stairs at the back of the area or the tree nearby to climb up and jump across to the climbable walls below the objective marker (you’ll need to use your grapple axes). Upon reaching the top, stealth kill the bad guy here and loot the box of reagents. Jump and use the grapple to reach the next narrow ledge to the left.
Climb the narrow stairs to find a Document [28/33 - Greek] by the base of a large, wooden door at the top. Hop to the next beam and scramble up the wall next to it to grab a handhold. Work your way back to the right and into the open window.
Grapple to the far side of the room and smash the crate of Salvage at the top. From here, approach the edge of the platform and look to the right to see a pair of enemies. Wait for them to split up before giving each of them a head shot with an arrow.
As you climb the cathedral, look out for Document 28 (left). As you traverse the inner area, take out the enemies on the far ledges from a distance (right).
Jump and grapple the ledge opposite. Climb up, work your way to the end of the platform and then jump down to the small platform below with the crate of Salvage . Again jump and grapple the handhold on the platform in front (one of the guards we killed was here). Shimmy to the left until you can climb up. From here we can use the beam to the left to grapple across to another platform with a crate of resources. Backtrack and climb the scalable wall up to where we killed the other enemy for a jar full of reagents.
From the upper platform, run and jump towards the beam hanging to the left and hit your grapple axes to swing across to a narrow stone platform. Use the scalable wall and the handhold provided to climb to the top to reach the Cathedral.
No Comments