Objective: Explore
When we are back in control of Lara, move forward and through the crack in the rocks ahead. On the other side, either create a zip line with the Rope Arrows or use the grapple axe to reach the other side of the pit. Follow the platform to the far end.
Scramble up the wall at the back of the platform here and work your way through the crawl space. Hop across the platforms here and grab the scalable wall at the far end of this chasm. Continue through the crack in the rocks at the end of the passage to return outside.
Objective: Follow Sofia’s path to the Trinity Base
Cross the fallen tree to the far side and use the Rope Arrow on the hanging pillar to swing across to the far side. As Lara jumps from the rope be sure to hit the axe button as she passes the scalable wall to have her latch on. Climb to the top for another scene.
Objective: Search for an alternate path up the cliff
Following the scene, loot the nest for Feathers if you want and approach the tree ahead. Scramble up the trunk to grab the branches above. From here, jump to the wall on the right and use the grapple to pull yourself up to the handhold above. Shimmy to the right and scramble to the top when you are able.

Follow the set route through the canyon (left). After crossing the small river, look in a dead end to the left for Survival Cache 01 (right).
Proceed down the path and use the fallen log to cross the water to the far side. As soon as you are back on solid ground, turn left and walk to the dead end ahead for a Survival Cache [01/03] . Make your way over to the nearby objective marker for a scene.
Objective: Follow the tracks up the mountain
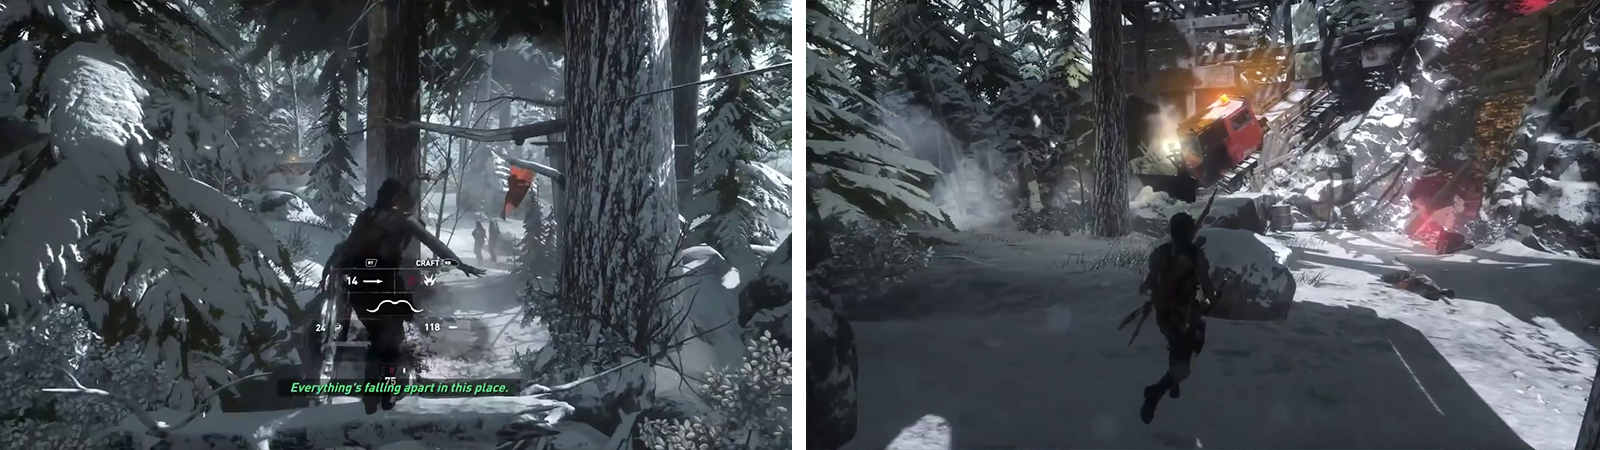
Follow the vehicle tracks up the slope nearby. There are several Hardwood/Herb shrubs to loot as you progress up the hill and a bird’s nest for Feathers , so be sure to gather them if you require them. When you reach the end of the tracks, they’ll lead you into a stalking bush. We’ll see enemies ahead.
Objective: Find your way through the forest to the Trinity base
There are a pair of bad guys in the clearing ahead. Wait for them to separate and either head shot them or sneak up and silently take each of them out.
When the area is clear, note the large truck with the fuel tank on the back at the northern end of the clearing. Shoot the red barrels next to this to blow it up to kick off the ‘Scorched Earth’ area challenge to blow up Fuel Tanks [Scorched Earth 01/04] . You’ll also find a couple of bundles of Hardwood and some Oil about. Make your way over to the excavator and loot the Hardwood/Herb trees here if required.
Stealth Enemy Encounter 01
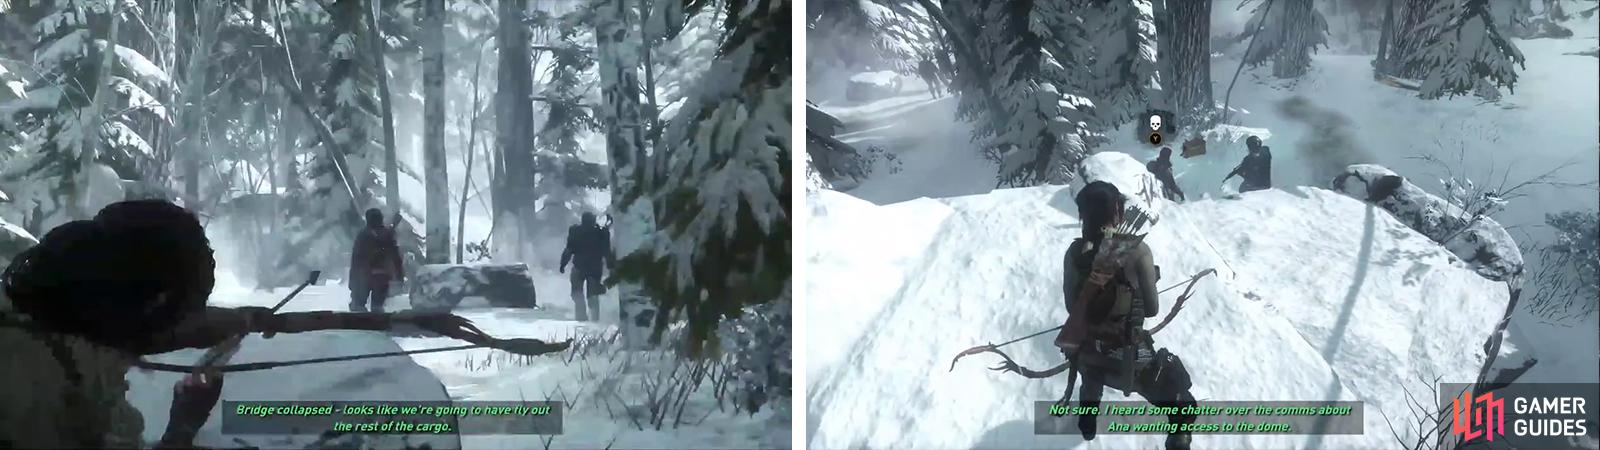
Climb the log behind the excavator and use the path through the tree branches here to reach a hunting platform at the far end. There are six enemies in total in the area below and three of these enemies will begin standing beneath the hunting platform. These three will split up and walk away from one another.
Use your bow to take them all down with headshots when they are far enough away from one another. When one of the additional three enemies wandering about detects a body they will all converge on the hunting platform. Use Poison/Grenade Arrows to take them out as a group, or alternatively track them down and kill them before they arrive. If you choose the latter option, there is a second hunting platform with multiple bottles for Molotov construction and several branches and scalable tree trunks to help you maneuver through the area quickly and silently.
There are numerous enemies in the first stealth encounter (left). take out as many as possible form above. Afterwards, look behind the crashed snow plough (right) for an Archivist’s Map.
When the area is clear, loot the bodies and the Hardwood shrubs before locating the crashed snow plough. Find the passage leading behind this to find an Archivist’s Map . Use the Broadhead Arrows to scale the wall to the right of the plough.
Stealth Enemy Encounter 02
At the top we’ll be in another large area filled with bad guys. This area is a little tricky as there is so much in the way of obstructions and environmental elements that it can be very hard to locate the enemy forces. Additionally, whilst the enemies tend to appear in pairs to begin with, if you take too long to kill them, they will split up, making taking them down a little more difficult.
If you get detected, the enemies will converge and attack (as expected) so try your best to remain stealthy as there are a lot of bad guys and is not a whole lot in the way of cover. There are nine enemies in the immediate area and they can be found in the following locations initially:
- Two enemies will start directly in front of you, split up and patrol away from you.
- Two enemies behind the large rock structure in the middle of the path ahead.
- Two enemies patrolling up and down the length of the vehicles on the left hand side of the area.
- Two enemies standing near some crates in the northeast corner of the area.
- One enemy by the objective marker in the northwest corner of the area.
To get this done quickly and silently, you’ll want to eliminate the pair of enemies that walk away from you as you climb up the ledge, either using the bow or silent takedowns. Climb the rocky structure in the middle of the path ahead.
As you enter the area, sneak up and take out the pair of enemies ahead (left). Use the rocky platform in the centre of the area to scope out other groups of enemies (right).
From here, quickly look towards the vehicles to the left and you should see a pair of enemies by the front vehicle, quickly hit them with a Poison Arrow before they split up. Below you and directly ahead, there is a second pair of guards conversing, hit them with a Poison Arrow as well. From the rock, you should also be able to spot another enemy through the gap in the trees ahead – there is a second fellow standing with him, so hitting the visible one with a Poison/Grenade Arrow will take both out.
Finally, you can sneak over and take out the final, stationary guard behind the vehicles by the entrance to the next area.
When the enemies have been dealt with, check out the area and loot the Herb/Hardwood resources you might require from the shrubs provided. Move to the front of the vehicle column to find a covered bridge. Loot the Feather from the nest here if required before jumping the gap. Follow the path to the end and beneath a tree near the gate there is a Survival Cache [02/03] .
Return back across the bridge and find the second vehicle in the convoy. Shoot the red barrels by this to blow up its Fuel Tank [Scorched Earth 02/04] . Follow the path behind the vehicles to reach a gate. On the wall to the left of this is a Mural [01/01 - Russian] . Grab the cylinder of reagents located to the left and proceed into the crack in the wall nearby.
Objective: Explore
As soon as you are through the crack, look to the left and grab the chest containing a Relic [01/03 - Stamp]. Move up to the camp fire here to unlock a new Base Camp ‘Weather Station’. You can use the Base Camp here to apply any upgrades you require and spend any skill points you have. Exit the Base Camp menu when you are ready to continue.
Stealth Enemy Encounter 03
Continue towards the weather station in the distance and enter the water when you reach it. Dive under the obstacle here and swim forwards until you see the hole in the ice above. Sit below the surface here and observe the pair of enemies above.
Once the enemies have split up, slowly surface and hit the silent takedown button on the enemy by the hole when the prompt appears to drag him into the water to drown him. Climb out of the water, sneak up on the second enemy and take him down with a silent assassination as well.
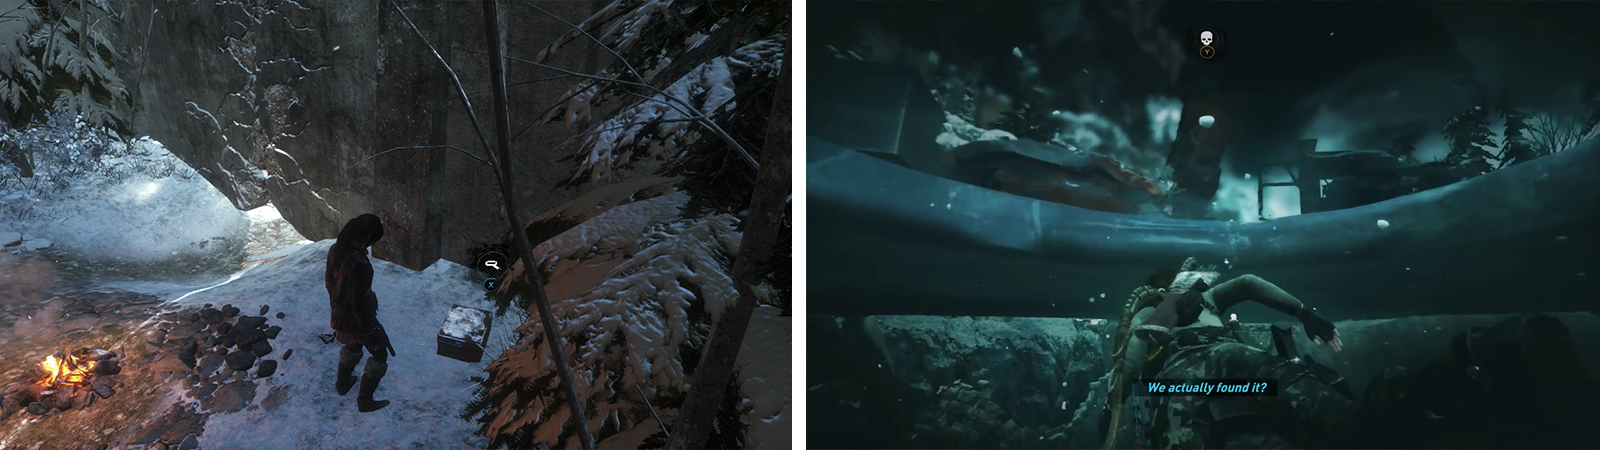
Grab Relic 01 by the Base Camp (left). Enter the water and perform a water takedown on one of the enemies by the research tents (right).
To the north east of the pair of thermal tents here, you will find a Strongbox [01/02 - Weapon Part: Heavy Pistol Piece 04].
Stealth Enemy Encounter 04
Approach the snow plough vehicle to the east of the thermal tents. Enter the bushes just beyond it to stay out of sight. There are seven enemies in the immediate area and as per usual, they can be taken down sneakily or straight up combat. Sneakiness is as always my preferred choice and you can find the enemies in the following initial positions:
- Three by the snow vehicle to the left. One will patrol away to the northeast if you wait long enough.
- Two by the sneaking bush directly in front of you.
- One by another sneaking bush further to the east than the two enemies in front at the start.
- One on the far side of the easternmost vehicle.
As soon as you pass the snow plough to enter the area, you’ll want to turn to the left and hit the group of three enemies with a Poison Arrow ASAP. Afterwards, use a Poison Arrow on the pair of enemies directly in front of you. Now, with the majority of the bad guys dealt with, you can track down and kill the final two enemies on the eastern side of the area as you see fit.

Wait for the enemies to bunch up (left) and hit them with Poison Arrows to make things quick. By the gate to the previous area you’ll find strongbox 02 (right).
When you have dealt with all the Trinity scum, follow the vehicle tracks in front of the snow plough to find a locked gate to the south. In the snow just to the left of the gate is a Strongbox [02/02 - Weapon Part: Full Auto Shotgun Piece 03]. Check out the northernmost vehicle in the immediate area and shoot the red barrels by this to blow up its Fuel Tank [Scorched Earth 03/04] . Just to the east of the eastern vehicle there is a Survival Cache [03/03] by the end of a barbed wire fence running along the cliff.
When you are ready to continue, find the set of stairs at the northern end of the area and follow the walkway until you reach the building.
Objective: Enter the Weather Station
As soon as you arrive at the top of the first set of stairs, check out the crate by the base of the first building to the left for a Document [01/04] . At the back of this same structure, on another set of crates you’ll find a chest containing Relic [02/03 – Reliquary Pendant] . Inspect the inscription on the back of the medallion for a boost to Greek language proficiency.
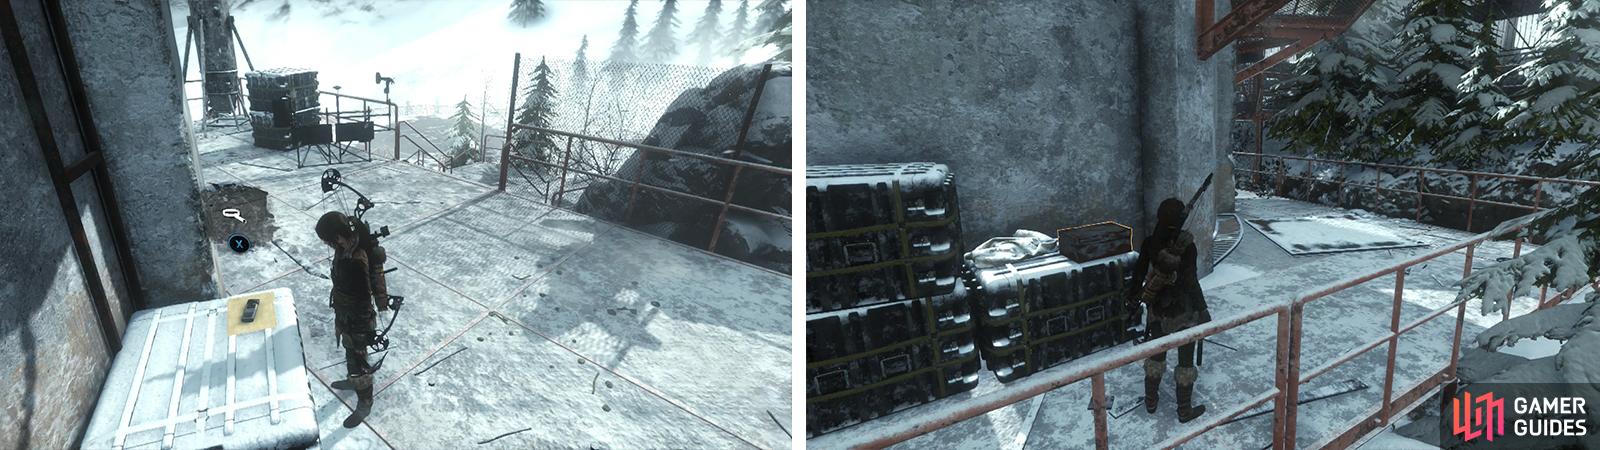
Upon arrving at the weather station, check the crate to the left for Document 01 (left). Around the back of the first structure is Relic 02 (right).
Find the stairs leading to the second building. At the top of the stairs, scramble up the wall to the left of the gate and climb the broken ladder to the top. Before entering the open door, continue to the end of the platform to find a chest containing Relic [03/03 – Engraved Casing] . Examine the flat end of the bullet for a boost to Lara’s Greek language ability.
Objective: Search the Weather Station
Enter the open doorway. Proceed into the main room of the weather station to find a cylinder of reagents and on a desk by the windows in the far, right corner a Document [02/04] . The smaller room with the ladder inside also features another desk-based Document [03/04] .
Climb the ladder nearby for a scene.
No Comments