This Challenge Tomb can be found just to the northeast of the saw mill. If you follow the river bank, you should find a large crane that is suspending a large, wooden log over a makeshift wooden cover blocking a hole on the ground below. Shoot the block on the crane above the log and this will send the log crashing through the wooden blocks and open a passage (with a ladder to boot!) down to a subterranean cave [Into Darkness Challenge 04/05] .
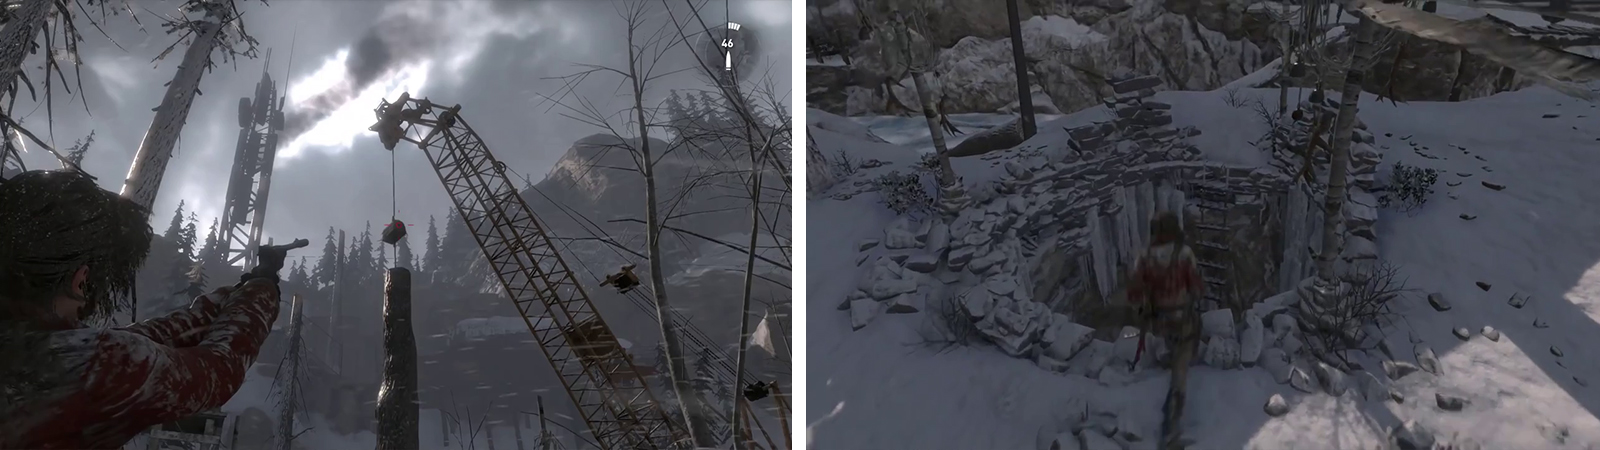
Shoot the log hanging from the crane (left) to open a new area to explore (right) containing the Challenge Tomb.
After arriving in the cave, drop down to the first lower platform ahead and look on the right hand wall for a vein of Magnesite Ore . Keep moving down the successive ledges until you find the ruins at the bottom. The Challenge Tomb can be found down the passage to the left, but before heading through, check out the ruin in front for a vein of Magnesite Ore and a Mural [06/12 - Greek].
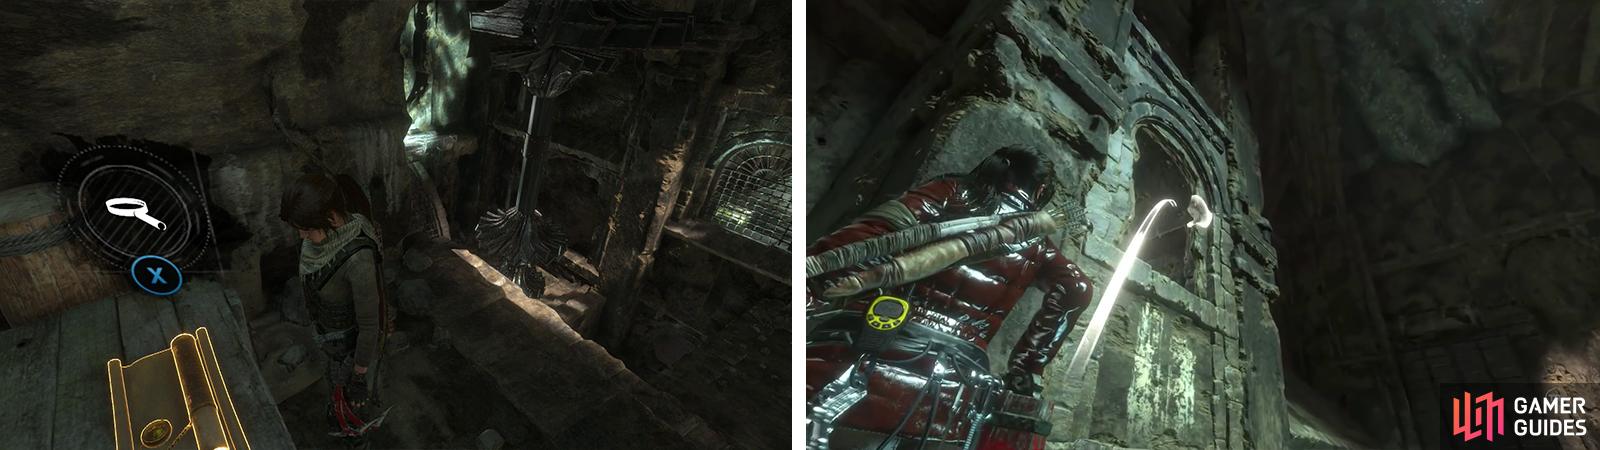
Enter the left hand passage in the ruins and follow the path inside. Eventually you’ll come across a gap in the wall to the right marked by crosses, a short distance past these is a chest at the end of the passage containing Relic [04/18 – A Coin of the Realm ]. Inspect the back of the coin for a slight boost to Lara’s Greek Language proficiency.
Return to the crosses and leap across to the climbing wall opposite. Use your pickaxe to grab said wall and descend all the way to the bottom. When you are on solid ground, you’ll find a pair of crates of Salvage. Slide down the nearby ramp.
Upon reaching the bottom of the ramp, look immediately to your left to find a chest behind a large rock here containing Relic [05/18 – Golden Icon ].
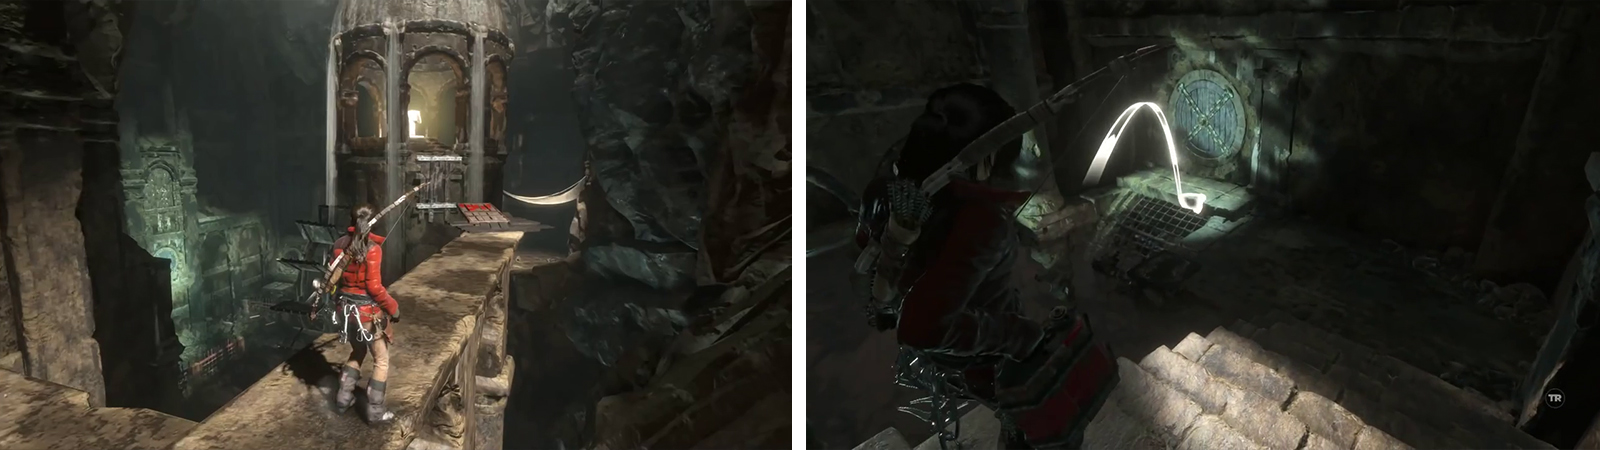
Go through the right hand door and at the top of the stairs, jump across to the hanging beam. This will shift your angle overhead. Below you’ll see a pair of spinning blade mechanisms start up. We need to drop past these into the water below. To do so successfully, when their damaged sections are directly below Lara hit the drop button to release the hold on the beam. Timing is important here as touching the blades will instantly kill our heroine.
In the water, swim to the arched doorway and climb up into the passage that is revealed here as the water level lowers. Loot the bin at the end of the hallway for reagents and grab the quiver of Arrows propped up against the wall nearby. At the far end of the next passage, you’ll see a circular wooden door with a red barrel next to it. Shoot the barrel to blow it up.
Swim through the new opening to find a new Base Camp ‘Cistern Cavern’ on the left. You can use the Base Camp here to apply any upgrades you require and spend any skill points you have. Exit the Base Camp menu when you are ready to continue.
Move down the nearby stairs to enter the Challenge Tomb. Climb the wall in front and follow the top of the arches to the right. Attempt to jump to the central structure and you’ll find yourself in the water below.
Swim past the first large waterwheel and continue towards the far side of the room. Swim into the open doorway here below a second waterwheel. Climb out onto the platform inside and at the top of the stairs, grab the fuel can by the gate. Drop the fuel can by the circular, wooden door that is leaking water, back up and shoot the fuel can to destroy it and the door.
Jump into the water below (left) and swim for the opening past the waterwheel. Inside use the gas can to destroy the wooden panel (right).
This will raise the water level. Swim back over to the entrance, dive under and return to the main room. Climb the stairs to the left of the waterwheel attached to the main structure. Grab the quiver of Arrows propped up against the table here and note the red fuel cans nearby.
Grab a fuel can and head up the set of stairs. At the top you’ll find another hanging beam controlling a sluice gate. From this location, look for the circular, wooden hatch on the far wall. Near this, you should also be able to make out a wooden raft. Throw the gas can onto the wooden raft. Jump onto the beam to raise the water level.
The raft will float to the far side of the room. Drop down from the beam and after a short time, the water level will recede. As it does, the raft will slowly float back to its original position. As it passes the wooden hatch, shoot the fuel can on board to destroy it and the hatch at the same time. This will raise the water level for good.
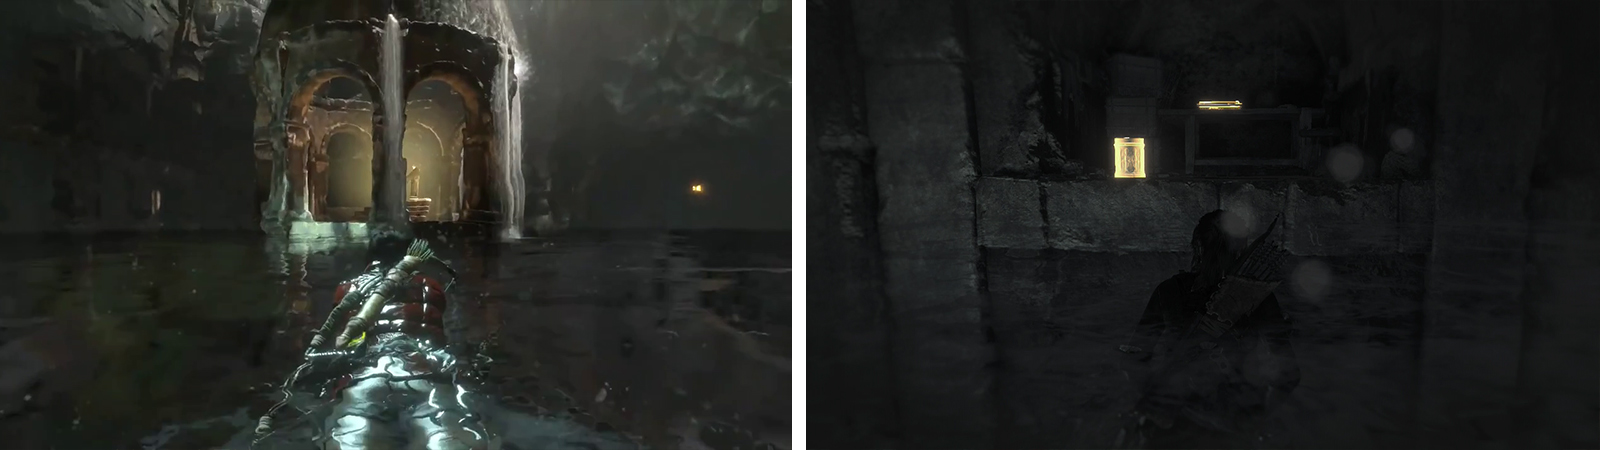
Swim through the tunnel behind the hatch we just destroyed to find a sub chamber at the end. Climb out of the water and note the position of the next weak, wooden circular hatch above. Climb to the top of the room and look in the pair of uppermost alcoves for a Document [08/26 - Greek] and a chest containing reagents.
In the second chamber, look for Document 08 in a raised alcove (left). Return to the main chamber and use the raft to throw a gas can into the new opening (right).
Find the tunnel leading towards the main chamber opposite the alcove with the Document. Grab the crate of Salvage here and bash down the weak wall at the end. Drop into the water below and return to the platform behind the waterwheel with the gas cans.
Grab one of the gas cans and again throw it onto the raft. Jump onto the beam to open the sluice gate and then drop off and quickly swim to the raft. Hop aboard and toss the gas can up into the hole in the wall we just came from when you are in range. Swim back into the sub chamber, climb to the top and grab the gas can. Toss it over to the area with the weak wooden hatch and destroy it.
Swim through the hole in the wall that the destroyed hatch to return to the main chamber. You’ll now be able to access the central structure’s upper platform. Here you’ll find a crate of Salvage , a cylinder of reagents and an altar of sorts containing a Codex we can interact with to complete the Challenge Tomb [01/03] .
Once the water is at the highest level you can reach the Codex (left). Before leaving, check the alcoves to the left to find Document 09 (right).
Before leaving the main chamber, examine the wall opposite the exit to find a pair of recesses that the raised water level allows us to access. The left hand recess holds a Document [09/26 - Greek] and the right hand recess houses a pile of Byzantine Coins and an Archivist Map .
Return through the door marked with the torches to return to the Base Camp. Use the Base Camp to fast travel back to the ‘Sheltered Ridge’ Base Camp to continue.
No Comments