Objective: Find a way to the Acropolis
When you are ready to continue, from the ‘Aqueduct Ruins’ Base Camp, head a short distance to the southeast to find a tunnel entrance above the far end of the pool. Jump over and use your pickaxe to climb the scalable wall to the top.
Climb the stairs to the top and squeeze through the open door to enter The Acropolis.
Proceed along the bridge here a short distance and at the end loot the basket of Herbs and crate of Salvage. look for a slope leading down beneath the bridge on the left side. Follow this down to find a Document [01/10 - Greek] in a small recess next to the large archway. Return up the slope and climb up and through the opening on the left side of the bridge to continue.
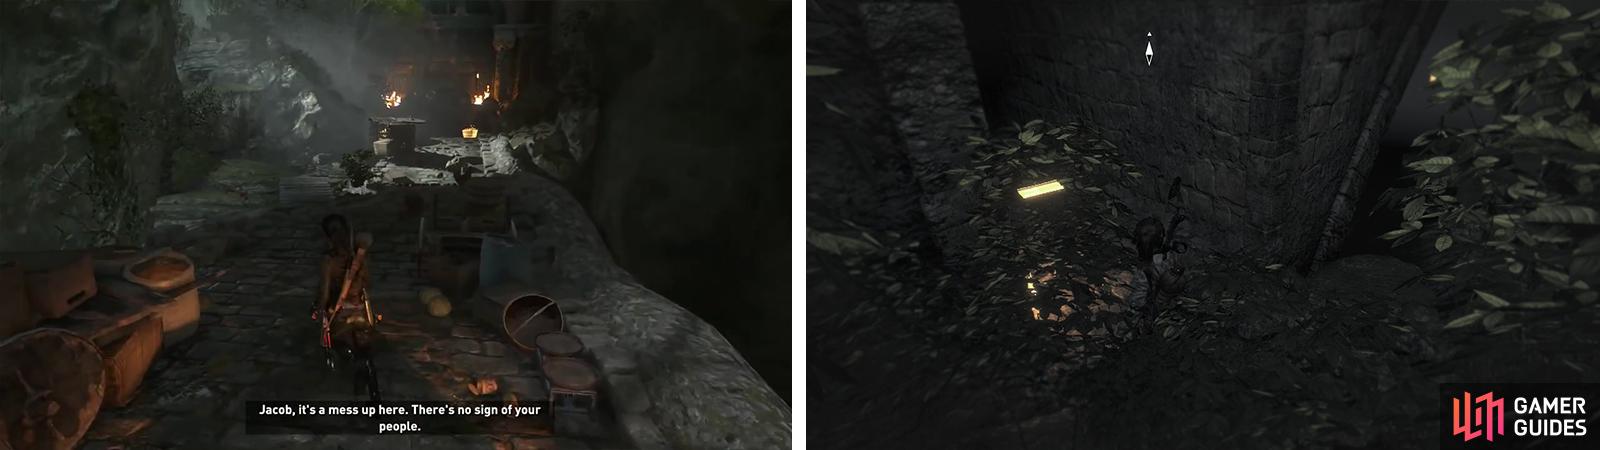
After entering the region (left), look beneath the bridge to find Document 01 (right).
Once outside, take the log bridge to begin with and then follow the set path, hopping between successive platforms and scrambling up the ledge at the end. Upon arriving at the large climbable wall next to the waterfall, climb that to the top and take the stairs.
Objective: Enter the Acropolis
From the top of the stairs, use the rope pillar and the attachment point opposite to create a zip line with your Rope Arrow. Cross the chasm and then proceed into the water.
Exit the far side of the pool of water and follow the stairs all the way until you reach the small village in the valley below. The stairs will curve to the left as you near the bottom. If you jump up onto the rocky ledge to the left, you can find a Survival Cache [01/03] there. Look behind the closest tent to find a Strongbox [01/03 - Weapon Part: Break-Action Shotgun Piece 01] to unlock with the Lockpick.
By the large tent on the eastern side of the area you’ll find a new Base Camp ‘Remnant Bazaar’. You can use the Base Camp here to apply any upgrades you require and spend any skill points you have. Exit the Base Camp menu when you are ready to continue.
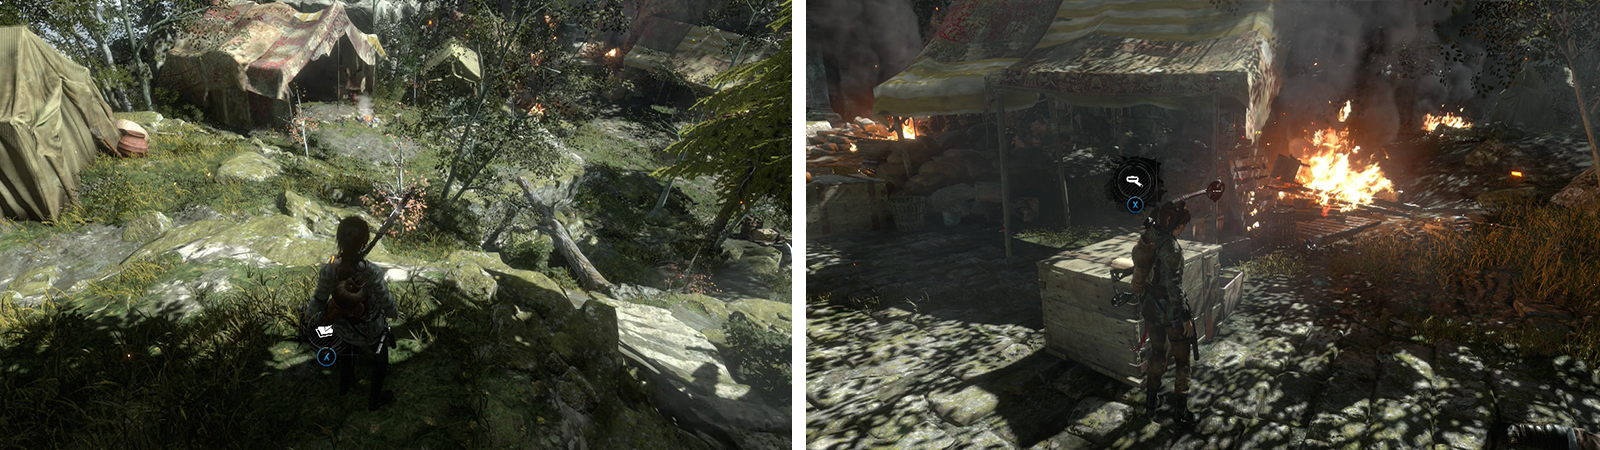
Before enetering town grab Survival Cache 01 (left). Opposite the Base Camp you’ll find Document 02 (right).
In the area immediately surrounding the Base Camp you’ll find a quiver of Arrows , two pieces of Magnesite Ore , as well as shrubs to loot for Hardwood and Herbs .
Take the stairs heading down from the Base Camp and on a crate just before the tent ahead, there is a Document [02/10 - Greek]. Move through the gap between this tent and the one to the right and look for a pair of smaller, grey tents. There is a Survival Cache [02/03] just to the right of the left hand tent.If required there are several shrubs around to loot for Hardwood at this point.
Return to where we nabbed the previous Document and explore the larger, red tent just north of this. Inside you can find a box of Ammo , another Document [03/10 - Greek] and a Strongbox [02/03 - Weapon Part: Full Auto Shotgun Piece 01] . There is yet another Document [04/10 - Greek] on the floor in front of the barricaded, burning gate just to the north.
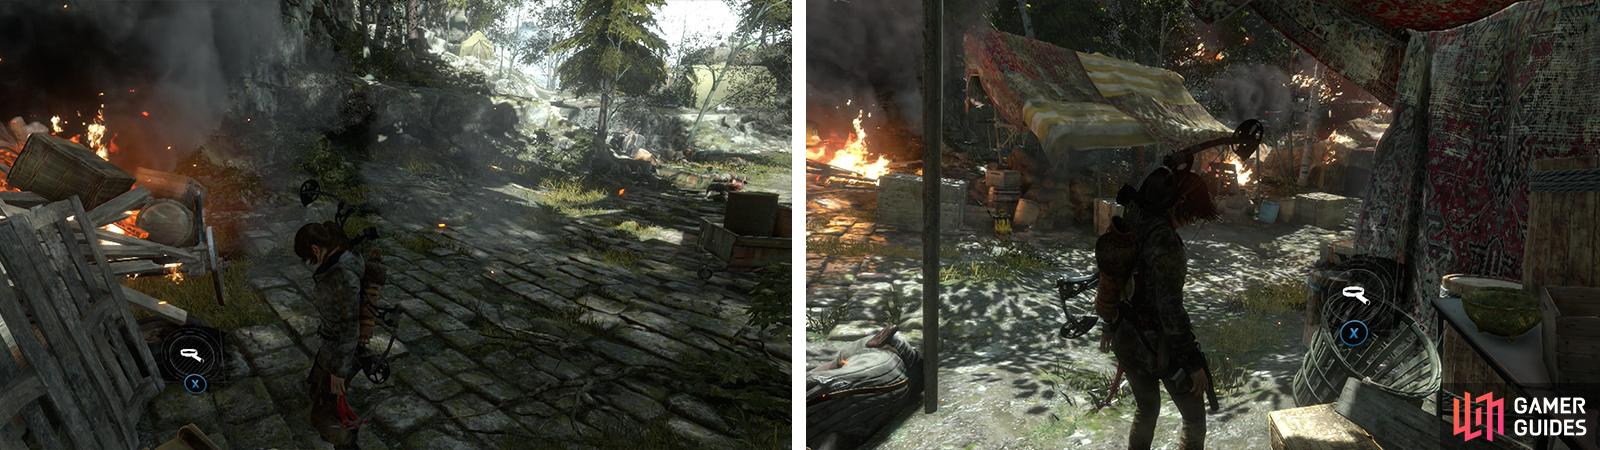
Document 04 can be found at the base of a burning gate to the north (left). Relic 01 is inside a tent by the gate leading to the next area (right).
Head for the gate marked with the objective marker. Inspect the last tent on the right to find a hanging Walkie-talkie . Shoot this to destroy it and trigger the ‘Cut Short’ challenge [Cut Short [01/06] . Check out the final tent by the archway to the left for a chest containing a Relic [01/03 – Reliquary] . Inspect the inside of the Relic to improve Lara’s Greek.
As you approach the archway with the objective marker, a scene will play.
No Comments