Objective: Defeat the Trinity forces
As soon as you regain control, we’ll be in front of a new Base Camp. Instead of approaching this, backtrack through the door to the previous combat encounter and as you enter look on the right hand side for another door. Continue through this to find a Survival Cache [03/03] against the back wall.
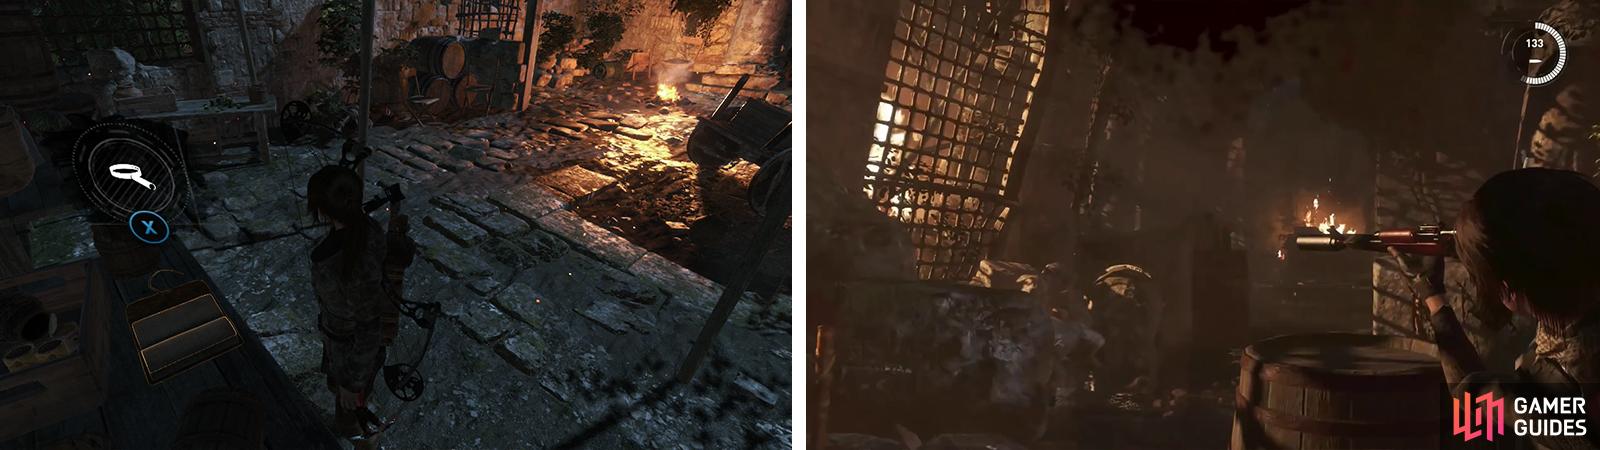
Return to the camp fire and approach it to unlock a new Base Camp ‘Tower Courtyard’. You can use the Base Camp here to apply any upgrades you require and spend any skill points you have. Exit the Base Camp menu when you are ready to continue.
In the tent to the left of the Base Camp there is a pile of Byzantine Coins and a Document [07/10 – Greek] on the tables here and a hanging Walkie-talkie [Cut Short 06/06] to destroy . Down the short ramp to the right of the exit there is also a body with an Archivist’s Map.
Grab Document 07 (left) and shoot the final walkie-talkie before continuing. Fight your way down the narrow corridor (right).
From here until we finish with this area, the game gets pretty shooty – which means lots of third-person shooter action. As such, the usual rules apply: always take cover, avoid the grenades when you see the indicator and loot boxes of Ammo and Arrows after every encounter. There are plenty of Grenade Arrows about to loot through the next few areas, so don’t be afraid to use them – especially on groups of enemies or shield bearing baddies.
Head through the narrow corridor to the west and take cover. There are four enemies ahead and you’ll want to take them out before proceeding. Prioritize the fellows that charge at you with the knives! There are some bottles around to craft a Molotov if you feel like doing so. In the far, left corner of the corridor, by the exit, there is a Document [08/10 - Greek] .
Enter the room at the end of the corridor and a shield carrying enemy will enter from the opposing entrance. Hit him with a Grenade Arrow to make things quick (you can loot another from this room after the fight). Once he has been dealt with, take this opportunity to now stock up on as much Ammo and Arrows as you can as there is a pretty big fight coming up!
When you are ready, proceed up the hallway the shield fellow came from and crawl under the door at the end… Things are about to get a little hairy!
As soon as you are on the far side of the door, you’ll see a group of three enemies ahead. Quickly shoot them with a Poison Arrow to knock them all out at once. This will have the unfortunate effect of triggering a large number of enemies to drop into the room from behind the pair of arches directly opposite the entrance who will then proceed to attack. There are 10-12 in total and they will usually spawn in groups of 2-3. If you have enough Mushrooms on you, a great way to fight the copious number of enemies off at this point is to keep a Poison Arrow active in each of the archways until the smoke wears off, then renewing it. The enemies are fairly stupid and will always enter via the same routes and with the poison cloud there, they will be killed instantly. Whilst the poison effects are active, craft additional Poison Arrows and keep repeating.
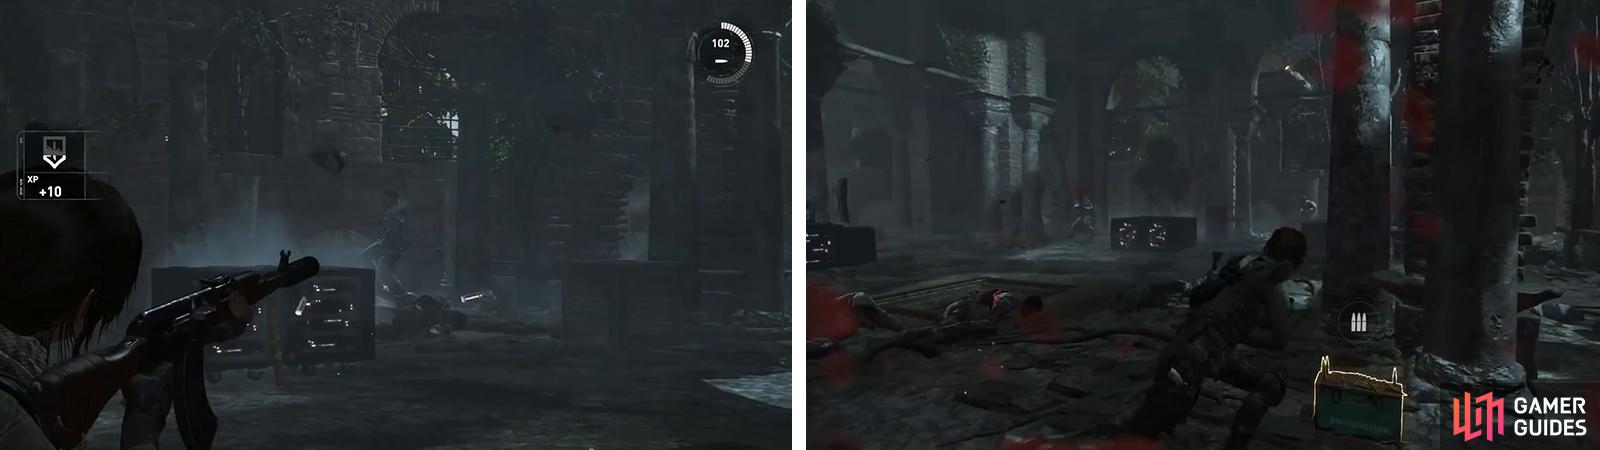
In the final room, you’ll be able to attack three enemies first (left) before waves of enemies will stream into the room (right).
If your Mushroom supply is dwindling, there are also quite a few Grenade Arrows around the room and an explosive barrel or two to utilise so feel free to mix those into your strategy for some explosivey goodness!
After killing all of the enemies, a short scene will play in which another armored commando and a shield bearer will enter the area. Switch to your Grenade Arrows, or any other weapon really and spam the enemies with these to finish them off quickly.
Killing these two enemies will trigger another cut-scene.
$$$achievement
No Comments