Objective: Follow the Path of the Deathless
Once the scene has run its course, we’ll be back in the Geothermal Valley once again. A new passage will have opened up in the stairway nearby which we can take to continue with the story. Enter the new passageway that Jacob opened for you. Inside, use Survival Instinct to locate and destroy the weak wall.
After breaking through the wall inside the Observatory basement and following the stairs all the way to the bottom you’ll find yourself in the Orrery area.
Cross the beam ahead to the far platform and mine the vein of Magnesite Ore. There is a section of weak wooden wall here we’ll need to cross in a minute, but before we do, look on the small rocky ledge below this to find a Survival Cache [01/03] . Return up to the higher ledge and use your Broadhead Arrows to cross the wooden wall jump and scramble up the wall at the end.
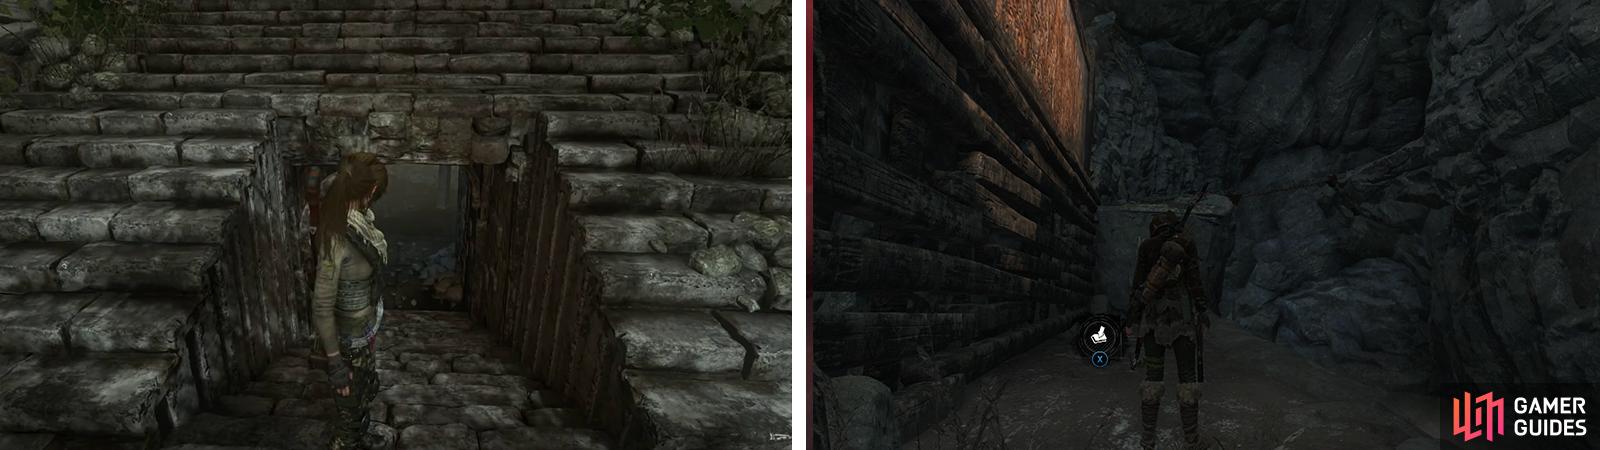
After the scene, head down the secret passage to enter the Orrery (left). Beneath the first weak wooden wall is Survival Cache 01 (right).
After climbing up onto the platform here, loot the pair of Mushrooms to the right. The next set of weak wooden walls is opposite. Notice that there is a horizontal section and a vertical section. Shoot a pair of arrows at the lower, horizontal section and one at the bottom and another at the top of vertical section. Jump across the horizontal arrows and scramble up to the vertical ones above. From the top arrow you should be able to jump to a higher ledge with an Explorer’s Satchel on it.
Drop to the main passage below and as approach the camp fire you’ll find a vein of Magnesite Ore and a pair of Mushroom patches to the right. Approach the fire to unlock a new Base Camp ‘Solemn Crevasse’. You can use the Base Camp here to apply any upgrades you require and spend any skill points you have. Exit the Base Camp menu when you are ready to continue.
Enter the nearby pool of water and as you swim forward, look for a small section of ground to the right. Climb up onto this to locate a Survival Cache [02/03] . Jump back into the water and follow the pool to the end. Loot the pair of Mushrooms here before pulling yourself up to the ledge above.
Objective: Find the entrance to the Orrery
Follow the ominous looking path between the spears downwards until you reach the large door at the base of the stairs. Enter the crack in the wall to the left of the gate.
Once you are through the crack, drop down the successive ledges until you reach the lowest level. Head through the gate here to enter a large Planetarium-style puzzle room. To continue, we’ll need to make our way to the very top of the room.
Objective: Use the Orrery to open the entrance to Kitezh
Step onto the beam facing towards the mechanism in the center of the room and shoot the globe hanging from the left side of the beam closest to you with a Rope Arrow. This will rotate the beam so that you can jump over to it. From the far end, jump down onto the circular platform at the center of the mechanism.
Whilst on the circular platform you will see a hanging block with handholds hanging on the far side from the entry point and two additional beams with hanging globes on the left. Use the Rope Arrows to shoot both of these globes two times each, so that they are in the opposite orientation from where they started.
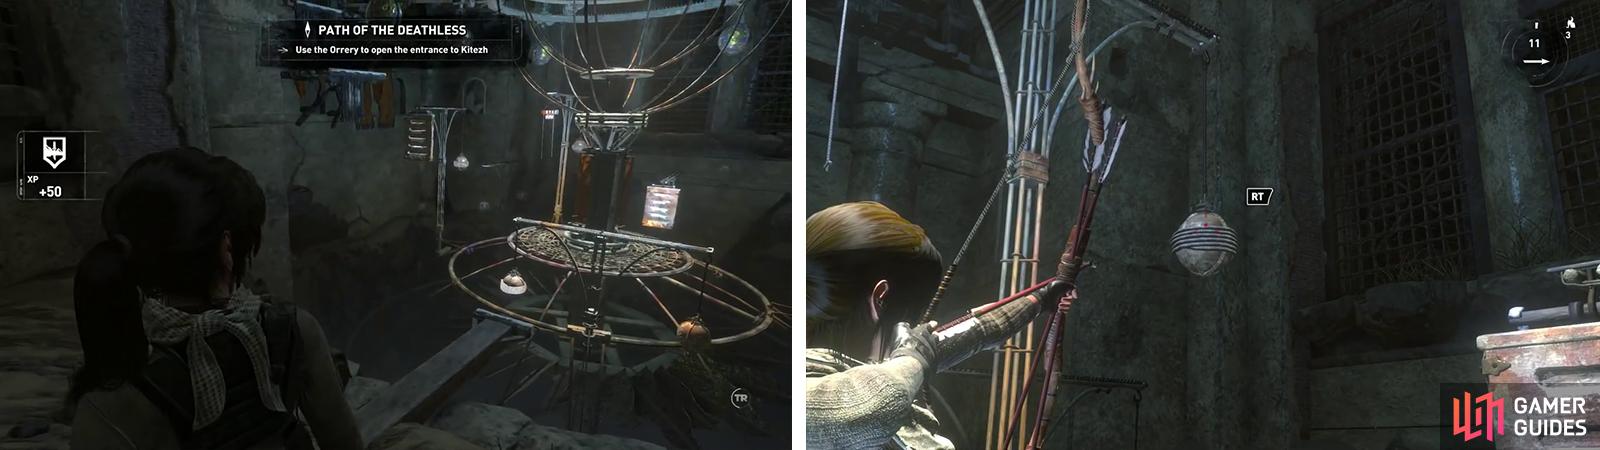
We’ll need to reach the top of the puzzle room (left). Use your Rope Arrows on the globes to rotate sections into place (right).
With the beams in position, jump to the handholds opposite the entrance and climb up. Jump to the right and use the overhead beam to grapple axe swing your way over to a third beam in the distance. From here, climb up the handholds of the beam on the left and from here, run over and scramble up to the top of the nearby wall.
At the top of the wall, grab the pile of Byzantine Coins in the corner to the left. Interact with the lever facing the main mechanism and push forwards as far as it will go. Now use the hanging beam to the left to grapple axe onto the central platform of the mechanism and follow the wooden pathway to reach a similar platform at the far end. Before using the lever here, head into the tunnel to the left to find a Mural [01/01 - Greek] .
Return to the main room and interact with the second lever. As with the first, push this forward as well until a scene plays.
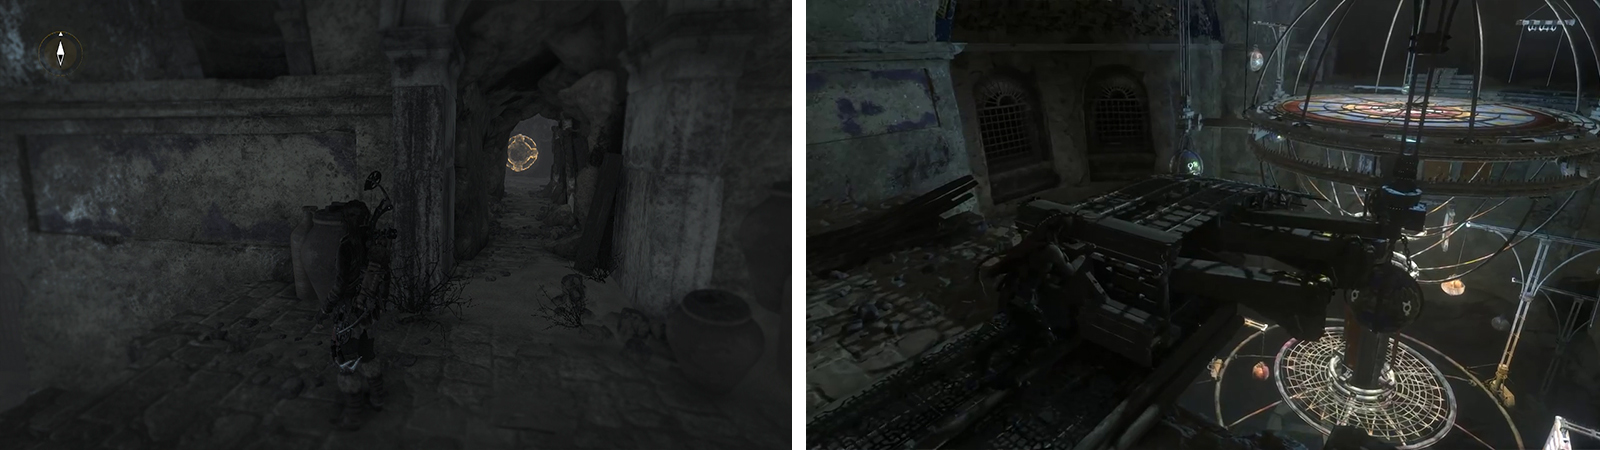
Enter the tunnel to find Mural 01 (left). Push the second lever (right) to activate the mechanism.
Here comes the tricky part – navigating the moving mechanism. This is not easy and will likely result in a few checkpoint resets until you get a hang for where you need to go and how to go about getting there, but don’t be disheartened, it won’t take too long!
- To begin with, you’ll want to use the ramp to the left of the lever to jump and use the hanging beam to grapple axe your way to the central platform again.
- From the central platform keep an eye out for a set of handholds hanging from one of the mechanical arms that you can jump to from the central platform. Climb to the top of these.
- From the end of this mechanical arm, wait until you get into range of the next mechanical arm nearby that features a pair of hanging beams. Jump to one of these when you are in range.
- Keep an eye below and drop from the hanging beam onto the next mechanical arm below.
- From this mechanical beam, wait until you get into range of the mechanical arm with two hanging blocks with handholds. Jump to one and climb to the mechanical arm above when you are able.
- From the end of this mechanical arm, wait until you are facing the central mechanism and jump over to it.
- Use the handholds provided to climb to the top.
Once we are atop the central structure, locate one of the railed walkways. Move to the end of this and when you move past the open tunnel, jump across to reach it.
As soon as you land there is a piece of Magnesite Ore , a crate/cylinder of resources, a pile of Byzantine Coins and a Codex [Codex 01/01] similar to those we have been finding at the end of the Challenge Tombs we’ve beaten so far. Examine the codex to unlock a new skill.
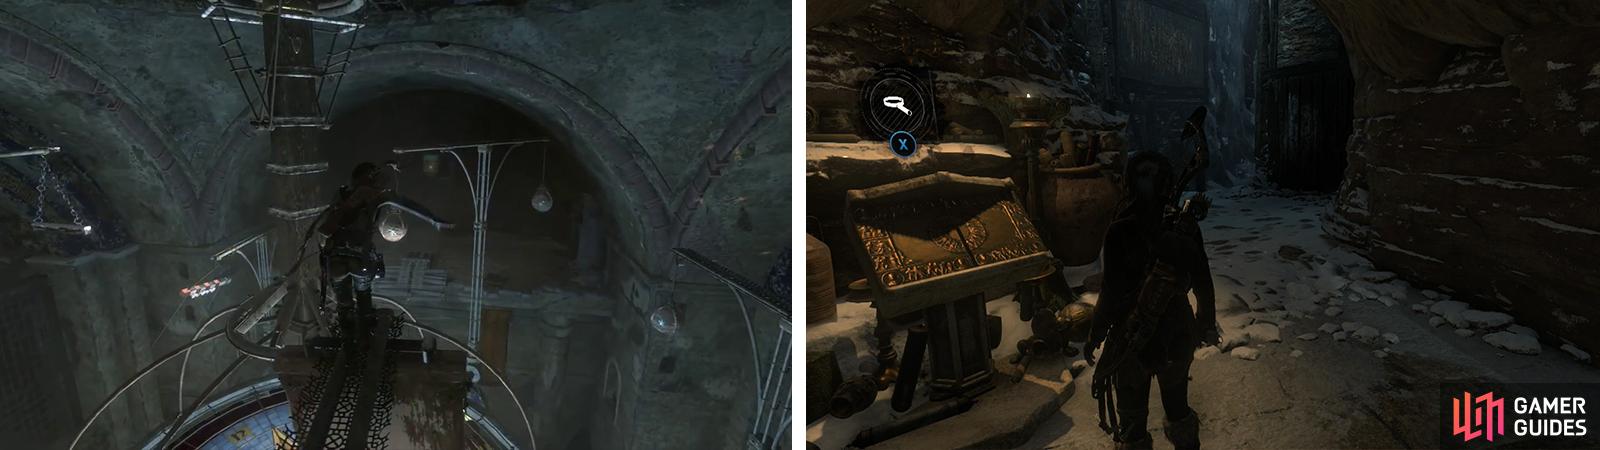
Climb to the top of the room (left) and read the Codex at the top (right).
Just past the Codex, you’ll see several weak wooden walls. Before continuing, drop down the ledge in front to the area below. Here you will find the area’s final Survival Cache [03/03] . Climb back up the ledge.
There are three weak wooden walls here that we’ll need to navigate using Broadhead Arrows to reach the far side. From our initial position, you should shoot one at the wall above us and a further two at the wall to the right, with one placed at either end. Jump up and across to the arrow at the end of this wall. From here, you’ll be able to make out a second horizontal wall on the right.
From atop the arrow here, place another two Broadhead Arrows in that wall as well. Jump to them and from the final Arrow, scramble up the wall to the ledge above.
Move down the hallway to enter the Path of the Deathless.
No Comments