Objective: Run to safety
As soon as the scene showing the statue falling ends, you’ll be attacked from behind. There’s no fighting those kind of numbers though so we’ll be tasked with escaping. As with the previous escape sequences that we have endured in the game so far, there is a fairly obvious, linear route that the game funnels you along. It’s just quite a bit longer and more involved than any of the previous episodes!
This time around, rather than cave ins, it’s the fire that will kill Lara. You see along the set route there are dozens of jars of Greek Fire and as we’ve learned that stuff is pretty explosive. Stay in one place for too long or move too slowly and the jars will blow up, sending us back to the previous checkpoint.
From the start, you’ll want to quickly run up the ramp created by the statue and up the ledge to the left at the top. Climb the next wall on the right using the handholds provided and use the grapple axe at the top to swing across the gap. Scramble up the wall to reach the ledge above.
Jump across the successive platforms and then use the grapple axe on the beam at the end to fly through the large, burning wall. From the balcony here jump to the parallel wooden beam and use the handholds, climbable wall and scrambling to reach the platform at the top.
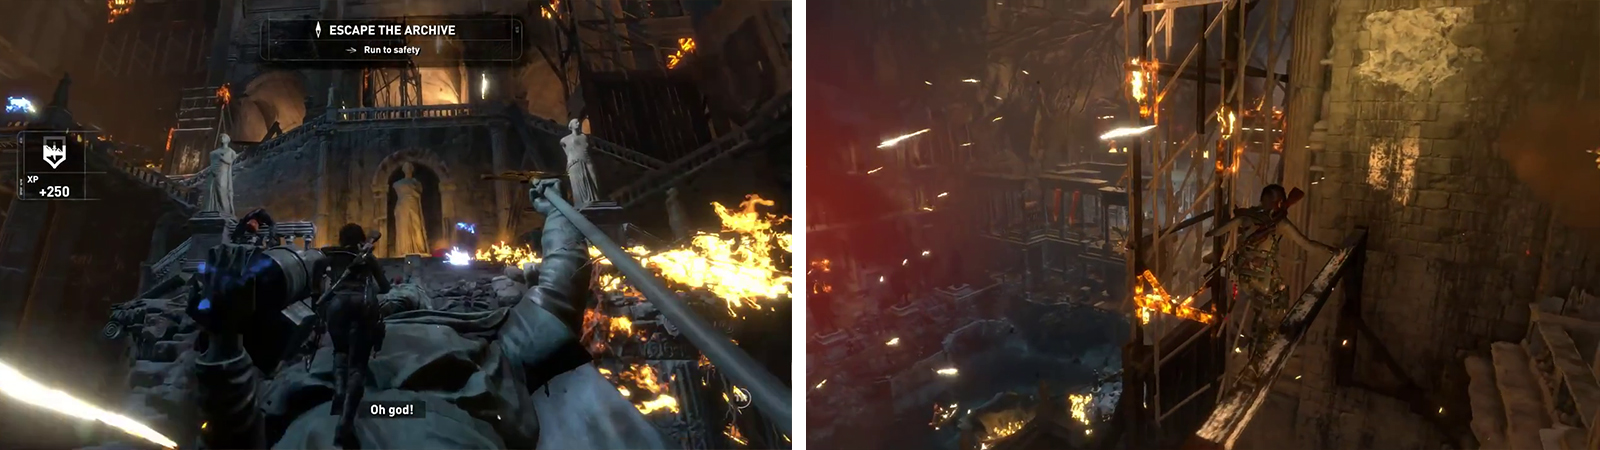
When you regain control we’ll need to run (left). Make your way across the set platforming path to the top of the room (right).
Grapple axe across the gap to the hanging crate (be sure to hit the button prompt that appears) and climb on top. Use the nearby pole to swing across to the next section of wall to climb. From the upper handhold scramble to the ledge at the top and have Lara pull herself up.
Keep running to the left and use the grapple axe to swing to the next platform. Sprint to the far end and jump for the platform opposite.
Objective: Return to the valley
When you regain control, exit the pool of water and continue a short distance through the cave. You’ll see an inaccessible tunnel above and to the right as you go (we’ll be back for that later – we need new Gear: Broadhead Arrows to get up there). Enter the next pool you come across, dive underwater and swim through the lengthy tunnel until you can surface once again.
After surfacing, check out the small platform along the right hand wall to find Coin Cache [01/03] . Squeeze through the gap inside the ruined doorway at the back of the room and enter another water-filled tunnel. Again, dive underwater and swim through until you are able to surface.
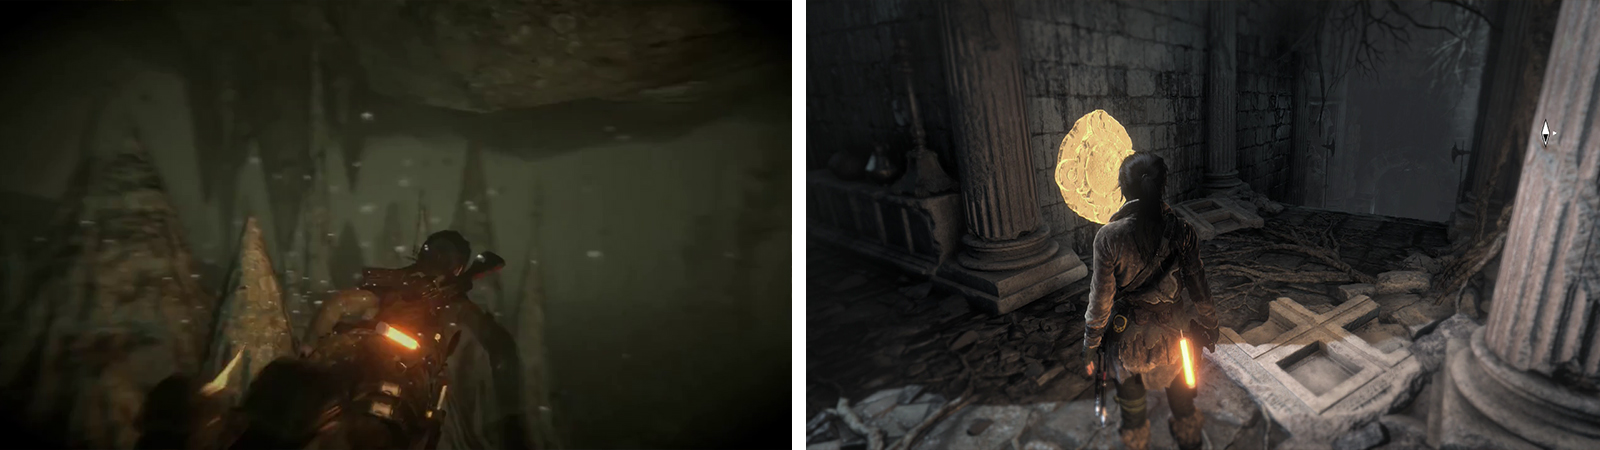
Swim through the underwater tunnels until you can surface (left). Here you can find Strongbox 01 and Mural 02 (right).
As soon as you get out of the water, there is a pile of Byzantine Coins on the floor to the left and a cylinder of reagents ahead. Take the passage to the right to find a Strongbox [01/01 - Weapon Part: Full Auto Shotgun Piece 02] at the end. There is also a Mural [02/03 - Greek] on a nearby wall.
Now simply follow the set path through the tunnel provided. Grab the piece of Magnesite Ore and climb the scalable wall. At the top, exit the cave to find yourself back in the Geothermal Valley.
No Comments