Objective: Return to the Wicked Vale
As soon as you regain control, you’ll be attacked by a group of Trinity soldiers who will have appeared in the Copper Mill area. Run up to the door frame and take cover here. There are six enemies in total that have shown up and they’ll immediately open fire on you when you poke your head outside. You can find them in the following locations:
- Two Trinity soldiers will be in cover on the platform we just jumped across from.
- One Trinity Soldier will be high up on the rooftop to the left.
- Three Trinity Soldiers will be down in the small area with the train and pickup truck by the gate leading to the Base Camp.

Use the doorframe (left) and windows (right) to take out the Trinity forces from cover.
Fortunately, the room that we are trapped in has a doorframe that will allow you to take out the two enemies in cover ahead and the soldier on the roof to the left quite comfortably, whilst the window here also overlooks the area leading to the Base Camp below. Kill as many enemies as you can from range from the room here before venturing out to mop up any survivors.
When the coast is clear, return to the ‘Copper Mill yard’ base Camp and fast travel back to the ‘Wicked Vale’ Base Camp.
Objective: Search the Wicked Vale for the witch
Climb the stairs beside the camp fire once again and squeeze through the crack in the wall at the top. This time around, the trippy-ness won’t kick in, so follow the set route through the initial area until you reach the forest.
As you arrive, you’ll be able to go left or right. Head to the left first and follow the path until you reach a dead end. Here you’ll find a Document [07/21 - Russian] lying in the snow. Backtrack to the entrance and this time take the right hand path. As it turns around a group of trees in the centre, you’ll come across a Survival Cache [01/06] .
Work your way over to the objective marker and as you pass the stacks of crates, look for a Document [08/21] on top of one on the left. Continue through the crack in the wall just behind these.

Loot Document 08 before continuing through the crack (left). Survival Cache 02 can be found on the slope down to where we fought the wolves earlier (right).
Follow the snowy path down the slope to the right. Look behind the tree at the switchback to find a Survival Cache [02/06] . Keep moving until you reach a wooden platform overlooking the dry riverbed we fought the wolves in earlier.
Drop down to the riverbed and immediately look to the left to find a Document [09/21 - Russian] in the nearby corner. You should also loot the wolves you killed earlier (if you want to of course). Pull down the pair of rope barriers on either side of the area to reveal a pair of scalable walls.
Climb up the wall opposite our entry point to continue.
Objective: Activate the rope works
As soon as you reach the top of the wall, look on the crates to the left to find a Document [10/21] .


Now let’s inspect the room. Hop into the water and examine the crack in the wall on the far, right side of the area to find a small tunnel leading to a platform with a Document [11/21 - Greek] . Return back outside and back to the entrance to get down to business.
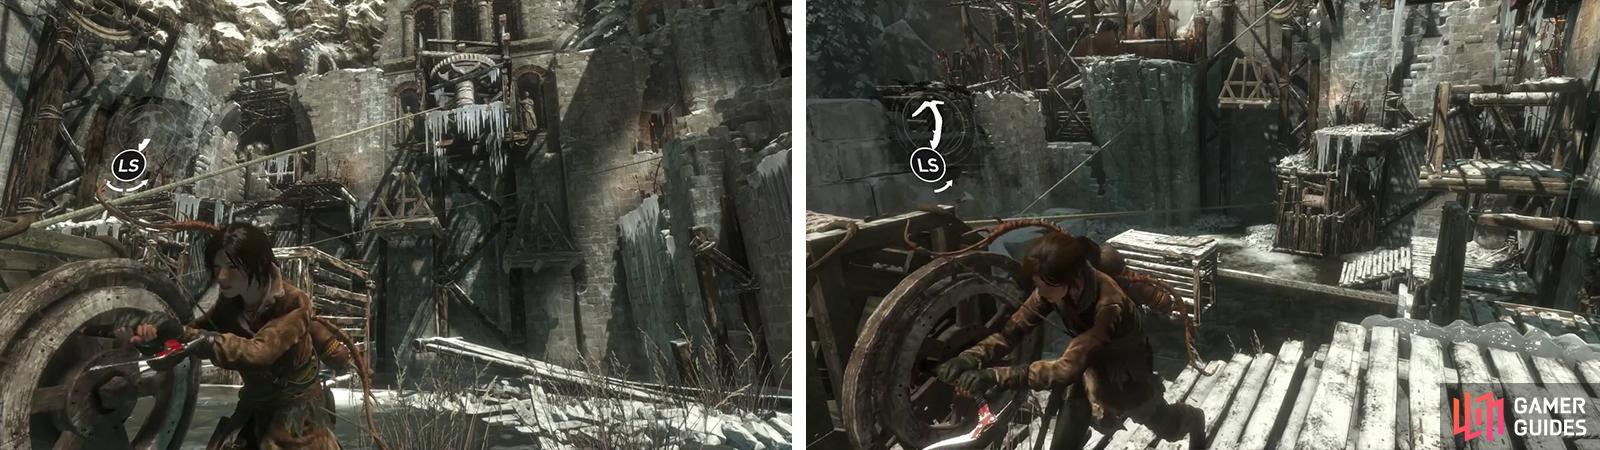
With the cliff we climbed up to our back, check out the environmental objects ahead. Directly in front of you there is a rope spool with a lever mechanism on the side. Beside this there is a Rope pillar. On the opposite side of the water ahead you’ll see a pair of platforms and above these a second rope spool which will control the platforms movements.

Attach the rope spools together and use the wheel to move the platforms into position (left). Climb the platforms to reach another rope spool above (right).
Stand behind the rope spool closest to the entrance and shoot the second rope spool above the platforms with a Rope Arrow to connect them. Move to the side and use your pickaxe on the lever mechanism to rotate the spools so that the right hand platform is higher than the left. When it is in position, quickly detach from the lever, move to the rope pillar nearby and shoot the rope spool above the platforms once again. This will anchor them in place.
Make your way over to the hanging platforms we just manipulated and use them to access the upper ledge in the far right corner from our initial entry point. There is a third rope spool here. Before playing with this, climb over the wall beside the rope spool to find a small platform containing a Document [12/21] .
Return to the third rope spool and stand behind it. From here, if you look directly across the room you should be able to make out yet another rope spool through a gap. Shoot a Rope Arrow to connect the two. This will allow us to manipulate another platform located on the opposite wall, but there’s no point doing it just yet.
Instead, drop down into the water below and approach the first rope spool. Cut the rope anchoring it to the rope pillar here to return the platforms to their original positions. Use the pair of spools to reposition the platforms so that they are more or less in line with one another and anchor them in place using the rope pillar once again.
Move onto the raised platform in the centre of the water and jump to the rope connecting the third and fourth rope spools. Climb it up to the upper ledge on the right.
Reposition the hanging platforms in the opposite orientation (left). Use the second wheel to raise the platform (right) bafore jumping across the platforms to reach the ledge above.
Use the wheel mechanism on the side of the rope spool here to raise the platform opposite to its highest level. Release the mechanism when the platform is in position and use the hanging platforms to our right to access the ledge opposite. Quickly run over to the raised platform before it falls and from here jump and scramble up to the ledge above it.
Follow this platform to the end and you’ll find a rope lever surrounded by burning torches.
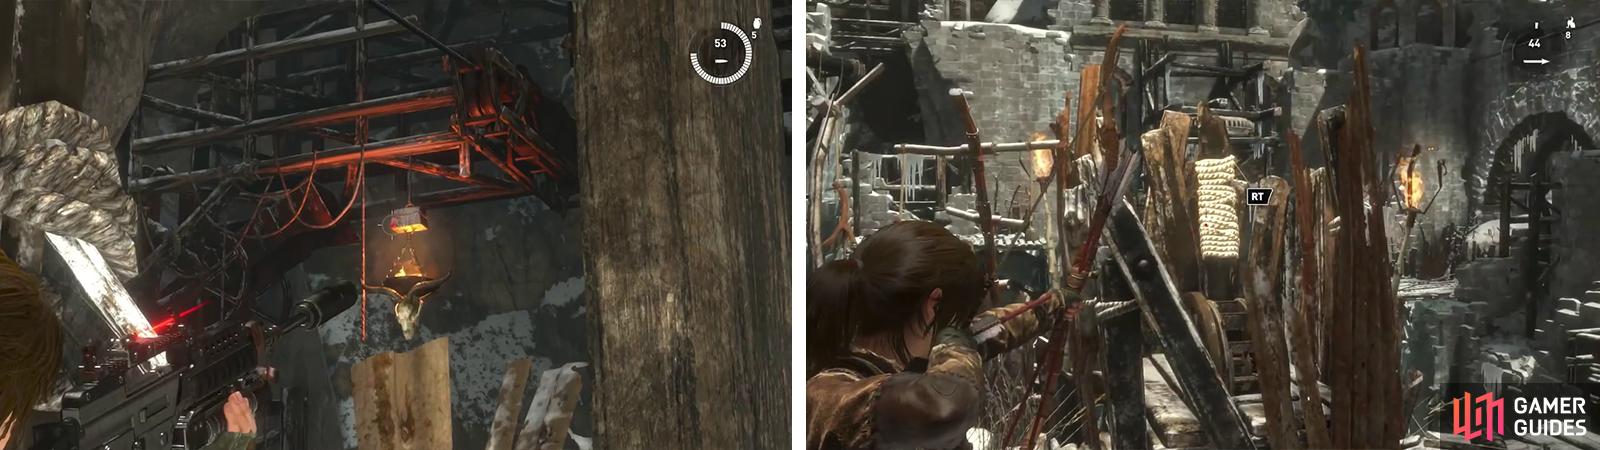
Look out for the hanging lanterns (left) in the next area. Use a Rope Arrow on the lever (right) to continue.
From this platform, with the lever at your back look to the right to spot a Hanging Lantern [Over the Cuckoo’s Nest 01/10] dangling below some metal scaffolding. There is a second Hanging Lantern [Over the Cuckoo’s Nest 02/10] to the left below a stone archway in the distance and a third Hanging Lantern [Over the Cuckoo’s Nest 03/10] hanging from some wooden beams above the second.
Shoot the lever with a Rope Arrow to trigger a cut-scene.
No Comments