
The new Purge system introduced to !Conan Exiles with the Chapter 2 - Age of War update brought a host of changes related to how purge mechanics work. You can start a purge in either The Exiled Lands or the Isle of Siptah, but you’ll find that purges are generally more difficult in Siptah. The process of starting a purge to begin with is now inextricably linked to the Clan Coffer (aka the Treasure Coffer), which you can build and place almost anywhere within your base. If you’re looking for a general overview of how the new purge system works, you can see our page on How the Purge Works in Chapter 2. However, on this page, we’re going to focus on providing you with tips and advice for how to survive the different threat levels of the purge, including the best places to build your base, where to put your treasure coffer, how to use defensive siege equipment, and much more.
A basic base built on a cliff edge in Conan Exiles.
Best Place to Build Your Purge-Safe Base in Conan Exiles
In theory, you can build your main base anywhere in The Exiled Lands or on the Isle of Siptah and make it safe against the purge. So long as you know the basics of which materials are best to use, how to funnel enemies into choke points, and how to make effective use of defensive siege weapons, you should be good. Still, there are plenty of ways in which you can make your base more resistant to enemy purge attacks by using the structure of the landscape itself, but not to the point of making your base entirely inaccessible to enemies, as this will prevent the purge from starting at all.
Wherever you decide to build your base, the most important thing to remember is that enemy forces will attack the weakest points first. In the simplest of terms, this means any access point such as a door. For this reason, it’s good practice to keep only one entrance to your base and focus on building heavy defenses there such as palisades, spikes, siege cauldrons, and death pits.
Build Your Base on Islands or Water
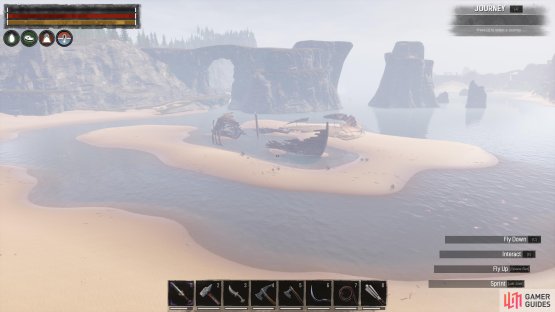
One of the best places to build your base in a way that provides natural defenses is on an island, or even on a body of water, so long as it’s not too deep. You’ll find islands scattered throughout both of the main maps, even surrounding the Isle of Siptah, which is itself a much larger island. If you have the time and inclination, you can build a truly enormous base to cover an entire small island, but you need to be careful to leave some space for the purge camps to form once you proclaim your wealth.
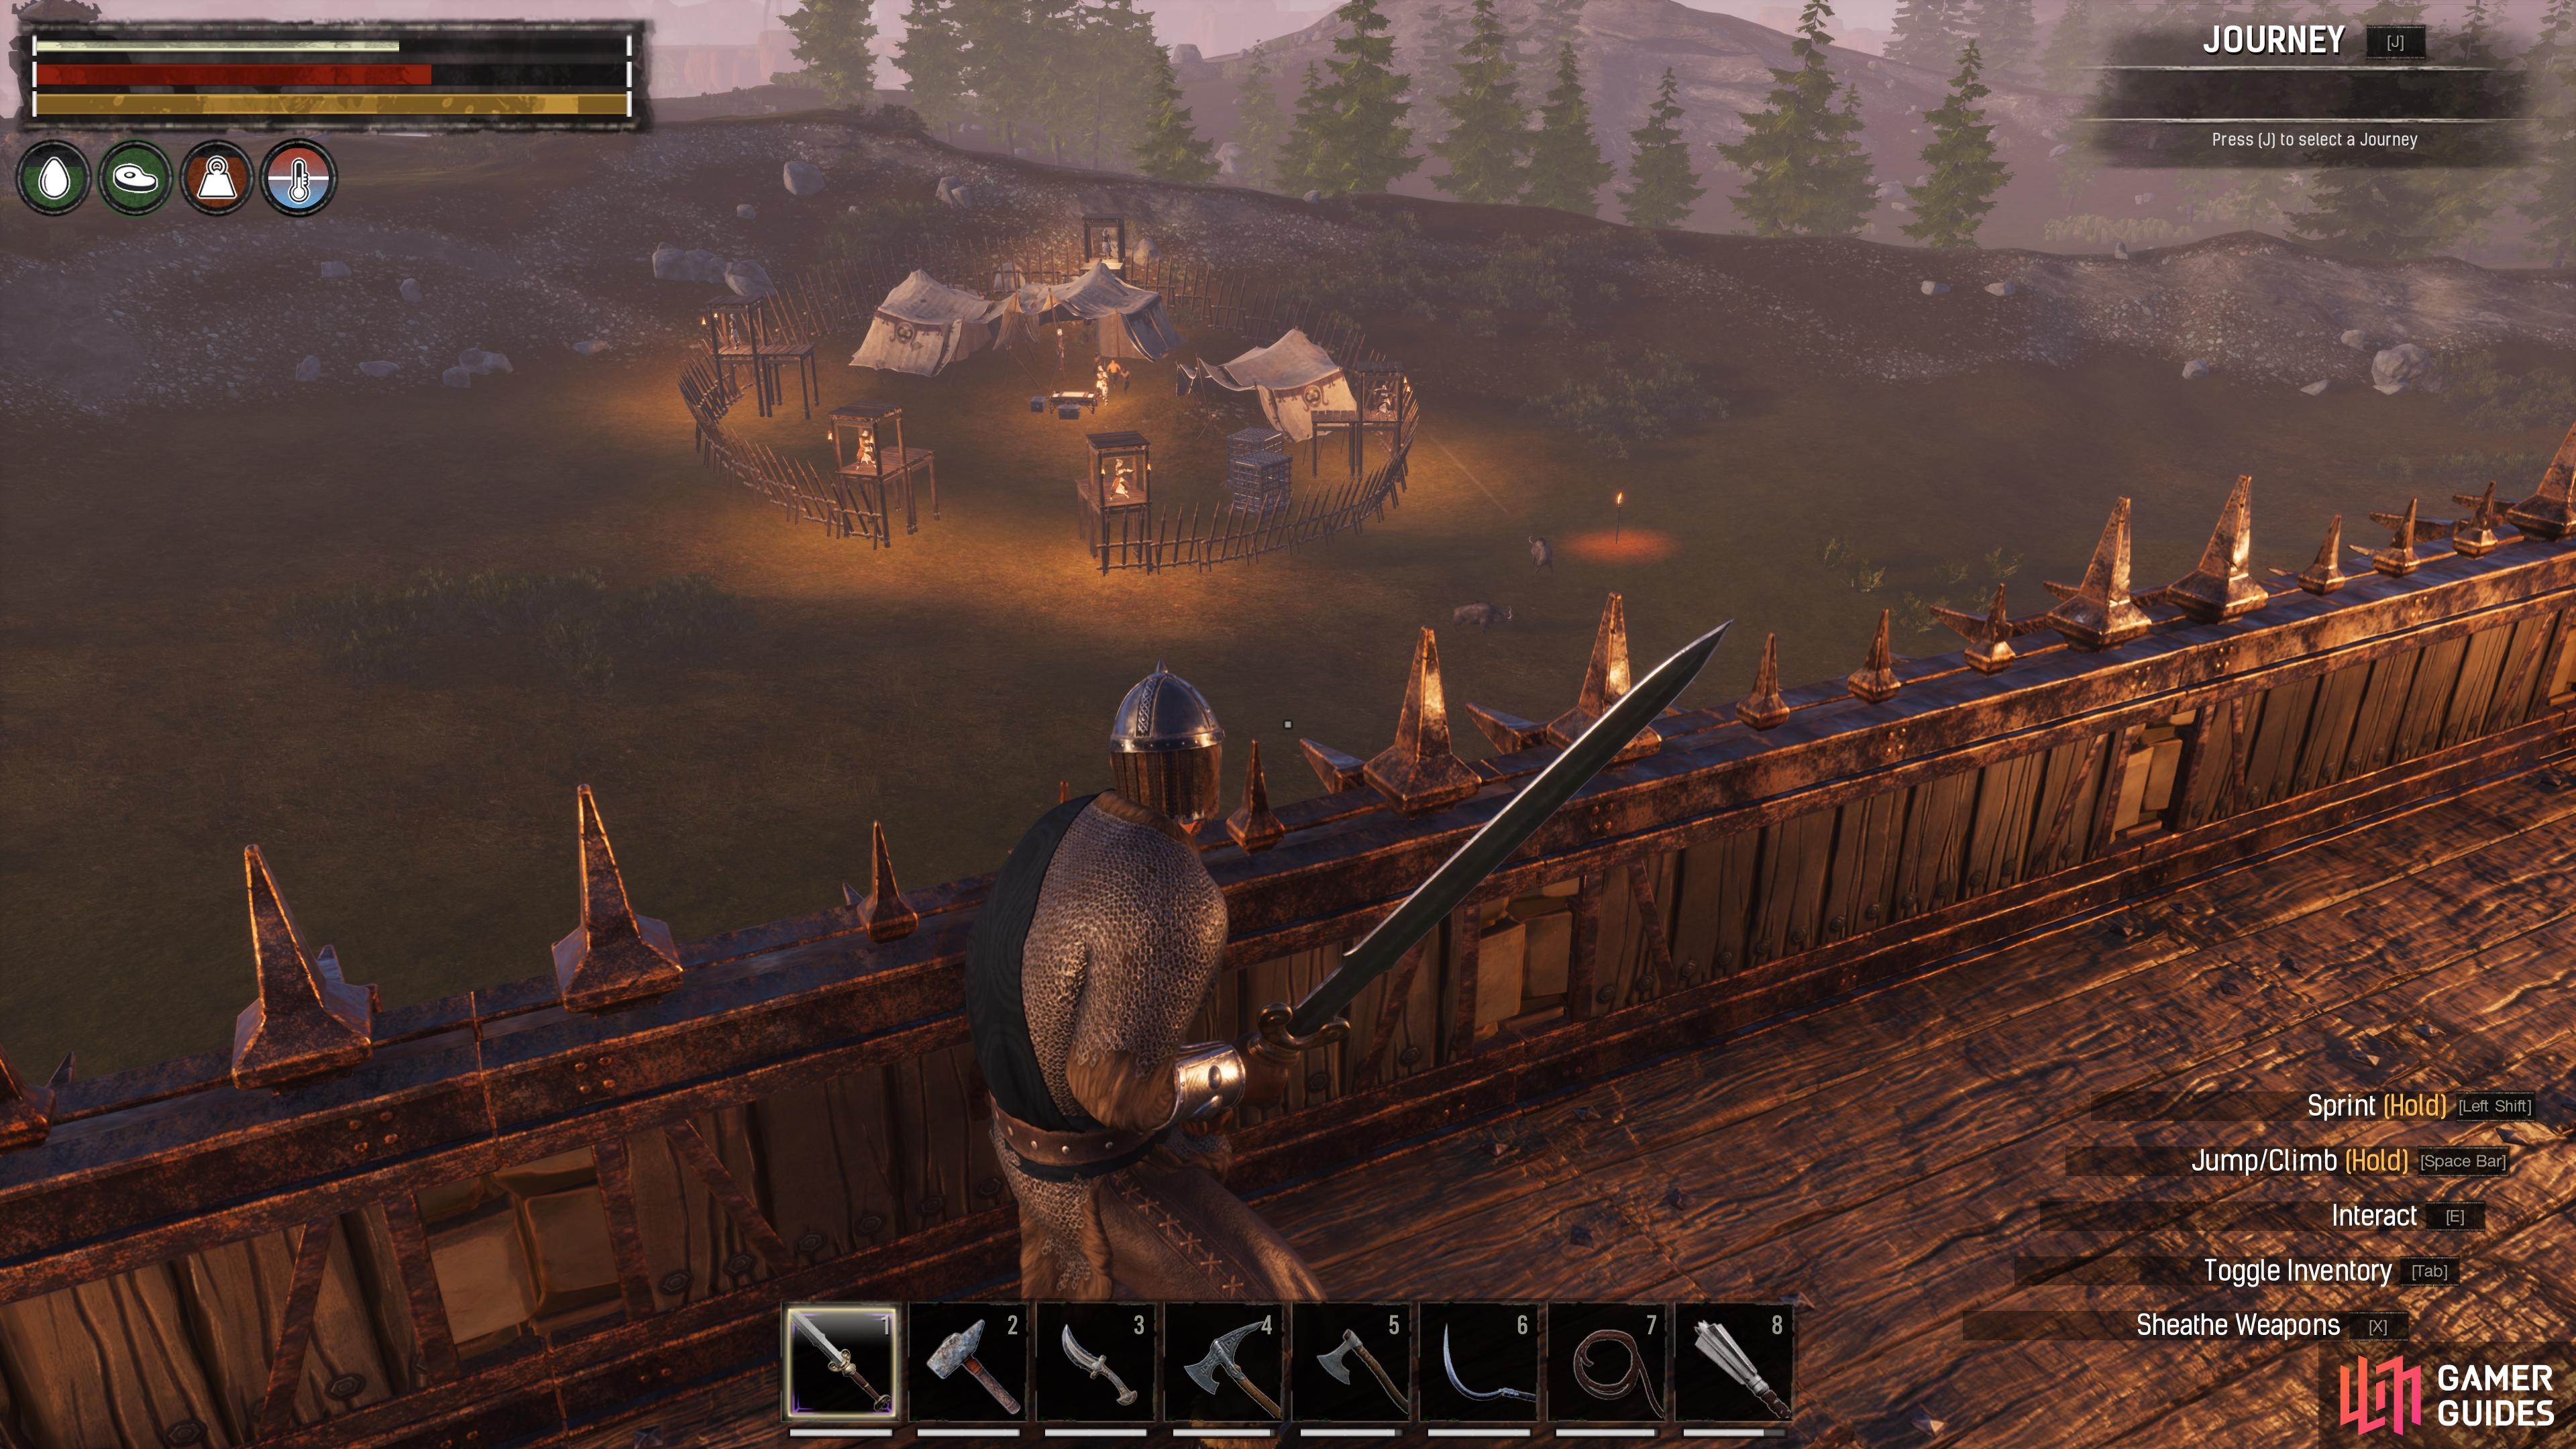

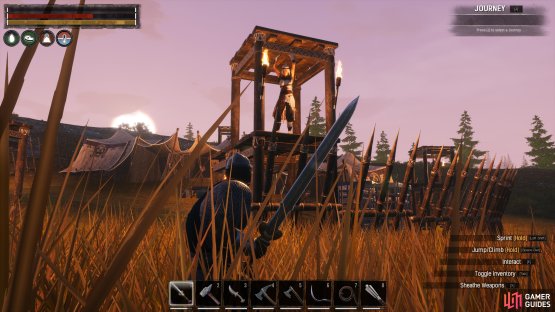
(1 of 2) Purge camps will form near your base, and enemies will soon spawn from them in waves.
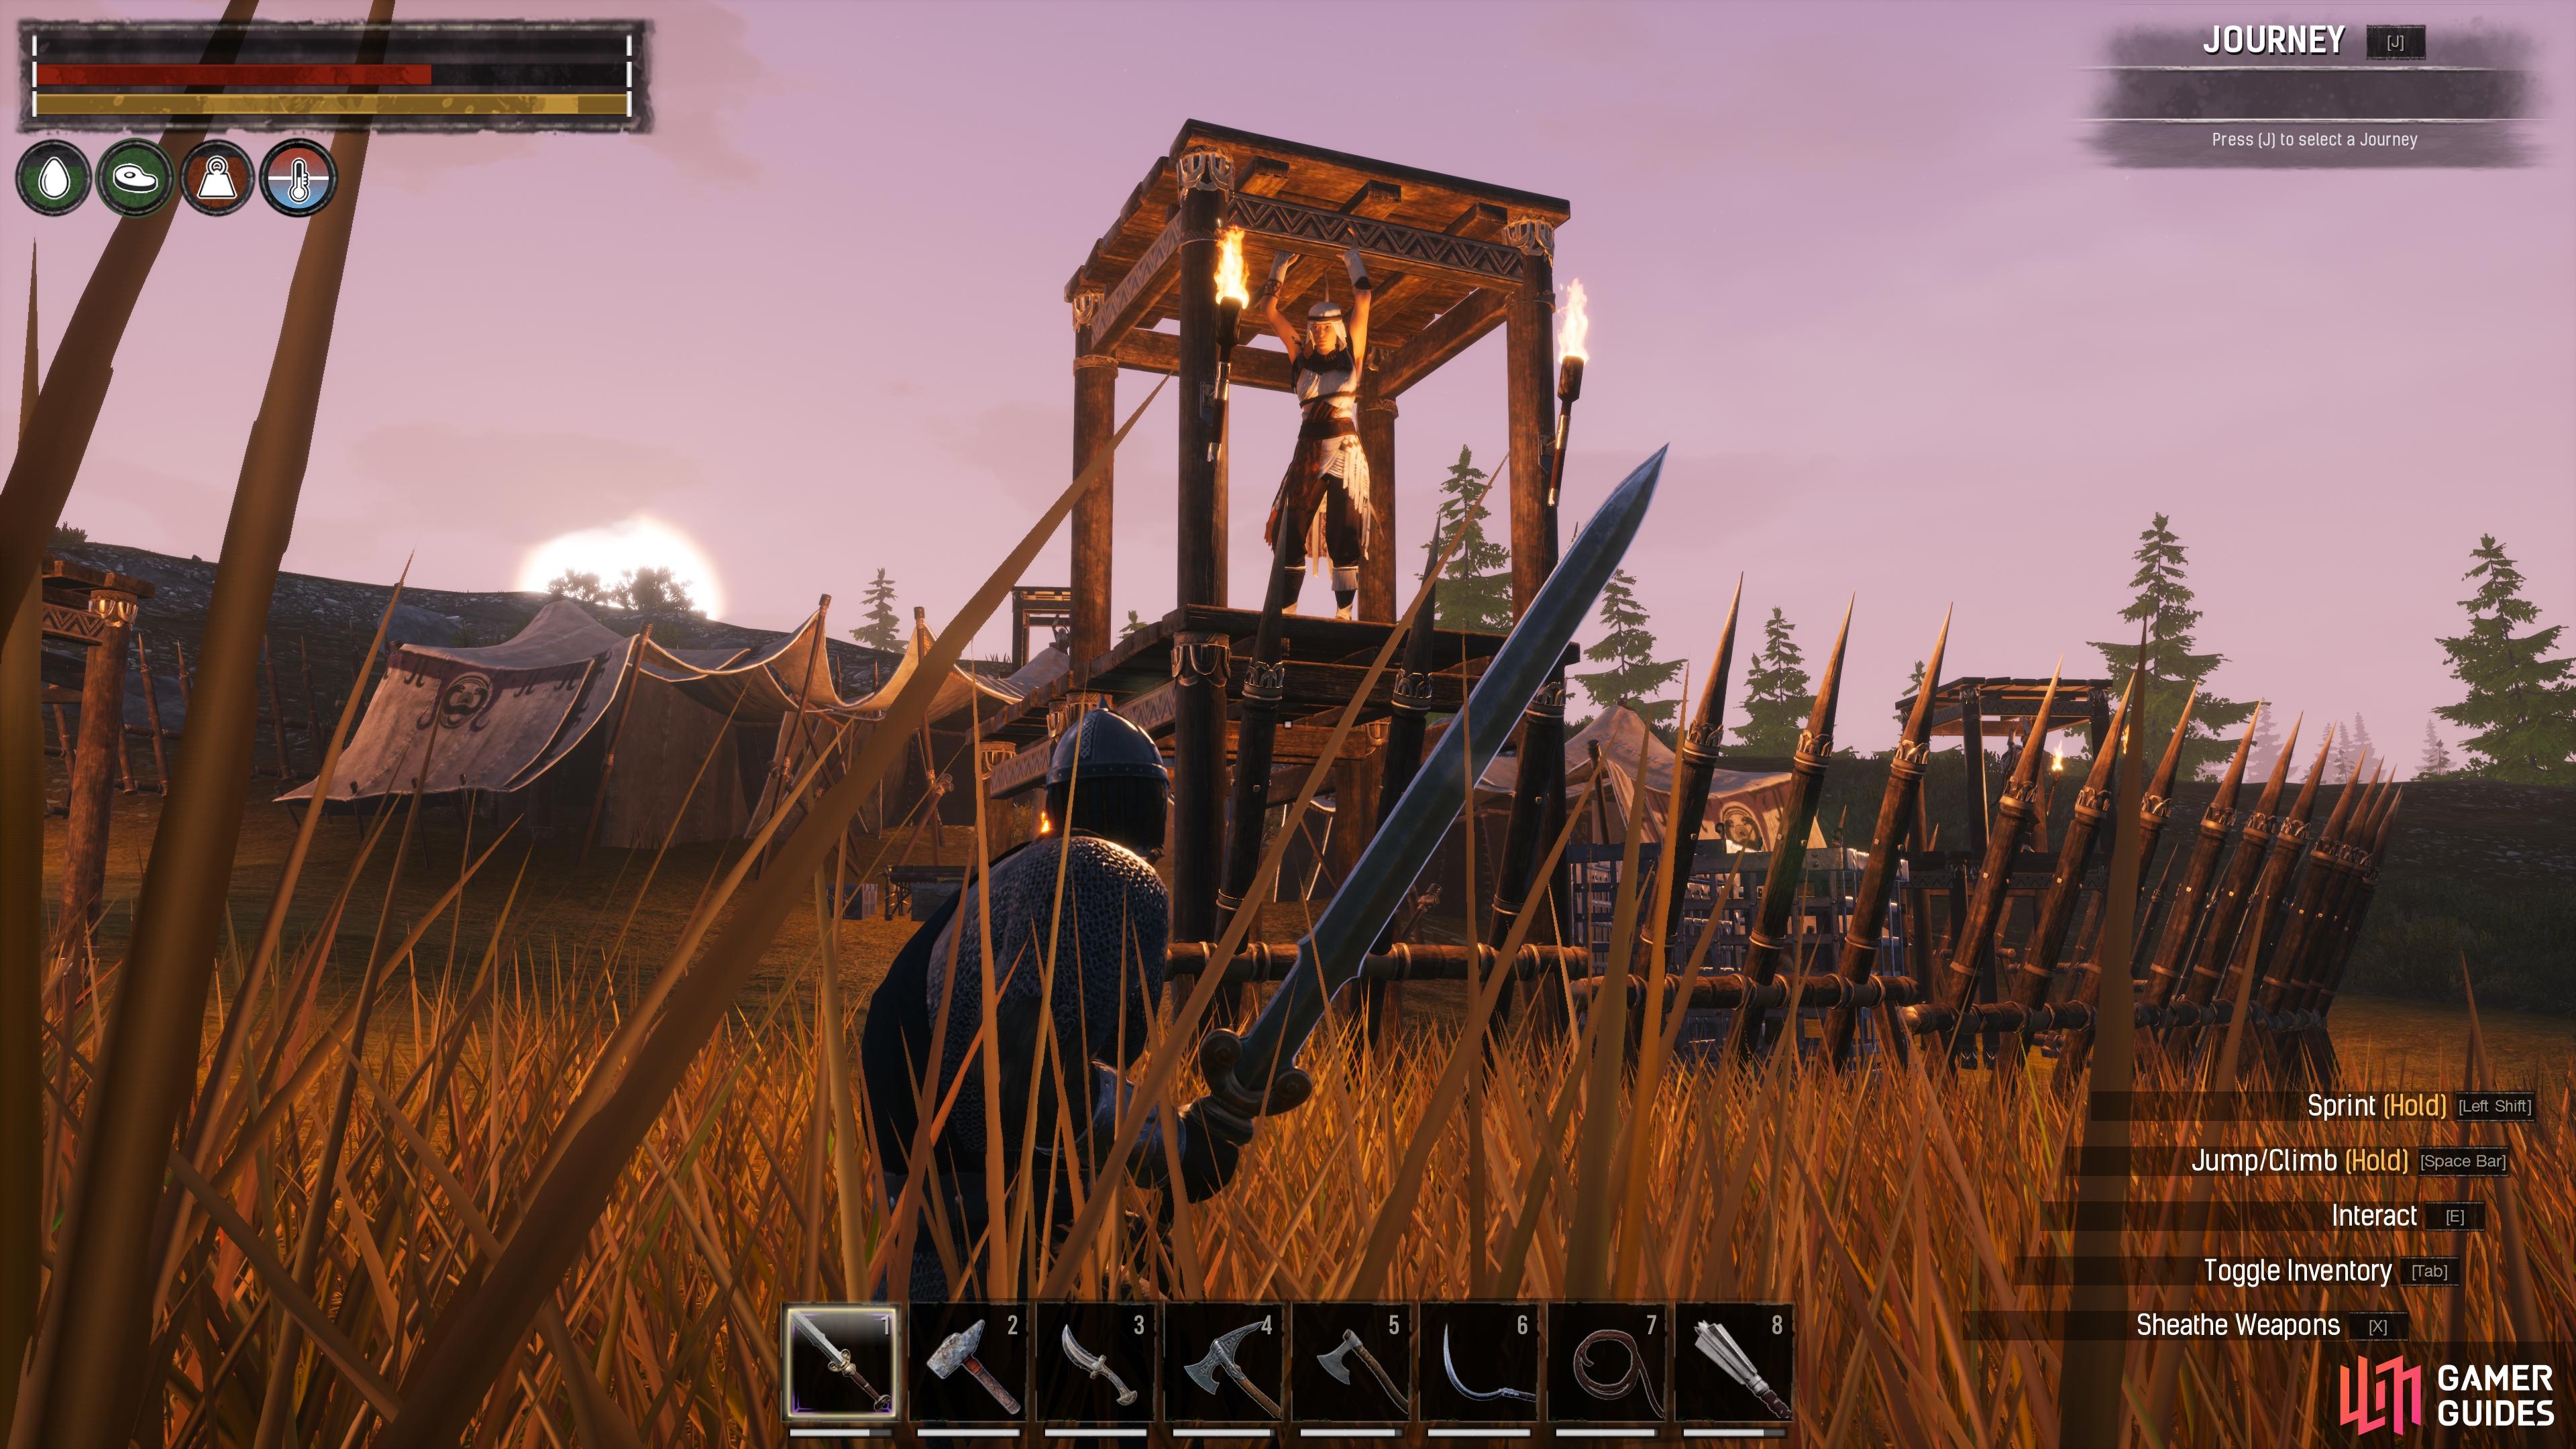
Purge camps will form near your base, and enemies will soon spawn from them in waves. (left), At the end of a purge attack, you can go to the purge camp to see the enemy surrender. (right)
The main advantage of building your main base on an island is that you’ll have pre-existing boundaries of defense, but this only works in the best way if the island is surrounded by relatively shallow water. This means that a purge camp can still be formed nearby, but enemy forces will be slowed as they cross the water to reach your base. Enemies may still be able to reach your base by swimming, slowing them down even further, but if you build your base on an island surrounded by water that is too deep, they won’t bother swimming over and the purge attacks won’t be possible. As mentioned above, it’s best to test with a smaller base first.
Use Pre-Built Structures in the Landscape
Aside from islands and water-based bases, another great way to utilize the existing landscape is by looking for large structures of ruins. There are plenty of these scattered throughout both of the main maps, and they often tower above anything that you’re likely to make on your own. Still, you can use the largest ruins (or smaller ones, if you prefer) as a skeleton structure for your own base, building your walls, floors, and ramparts around them.
If you want to build a base that is difficult for enemies to reach by placing the main structure above the ground, you’ll still need to provide some way for the enemy to smash your base with battering rams and catapults. It’s important to keep in mind that if you only have a small number of structures that the enemy can access, while the rest of your base is inaccessible, they’ll immediately despawn as soon as they’ve destroyed everything they can access. This means that you may not have enough time to kill all the enemies before they despawn, and the purge will be wasted.

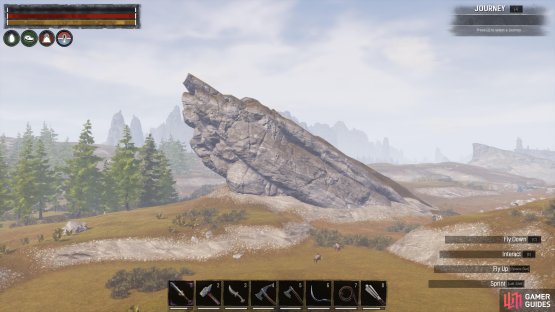
(1 of 2) Look for islands with small patches of water around them, or cliff edges to build your base.
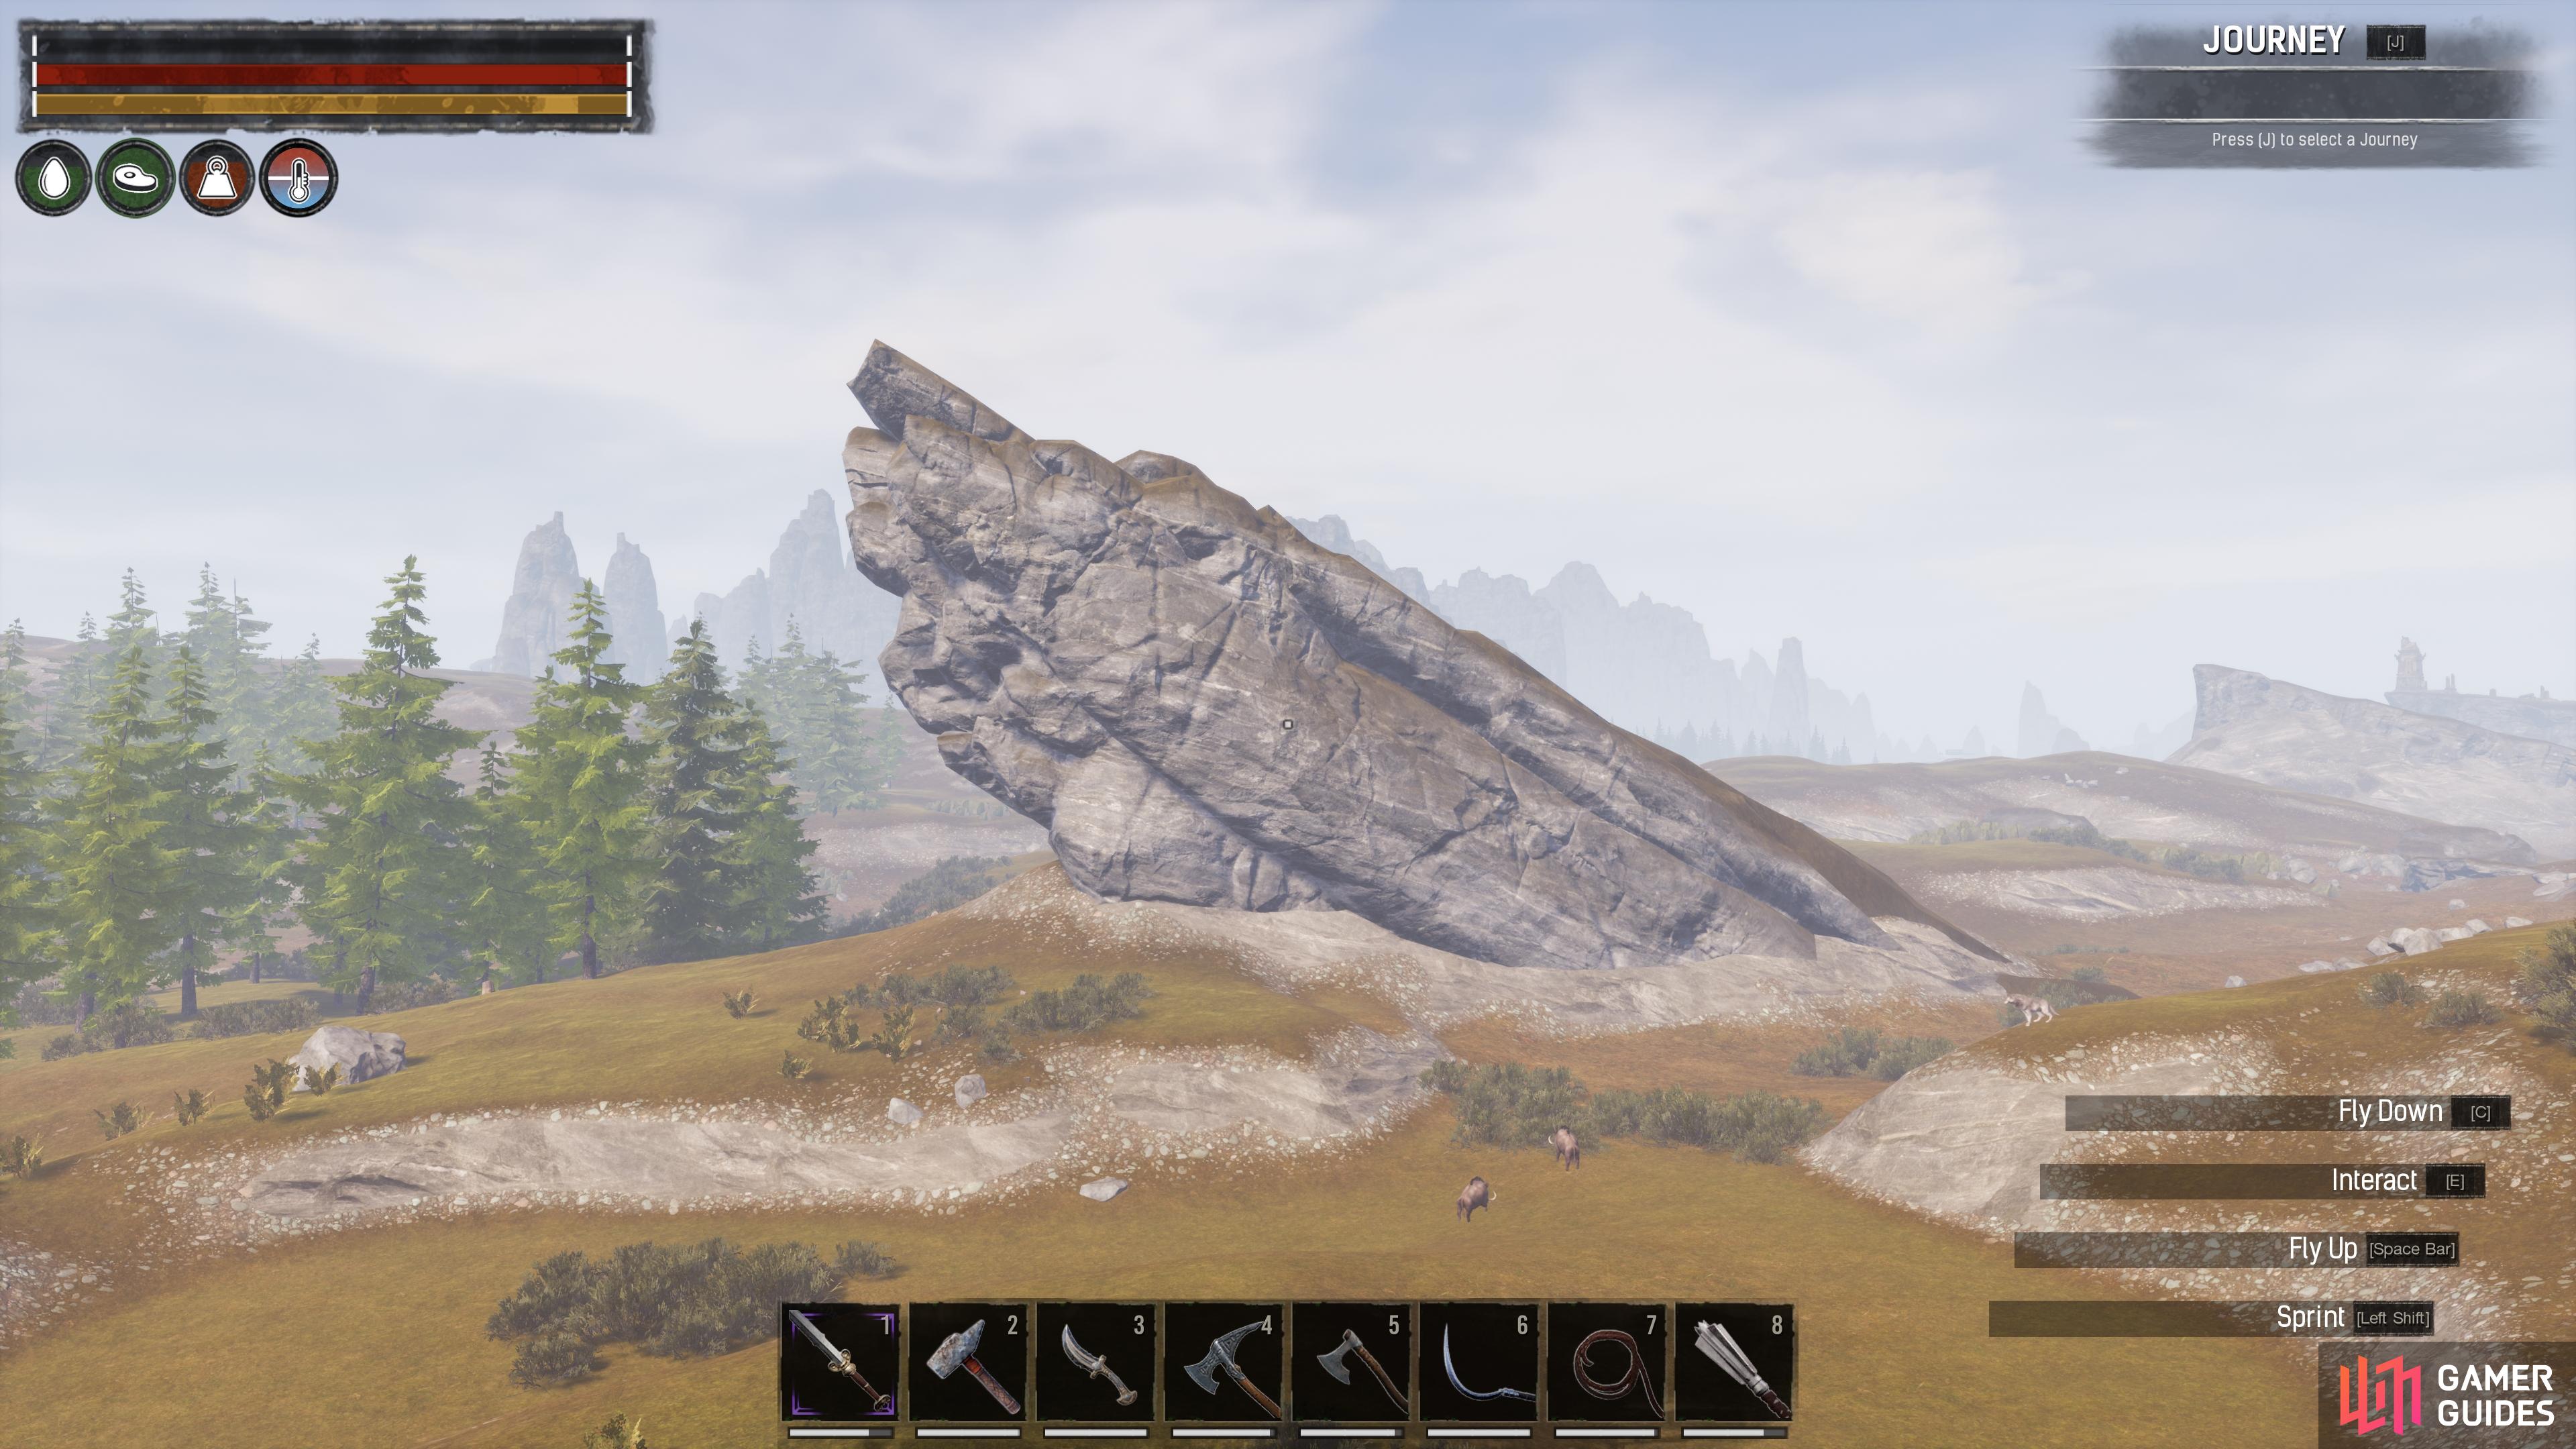
Look for islands with small patches of water around them, or cliff edges to build your base. (left), Natural rock structures such as this one can form the basis of a formidable base. (right)
The best way to ensure that the purge forces don’t despawn before you can kill them all is to build all of your base structures in a way that is accessible to them. You can still have the main part of your base towering above the ground floor, but you should have enough stairs or lifts for enemies to use. It’s easy to make a base using existing ruins in the landscape to exploit enemy forces, making it almost impossible for them to reach your treasure, but there’s no fun in that. The best experience of a purge comes from fighting the enemies off yourself, or alongside allies, in a way that feels somewhat fair.
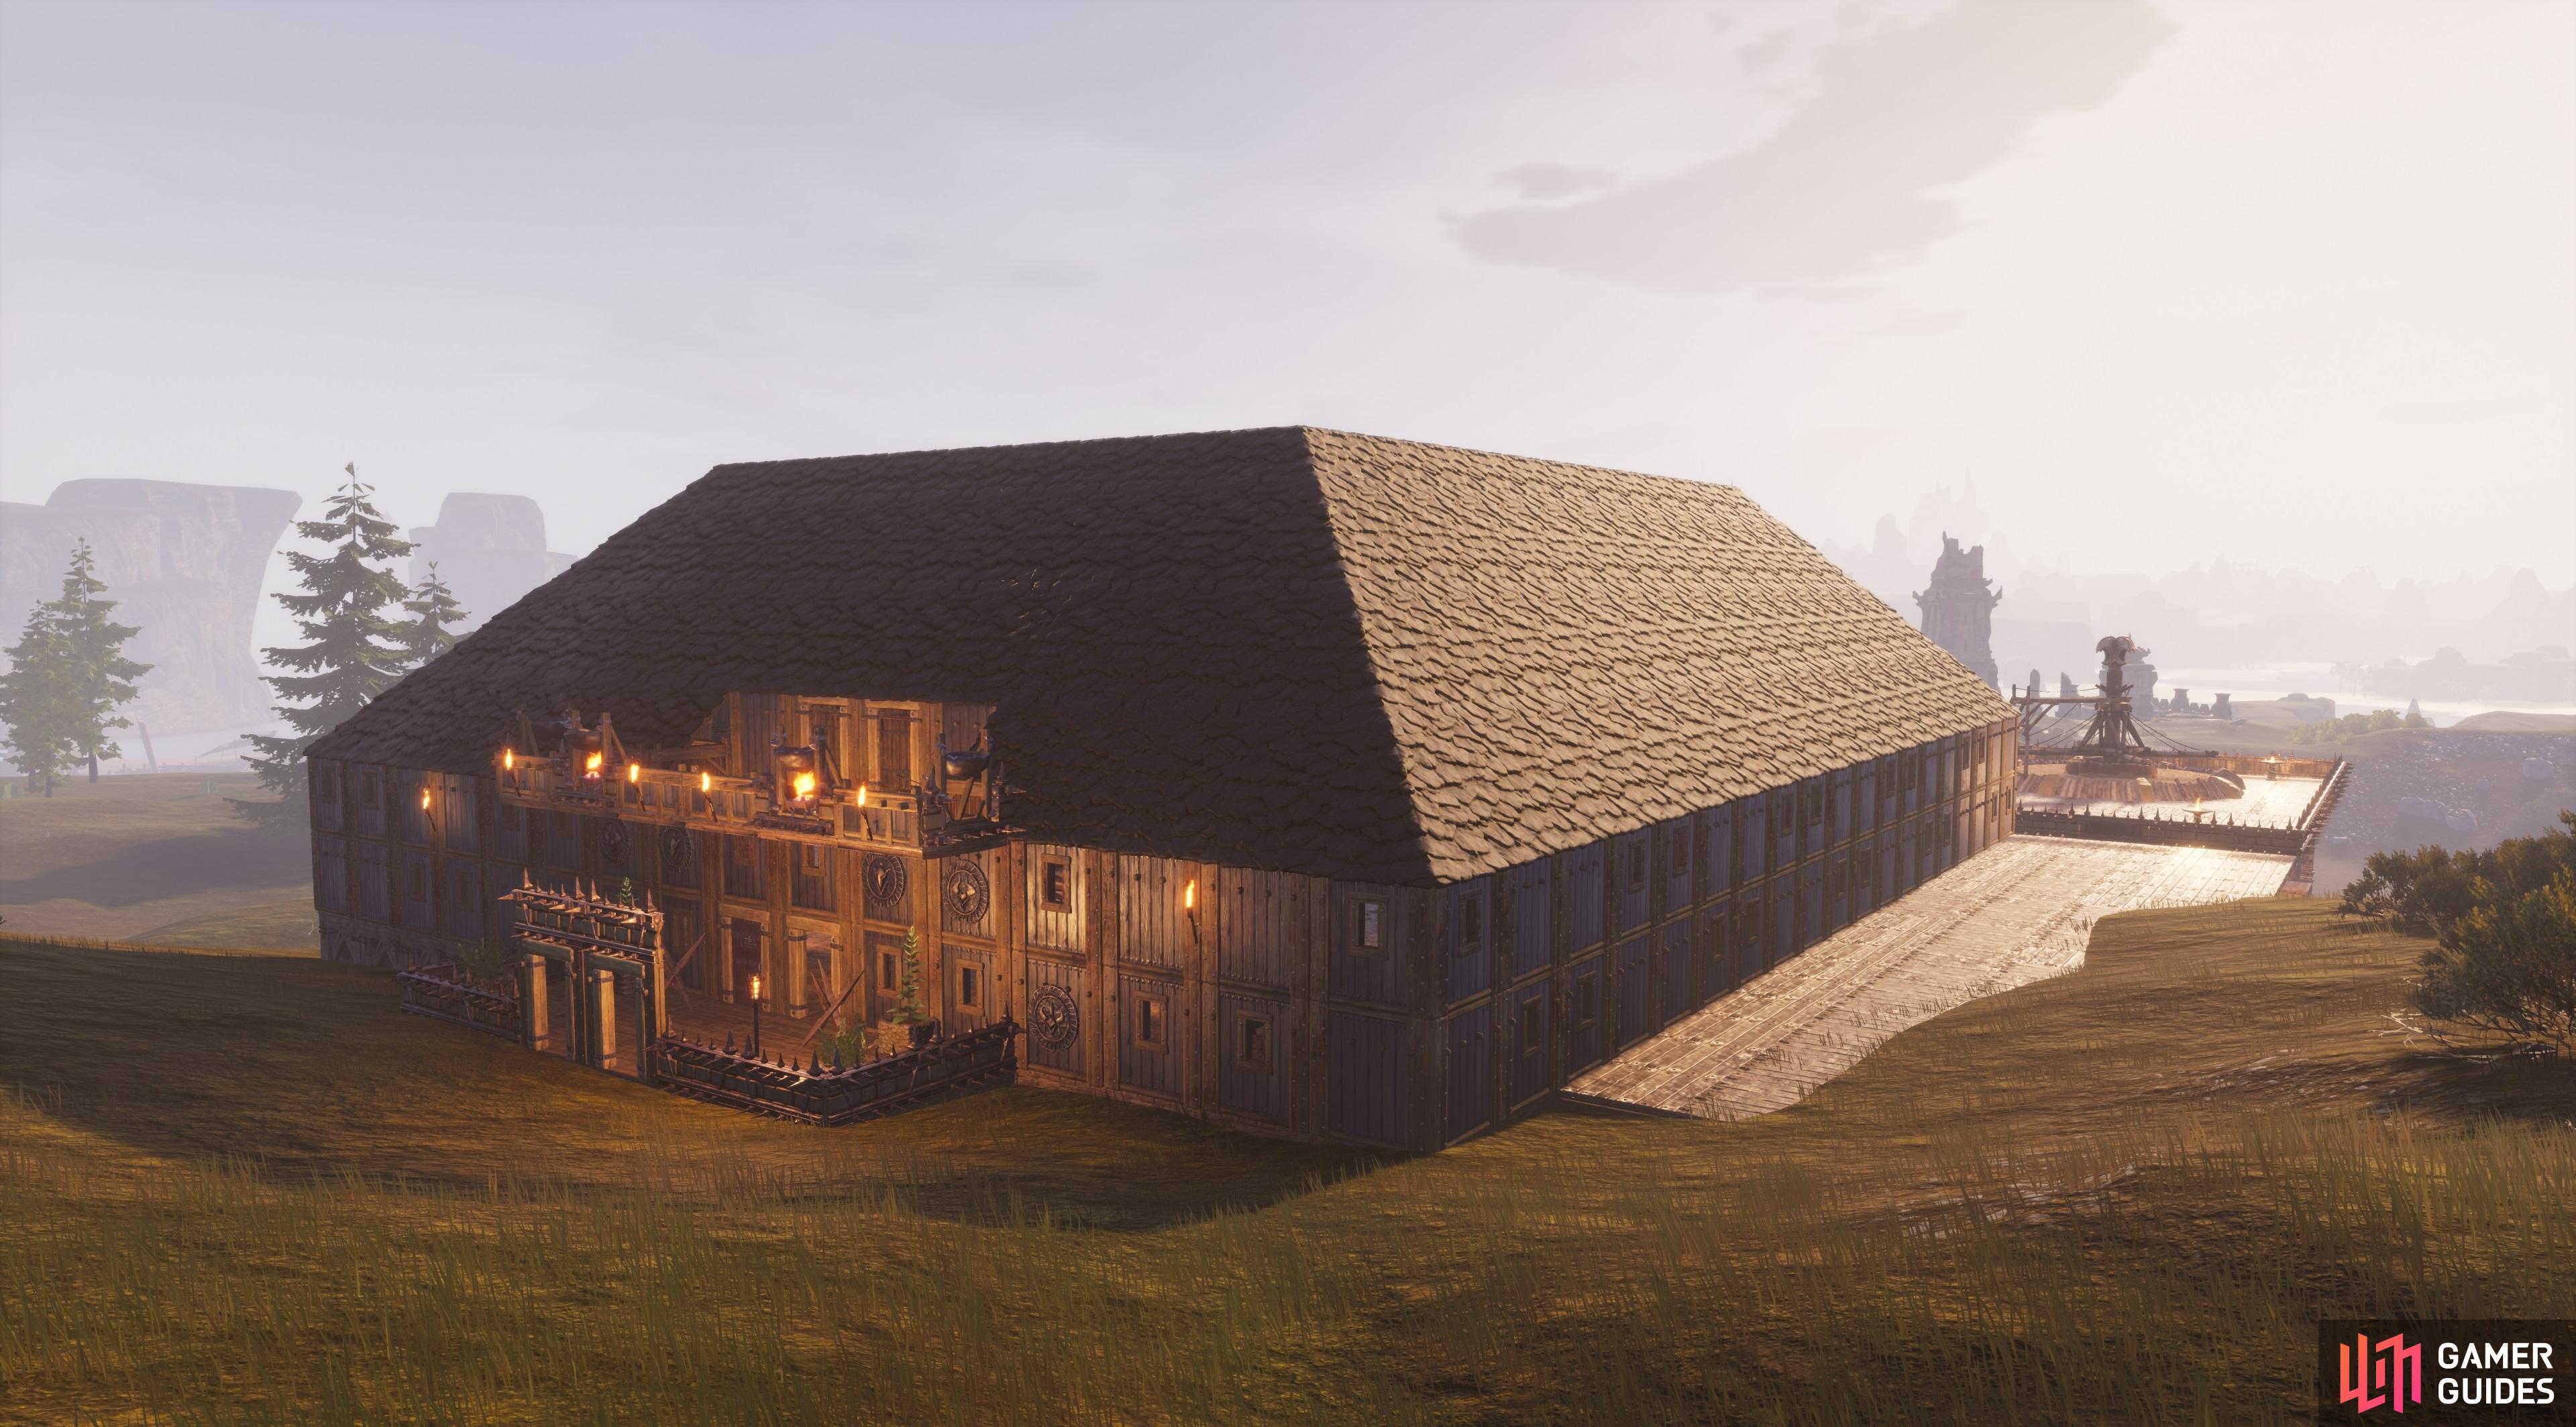
Build on the Edges of Cliffs
If you don’t want to risk building a base that’s too difficult for the enemy forces to access, thereby risking a failed purge as they all despawn, a good alternative is to build a base on a cliff edge. This will give you an opportunity to funnel most enemy forces into your base from one direction, excluding those who use ladders to climb the cliff. A base built on a cliff edge next to a large body of water will render this enemy tactic useless from at least one side, so you won’t have to worry about that at all. At the same time, you can focus on using all of your resources to make the main entrance to your base as impenetrable as possible.
Unlike the Romans, you don’t have to worry about maintaining an access point for supplies into your base. All of the purge attacks are relentless, and the enemies won’t stop coming until you’ve killed them all, including their bosses and commanders. Towards the end of a purge siege, the enemy commander will challenge you in combat, and you’ll have to go to their camp to meet them. You can fight the commander in the camp if you prefer, but there will still be additional enemies spawning, so the better tactic is to goad the commander back to your base, where you can use the funnels that you’ve created to separate the commander from their troops.
How to Protect Your Base Against the Purge
Once you’ve decided on a good spot to build your base and confirmed that a purge camp can actually be formed by the enemy nearby, you can focus on making it as defensively sound as possible. One of the easiest and most significant ways you can achieve this is by using the toughest materials for the structure of your base, such as reinforced stone, black ice, and storm glass. You should also remember to use heavy reinforced doors in your frames, rather than the basic wooden ones. The longer it takes for the enemy to smash through your base, the longer your treasure will be safe. You’ll also have more time to hack away at the enemy from outside the walls where possible.

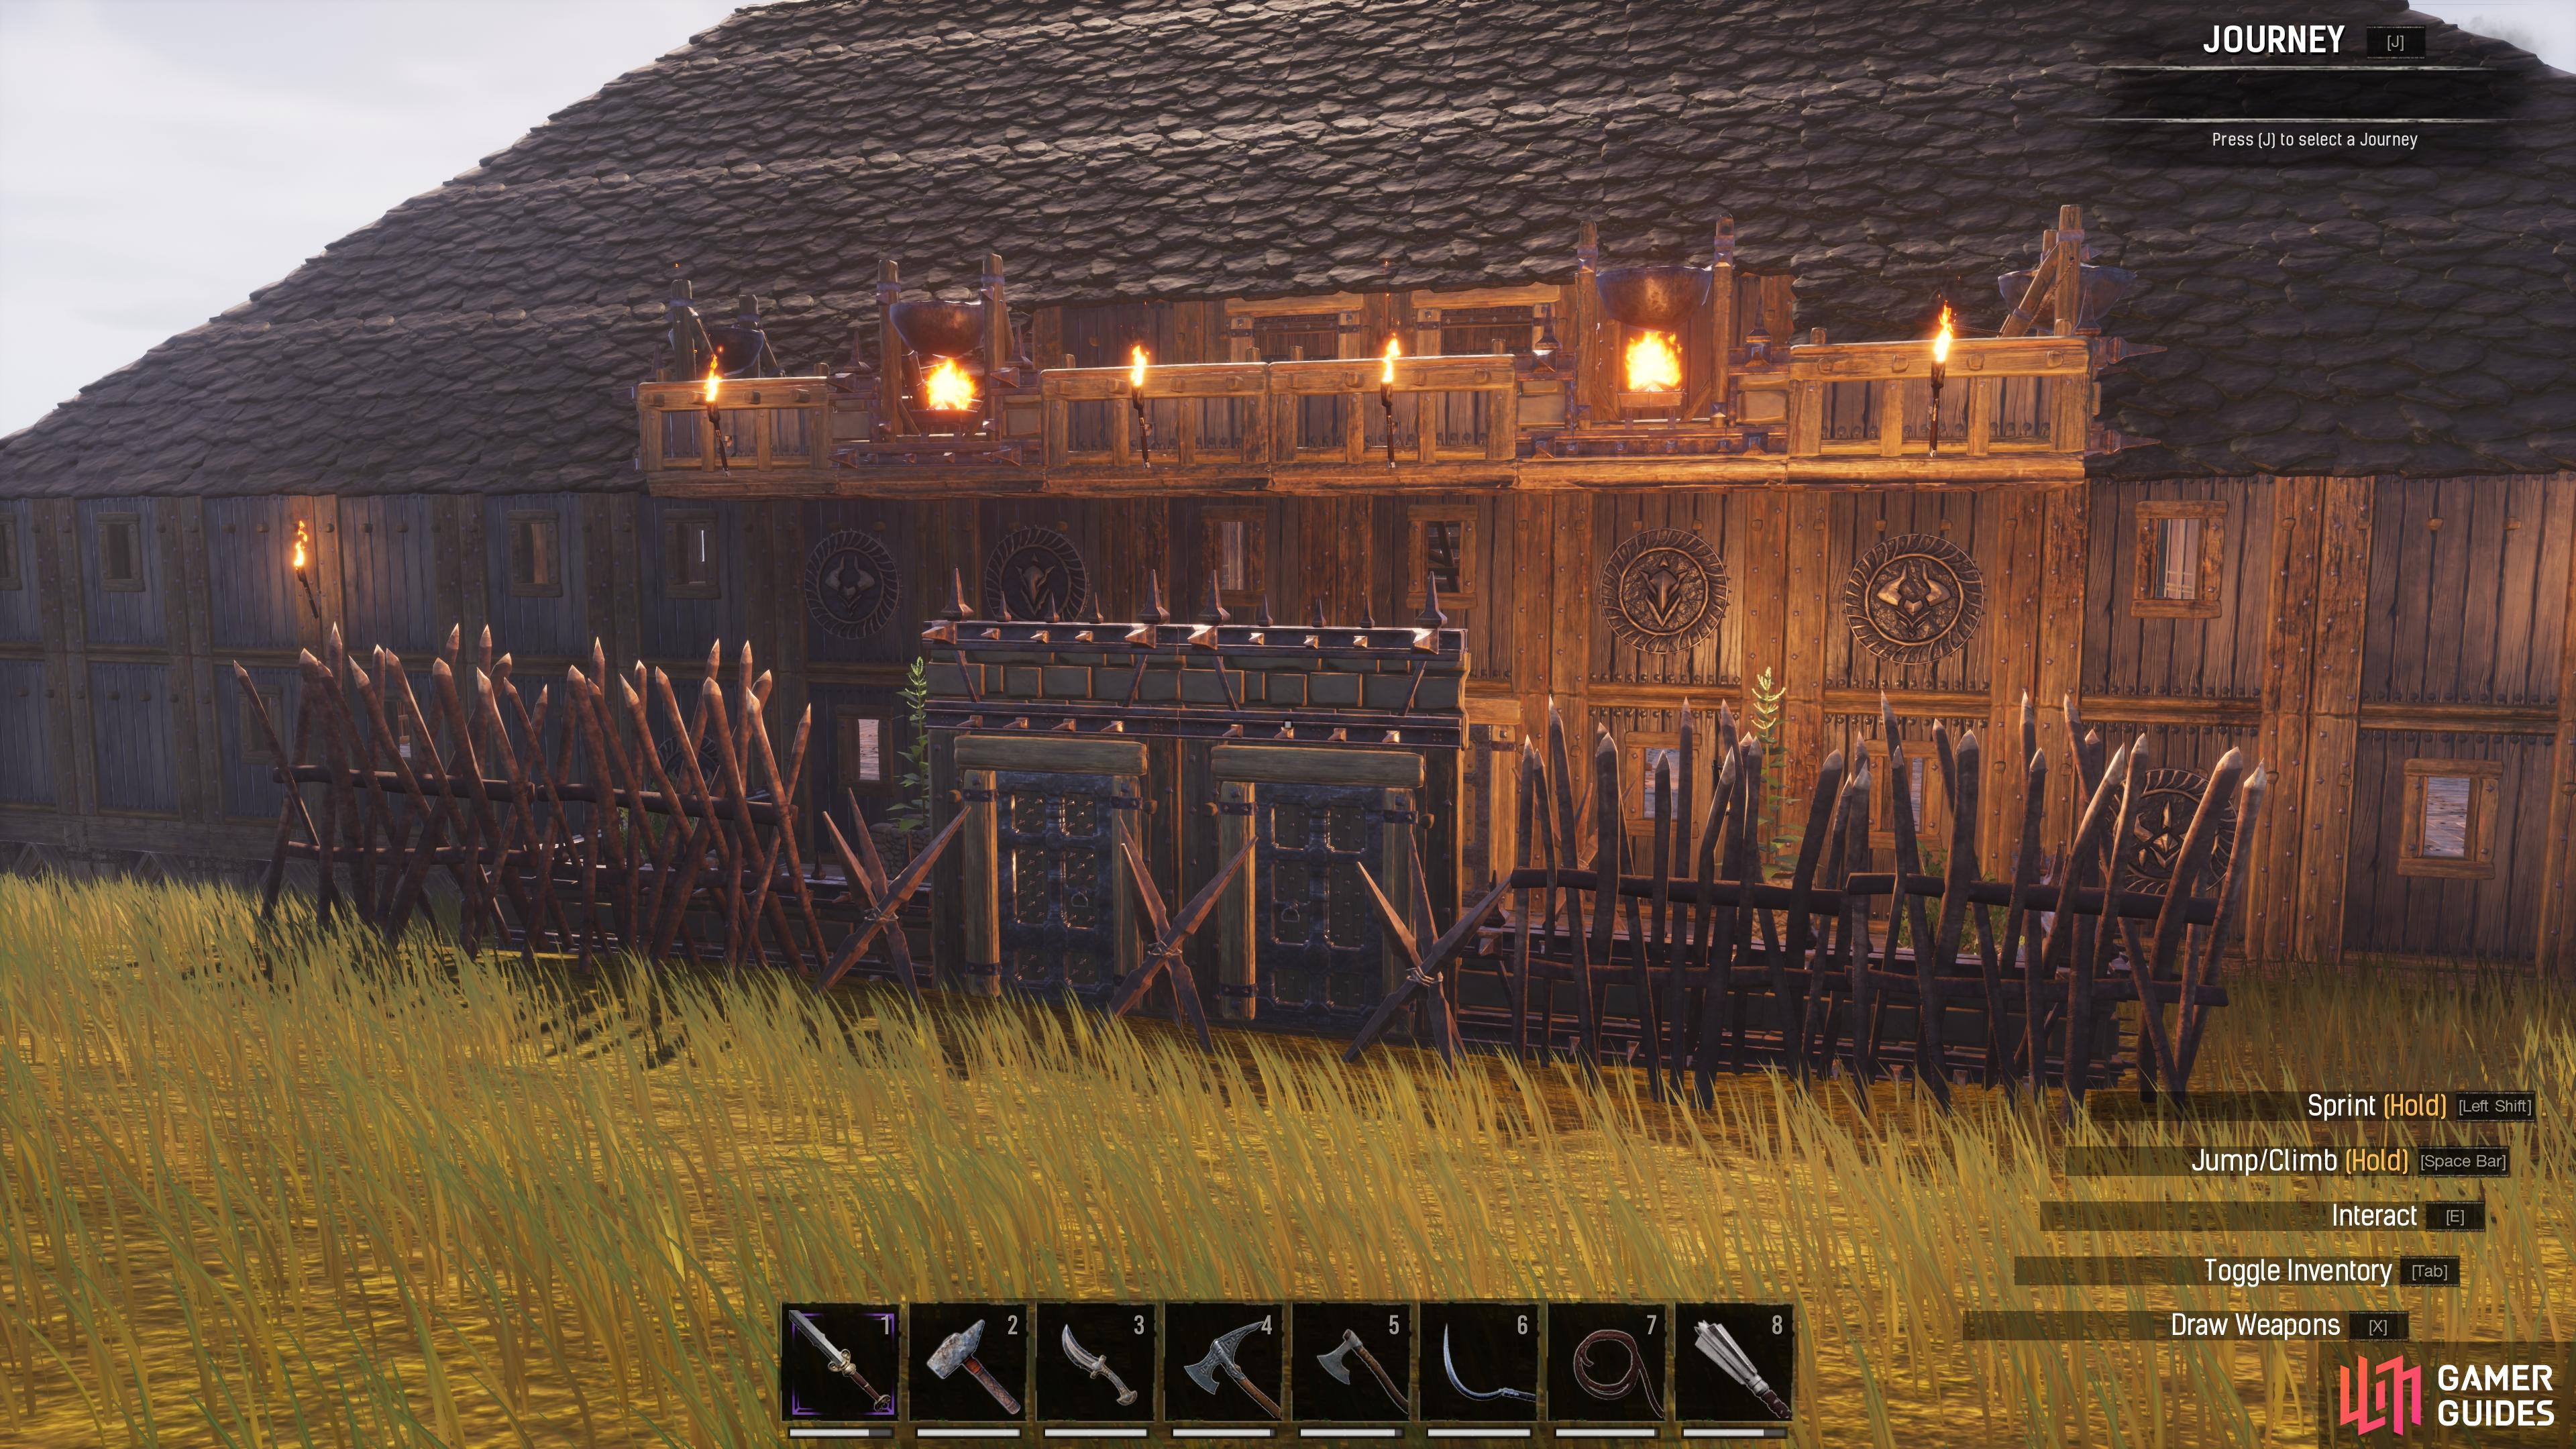
(1 of 2) You can build palisades and spikes around the main entrance to your base to create a murder hole.
You can build palisades and spikes around the main entrance to your base to create a murder hole. (left), Build internal ramparts to create spaces that you can retreat to if the enemy break through. (right)
Build Multiple Layers
A good method of slowing the enemy down as they make their way to your treasure is by constructing multiple layers of walls. You can focus on having just one inner wall for your base if you prefer, but it helps to at least have an additional outer wall, preferably made of tall walls and tough, reinforced gates. You can go a step further by creating a kind of maze leading up to the main entrance to your inner base, which will funnel the enemies into a single-line formation and leave them vulnerable to attacks from the front and behind.
Make Use of Ramparts
Alongside the structure of your walls, you can place ramparts at the top of them, from which you can shoot the enemy while remaining relatively safe. This won’t necessarily protect you against ranged attacks all of the time, but you’re less likely to be overwhelmed by groups of melee enemies. At the same time, you can build a network of ramparts around your base, giving you quick access to different parts of it without having to meet the enemy on the ground. The ramparts can be positioned both inside and outside your base, and the way you connect them is limited only by your imagination.
Place Drawbridges and Siege Cauldrons
There aren’t currently all that many defensive items that you can build around your base, but those which are available can be used to your advantage with little effort. Among the best are drawbridges and siege cauldrons. The former can be used to bridge the gap between your base and a sheer drop below, but they’re also useful as funnel points for enemies making their way to your base.
The siege cauldrons are currently the best way to damage multiple enemies who have reached the walls of your base. You can place multiple siege cauldrons along a wall, but you’ll need to build a special type of wall - the Crenelated Wall - in order to place siege cauldrons. You’ll find that you can only build Crenelated Walls using specific materials, namely reinforced stone, black ice, flotsam, and storm glass, so you won’t be able to make them using sandstone, stonebrick, or insulated wood.
There are currently two main types of siege cauldron. These are the regular cauldron, and the burning siege cauldron. You need to place ![]() Tar into both types of cauldrons before they’ll work, but the difference between them is that the regular cauldron requires you to ignite the tar once it has been poured, whereas the burning siege cauldron will ignite the tar as it is being poured. As a result, the regular siege cauldron allows you to preemptively pour the tar, and then set it on fire when enemies step on it, while the burning cauldron is better for when you need to have the tar burning just as you pour it.
Tar into both types of cauldrons before they’ll work, but the difference between them is that the regular cauldron requires you to ignite the tar once it has been poured, whereas the burning siege cauldron will ignite the tar as it is being poured. As a result, the regular siege cauldron allows you to preemptively pour the tar, and then set it on fire when enemies step on it, while the burning cauldron is better for when you need to have the tar burning just as you pour it.

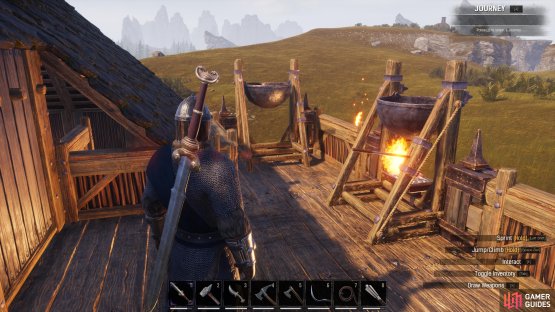

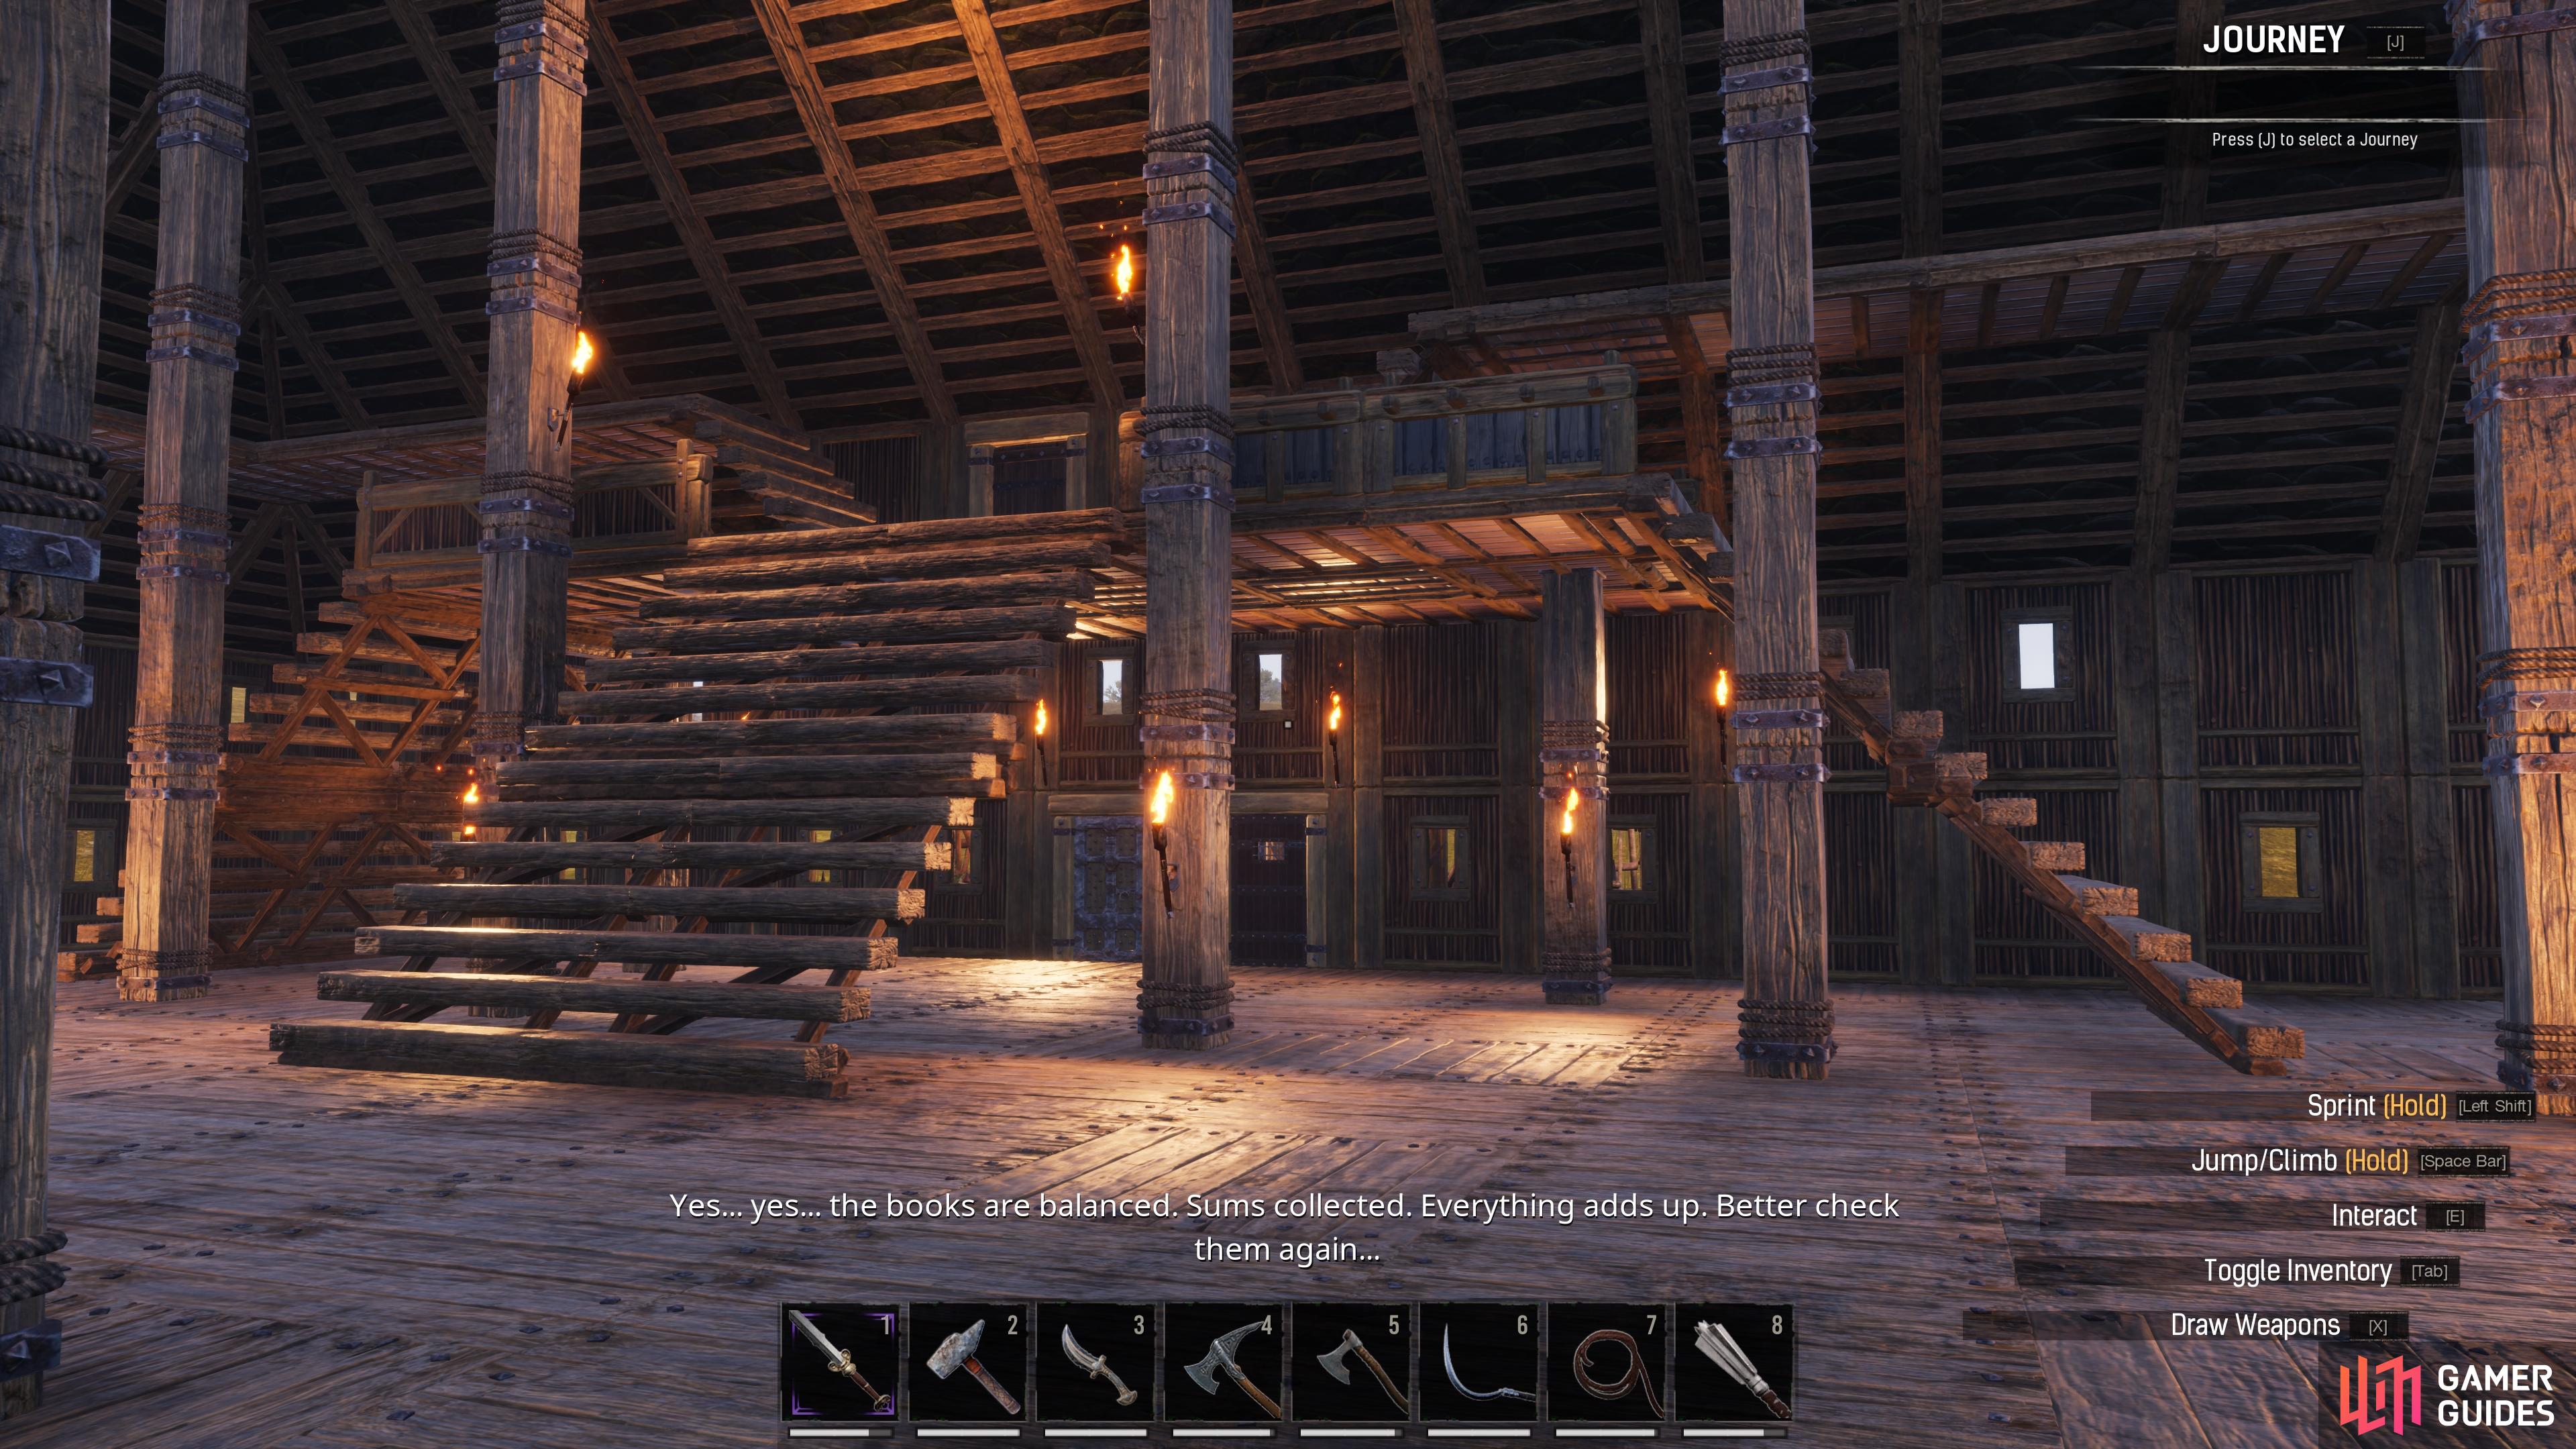
(1 of 2) Place siege cauldrons at multiple angles to cover different choke points.
Place siege cauldrons at multiple angles to cover different choke points. (left), The goal is to make the main entrance of your base as impenetrable as possible. (right)
Use Palisades, Spikes, and Murder Holes
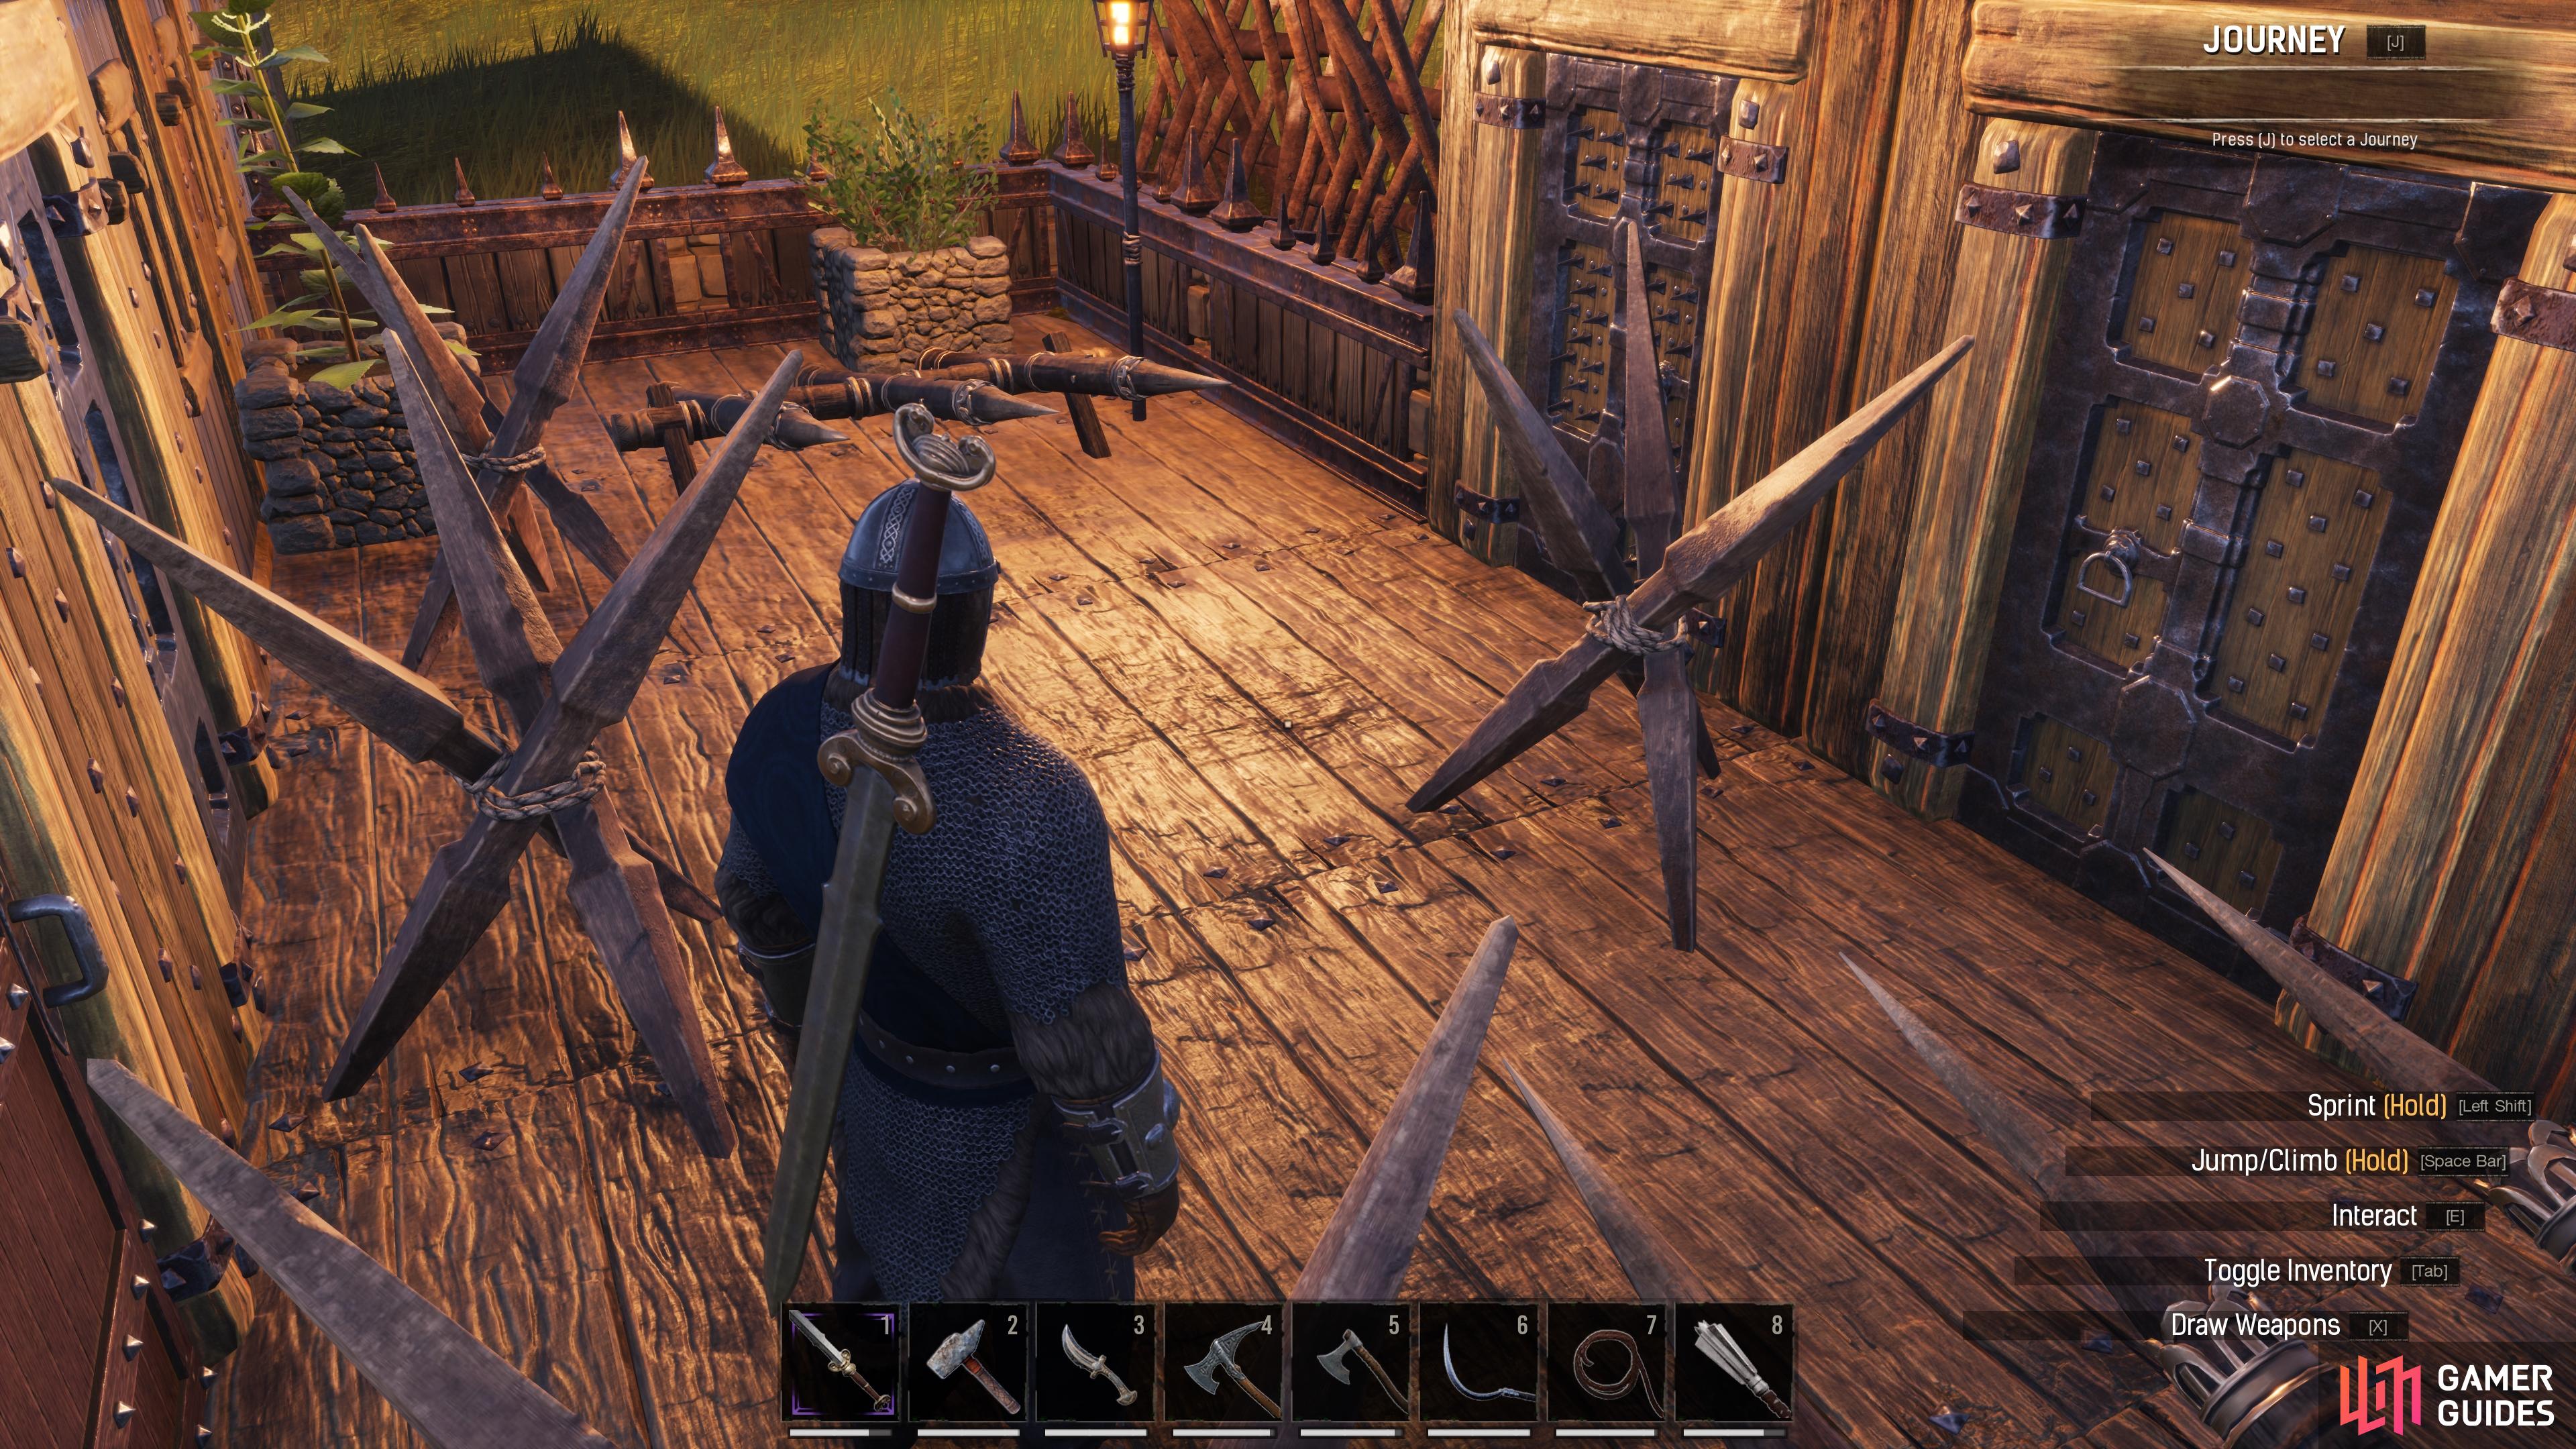
Aside from the siege cauldrons, the other defensive siege items that you can use to directly inflict damage against attacking forces are palisades and spikes. You don’t need to place these all around your base, but they’re most useful at the main entrance to it, and along any choke points that you create for enemy forces to run through. You’ll find that the enemy forces are generally dumb enough to run into these spikes, especially in larger groups, so you can be sure that they’ll be hurt even before they reach your treasure hoard.
If you want to maximize the effectiveness of palisades and spikes, you can place them around murder holes, which are essentially areas where you funnel enemies directly beneath a spot from which you can shoot at them or drop burning tar down on them using the cauldrons. As the enemy units try to escape, they’ll inevitably run into some of the palisades and spikes.
Use Thralls (Followers) to Defend Your Base
Finally, if you’ve made your base as difficult as possible to penetrate externally, but you still want to shore up your internal defenses, you can make use of thralls (aka followers). These can be acquired throughout the lands using blunt weapons to knock them out, bindings to tie them up, and Wheels of Pain to slowly force them into submission. You can also get more thralls by releasing them from the purge camps after defeating an attack. If you want to learn more about how to get thralls and how to use them, see our page on How to Obtain Thralls.
More Conan Exiles Guides
If you’re looking for more Conan Exiles guides, including where to find some of the most useful resources, be sure to check the links below.
No Comments