The Gilded Arena
The Psychameron
When you regain control of Death, you will immediately find yourself in combat with a pair of undead stalkers. These are much the same as regular stalkers, just with a lot more health. Goody! Killing one of these off will cause a swarm of undead prowlers to join the party, so try and kill these off whilst avoiding the stalker, as you do a third undead stalker will spawn. Kill them all off to open the gate. Cruise up the stairs and into the green door at the top.
As you enter look to the right and climb up the wall on the side of the room here for a chest. Return to the centre and use the summoning circle. Note the two pressure plates. Run to the very opposite end of the room from the door and stand on the square platform here. Facing the door, use your dead lords to activate both pressure plates to send the platform you are on up. Jump off to the next platform and head into the next room.
Kill the scarabs in the immediate area. Use the summoning circle here and get a Dead Lord to activate the pressure plate to the north. This will raise a bridge across the gap in front. Run up to the locked gate here so that you can see the pressure plate beyond and send the second dead lord through to activate it. This will give you access to the next part of this room. Mosey on through and head up the stairs to find a locked skull door.
To the right of the door is a cliff and on the far side you will see a pressure plate in front of a gate containing a chest. Use one of the dead lords to activate the pressure plate there, and then use death grip on him to jump across the gap. Open the chest here and kill the scarabs. Look back towards the locked skull door and you will see a doorway beneath it. Behind the gate here, you will see a pressure plate. Send the other dead lord to activate this to open the gate. Jump towards the ledge and use death grip on the way down to pull yourself to the dead Lord.
Make your way up the hallway and when you reach the hole at the end drop down to the room below. Open the door here and use the summoning circle to the right.
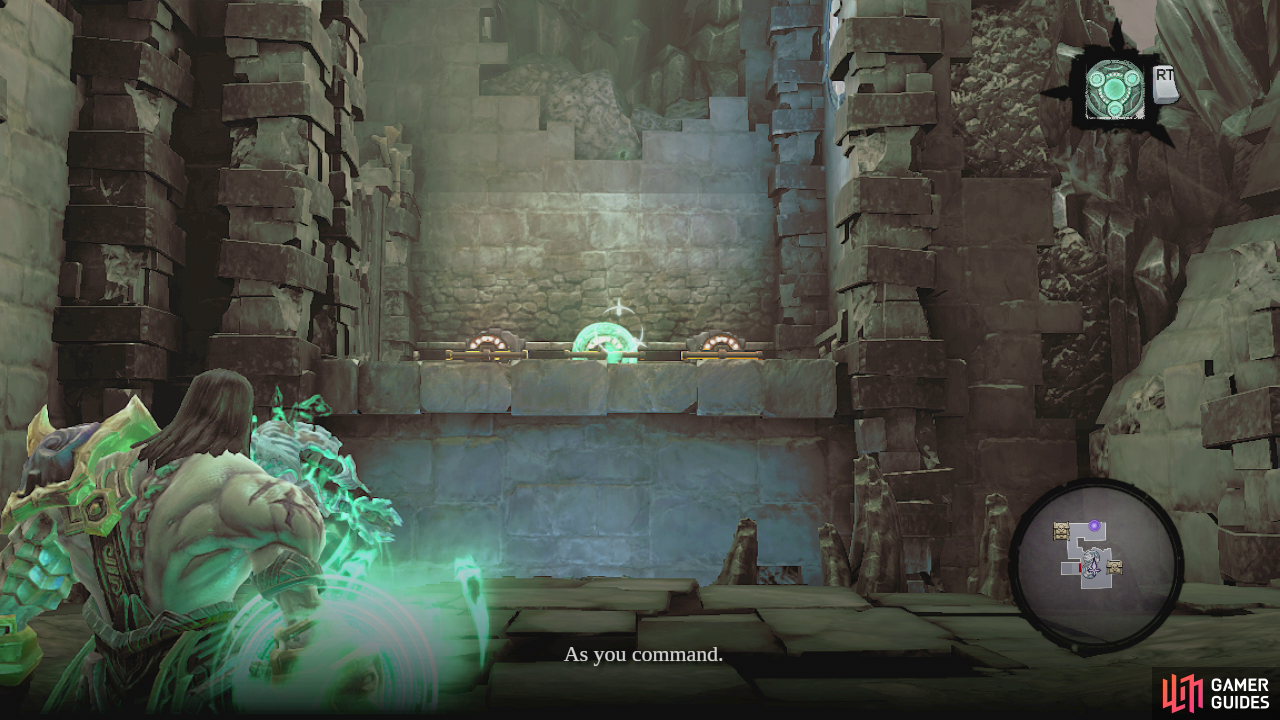
From here you will see a gated door to the right with a chest behind it and gap in front of you with three switches on the far side. You will need to hit the switches in a certain order or you will have to fight off a wave of skeletal warriors and champions. The order you need to get the Dead Lords to use the switches in is: the middle switch first, then the right switch and then finally the switch on the left. This will lower the treasure chest and open the door so you can grab the skeleton key from within.
Return to the shaft and climb the pole here to return to the skull door room. Upon exiting, look up to see a death grip ring. Use that to climb up to the ledge above for a Relic of Renegoth. Drop back down and from the exit to the shaft we just climbed turn right and follow the hallway to the end to find a locked gate. Look in an alcove to the right for a switch. Hit that to open the gate and move through. Unlock the skull door here.
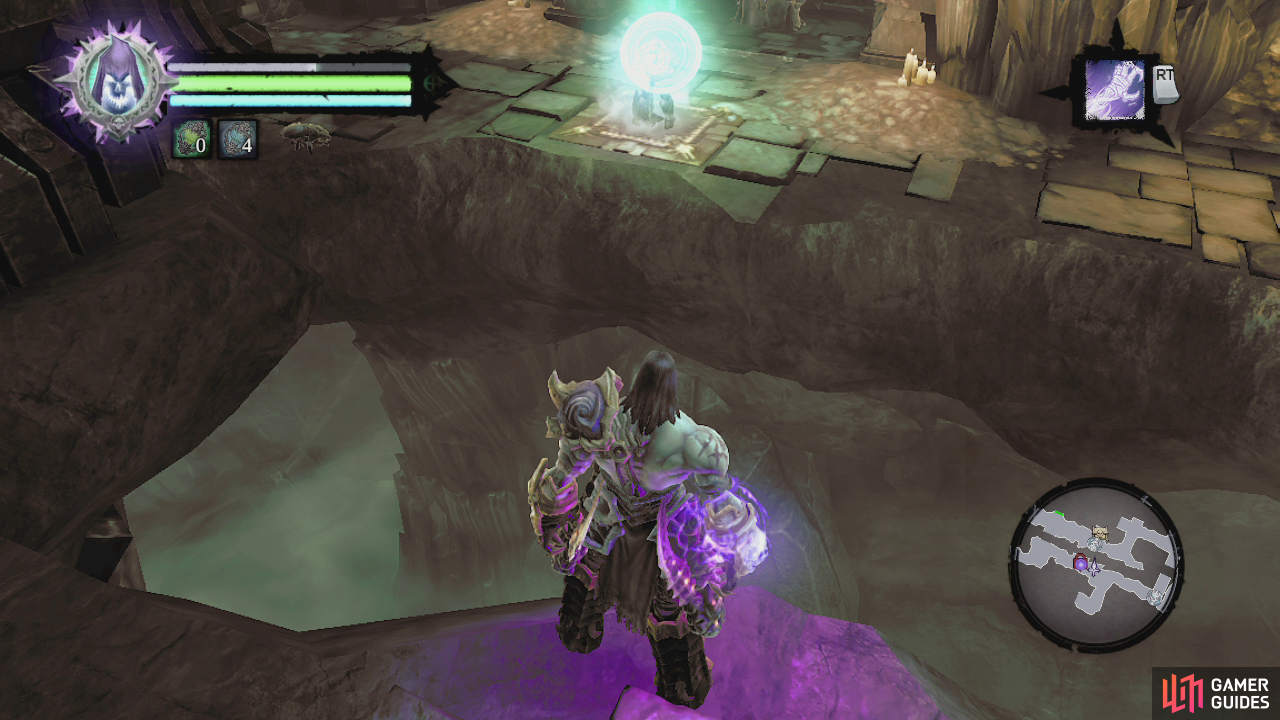
Upon entering the next room we will see a short scene. Afterwards, kill off the scarabs that are chilling out in front of you and use the summoning circle here. Get the first dead lord to activate the pressure pad here to raise a bridge. Look to the south to see another pressure plate on a ledge across the gap. Once the bridge has been activated, get the second Dead Lord to activate this. This will open a nearby gate.
Cruise inside and when you reach the edge, look down and to the right to see another pressure plate. Get one of the Dead Lords to step on this and then use the handholds here to get around the corner. Jump to the pole, slide down and jump and death grip the Dead Lord to land safely on the platform. Continue into the tunnel beyond. Grab the two chests from the corner here and proceed until you reach a fork. Proceed up the stairs to the right here and you will find a switch to open a gate back to the main room.
$$$item 1585
Return and head down the stairs to the gate at the bottom. Here, use a Dead Lord to activate the pressure plate behind the gate to open it and then proceed to the right. At the crossroads, look to the left for a switch. Hit that to raise the nearby bridge. Climb to the top of the stairs here to be reunited with our other Dead Lord. Continue past him and enter the unlocked door nearby.
When you reach the main room, quickly use the summoning circle and fight off the skeleton warriors and champions. Once they have bitten the dust, a bone giant will appear. This guy handles exactly the same as the ice giant from the prologue and the bone giant from Judicator’s Tomb. He’s slow moving and has a limited attack set. Let him attack then go in for the kill. Alternatively you can use the summoning circle to have the two dead lords tank him whilst you take pot-shots at him with you pistol and attack when his back is turned. Once he has had enough, two scarab hulks will appear.
This can be pretty tough, so try and get the attention of one of them, whilst your summoned Dead Lords occupy the other. After these two fall, the nearby door will unlock. Move through to the next area.
Look to the left and wall run across to the switch here. This will raise a bridge enabling access back to the start of the dungeon and it will also unlock the door next to you. Enter the door. Follow the hallway to the end and exit into the cave beyond.
As you enter the next area, look above the door you just came from for a Stone of Mystics. Cross the bridge here and kill the scarabs occupying the central area here.Look on the east side of this platform for a Relic of Etu-Goth. Follow the passage all the way to the end and exit into a large open cavern. It’s boss time!
$$$item 1573


Fast travel back to the Eternal Throne and go to chat with the king. The quest Basileus will now be completed. Watch the scene.
No Comments