Start Location: Muria in Tri-Stone
Enter The Scar from The Charred pass. Upon entering the area, climb up the building here and use death grip to jump across to the pole, climb this to the top and jump backwards onto the platform behind to grab a Boatman’s Coin . Continue up the nearby stairs and to the door at the top. Before entering, look to the north and above you, you can make out a broken pipe. Inside this is a crystal we can shoot for a Stone of Power . Shoot that and then head inside.
Descend the stairs. At the bottom look to the right and find the blocks here. Wallrun along the wall all the way back to the north to find a hidden chest beneath the stairs you just came down. Return to the previous platform and open the door.
After a scene, fight off the tainted constructs. Go through the opening nearby, follow the hallway to the end and drop down the hole. Immediately run forward and destroy the stinger nest. Wallrun down the hall to the left and turn left to enter a circular room.
After another short scene, the ground will fall away a little and the lava here will start to rise. You need to use the various handholds, blocks and death grip rings along with a healthy dose of wall running to get to the top as soon as possible.
At the top, go through the door on the right. Run across the room and activate the golem here. Kill the tainted constructs that spawn. Drive the golem west across the lava and onto the next platform. Kill the tainted constructs here. Look to the right and roll on past the socket here to destroy the yellow crystals in the corridor, then return to the socket and extend a chain to the target across the room to the west. Cross the chain and close to the end, turn left and use death grip to swing over to the platform.
$$$item 1535
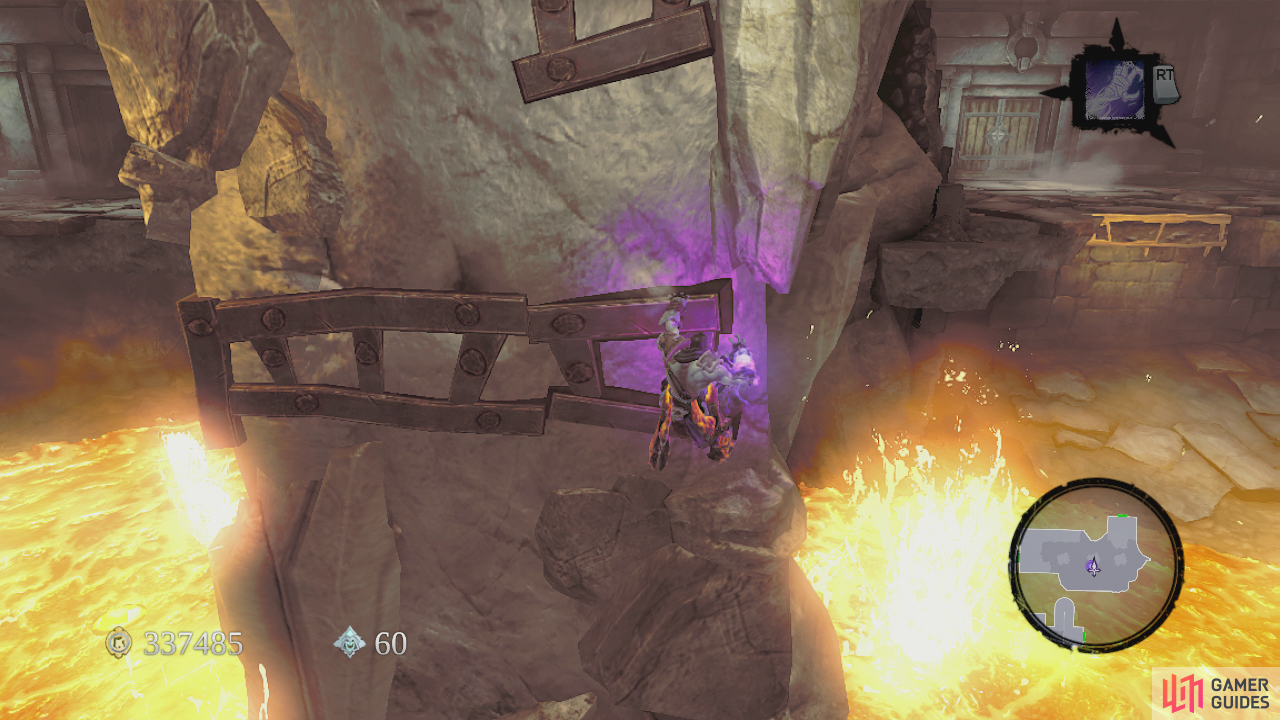
Climb the stairs here and use the death grip rings to swing to the opposite side. Wall run off the left wall here, around the corner and use the death grip ring at the end of the wall run to access the platform above at the end. Grab the chest for a skeleton key and the Boatman’s Coin here. Turn around and wall run along the left hand wall to reach some handholds and follow these to the end to land on a platform containing a Book of the Dead page. Return to the platform that had the chest with the skeleton key and jump from here down onto the golem’s chain below. Return across to the golem. Enter the hallway we used the golem to clear earlier of yellow crystals and enter the door. Death grip across the gap and enter the door directly in front of you. Kill the tainted constructs that attack. Check out the eastern side of the platform you are on and wall run along the southern wall to reach a platform on the other side of the lava pit. Round the corner and use the skeleton key to unlock the door here and enter.
$$$item 1470
There are three stone columns in front of you. When you land on them, they will start to sink into the lava, so you will have to move across them as quickly as you can. On each you will need to follow the set path of handholds and use the death grip ring to jump to the next. On the final platform you can jump down to the platform below. Climb up to the platform here and go through the door.
Kill the tainted constructs in here and then look to the right of the door you entered from to see some handholds. Climb up to the room here for s chest. Drop back down and head into the room to the south.
As you enter the gate will lock behind you. Kill the tainted construct champion and his posse of tainted constructs. When the room is clear of baddies, look in the northwest corner for some blocks allowing you to climb up to a handhold. From here, wallrun to the right and all the way around the room to the platform at the end. Pull the switch here and all three gates below will open. Hop down and take care of the tainted constructs. Grab the chest for a Dungeon Map and then power up the golem.
Ride the golem back north and destroy the crystals to the right. In the next room, head to the left first and place the golem in a socket to lower a nearby gate. From here, wallrun along the left wall and using the hand holds make your way around the room, watching out for the molten lava pouring down in places. Climb up to the platform at the end and rotate the switch here until a scene plays. Look behind and to the right to find a cave. Follow the cave here and open the chest at the end. Drop down and re-mount the golem.
Ride the golem through the lava and over to the eastern side of the room. Park it in a socket here to spawn a target. Shoot the target and run up the chain, dodging the buckets of molten rock when they decide to pour. At the end of the chain, turn left and death grip up to the platform here. Rotate the switch until a scene plays. The gate will open.
Return to the golem and ride it out through the middle of the room and through the gate. Here you will find a gate. Jump off the golem and climb up the wall to the left. Drop down over the other side of the gate and kill all the enemies. Once the three waves have been destroyed, the gate will open. Jump back on the golem and drive it straight ahead, across the lava pit.
When you reach the far platform, look to the right and destroy all the yellow crystals here to lower a bridge. Roll the golem across the bridge and at the end, turn left. Stick it in the socket here and shoot the target across the lava. Jump on the chain and cross. Look for a hole in the wall on the left around half way across the gap. In here you should be able to make out a death grip ring. Jump to this and grab it to climb up to a hand hold. Once you reach the platform, death grip across the gap and open the chest here. Drop back down to the chain. Follow it to the end and jump to the left. Enter the door at the top of the stairs here.
As you enter, look to the left and right for chests. Continue south and up the stairs. Drop into the circular room below for a boss fight.
No Comments