Earth
After a short introductory sequence, we’ll be back where the original Darksiders began! Once you regain control, you will have to help the angels defend the area against a large number of zombies (who are considerably stronger this time around!).
Once enough of the zombies have been slain Uriel will speak to you. Choose the option about casualties to start another side-quest – ‘Light of the Fallen’. She will also give you Redemption a gun that you can use against baddies.
Return to the building that we entered from in the cinematic. Here head up the stairs at the back to find a tome statue and a chest. Return to the courtyard you defended with the angels and head to the building directly north of here for a chest. Next look at the map and make your way to the dead end to the northwest. Here you will find a Boatman’s Coin hidden behind a car. From here, if you look to the east you can see a blue stone on the corner of the building to the left. Shoot it for a Stone of Mystics. Check the inside of the two buildings to the south of the courtyard for a chest and a Boatman’s coin . Now let’s go find that rod!
$$$item 1526
First Piece of the Rod
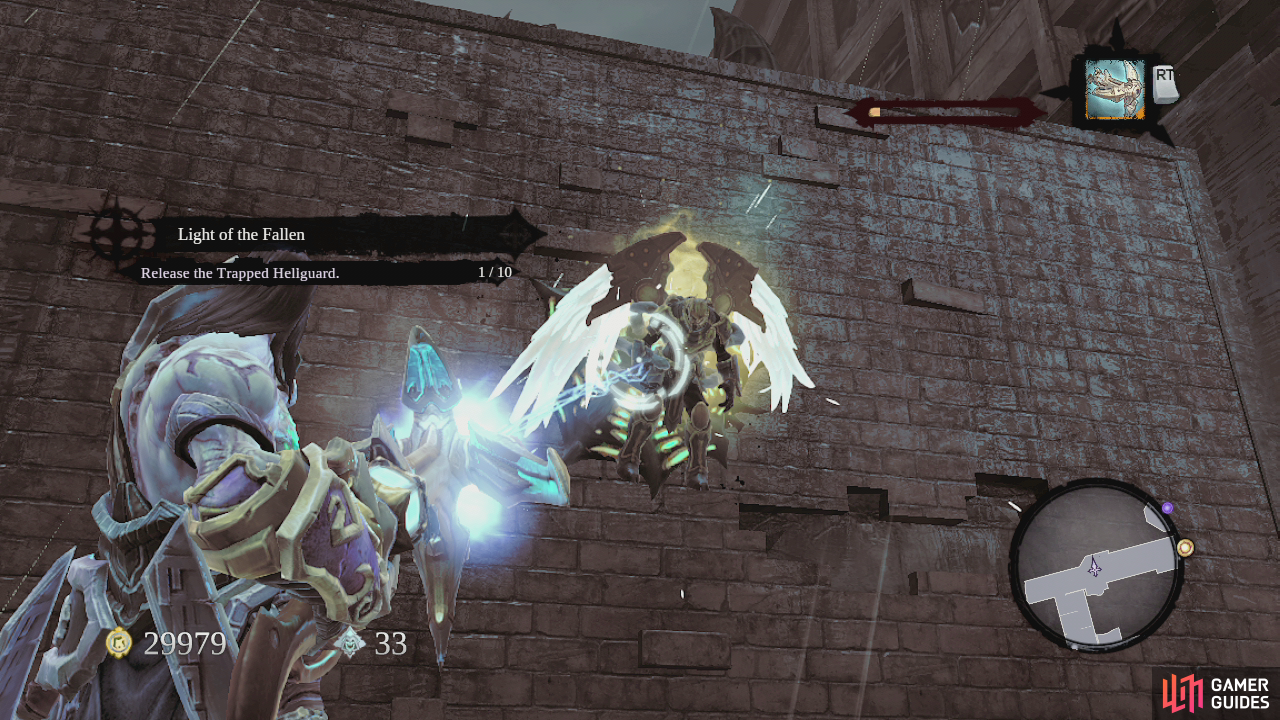
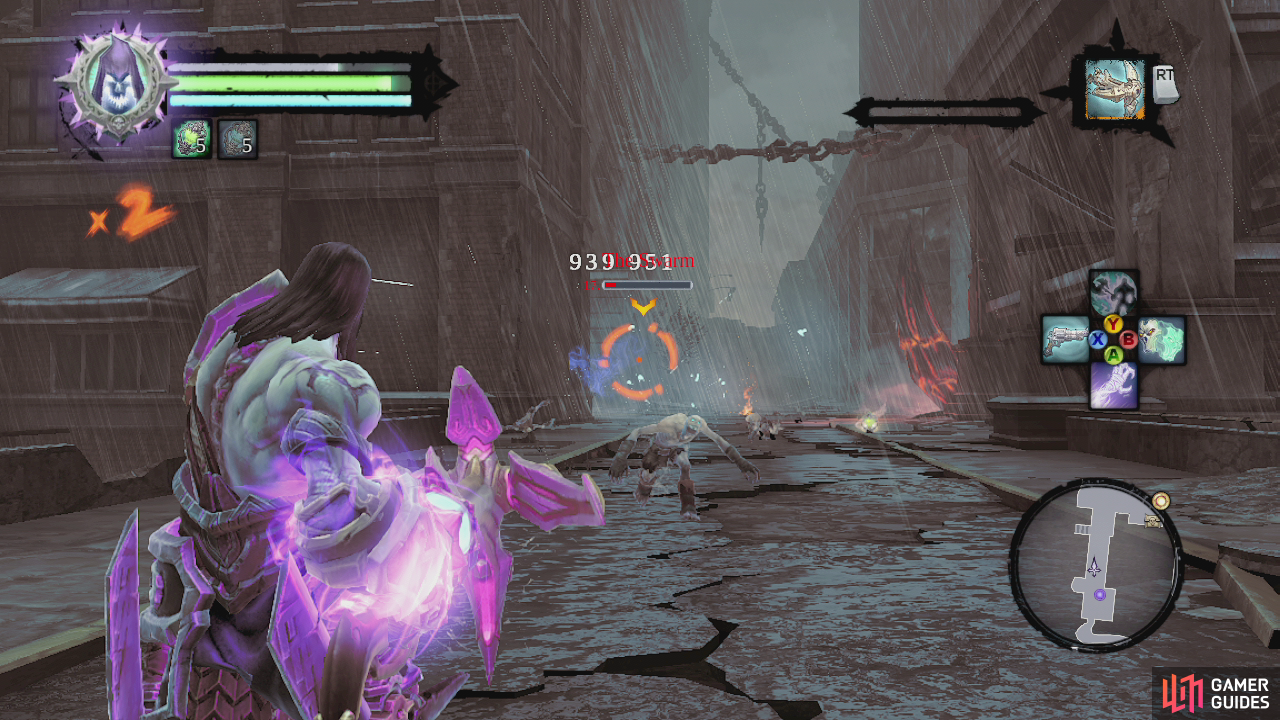
Now that we’ve done our share of exploring, let’s continue. Head down the street to the left of the building we entered the realm from. Oh and be sure to take Uriel’s gun with you. It will make things a lot easier! You will be attacked frequently in the next few areas by swarms of zombies and the rapid fire on the gun can cut them to ribbons in no time. You will know when you are going to be attacked as you will hear what sounds like a battle horn from Lord of the Rings or some other medieval fantasy movie. So when you hear that get ready to defend yourself. As you make your way down the street a fire golem will charge out of the building to the left. Kill him and any zombies accompanying him and then cruise to the very end of the street and drop down the hole here. Look behind to find a Soul Arbiter’s Scroll. Climb back up and enter the door the fire golem came from. Kill the zombies in here and work your way through the building and out the other side. As you exit, turn to the right and defend yourself from the zombie swarm that will come in to attack. If you didn’t bring the gun, you can find a replacement on the ground to the left below a dead angel who is pinned to the wall. You can kill the angel (1/10) as part of the side-quest ‘Light of the Fallen’. Continue up the hill and again you will be attacked by a swarm of zombies and a fire golem. Retreat backwards as you fire away. When they are dead continue up the road. As you reach the intersection where you can turn left, you will also bump into an enemy called a suffering demon, these are the same four armed muscly types that attacked the angels during our intro to Earth. It is very strong so continue to pepper him with the rapid fire as you back away down the street from whence you came. Once he is dead, return to the intersection and hang a left. Kill the zombies here and turn right onto the next street and follow it. When you reach the spot where there are red crystals flanking the road. Look behind the crystal on the right for a Book of the Dead page. Grab the nearby chest as well and then proceed into the tunnel to the east. Head down the stairs and another group of baddies consisting of a fire golem and the obligatory zombie swarm will come to attack you. Defend yourself and continue to the bottom of the stairs. Look in the south east corner of this room for an angel to kill (2/10). Move through the tunnel to the south and fend off another fire golem/zombie soiree. Continue through the tunnel killing zombies until you reach the stairs going down. Here you will be rushed by another fire golem so deal with him before heading down. Turn to the left at the bottom of the stairs and look in the alcoves to the right for another angel to kill (3/10). Return to the stairs and proceed west. As you round the corner here, you will encounter another suffering demon. This one has teamed up with a group of zombies. Again, backpedal as you fire away at these clowns until they are all dead or dying. Continue into the room they came from. As you enter the main portion of the room, keep to the right hand wall. Look in the direction of the green doorway and in the centre of the room you should be able to make out a crystal near the roof we can shoot for a Stone of Mystics. Continue to follow the passage around the corner. Here you will find a side room with a couple of chests in it. Exit to the main area and cross the makeshift bridge nearby. Again turn right and look behind the red crystals ahead for a Relic of Renagoth. Continue south and destroy the green door. Walk through it to gain the first piece of the Rod of Arafel. In the room behind the door, climb the stairs here. In the corner at the top you can see a Book of the Dead page, use death grip to grab it. Continue up the stairs and exit the building at the top to find yourself near the courtyard. Follow the objective marker to return to Uriel with the Rod and she will open a new area for you to explore.
$$$item 1608
$$$item 1485
$$$item 1527
$$$item 1589
$$$item 1486
Second Piece of the Rod
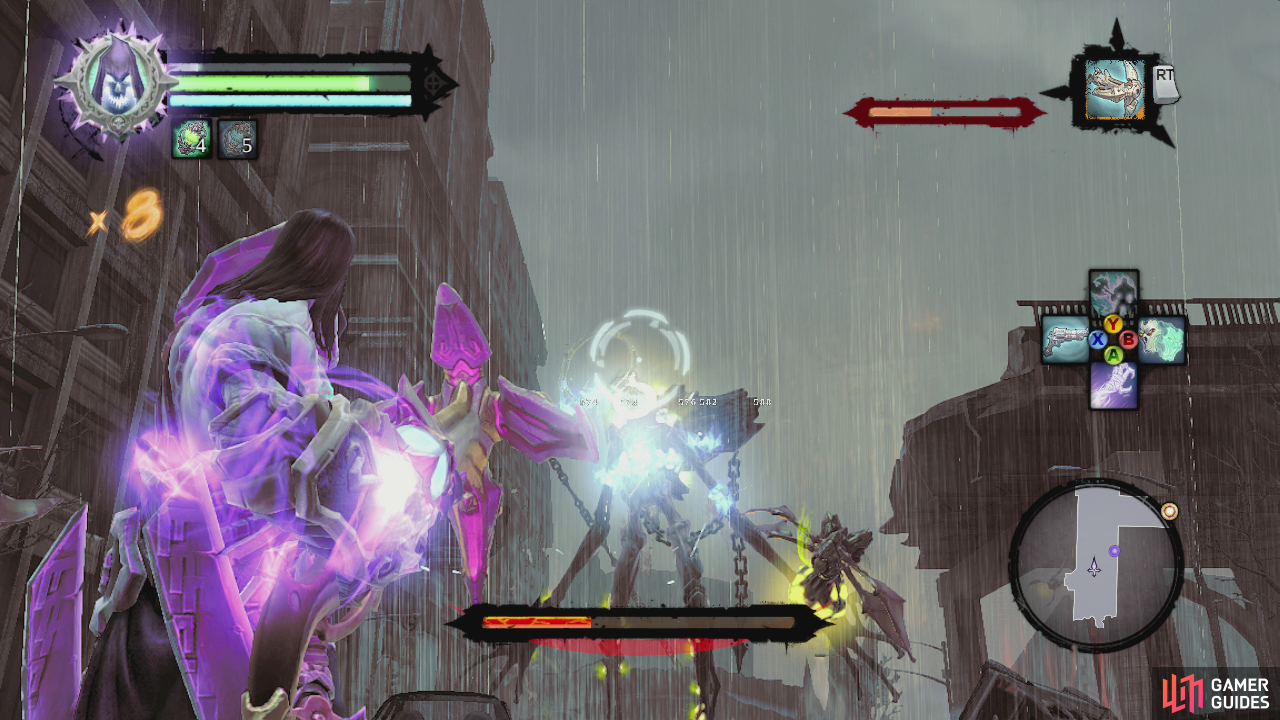
Walk through the passage Uriel opens for you and follow the set path until you enter a sewer pipe. Look to the left as you enter for a Book of the Dead page. Continue down the tunnel here and exit through the hole in the wall to the left. As you do a fire golem and zombie entourage will appear in front of you. At the same time a group of zombies will also appear behind. Be sure to take out the fire golem first before focusing on the less significant zombie threat. After exiting the tunnel, you will be able to switch weapons to a grenade launcher. It is sitting on the ground just at the exit. Note: This area seems to have a constant supply of bad guys spawning continuously.Although it seemed to thin out a little after killing another suffering demon after taking down 3-4 fire golem/zombie swarms as well as the occasional groupof the same make up coming from behind. Despite this, there still seems to bean endless supply of bad guys, so its pointless to do a running commentary on every little encounter. Keep that in mind whilst we take you to the second piece of the Rod. As you exit, look in a window on the second level of the building on the right to see a blue crystal we can shoot for a Stone of Mystics. Continue along the road to the south and into the building at the southeast for a chest (open during a break in the fighting). Continue to the east and look in the first opening in the buildings on your right for another chest containing the Dungeon Map. Ignore the open door across the street for now and turn to the right. Follow this street all the way north for a Relic of Renagoth. Turn around and you should be able to spot an angel hanging on the building to the right. Kill this (4/10). Return to the corner and head into the building to the right. Exit out the other side and march straight across the road and into the building directly opposite the alleyway you are in to find a Book of the Dead page. Follow the road to the west and when you reach the dead end, turn around. You should be able to make out an angel hanging on the building in front of you slightly to the right. Kill it (5/10). After that, drop down at the end of the road…For a mini-boss fight!
$$$item 1487
$$$item 1528
$$$item 1488
$$$item 1588
After the fight, check out the western side of the area for a stone which can be shot for a Stone of Resistance. Also check the south west corner for a Boatman’s Coin . Continue down the road here and into the tunnel. Follow the tunnel around to the left, killing zombies as they come. When you reach the red crystals at the end, look behind you and in a short dead end tunnel you will find a chest. Look above this to the ceiling for a crystal to shoot for a Stone of Power. Climb the ramp to the right of the red crystals that are blocking the road and in the very south eastern corner up on the ledge you will find another angel to kill (6/10).
Jump down and run through the door to the north into a maintenance area. Follow the passage through and exit back out into the traffic tunnel . If you look at your mini map here you can see a small side loop to the east so run in here and you will find another angel (7/10). Return to the traffic tunnel and kill the suffering demon out here. At the north end of the area, head down into some water tunnels. Keep an eye out to the right when re-entering the drain for a Boatman’s Coin. Continue up the ramp to the north and immediately enter the room to the left to find writing on the wall that counts as a Soul Arbiter’s Sacred Scroll and then return to the main room, kill the suffering demon and then destroying the green door in the back right hand corner of the room for the second piece of the rod.
Follow the passageway behind the green door to the end and drop down to the area below. Ahead you should see a group of angels chilling out in front of another one of those yellow tainted barriers. Approach the holy posse and you be treated to a scene. Afterwards, the entrance will now be accessible. Before going through however, turn around and look to the right to see a blue car parked with its back against a wall. Head over here and look just beside it as hidden in the corner next to it is a Book of the Dead page . Return to the tunnel and look to the right for a Boatman’s Coin. Now proceed onwards into the tunnel.
$$$item 1563
$$$item 1548
$$$item 1607
$$$item 1489
Third piece of the Rod
Follow the passage down and around as indicated on the mini map. There are collectibles here so just keep moving. Climb up the stairs and as you reach the exit a scene will play and you will have to fight another Noss. As with the first time around stick to shooting the green spots on his body and shooting down any of the stingers that get too close to you. After killing the Noss and mopping up any remaining stingers, continue to the west, ignoring the path north for the moment. When you reach the edge, look down to see another angel (8/10). Return to the intersection and head north. As you get around a quarter of the way along the road to the north a suffering demon will arrive so shoot it as you back up until its dead and then continue north. You will run into another suffering demon as you go, so repeat the process as before and then once again head up the bridge to the north (third time lucky!). When you reach the hole in the bridge, look down at the support on the left and shoot the blue crystal here for a Stone of Mystics. Continue onwards and when you reach the hole in the road with the red spikes sticking out, duck into the small room to the left for a Boatman’s Coin. Continue onwards and you’ll get a checkpoint. At this point we have reached a dead end, so turn around and climb the concrete ramp up to a higher level. So now after trekking all the way out to this point, we need to head all the way back again to the south. As we start our journey along the highway, a scene will play and a noss will appear at the far end of the bridge and start making its way towards you. Take it down using the same tactics that worked previously. After it is dead, cruise up the bridge a bit and then turn around and look up at the supports to find another angel (9/10). Continue to the south until you reach the end of the road. Here turn to the left and head up the convenient ramp here. Destroy the green door here for the final piece of the rod. Inside, follow the hallway around and pick up the chest. Head into the hole in the wall opposite to find a relic of Etu-Goth. Continue along the passage here and exit into the large room and look to the right immediately as you enter to see a hole in the wall with some floating gauntlets in it. Jump in and grab this for the special weapon – fists of Elhazar. From here you can also look across the room and slightly to the left to find a blue crystal to shoot for a Stone of Power. Exit through the door down the bottom of the room here and when trekking through the hallway, look inside the hole in the wall on the left for a Boatman’s Coin. Continue along the hallway to find the final angel (10/10).Drop down to find yourself in the courtyard. A scene will play. Afterwards, if you killed all 10 angels, speak to Uriel for your reward – a secondary weapon named Sunder. After that return to the portal and head back to the Crystal spire.
$$$item 1529
$$$item 1578
$$$item 1549


No Comments