Stonefathers Vale
Head out the gate and back to Stonefather’s Vale . This time around, if you look at the crystal monstrosity it is time to head on over to the left. At the gate, have a quick chat with Karn. Afterwards, look to the left of the gate to find a Boatman’s Coin .
Now look up at the gate and use your pistol to shoot the bombs up top – note it doesn’t always seem to work the first time so try a couple of different bombs until you get one that will go off. Once the gate is open head through into Shadow Gorge .
Shadow Gorge
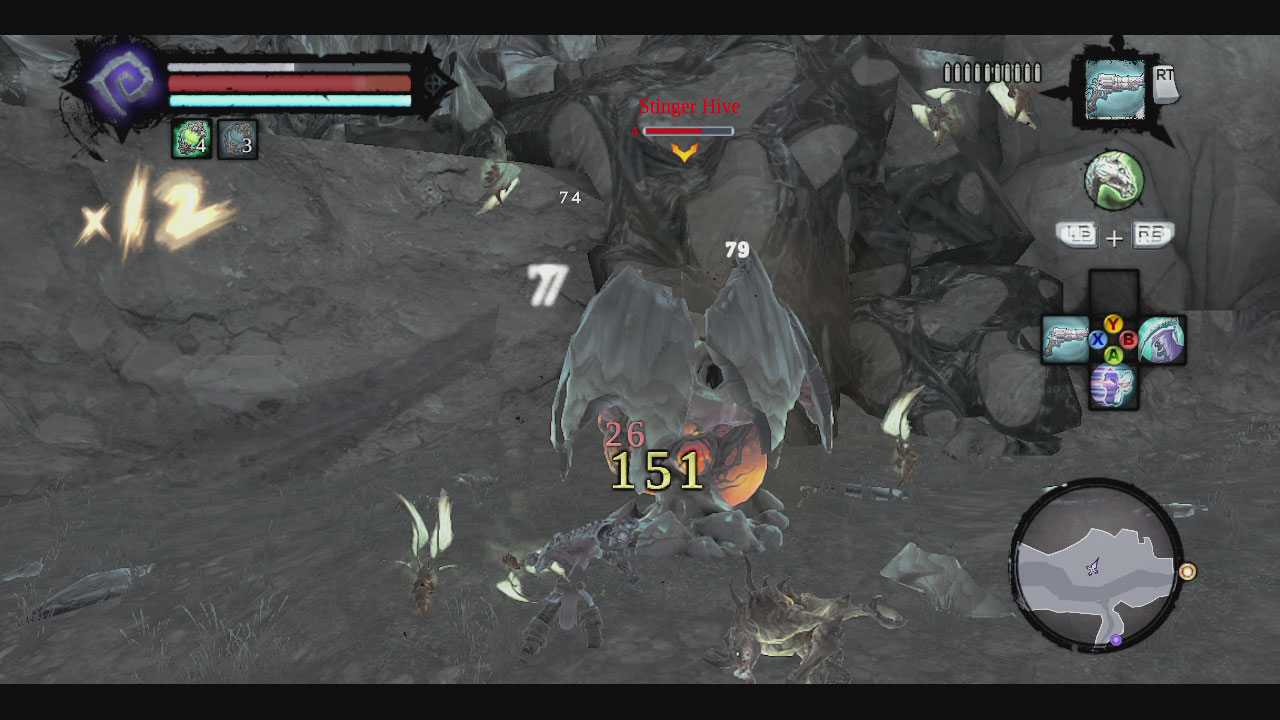
Continue along the set path until you reach the giant stone gates. Inside you will be attacked by a pair of prowlers and a swarm of stingers. See the large, glowing thing on the left? That’s a stinger nest; you will want to make destroying that a priority or the stingers will continue to spawn indefinitely. After clearing the area, you should have picked up some mordant dew for the quest Shaman’s Craft. If you look ahead, you will see the gates in front are blocked. Look to the left to see some yellow crystal, use your pistol to shoot the bomb growth here to take it out and then climb the wall.
Drop over the ledge to the left to find another Boatman’s Coin before entering the building through the open door nearby. As you enter both gates will slam closed leaving you to defend yourself against a group of stingers and prowlers. Once enough have been slain, the gates will open once more.
Go through the gate opposite the entrance and turn immediately to the right for another Boatman’s Coin . Drop down to ground level and turn to the right, pull the lever in front of the gate – it will now stay open for good.
The Fjord
Now that you have the mordant dew, fast travel back to Stonefasther’s Vale and talk to Karn about Carven Stone to continue the side-quest Shaman’s Craft . Fast travel or make your way back to The Fjord.
As you enter, look ahead and to the right to see another Boatman’s Coin . Ignore it for now (we’ll need some extra equipment before we grab that) and head up the ramp behind it to find an NPC named Blackroot who will give you a Lure Stone and side-quest – Sticks and Stones .
Now we can deal with those pesky blue out of reach stones you may have been seeing all over the place! Simply shoot them with your pistol. There is one sitting on the wall just nearby so shoot it for your first Stone of Mystics .
$$$item 1508
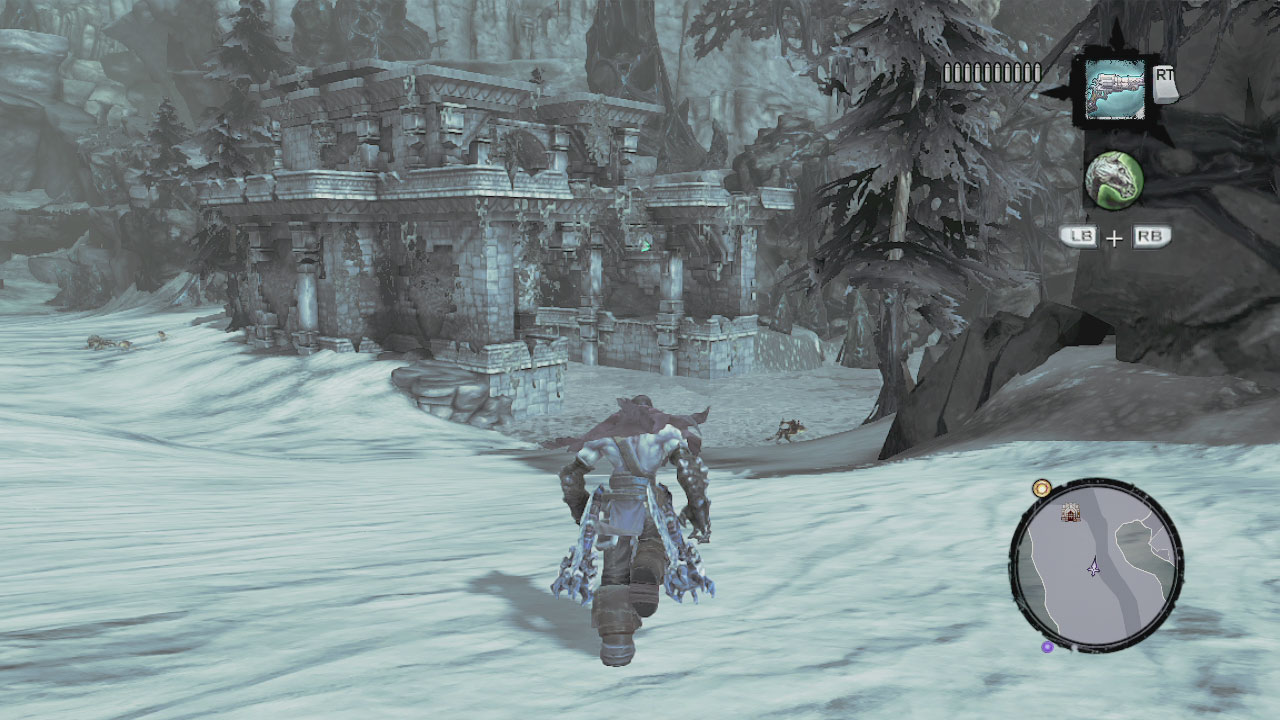
Continue through the Fjord until you reach the ruins on the lake. It’s time to go for a swim. Swim out to the right and under the broken, submerged bridge and here you will find a Boatman’s Coin. Over the far side of the lake, you will find a disabled Gatekeeper, examine it to get a new side-quest “Silent Stone”. To the left of this location you will find another structure. Inside you will find Vulgrim, trade with him if you feel like doing so.
Afterwards enter the room behind him, ignore the yellow crystals in the back and use the block and handholds on the left hand wall to access the floor above. Here we will find a chest and some yellow crystals in a corner. Grab the chest and exit, there is more in here but we are unable to grab it all at the moment with the limited abilities at our disposal, so make sure to come back later!
Return to the broken bridge and get up on top. Look over to the raised ruin to the north. Behind the chest you can see there is a bomb plant. Use your pistol to shoot it to create a hole in the platform. Jump into the water and swim north, under the ruin here to find a hand hold at the back we can use to climb up through the new hole and wall jump back to the platform for the chest. Jump back down and head on past the main structure (again there is stuff here but we can’t get it just yet!).
Look at your map and observe the northeastern part of The Fjord. Ride up here to find a doorway. Inside we will find two chests and if you look in the hole in the wall to the right as you enter, you will find a Boatman’s Coin . We can’t do anything else here for the moment, but we can come back later for some additional goodies.
Follow the objective marker around to the right and through the narrow ravine keep your eye out on the left for a crystal we can shoot for a Stone of Mystics and keep riding until you reach The Drenchfort .
$$$item 1507
No Comments