Tree of Death
After a lengthy scene and a chat with a new buddy, you will be given a new objective – tracking down the Lord of Bones and a new side-quest – Lost Relics. We will also be in a brand new world – The Kingdom of the Dead. The Tree of Death here will act as a hub of sorts and as we complete the different worlds, portals will appear here to allow you to travel back and forward between them as indicated by the active portal for the Forge Lands nearby.
For now though we’re off to find the Lord of Bones, so follow the path south through the Craglands to Leviathan’s Gorge. When you see the big bridge, turn to the left and follow the cliff to find a Relic of Etu-Goth. Cross the bridge here and after crossing, follow the cliff around to the right until you reach the building on the edge with the handhold, run over to the pole and make your way down to the base of the cliff.
From here make your way to the north east to find yourself beneath the big bridge. Go to the ledge before the chasm here to see a series of death grip rings. Before going and grabbing on those, look down and to the right. Below the platform with yellow crystals in front of you, you will see a bomb facing you. Shoot it to clear the platform. Use the three death grip rings to reach the pole in the centre, then jump down to the newly cleared platform. Using the bomb here, destroy the crystals blocking the death grip rings and then swing over to the platform here for a chest. There are another two chests here, but we cannot access them at this time, so backtrack back across the chasm, up the cliff and continue onwards towards the ominous looking building straight ahead from the end of the bridge. Go on in.
$$$item 1567
The Breach
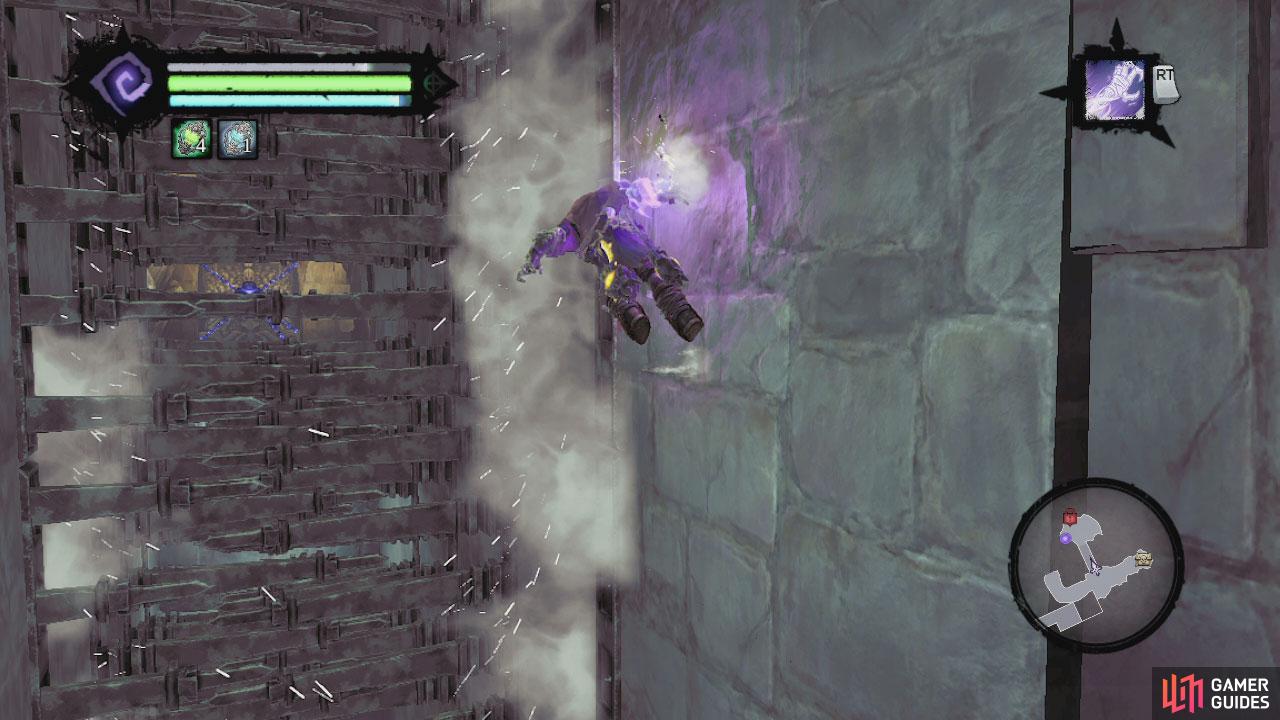
Use the death grip hook here to wall run over to the wall vines. Climb about half way to the corner and look behind you to find a death grip hook. Jump back and grab this, then the next one and then wall jump backwards to reach a platform. Grab the chest here and step on the pressure plate to open the gate–roll on through before it closes. Around the corner open the other chest. Drop down the hole nearby and then drop down again to the platform below and step on the pressure plate to the East. A set of five spikes blocking the way will clear out. Quickly wall run over to the other side of the gap here before they pop back out again. You will find a locked skull door here.
Enter the door to the left and the doors will lock behind you. Fight off 10-12 skeleton warriors and cruise through the Eastern door. As you enter, look to your left. Use death grip to grab a bomb here and plant it on the switch. Run across the bridge to the platform to the East and once there, run to the left and all the way to the dead end. From here, look back across to the switch and shoot the bomb. This will lower the bridge we just crossed, but raise another one behind us. Cross this and climb the stairs here to open the chest for a skeleton Key. Picking this up will cause a large group of scarabs to form – these bad boys are quite similar to stingers and really shouldn’t cause you too much hassle.
Return to the previous platform and use the pole to the south to get to the handhold nearby. From here we can wallrun up further and deathgrip up to a platform above with a pair of chests. Grab them and then drop back down the ledge we came up from. Use the lower hand holds to wallrun back to the entrance to the room. Cruise through the door here and use the skeleton key on the door.
Follow the hallway and drop down, kill the skeleton warriors here and enter the hallway beyond the door. As you enter, look to the left for a Boatman’s Coin. Follow the passage here to the end and enter the room. Kill all the skeleton warriors chilling out here and look behind the statue to the left of the entrance for a Boatman’s Coin. Now look at the statue on the other side of the room. See the crystal above it? Look behind the statue for a bomb plant, grab it and toss it up at the crystals to destroy them.
Use the nearby blocks to climb up to the ledge where the crystals were. Grab the handhold opposite and head round the corner. Note this handhold. We have two options here. First climb up multiple handholds to find yourself on the roof where you will find a chest, then return back down and wall to the handhold from before and this time drop down to the handhold below and wall run across the room to the right. At the end, you will need to jump and use the death grip to reach a platform above the statue here containing a chest. Drop back down to ground level and through the exit door.
The Maw
Head across the bridge here and head left first. See the broken bridge here? Look over the edge for a Boatman’s Coin. Do a 180 and continue across to the West. Upon leaving the bridge, ignore the quest marker and continue to the west for now. Follow the passage around the corner and drop down into the ruins at the end. Drop down again and check out the alcove to your left as you enter.
Destroy the destructibles here for a Boatman’s Coin. See that circular platform at an angle at the back of the room? Go stand on this and look above the door you entered and slightly left to see a crystal in an alcove. Shoot this for a Stone of Power.
Backtrack to the end of the bridge we crossed earlier and this time look for the large open gate to the south. Look just to the left of this to find a Boatman’s Coin tucked away in the corner here. Enter the gate and follow the passage here to the top of the hill and rather than turning to the right, as our quest marker indicates,continue straight ahead to the dead end. At the very edge, drop down to a ledge below for a chest. To exit, hit the switch and climb the wall that rotates before it reverts back to normal. At the top of this wall you will find a Relic of Khagoth. These can be sold to Ostegoth.
Drop down the other side and continue following the path around the corner towards the objective marker. Once you get off your horse, continue into the cave, killing skeletal warriors if you wish. You will find a Vulgrim location in a small alcove to the left. Look above this to see a crystal on a stalactite. Shoot it for a Stone of Mystics. Continue along the path and keep an eye out for another alcove to the right containing a chest. Continue to the end of the cave and exit into Serpent’s Peak.
$$$item 1537
$$$item 1592
$$$item 1518
Serpent’s Peak
Walk forward out of the tunnel until you see a scene. When you regain control, head around the ledge to the left. Climb up the handholds here and use wall running, death grips and wall jumps to reach the top. Turn to the left and look around to the area opposite where you just came up for a chest. Continue towards the back of the ship.
Wallrun up to the ledge here and use the wall vine on the left and climb to the very top. Here use the death grip hook to swing across to the swinging spiked platform in front. Wait for it to swing towards the back of the ship and hop across to the small circular platform here. From here jump to another swinging platform opposite and ride this to the front. Jump to a third spiky swinging platform here when safe to do so and then use the nearby death grip hook to swing across to the next area.
To the right you will find a chest, return to where you landed and mosey on around to the left. Use the death grip hook here to swing to the vine, climb up to the handhold above and wall jump over to the pole behind. Use the handholds to get out and around the corner. Drop down to the beam here and use the death grip hooks to jump over to another beam. Climb up and cruise around the handholds until you drop to another beam. Use the death grip rings again here. At the end, climb up the handhold and follow it around to the left. Drop down into the hallway here.
Continue to the end of the hallway and jump into the hole here. Follow the passage. At the end use the blocks and death grip rings to climb the wall. From the top, jump across to the platform opposite. Drop down the hole. Go through the open door here for a scene.
The Eternal Throne
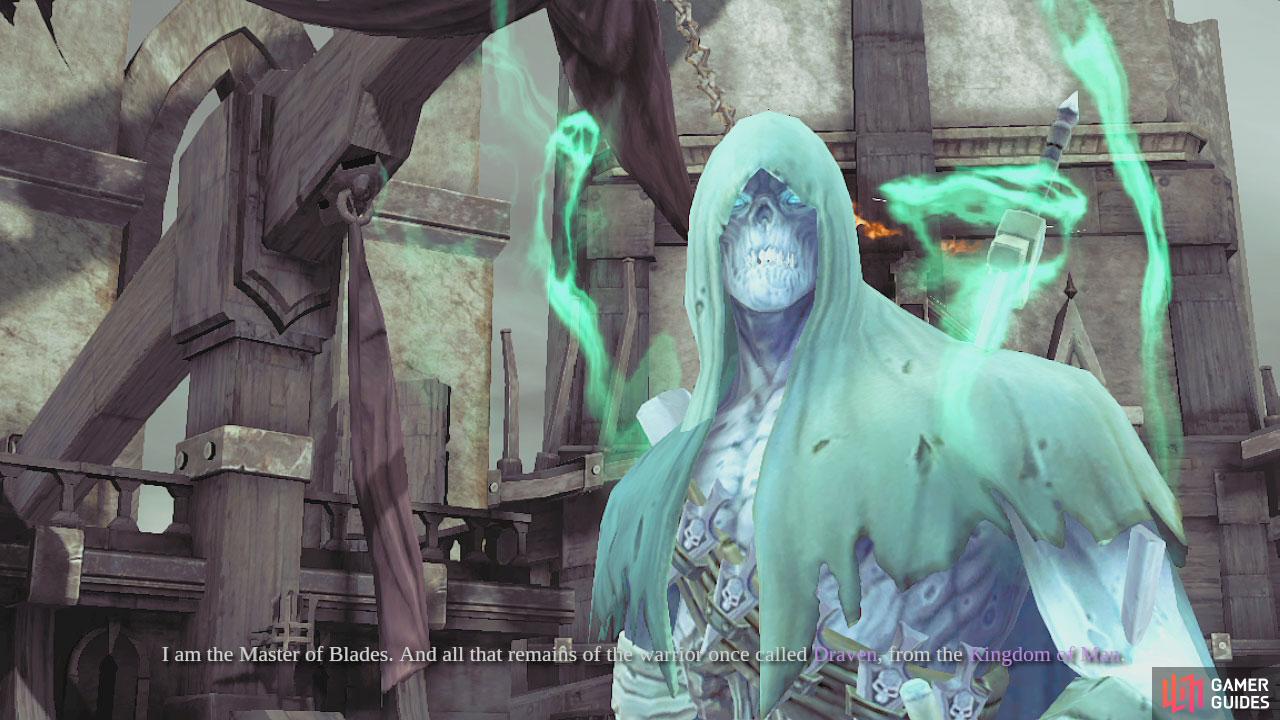
Walk forward and talk to Draven here if you want some training. Ahead, go down the stairs here to find a serpent tome, use it if you like and then look on the eastern side of the room for a Stone of Resistance. You can also smash the destructibles here for a Boatman’s Coin. To continue the game you want to cruise up to the top of the stairs and talk to the guards in front of the door. When you do the Chancellor will appear behind you for a chat. He will give you your next objective.
$$$item 1559


No Comments