Karn is standing out in front again, so have a chat with him for a few insights about the temple. Look in the alcove to the left of the door for a chest before heading inside.
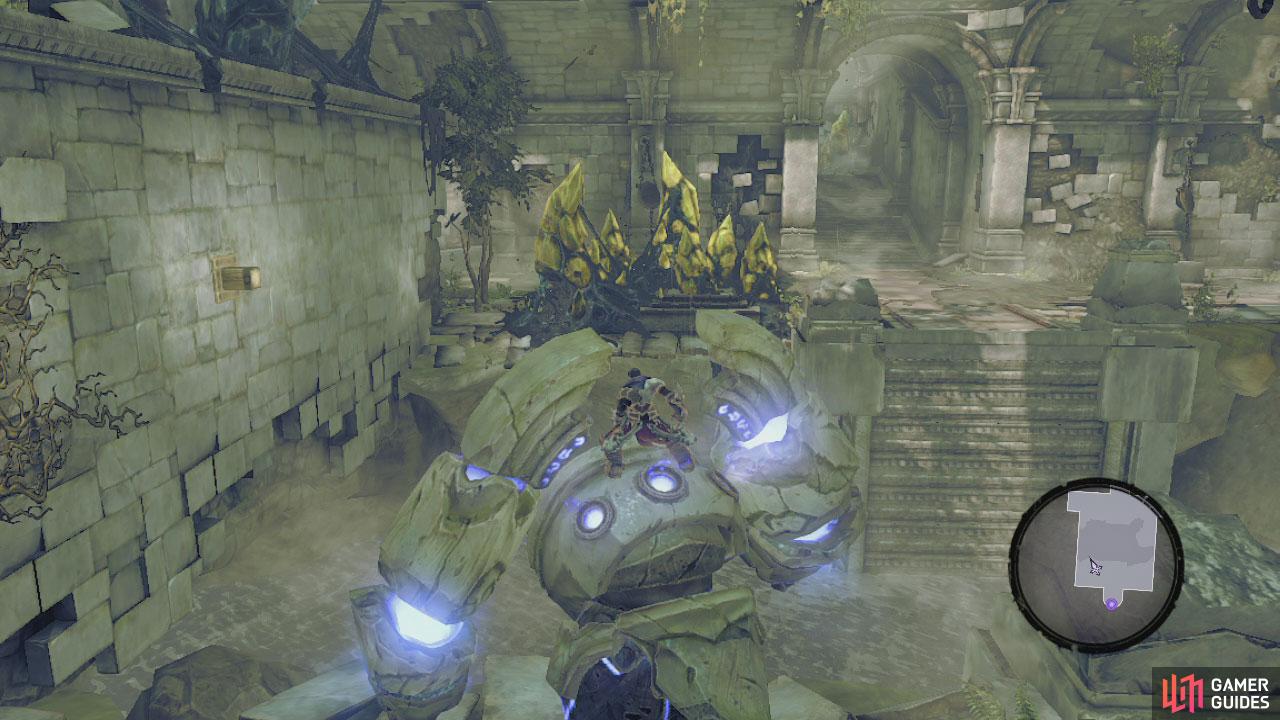
As you enter the circular room, a pack of prowlers will descend the stairs on either side of the room and attack. Kill them all. Head up the left hand stairs and hop the railing to find a chest. Return to the stairs and climb to the top. Enter the door here. Activate the golem on the left of the hallway, use its punchiness to destroy the yellow crystals, and then sit it on the socket to open the door.
Upon entering the large room, you will be attacked by a new enemy – a construct sentinel – these things fly around and shoot lasers at you and heal/respawn tainted constructs as well. To kill them, you will need to damage enemies in the room and then shoot them down when the sentinel’s shields go down when repairing the baddies.
After killing it; if you have picked up the Shaman’s Craft side-quest you will have picked up the final item – Carven Stone . After the coast is clear, a wall section will flip around giving you access to another area. Before heading on though, check out the room and you will see a skeleton key door ahead and to the left. Also if you face the entrance door, you can destroy the destructibles to the right for a Boatman’s Coin .
Go to the North side of the room and use the newly revealed block and handhold to climb up and over the yellow crystals here. Drop down the other side and follow the hallway until you reach the room at the end.
This is a large room with a water hazard in the middle and an inactive construct on the far side that we need to activate. Drop down in the water here and swim to the far left hand corner to find a Boatman’s Coin, there is also an underwater tunnel in the South West corner leading to a chest. Return to the main room, climb back out and use the right hand wall to wall run over to the far side.
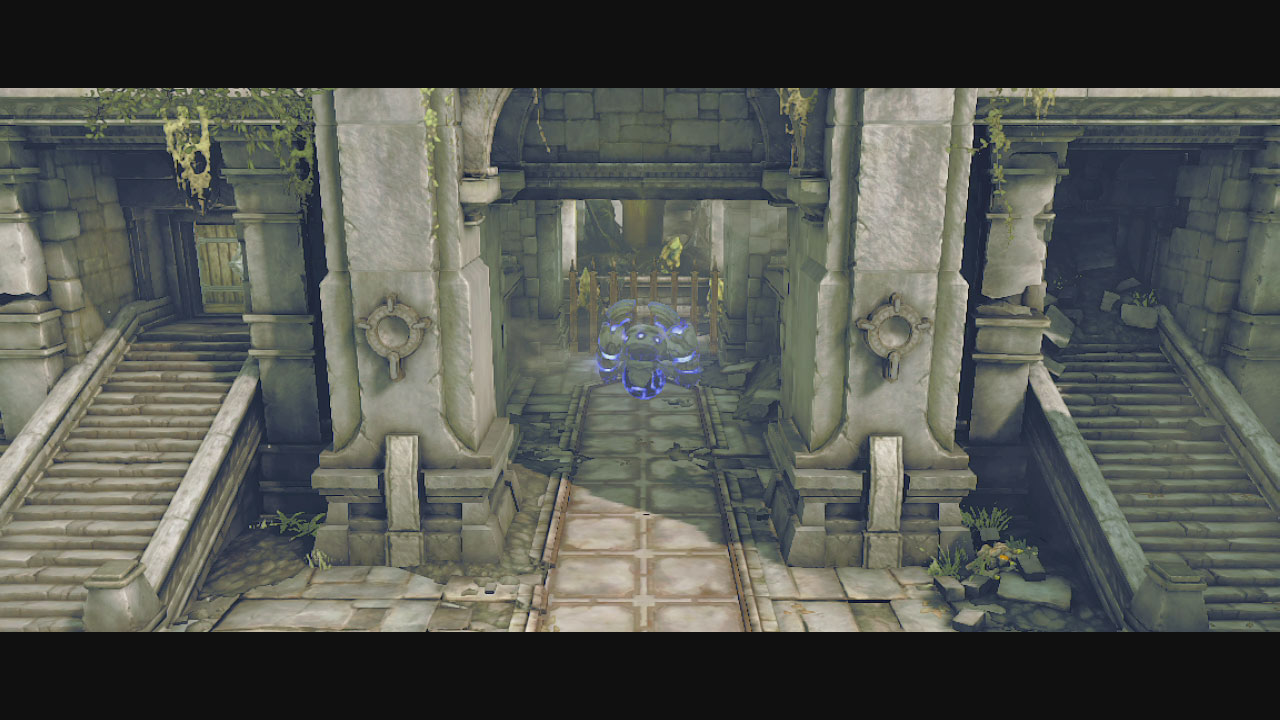
Kill the tainted constructs here and activate the golem. Use its extendy arms to destroy the yellow crystals on the opposite side of the water to reveal a switch. Use the wall vine to the left here to go back across to the original side and hit the switch to raise a bridge.
As you make your way back across, a bunch of constructs will spawn behind you. Rather than fight them, run over and mount the golem and use its attacks to turn them into scrap metal. Once they are dead, using the golem backtrack through the hallway destroying all the crystals and constructs in your path. Between the first and second corner, destroy the yellow crystals and enter the side room on the left for a treasure chest.
Once you are back in the main room, head straight across to the other side, destroy the yellow crystals to reveal a socket and get your golem to rest there. Look across the gap here and shoot the target to secure a rope bridge. Before crossing, drop down the pit. From the bottom, look up and shoot the blue crystal (Sticks and Stones side-quest), check out the side alcove down here for a chest.
Climb back up and cross the gap via the rope. On the other side, look to the left and shoot the bomb plant behind the blue ball. Grab the ball and place it in the socket on the floor to open the gate. Destroy the constructs that appear, grab a bomb from the newly accessible bomb plant and toss it at the blue ball.
Stand behind the lowered gate and shoot the bomb on the bll to de-socket it. The first gate will go up again and the one behind you will go down. Go grab that treasure chest for the skeleton key . Return to the main area and open the locked door.
Inside use the wall vine to climb across to the other side, kill the tainted constructs that spawn and then throw the switch to open the gate.
$$$item 1511
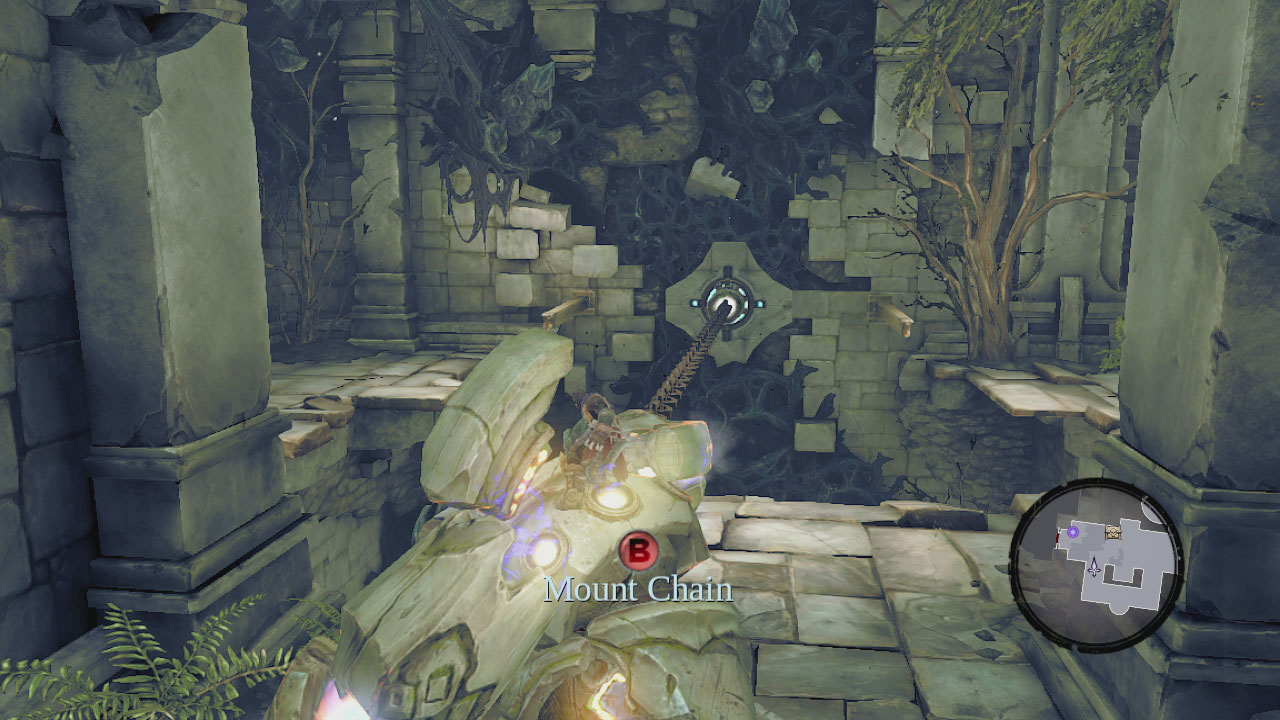
Return to your golem and detach the chain, ride it over and through the newly opened gate. Destroy all the yellow crystals in the first room and examine the room on the left for a chest containing the dungeon map.
Head around to the opposite side of the room to find a socket. Sit the golem in here and fire the rope across the gap, cross here and look behind the target for a chest. Return to the golem and continue to the East. As you do, pop it into the socket here to lower the gate and continue out into the next large area on foot.
As you enter a scene will play, and you will be attacked by a group of six construct sentinels. Fortunately they do not all attack at once, although the enemies they summon do get increasingly difficult and at the end you will be facing two construct champions, not a fun prospect.
They act essentially as any other heavily armoured boss/enemy you have encountered to date, just dodge and punish! Don’t forget to take down those sentinels as soon as possible, no one wants to kill a champion twice! Once the room is clear, enter the unlocked door at the back of the room.
The door at the far end of the room is locked, so cruise into the door on the left. Wallrun from wall to wall to reach the far end safely. As soon as you land, look behind and to the right to find a Boatman’s Coin .
Once you reach the dead end, look to the left to find a waterfall. In the space here you can wall jump back and forward all the way up to the top here. You can wall run around the corner here to get the chest you can see on the map.
Continue into the main area and look to the left for a chest and from here look towards the next door to see another. Look behind the tree at the Eastern side of the area for a Boatman’s Coin . Enter the unlocked door. Look to the right to find a deactivated golem. Activate it and take it round the corner and onto the lift. Return to the entrance and look to the raised platform on the left.
Climb up here and make your way to the top of the room. Here, climb the stairs, drop down the cliff to the right for a chest and then climb back up. Activate the second golem in the room here and bring it back down the stairs to the previous room and stick it in the socket to the right. This will bring the lift up. Dismount this golem, and go jump on the other one on the lift.
Move this into the next room and place it in the socket next to where you found the second golem. Go retrieve the golem in the previous room and drive it through the now open gate, follow the pathway to the end noting the raised gate along the way and park it in the socket here. Shoot the yellow crystal here across the way to destroy it and then shoot the target opposite.
Grab the first golem and bring it over to the cliff to the right, park it in the socket here to unlock the door on the other side. Jump over to the wooden beam and then to the chain, run back across to the golem and down the hallway behind it to see the gate halfway along is now open. Pick up the Book of the Dead page here. Return across the chain, over to the next beam and through the open door on the other side of the gap.
$$$item 1467
After the short scene, kill the two constructs here and use handholds, beams and wall runs to make your way across to the next door. As you approach it, you will be attacked by 5-6 prowlers. Kill a few of them and a pair of stalkers will appear. Once they have been subdued, continue through the door.
Kill all the golems and stingers at ground level and head up the wall on the left. At the top, shoot the bomb plant above the ball to send it down to the room below. Use the beams here to get into the small room opposite the ball statue to find another page of the Book of the Dead . Drop down and roll the ball into the socket on the floor to unlock the door.
Cruise on through and you will have to fight a pair of construct champions and an assortment of tainted constructs too. If you have your reaper form ready, this might be a good time to use it! Once all the bad guys are dead the door will open.
Check out the boxes on the left side of the room, one set contains a Boatman’s Coin when destroyed. Be sure to check all the destructible stuff in here if you are in need of some health potions and then head through the door. Cruise up the stairs here and get your game face on. Its boss time!
$$$item 1468
Stonefather’s Vale
After a scene you will find yourself in the Stonefather’s Vale. Head on into Tri-Stone. Hand in the Side-Quest Shaman’s Craft and you will receive the item – grim talisman . Head downstairs and talk to the Elder.


No Comments