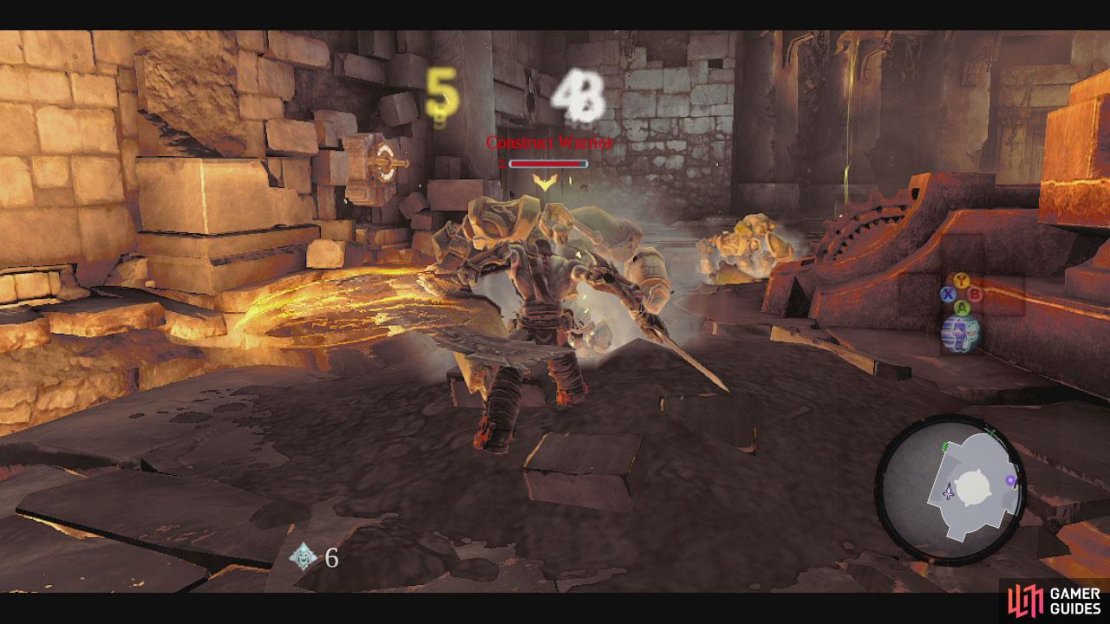
As you enter, use the lever in front and to the right to unlock the door at the end of the room. Cruise on through. Head to the back of the room and dispatch the golems. Open the chest here and note the spiky yellow growth opposite. Return to the entrance and look to the right to find a glowing yellow, spiky ball – these are your bombs.
Grab one of these and toss it at the yellow crystal growth at the back of the room for the second chest. Opening the second chest will consequently cause a couple of extra golems to spawn, so take them down.
Return to the bomb plant and throw a bomb at the lever across the gap in front of you. This will open the door to your right. Inside you will find a locked door to your left – we’ll need to find a skeleton key for this bad boy. Kill the golems at ground level and continue through the unlocked door to the North.
As you enter, you will be standing in front of a lava pit, move to the edge and look down to see a Boatman’s coin and platform you can walk down to grab it. Once you have it, look on the left side of the room and use the handholds to traverse the gap.
Drop down here and jump across the pit, continue round the other side. On the opposite side of the room you will see another bomb plant and a wall vine. To the right of those is an opening in the wall and further to the right a locked door.
Look at the bomb plant and turn to the left, on the wall directly opposite you should see a handhold. Climb up her and use the pole and the beams to reach a set of handholds higher up that will allow you to cross the gap and grab the vine wall. Drop down onto the bomb platform. Grab the bomb and throw it at the lever in the opposite right-hand corner. This will unlock the door. Once the lever has been activated, drop off the bomb ledge to the left for a shortcut back to the door and enter.
Upon entering the room, the doors will lock and players will be introduced to a new type of construct. These guys are green, have a little additional armour and can throw rocks in conjunction with hard hitting melee attacks. He will not be alone however, as you will need to take down the green guy as well as 6-7 regular constructs. Once they are all dead, the doors will open again.
Exit through the other door form whence we entered and continue along to the end of the hallway to find a treasure chest containing the dungeon map. Continue along the corridor into a large open room in which we can see some kind of fighting action taking place.
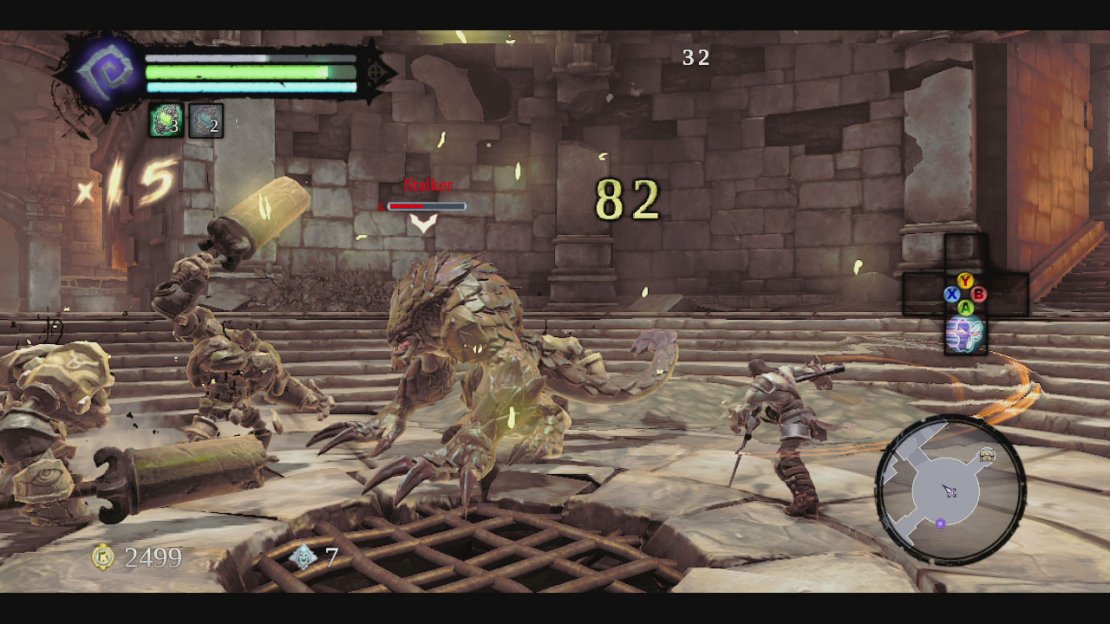
Here you will find a stalker being attacked by a group of golems. To proceed you will need to kill everything. If you picked up the side-quest from the shaman back in Tri-Stone, you will have gotten your first ingredient from this fight – Stalker Bones. Head up the stairs at the back of the room and open the chest to find a skeleton key. Destroy the destructibles in this room for a Boatman’s Coin . Backtrack to the locked door, use the key and head on through.
Grab the ball on the right side of the room and push it into the socket on the floor, this will flip a section of wall on the left side of the room.Climb up to the handhold here and shimmy all the way to the right. Lean back and jump into the room to grab another Boatman’s Coin .
Climb back up to these same handholds and this time, wall run to the right. Drop down behind the statue for a chest. Head back to those handholds yet again (last time I promise), and this time continue to the left and up into an opening.
Continue around to the left and pick up the chest on the right. Continue into the dead end and wall run up the block to access the handholds above. Jump backwards from the top and you will find another chest. Return to the previous handholds and use them to make your way around the corner and onto a wall vine. Climb down to the floor below. Behind you, you will see a hole in the wall here. Head through the gap and hit the lever to unlock the nearby door, revealing another skeleton key door within.
Cruise down the hall, dealing with the golems if you wish and head in the right hand door. Inside, kill the golems that attack you. You will find locked gates to your left and in front, and yellow growth to the right, look in the alcove to the right of the doorway for a bomb plant. Pitch one of these at the yellow growth.
This will free a glowing ball. Ignore the glowing slot on the ground for now and push it across to the other side of the room and push it into socket on the floor in front of the gate to the right of the entrance. Head into the gate and ignore the ball for a second, look to the right to find a Book of the Dead page .
Pull the ball out of the gate and place it on one of the sockets on the opposite side of the room. Return to the bomb plant and toss a bomb at the first ball to dislodge it. Push this ball into the other socket opposite the entrance to make the treasure chest accessible. Open the chest for a skeleton key. Return back to the previous room and open the skeleton key door.
Once inside, note that you can destroy the destructibles in this room to the left for a Boatman’s Coin . When you are ready, hit the lever ahead and to the right to raise a circular platform with conveniently placed handholds. This is only here temporarily though, so quickly climb the wall to the right and continue over the gap. Drop to the platform and shimmy around the handholds before the cauldron sinks back into the lava again. Enter the doorway at the end of the room.
Here look on the right hand wall for blocks we can use to climb. Use these and the handholds to make your way to the top. Here grab the bomb plant and look down to the left to see some yellow crystal growth on the ledge here. Destroy that, jump down and grab the chest here. Repeat the process to get back up to the top of the room again.
Grab the bomb again, but this time you will need to toss it all the way across the room to hit the lever. This will raise the molten bucket again creating a bridge that allows Death to cross the room. Climb the stairs on the opposite side and into the large room here for a boss fight.
$$$item 1460
For victory, players will be awarded a weapon – Dark Avenger. The door will now be unlocked, so head on through. Open the chest in the hallway here for some loot/gold and continue through the doorway at the far end.
Here you will see what looks like a giant hammer to your right. Opposite this is an open entryway, so head through here and find the chest tucked away in the corner. Return to the hammer – it turns out its really a lever! Push it around in circles until a scene plays. Huzzah! You’ve completed the Cauldron.
Before leaving, destroy all the crates and other destructible to the right of the lever to find another Book of the Dead page . Exit through the door opposite the one you came in from. Look over the railing to see a Boatman’s coin. Jump over and grab it on the way down. At the ground level, look to the right of the stairs to find a chest. Exit the door here and head out the left hand door to exit the dungeon.
Talk to Karn and if you picked up the Shaman’s Craft side-quest, ask about Mordant Dew.
Fast travel back to Tri-Stone and talk to Alya. She will give you your next objective and Redemption, a sexy, powerful pistol.
$$$item 1461


No Comments