After entering the door, turn to the left and use the green wall pad here with the phase walker to take the room back in time. Enter the portal and head over to check out the balcony to the right. Behind the statue you’ll find a Boatman’s Coin . Make your way down the stairs here and to the circular platform in the middle of the room.
As you arrive gates will appear around you, blocking your escape. You will have to fight a legion champion. These guys carry a whip around and have a very long attack range. Additionally they can do a spinning attack and can use their whip kind of like death grip to draw you over to them. Of course killing just one would be too easy, so after the first one drops, be prepared to take on another two along with some legion soldiers as well. Once you have fought them off, the gates will open. Look at the statue to the north of the room and shoot the crystal on its stomach for a Stone of Power .
If you look around the room there are a number of doors barred by gates. As there is only one open gate and we have nowhere else to go, head to the eastern side of the room and up the stairs to the right. Enter the open door here. Check out the passage to the left of the stairs to find a chest, then return to the start and head on down and at the bottom make your way left.
At this point, you need to wallrun across the right wall to the next platform. Here, run and jump (not a wallrun) and use death grip to grab the death grip ring here. Wall jump back and forward up to the platform at the top to find a chest containing the Dungeon Map. From here, use your platforming skills on the left wall to wallrun over to the far wall. Climb up to the platform here and kill the legion soldier who attacks.
Continue through the doorway and follow the hallway to the end killing any demons unlucky enough to get in your way. When you reach the circular shaft at the end of the passage, rather than death gripping across right away, look down and to the right to locate a handhold below. Run and jump to the right to fall down to it.
$$$item 1554
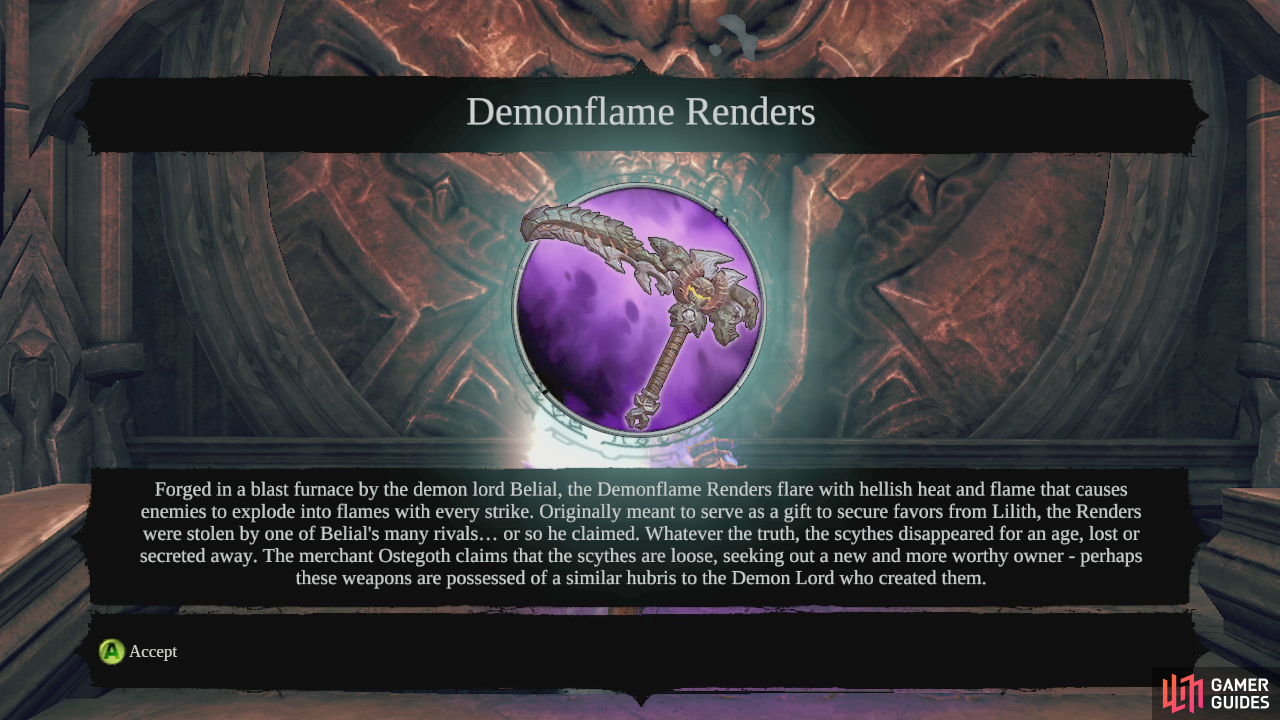
Follow the handhold to the right and exit into the hall. As you move along the hallway, look up as you go to find a death grip ring above. Use this to climb up and wall jump to the top. When you get there, you’ll find a Boatman’s Coin nearby and a legendary weapon – Demonflame Renders. From the centre of this platform, look to the roof to the south to see a crystal, shot it for a Stone of Resistance. Drop back down to the hallway and use the death grip ring at the end to jump back up to the platform where we got the dungeon map. Continue on as before until you reach the large circular shaft again. This time use death grip to swing across to the other side and climb to the top. When you get to the balcony, climb up and look to the right in a corner for a Book of the Dead page. Use the door here.
$$$item 1566
$$$item 1495
You will return to the room with all the locked gates we were in earlier. Throw the switch in front of you and kill the legion champion that spawns. You will find yourself standing next to a green phaswalker pad. Ignore it for the second and head to the northern part of the platform to find some handholds. Drop down to the platform to the left for a chest then return and shoot the phasewalker pad. Enter the time shift portal.
As you exit, look immediately to the right for a Soul Arbiter’s Scroll and to the left for a chest. Head to the ledge and drop down to the large circular platform below. Kill off all of the scarabs that appear and then head across to the other side of the platform and use the death grip ring to climb up to the next area. Continue along the ledge to the south and through the door.
Cruise down the stairs here and kill all the scarabs in the immediate area. To the right you’ll see a locked blue skull door across a gap and ahead various other platforms that we cannot access as yet. For now let’s make our way into the southern hallway and kill all the scarabs in here as we go. On the wall to the right of the exit is a phasewalker pad. Ignore this for now and continue to the west, navigate the hallway until you re-emerge into the large room.
Climb up the stairs to the right here and then head up a second set of stairs on the right. Here you can pick up a Boatman’s Coin . From this location, look directly north to see a blue stone on the wall. Hit that for a Stone of Power . Return down the first set of stairs and locate the stairs heading down on the east side of the area. From the top of these, look up and to the right to see a portal pad. Shoot this with the phase walker, descend the stairs and look to the left at the bottom. Shoot the second portal pad here. Use death grip to swing across into it. After emerging from the portal you will be on the ledge above. Look behind the statue in the far left corner of the platform for a **Book
of the Dead page** . Make your way to the west side of the platform and wall run down to the platform with the chest below. Jump down to the south to re-enter the main room.
$$$item 1610
$$$item 1555
$$$item 1496
Look in the alcove to the westernmost wall of the main room to find a phasewalker pad. Activate this and head through. As you enter the past, turn right and enter the hallway here, follow it to the end for a Boatman’s Coin. Return to the phasewalker pad and rather than heading through, ascend the stairs opposite. Kill the maelstrom and legion soldiers here. On the left hand side, near the set of stairs heading down you will run into a pressure pad. Stand on the pressure plate and enter soul splitter mode. The pressure plate will activate a gate back on the platform with the phasewalker pad. With clone 1 enter the door here and jump across the gap to the hand holds, wall run up to the next platform. Kill the enemies here and look behind the statue at the back right of the room for a Relic of Etu-Goth.
$$$item 1581
Grab the bomb growth here and destroy the crystal in the room here (return here later when shifted back to the present and you will find a Soul Arbiter Message ). Grab another bomb and head back into the tunnel to the west (where we came in from). Stand at the edge of the pit here. With clone 2 enter the same tunnel and jump to the first platform. Death grip the bomb from clone 1. Walk to the other edge of the platform facing the large room. Switch back to clone 1 and run past clone 2. Drop down to the ledge below. Use death grip to grab the bomb from clone 2 and exit to the main area. Toss it up at the yellow crystal in the centre of the room to destroy it.
Reactivate the phasewalker pad and return to the present. Now that the crystal has been destroyed, make your way to the centre of the room for a chest containing the skeleton key. Backtrack through the hallway to the south and now activate that phase walker pad we ignored earlier. Use this to go back in time. As you exit the portal look left for a chest, destroying all of the destructibles in the room will spawn a chest in the other alcove.
Head back through the corridor to the east and exit back into the main room. You should note that you now have access to the skull door. From here face the centre of the room and look to the wall left of where the yellow crystal was for a red crystal shoot it for a Stone of Power . Head over to the skull door and open it using the key.
Follow the hallway and at the top of the stairs in here, exit back into the main room again. As you enter, you’ll see a switch in front. Ignore this for now and head south. Drop down to the right to a platform below, kill the legion soldier here and loot the chest. Make your way to the middle of the hallway here to find a phasewalker pad. Activate this.
Enter the portal and turn left. Find the blocks and handholds nearby leading to an upper level. Enter the door here and continue to the end to find a GnoMAD’s Gnome . Drop down to the platform below and look across to the East for another set of blocks leading up. Ignore these for now. Do a 180 degree turn and activate the portal here, now run all the way to the east to find a gap with a Book of the Dead page opposite. Go to the very edge and move as far as you can to the left. You should be able to make out another portal pad on the wall to the right of the page. Shoot this and return to the previous portal to pick it up.
Return through the portal and climb up the handholds we ignored earlier. Enter the door to the right. Follow the hallway to the end for a scene. After it has played out, climb the stairs and activate the phasewalker portal. Cruise on through to the past for a scene… And a boss fight
$$$item 1611
$$$item 1556
$$$item 1620
$$$item 1497


Congratulations, you have completed the Black Stone! Loot the chest that appears where Samael’s throne was and fast travel back to the Tree of Death.
The Tree of Death
Once you arrive here, go and have a chat with the Crowfather. You will watch a short scene here and you will find out about your next course of action.

No Comments