Move forward and destroy the mummies in the immediate area. Once clear, look back at the lift and to the right of the stairs you just walked down, you will see a Boatman’s Coin tucked away sneakily in the corner. Grab that and continue down the main path and into the door. Kill more mummies in here and exit into the next room.
As you enter you will see a pressure plate that will raise the gate in front. To the left you will see two ledges covered in yellow crystals. For now we want to explore the right side of the room and climb up the various handholds here. On the top ledge you will find a bomb plant. Destroy all the crystals you can see.
Drop down and head to the opposite side. See the tall golden pillar here? We can grab this with our death grip. Do so to bring it down to your level. Drag it over and place it against the gate. Whilst you are here you can also wallrun up to the platform on the left for a chest. Return to the pressure plate and if you destroyed all of the crystals, you will see another bomb plant above and to the left of you. Step on the plate to lift the gate, then grab the plant with death grip and toss it at the golden pillar to push it under the door. This will prevent the gate from dropping all the way to the floor. Hurry on over and under the half open gate.
The next room features another lift with crystals to activate. As you enter look up and to the right to see a crystal we can shoot for a Stone of Mystics. Ignore the lift for now and head straight through to the room beyond. Kill all the mummies in here and grab the chest. Look behind the statue at the very end of the room for a Book of the Dead page. Return to the lift.
Note that the four crystals here each have a different Roman numeral associated with it. These are indicators for the floors this lift will stop at. Let’s knock the crystal for level 1 first and head down to the bottom of the dungeon.
$$$item 1517
$$$item 1477
Level 1
When the lift stops, head through the open passage to the east. As you reach the edge of the platform, look to your left to see a death grip ring. Jump up here and pull yourself up the ledge at the top for a Book of the Dead page. There is another chest on the far side of the gap here but we can’t reach it just yet, so return to the lift room and check out the two doors here. Let’s check out the northern door first. Inside, run forward. As you reach the edge of the platform, look to the left and slightly behind you to spot a way up. Follow the handhold around the corner until you can go no further then lean back and jump off the wall to grab the Boatman’s coin and land on the platform below. Activate the switch here. This will raise the cage with death grip ring on the right and replace it with one on the left. This new cage also has a bomb attached to it. Use the new death grip ring to jump across to the other side of the room. From here, look in the back corner here for a chest containing the Dungeon Map. Next, grab one of the bombs and throw it onto the switch we activated just before. Return to the entrance to the room. From here, shoot the bomb to lower the cage in front of you. Jump and death grip to it as soon as possible and then quickly death grip across to the second cage as it rises to be catapulted over to the far side of the room. Climb the stairs here. Open the chest for a skeleton key. Backtrack to the elevator and kill the three wraiths along the way. Hit the switch to go up to the third level.
$$$item 1478
Level 3
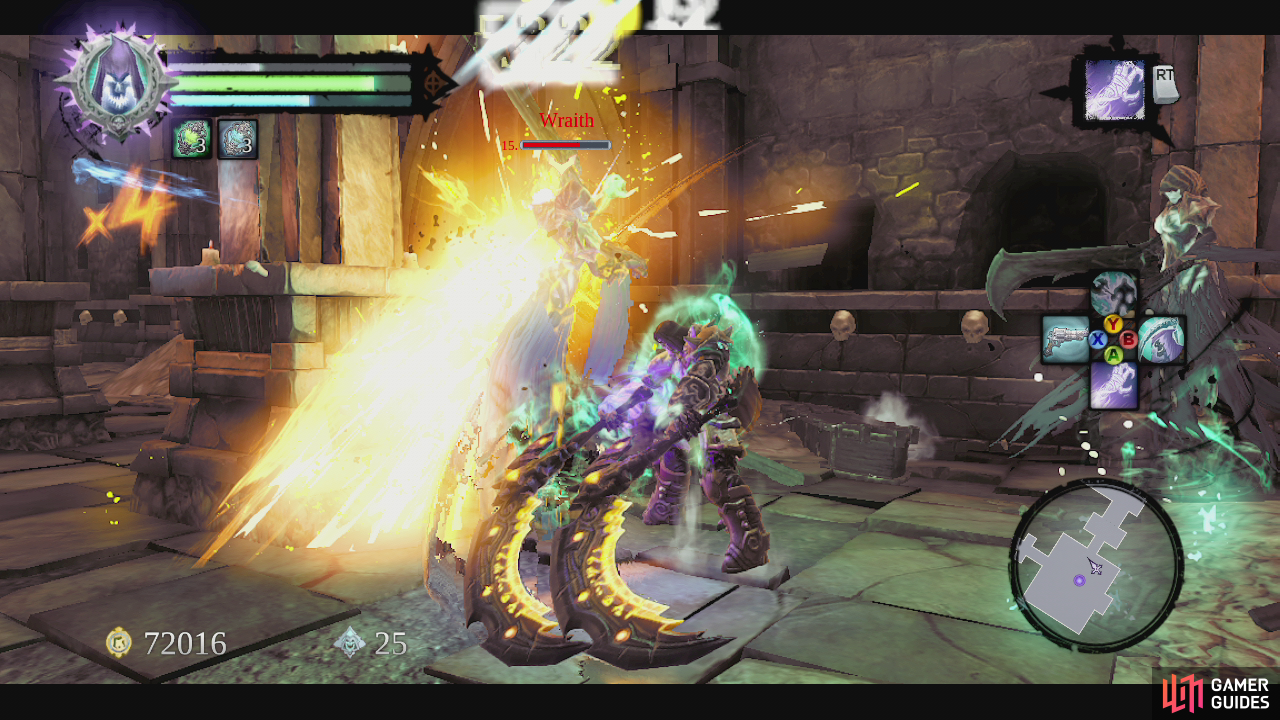
As the lift stops, head over and open the skull door here. Cruise through the passageway killing the mummies if you like and enter the large square room at the end. Here you will have to fight off four wraiths! Tricky stuff, just use lots of dodging and remember that you can use death grip on them to stun them for a short while. Once they have been dealt with, an undead general will appear. This guy is almost his own mini-boss. He has a shield and can block just about all of your attacks. To kill him you need to lure him into performing a charge attack, dodge out of the way and then use death grip to get in close. Hit him 4-5 times and then dodge away. Repeat until he dies. After he is dead, and if you haven’t already, destroy the destructibles in the north west corner of the room for a Relic of Etu-Goth and the south east corner of the room for a Boatman’s Coin. Find the gate the undead general entered the area from (it’s the North entrance) and follow the hallway here. Keep your eyes out for a caged skeleton to the left in an alcove. Behind this is a Soul Arbiter’s Sacred Seal. Grab this and continue north along the hallway until you exit onto a ledge above the lift. Jump on the handholds to the left and follow the platforming section around to the raised platform on the other side of the lift room. Enter the door here. Look at the statue right in front of you and shoot the crystal on him for a Stone of Power. Now, shoot the bomb plant on the left to destroy the corruption crystal here and wall run across to the pole.
$$$item 1570
$$$item 1601
$$$item 1539
Level 1 (Again)
Slide down back to the first level and wall run twice to the left to grab a chest then return to the first pole we slid down. Slide down a little more this time and jump backwards to the pole behind. Jump again to the right and over to the vine wall. Climb up to the platform above. Throw the switch here to raise a bridge. Drop down and push the golden pillar off of the platform here. Push it back across the bridge to the space beneath the lift. Backtrack across the bridge and all the way back up to level three via the wall vine and poles. Return to the lift room and hit the crystal on the lift to take it back down to level 2.
Level 2
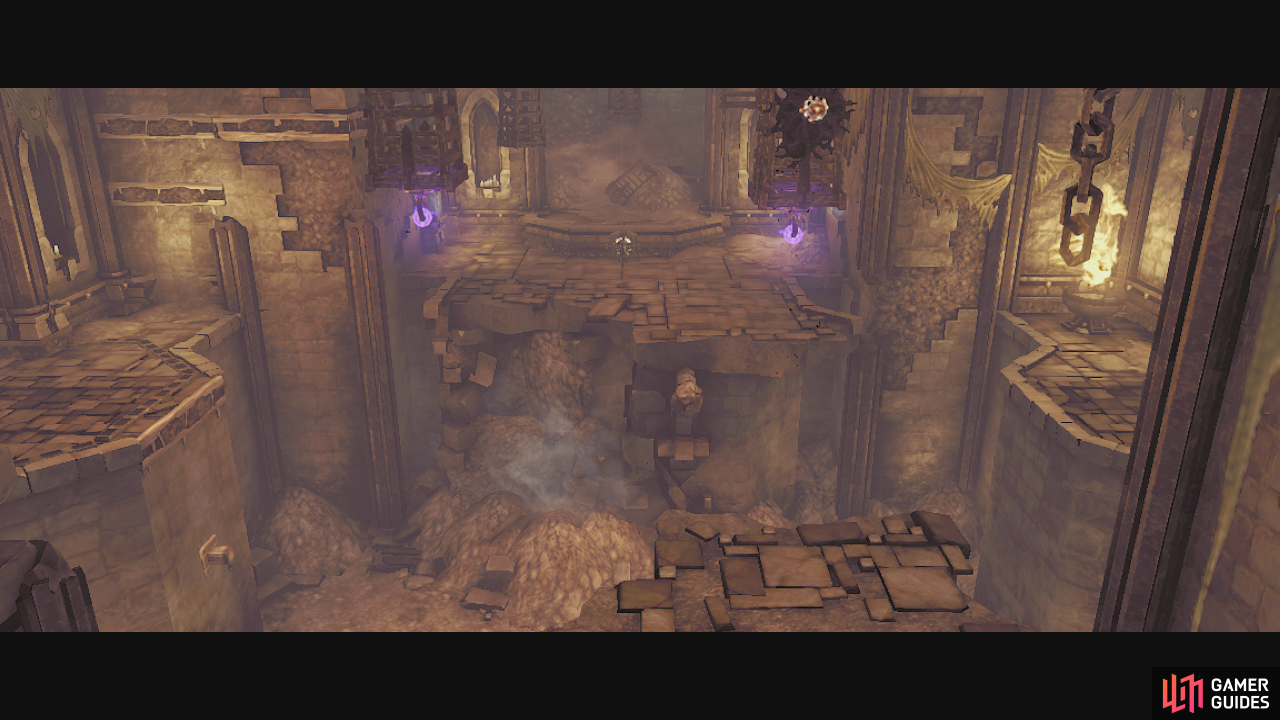
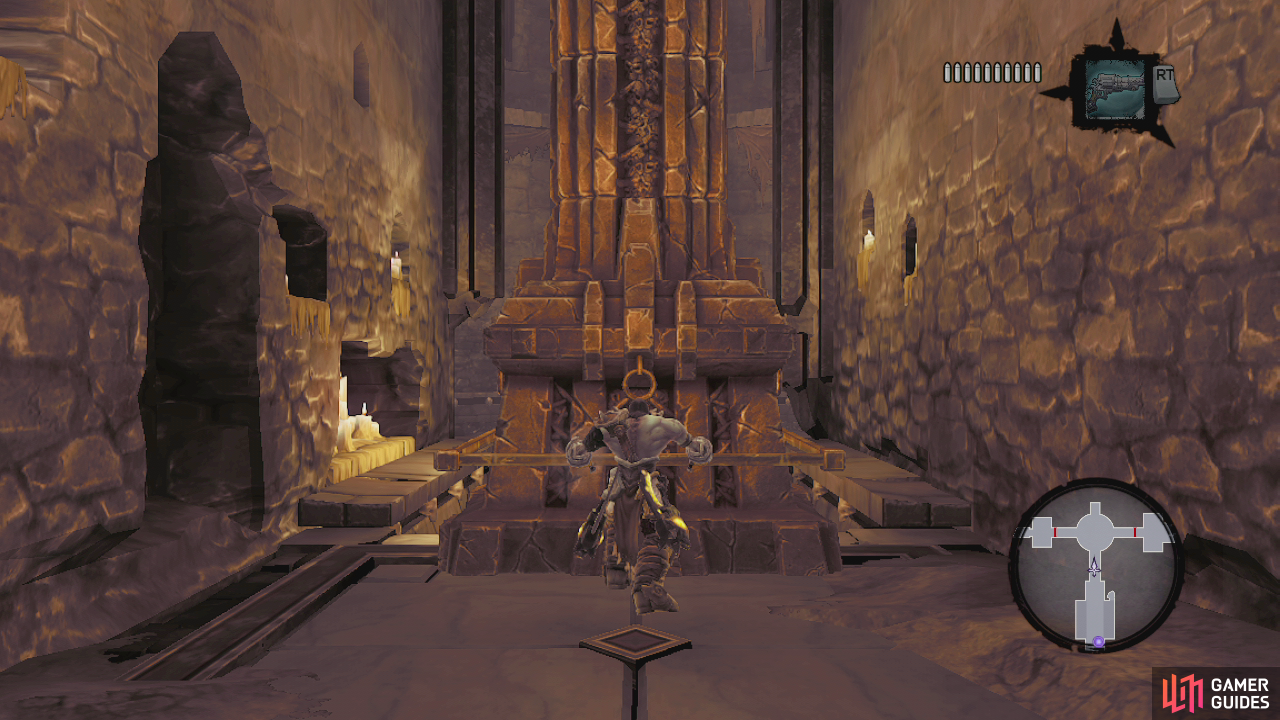
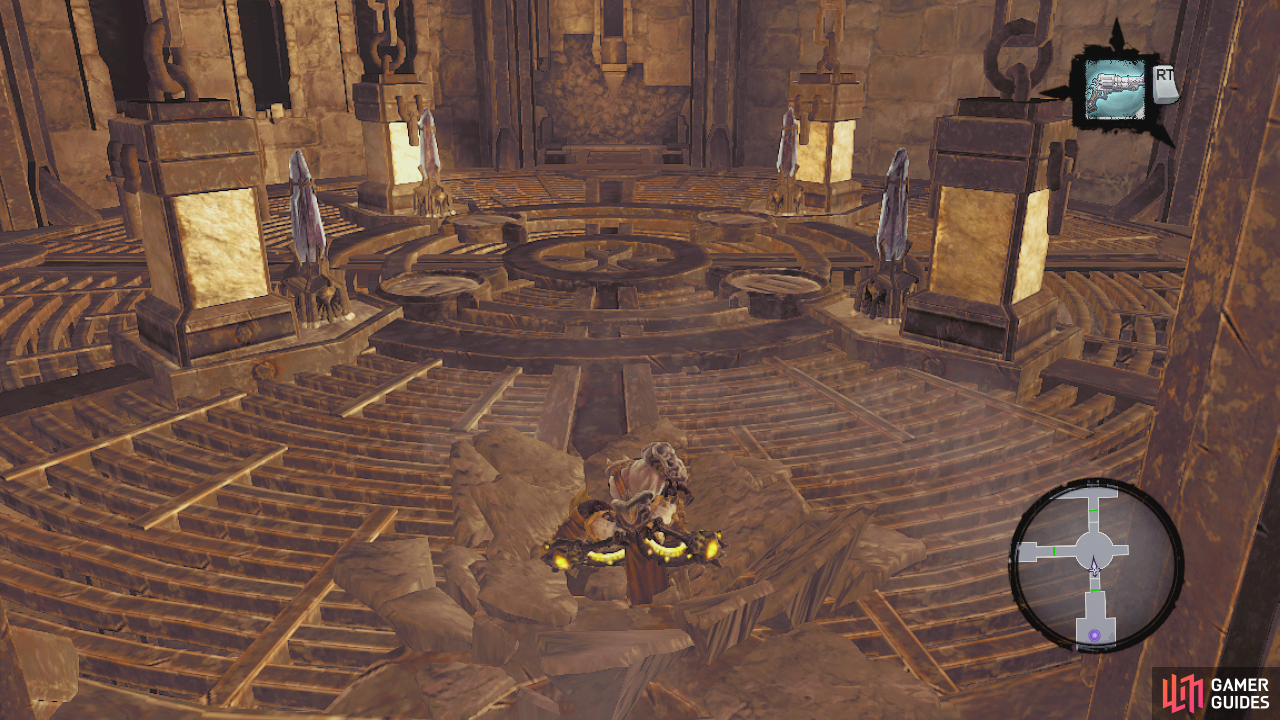
Enter the big glowing green door here; follow the hallway until you reach the circular room at the end. Step on the pressure plate here to lower the spikes and roll across into the arena. Boss time!
You will be rewarded with the Interdiction ability - you can summon Dead lords! These guys are great and have the ability to pass through some walls, weigh down pressure plates for you and help you out in combat when necessary.
Before exiting, let’s go and loot a few more chests. Step on the summoning circle on the floor nearby and summon a dead lord, send him over to stand on the pressure plate to open the gate, Open the green skull door again and head straight across the room. Drop down to the first level here.
Enter the room down here to the south. Stand on the summoning circle and summon a Dead Lord. Send him through the gate to step on the pressure plate. Continue into the room at the end. Kill the mummies in here and look towards the statue. Behind it you will see a yellow crystal. There is a bomb plant in an alcove in the wall on the right side of the room so grab that and use it to bring the crystal down.
Drop down the hole here and use the summoning circle to the right as you enter the room. Get the Dead Lord to activate the pressure plate in the centre of the room to allow you to loot the three chests. Be forewarned though, opening the chests will cause a large number of enemies to spawn including Skeletal Generals, wraiths and regular skeletons. I strongly recommend opening one at a time and dealing with the threat before opening the next. It is possible to clear out the entire room after opening all three chests in quick succession (I managed to do it the first time through), but you really don’t need to. If worse comes to worse, and you feel a little overwhelmed you can get the Deadlord to help you by targeting him again with interdiction.
In the corner to the far right as you enter you will find a Soul Arbiter’s Seal scrawled on the wall.Now that we are all done with Phariseer’s Tomb, lets fast travel back to the dungeon entrance.
$$$item 1602

 Sign up

No Comments