The Pinnacle
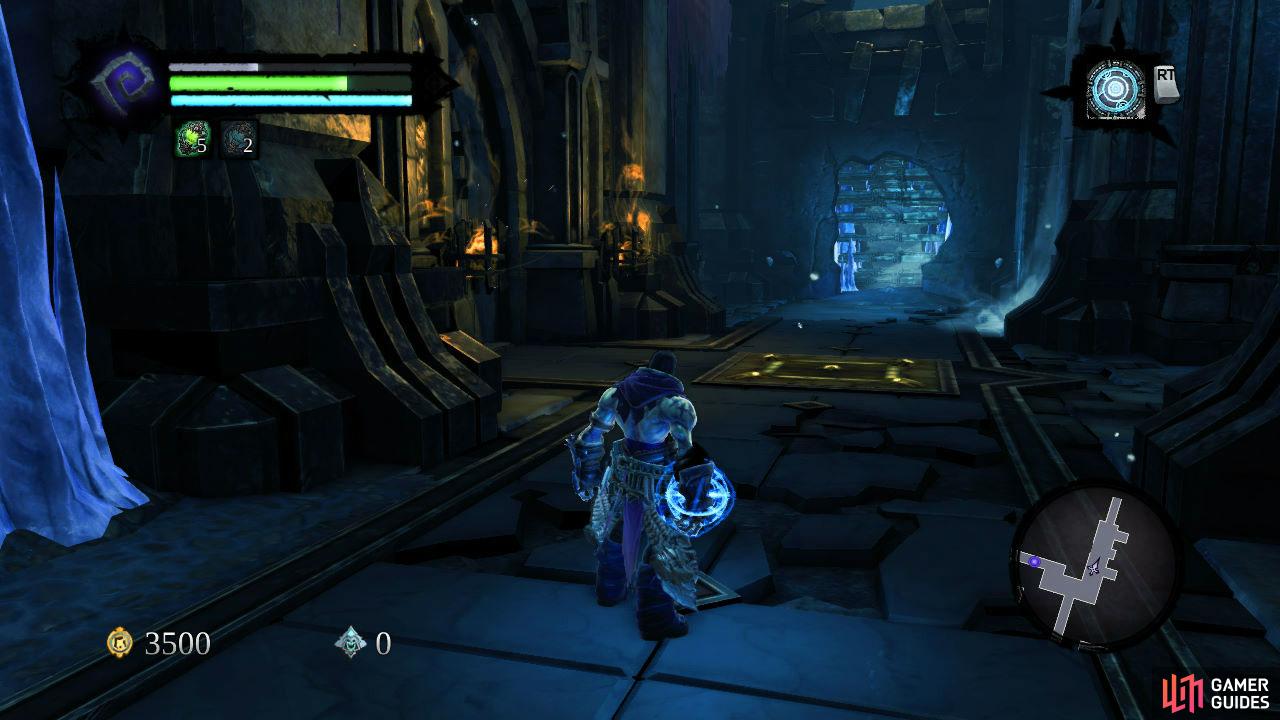
When you are ready to proceed, continue through the door that will open for you at the very end of the path to the north to enter the second dungeon - the Frigid Spire .
The Frigid Spire
As you enter, continue to the end of the hallway and climb the spiral stairs here. At the top you’ll find a pair of voidwalker pads. Place a portal on the farthest pad and then activate the one closest to you. Look through this and you should be able to make out another portal on the other side, activate this and then step through to land on the far platform. Enter the door to the right.
Here we’ll find another room with an inactive lantern statue. Ignore the passage to the east and continue through the unlocked door on the north side of the room. Kill the ice prowlers and champion in the hallway here and look into the room to the north to find a portal pad across a gap. Activate this and then return to the hallway. Follow this to the east and shoot a charged portal onto the portal pad on the floor across the gap in front and then hop over and into it.
Kill the bad guys that attack you after entering the portal and then return back through the portal to be launched up into the air. Whilst in mid-air use deathgrip to grab the ring above to pull Death across the gap to the platform above. Kill the ice skeletons here and note the locked skull door at the far end of the hallway to the north. There’s nowhere else to go for the moment, so cruise down the stairs to the south and enter the door at the bottom.
Follow the passage around the corner, ignoring the passage to the west for now. Check out the first small room to the right to find a chest and then step on the pressure plate on the floor. This will open several gates in front.
Once they are open, activate the voidwalker pad at the far end of the hallway behind the now open gates. Enter the room to the left. Killing the ice stalker and champions in here will unlock the nearby grate, allowing you to activate the portal pad on the wall here. Do so and then jump through to the next area.
Enter the door to the right and as you enter, look to the left. You’ll see a pair of portal pads here. Fire off a charged portal at the far side of the room and at the one closest to you, before heading down the stairs and using deathgrip to run up into the portal here. You should exit out onto a hanging pole. Lean back and jump back through the portal you came from and the charged portal should propel you onto a higher platform.
Continue until you reach a long rectangular room. Inside a scene will play and you’ll have to kill a frost weaver. In addition a good number of (8-10) ice skeletons will jump through the windows on the left. Once they are all dealt with, the door on the southern side of the room will open. Head on through and drop down to the room below.
Here you’ll notice a movable block in the centre of the area and a pair of portal pads on the floor flanking it. Place charged portals on both pads on the floor and then push the crate into one of them which will cause the block to start bouncing up and down on either side of the room. Make your way to the western side of the area and climb up to the ledge above using the handholds.
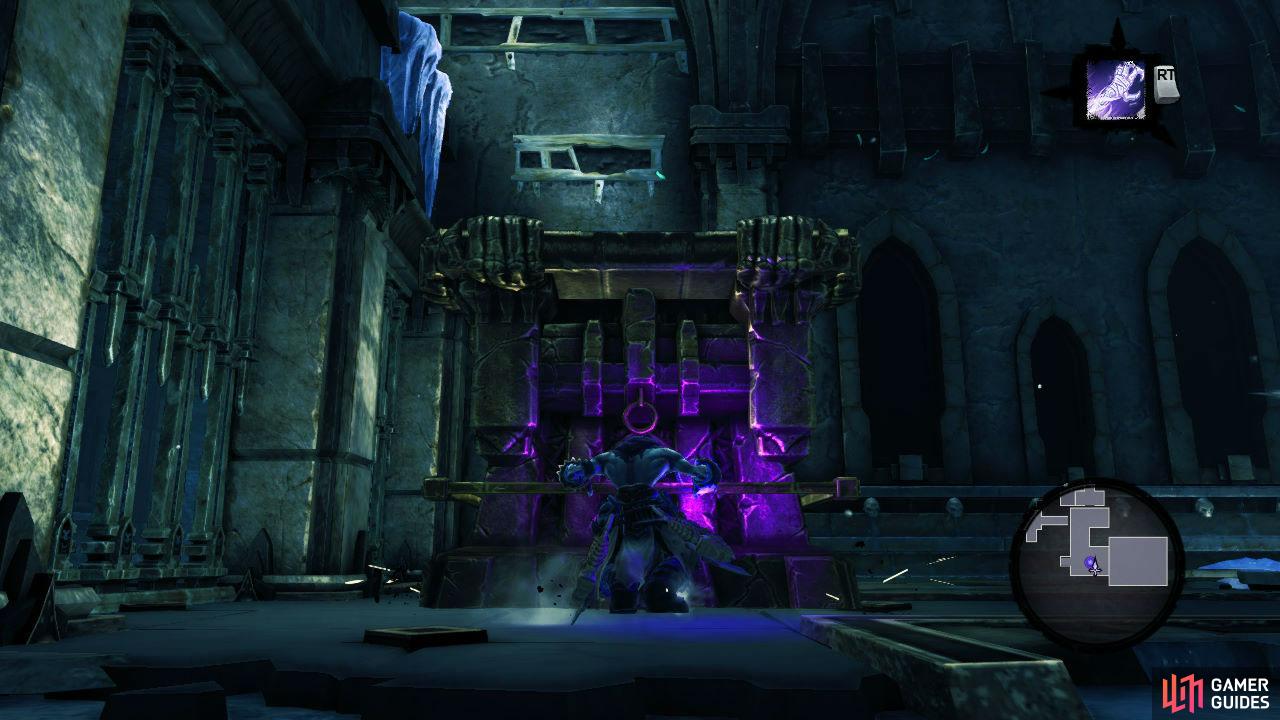
Stand facing the centre of the room and when the box pops up from the portal closest to you, use deathgrip to pull it across to you. Grab the crate and push it into the wall on the northern side of the area, jump up on top of it and wall run up from here to grab the handholds above.
Drop down onto the upper ledge and throw the switch. This will open the gates below. Drop down and you’ll see a lantern in the alcove to the west. Ignore this for now and grab the nearby box we just used to get up to the switch. Push the block into the hallway and drag it all the way to the north. When you reach the corner, take it to the right and plant it against the wall here below the portal pad.
Return back down the passage and grab the lantern. Take it to where we left the box and drop it nearby. Climb on top of the box and activate the portal here and look above the blocked doorway to the east to see another portal pad above, activate this, then deathgrip the lantern up to you and jump through the portal.
Drop down into the previous room and head over to the passage to the west that I told you to ignore earlier. Place the lantern on the pressure plate here to have the gate in front open. Run over to the opposite side of the now open gate and use deathgrip to pull the lantern over to you. Climb the stairs and give it to the statue here.
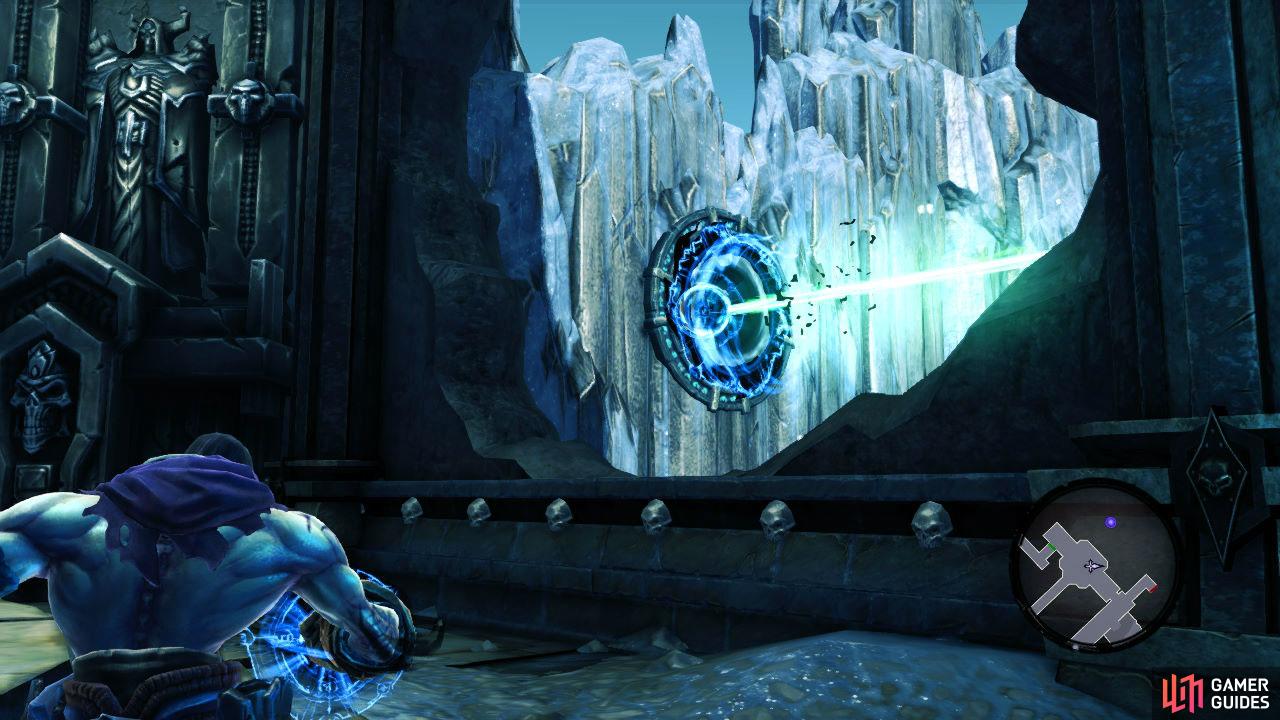
Once the statue has been activated, look where the green laser is firing, out the window here to the left you’ll see a portal pad. Activate this. Now rotate the statue twice, so it is facing the stairs we just ascended. The beam will now be hitting another voidwalker pad. Activate this to have the laser unlock a door. Make your way over to and enter the now unlocked door and wall run back and forth between the walls to cross the gap.
Open the chest to the left and then enter the main room here, none of the crystallised skeletons here will attack just yet, so head over to the north side of the room and open the chest here for a skeleton key.
Return to the main room to fight the frozen baddies. Once they have been dealt with, a pair of ice stalkers will attack, so kill them to unlock the gates. Continue up the stairs to the east and pull the lever at the top to open the gate. Head to the left and use the skeleton key on the door. Move forward a little for a scene and a boss fight.
Boss: Frostbane

This boss can be a real pain to take down (unless you’re a really decent level), so when you nip in to attack his face on the ground, make sure you only go for one or two attacks before immediately dodging backwards out of its reach.
Strategy
Frostbane will alternate between attacking from the ground and taking to the air. When he is grounded, this is your time to deal damage to him. He has a few attacks based around various swipes and will run around the arena trying to charge or get a cheap shot or two in on you so the strategy here is to attack him when its safe to do so.
After he has taken abit of damage, he will pull back to a corner and lift off the ground and fire ice shards at you, at this point you cannot damage him, so focus on dodging the icicles as they fall - these will be highlighted by the big blue circles that appear on the ground. Afterwards he willclimb upo very very high and dive bomb you - when you see this coming you will need to dodge 2-3 times to get as far as you can from the point of impact or the blast as he hits will freeze you solid.
Afterwards; repeat the process of damage dealing on the ground and avoiding attacks from the air, after 3-5 cycles of this, the boss should have taken more than enough damage to hit the dust.
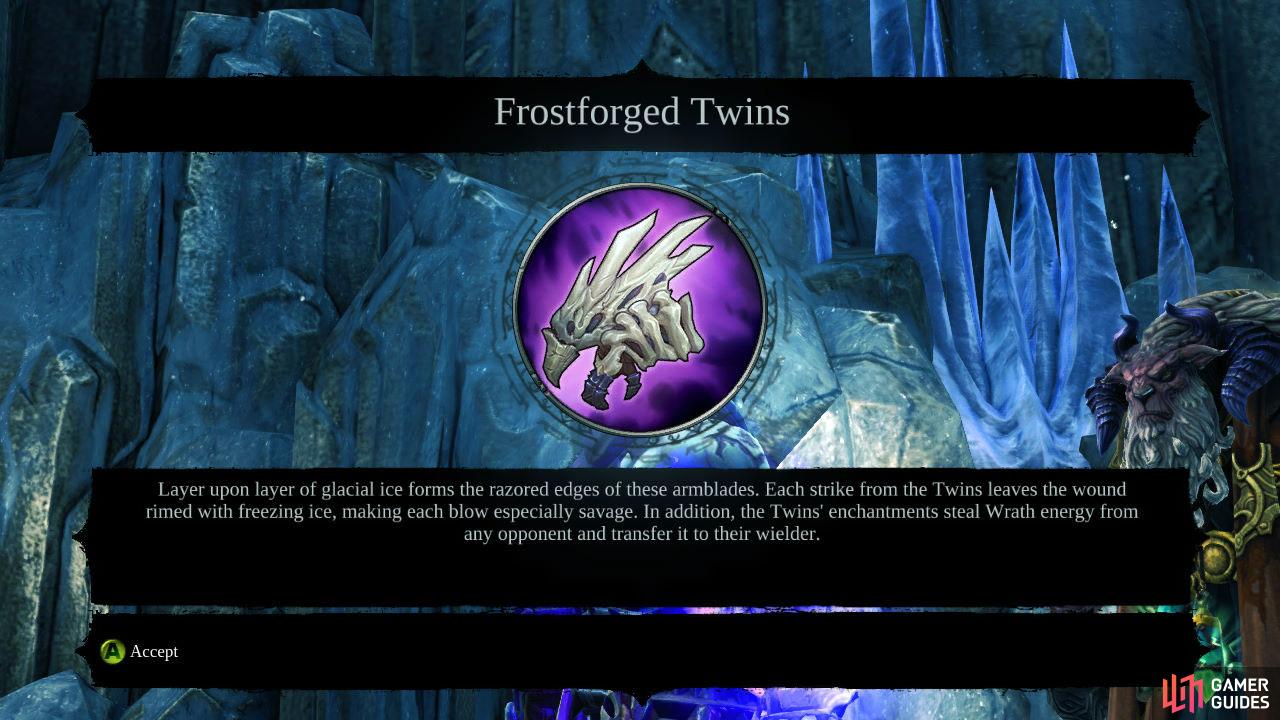
Return to Ostegoth, after a short scene you will get a message indicating he has sent you an item. Check the nearby serpent tome to see he has sent you a legendary secondary weapon – Frostforge Twins. Huzzah! Oh, you’ve also reached the end of the DLC, congratulations!
No Comments