The Nook
At the top of the stairs, look to the left for a chest, then cruise down the passage next to the stairs into the corner, destroy all the objects here for a Boatman’s Coin . You can also use the Maker’s key on the golem here to activate it and use it as a vehicle of sorts. Fun!
Ride the golem over and have him park in the socket on the floor. From here use the pistol controls to have the golem shoot the switch in the pit in front to extend a chain we can use to tightrope across. Mount the chain and climb up to the platform above.
Open the door. You will be attacked by tainted constructs, which are essentially regular constructs with yellow crystals! After killing around 7-8 of them, the gate across the way will open, revealing a bomb plant. Use this to destroy the two sets of yellow crystals in the room. Grab the chest to the left of the bomb plant then head up the wall that was hidden by the crystal across from it.
Use the beams, poles and handholds here to make your way across to the platform on the right. Drop down to the hallway and continue down the stairs until you exit into an open area.
As you enter, turn left and quickly head over to dispatch the stinger nest in the corner. Afterwards, look in the North East corner for a Boatman’s Coin in destructible stuff next to a stone arch. You will see a chest behind a gate on the Eastern side of the area we cannot access yet (be patient, its coming up!). Go to the South of the area and pull the lever here.
This will open the two doors that flank it. The passage to the right leads back to the previous area and the passage to the left leads down into a massive underground lava area. Let’s go down (although this is optional).
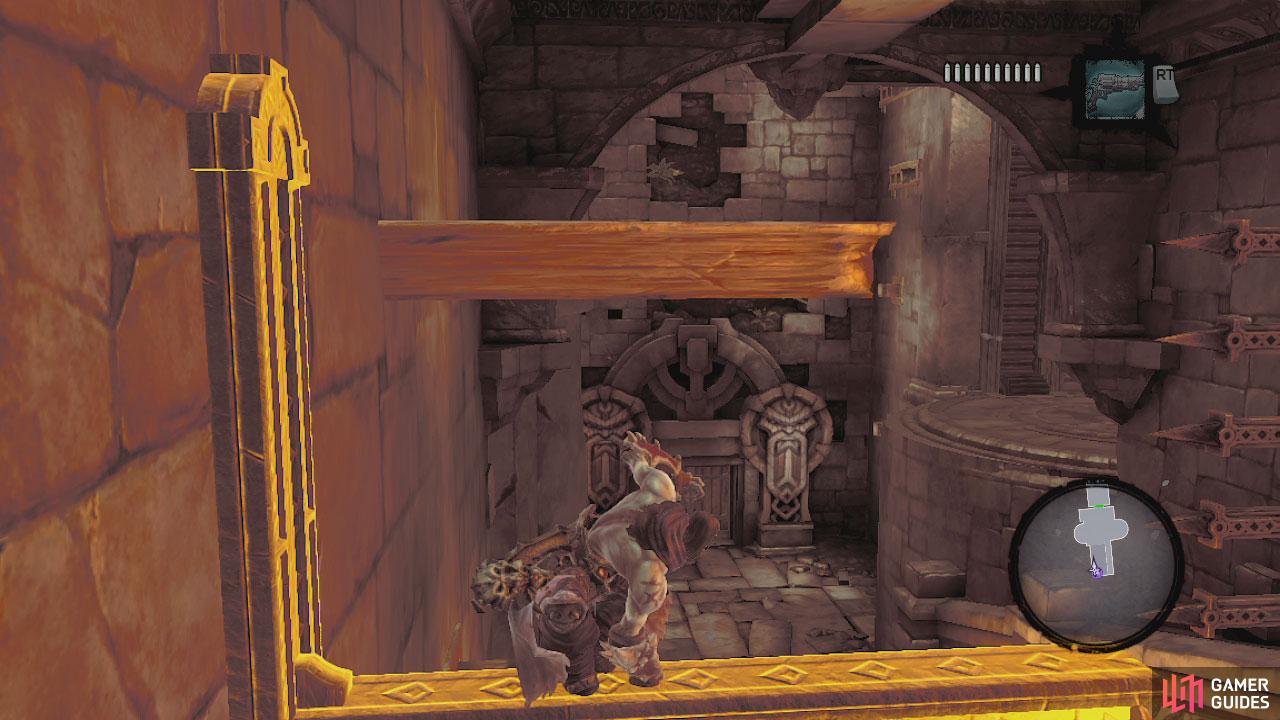
At the bottom of the stairs, head across the platform to the left and enter the door here. At the back of the room you will see a ball on a ramp trapped by some spikes and some wooden beams just asking to be jumped on. From the second beam, wall run up to a second series of beams above and the last one in the series is golden and when jumped on will act as a lever.
Hanging off this will remove the first set of spikes, allowing the ball to drop a little. After that, work your way down to the beams below and the last one in this series is also a lever, jumping on this will open the second set of spikes and the ball will roll down onto the room.
Hit the switch on the right side of the room to bring down the platform. Grab the ball and move it across and onto this platform whilst it is at ground level. Then hit the switch again and jump on to the platform to ride it up.
Shoot the crystal in the corner here (Sticks and Stones side-quest). Grab the ball and punch it across the room to the elevator on the other side. Drop down and look just beside the entrance and you will see some blocks you can use to climb the wall here. Climb up and hit the switch at the top to bring the lift with the ball up. Grab it and cruise around the balcony to the right to place it in a socket and open a chest.
Exit through the now open door, grab the chest here, throw the lever and exit back out into the courtyard. Watch out though as chances are that stinger nest has gone and respawned – dispatch it again if this is the case. Whilst you are here, you may also climb up the wall to the left of the stinger nest and collect one of the chests up here. We’ll be coming back for the one surrounded by spikes later. Drop down to the courtyard and through the Northern door.
Fend off the tainted constructs then jump down into the water, follow the staircase down and enter the sunken building here. Inside you will find a Boatman’s Coin . Return to the surface and climb the stairs to the top.
Wallrun up the handholds here to get on top of the central structure and then drop down to the stairs on the opposite side of the room. Follow the passageway up to an unlocked door. Cruise on through. Continue northwards until you find the Lost Temple .
$$$item 1510
No Comments