The Spine
When you regain control of Death, have a chat with the Chancellor about the City of the Dead. When the conversation finishes you will be awarded with the Soul Splitter – allowing Death to use spiritual copies of himself to solve puzzles. This ability now replaces interdiction as the stone has been removed from your inventory.


Activate soul splitter now and hold the action button down to create another copy of yourself. With the first copy grab the statue to the left of the door and drag it all the way left. Switch to the other copy and do the same with the statue on the right. The door will unlock. Deactivate soul Splitter and head into The City of the Dead.
The City of the Dead
Move through the first room and through the door at the far end. Kill the scarabs in here if you like. Check out the back left corner from where you entered for a chest and then continue through the door.
Here you will be ambushed by a pair of skeletal champions. Once one of these has been defeated an Undead General will also appear. Once he is dead return to the entrance and look to the right to see a Book of the Dead page on the raised platform here.
Head over to the locked door flanking this will be a pair of pressure pads. Stand on the pressure plate to the right of the door to lower the spikes around the other pressure plate to the left and enter soul splitter mode. Have your first copy head over and stand on this. This will open the passage to a switch above, have your second copy ascend the wall via the handholds near the second pressure plate and pull the switch at the top to open the door. Now that it is unlocked we can head through to the next area.
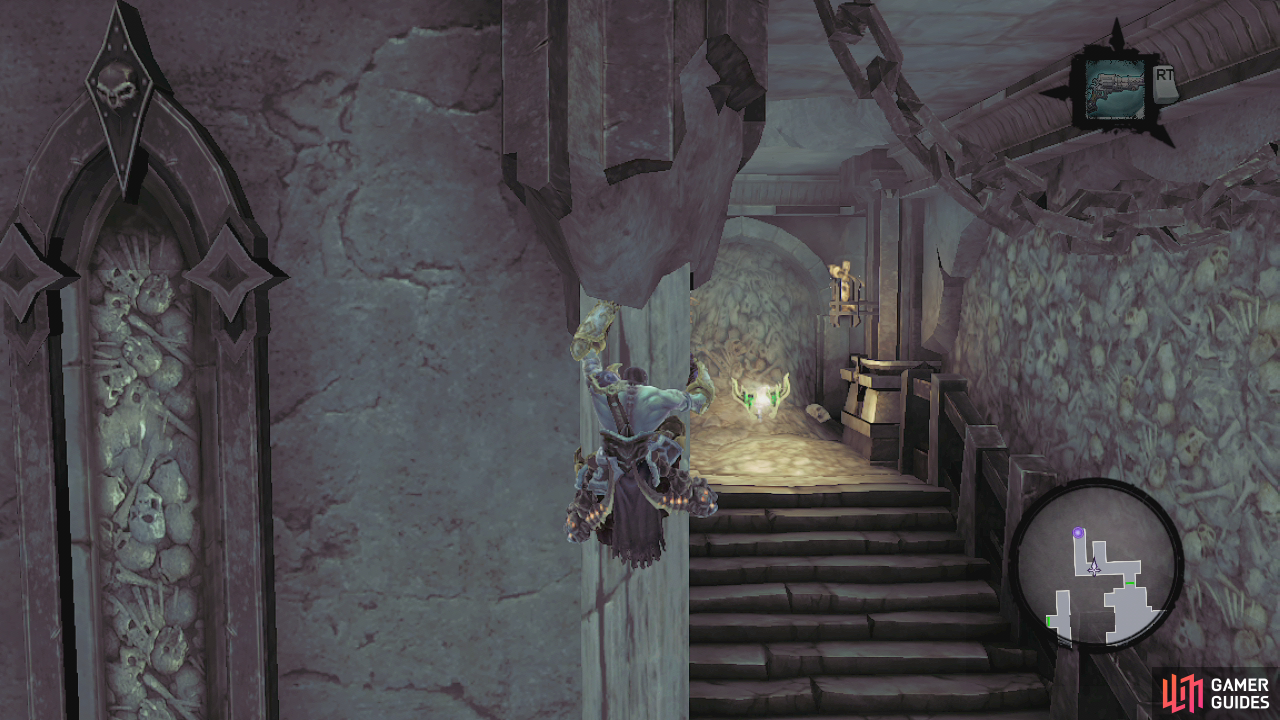
You will exit into a large room with a circular pit in the middle. On the right you will see a locked skull door and at the far end of the room is another locked door. Just in front of this are two steam vents, look at the eastern one for a Relic of Renegoth. As there is no other option for the moment, let’s mosey over to the left and into the open doorway. Follow the hallway all the way to the end killing any skeletons that get in your way. At the pit, wallrun across and continue into the room at the end.
$$$item 1473
$$$item 1586
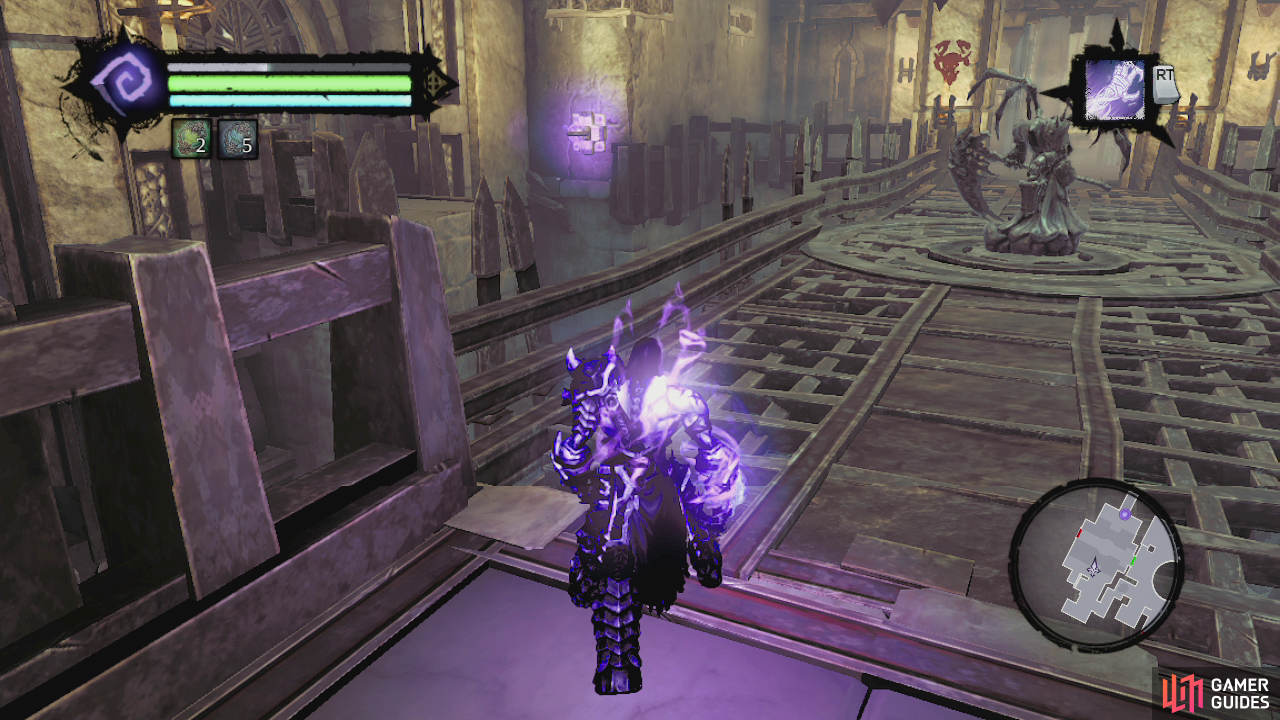
We can’t do anything here just yet, so let’s go through the right hand door and follow the hallway into the room at the far end. Here you will see a rotation device in the centre of the room which will lower the nearby gate, you can also see a gate to the right and a switch over a gap to the left. Enter Soul Splitter mode. Have your first copy run to the rotating switch and activate it to lower the gate. Once it is down, swap to your second copy and enter the room beyond. Look to the left to see a bomb plant on the wall. Use the death grip to grab it, return to the previous room and throw it over to the switch across the gap. This will unlock the nearby gate giving you access to a movable block. Grab this and move it into a position in front of the gate.
Exit soul splitter mode and get Death to jump up on top of the block. Re-enter soul splitter mode and again get the first copy to open the gate and this time have the second copy push the block through to the next room. Return to normal mode.
Jump on one of the two pressure pads here and re-enter soul splitter mode.Have the first copy stand on the adjacent pressure pad and with the second copy head up the stairs here and open the chest. Now that we are done with this room, run up the nearby stairs. At the top you will find another chest. Grab that and back track down the stairs until you reach the corner, look for a hole nearby and drop down into the hallway below.
Immediately turn around and you will find a chest here. Continue down the hallway and exit into a small room. Loot the chest for the skeleton key and then activate the switch nearby to open the gate back to the main room. Head over to the far side and unlock the skull door.
Walk forwards a short distance until you are standing on the metal platform. Enter soul splitter mode and with your first copy run to the locked door ahead. Look to the right and you will see a death grip ring. Grab this and use the handholds above to make your way around the corner. From here you can wallrun over to the ledge to the right. Here you will find an open doorway with a pit behind it. Before proceeding go and look in the corner nearby to see the letters SWEE, these count as a Soul Arbiter’s Scroll.
Return to the hallway with the pit and use the hand holds here to move about half way across the gap and then wallrun up and wall jump back and forward until you find another hand hold above. Exit to the room above and you will see another rotating switch. Ignore this for the second and move to the right, following the railing around the corner for a Book of the Dead page. Return to the switch.
$$$item 1605
$$$item 1474
Rotating the switch will cause the platform we left our body on to rotate 90 degrees. Switch to your second copy and move across to the far side of the room from the rotating switch. Look in the alcove to the right for a Boatman’s Coin. Climb the wall vine here and use death grip to swing to the other side of the room for a chest. Enter the nearby tunnel and look in the alcove to the right for another chest. Follow the passage around to the left and use the switch here to open a gate with a lantern behind it. Exit soul splitter mode and return to the main room.
In the main room, grab the lantern using death grip and return to the open hallway on the opposite side of the room. At the gap, plant the lantern and wallrun across the pit and then death grip it over to you. Give the lantern to the statue here. It will now be shooting a green beam. Rotate the statue once to the right to open the door here for a Book of the Dead page. Return to the statue and rotate it once more to the right so that it hits the pillar in the middle of the room. This will raise a walkway. Just when you use the lantern beam to raise the walkway. In the door to your right there is a wall you can run up to catch a ledge, wall run on to a beam, then another and you’ll find the legandary weapon - Lich Spines. Cross over the new platform and enter the door on the far side.
Climb the wall vine to the right and use the handholds and death grip ring to reach the higher wall vine. Move to the far right and wall run across to the platform. Grab the chest here and head through the door.
Kill the two wraiths prowling the platform here. Now take stock of the room. On the eastern side, we have a switch which will rotate the L-shaped pathway and on the west one of those beam switches we can hang on to activate which is sitting next to a door and a locked gate. There is a second gate in the centre of the area (the hanging switch activates this). Move to the middle of the metal walkway and enter soul splitter mode. Have the first copy run over to the switch to rotate the platform. Have a look in the corner behind the switch to find a relic of Etu-Goth. Exit soul splitter mode to re-set your copies and then re-enter it again.
Have the first copy hang off the beam switch here and have the second copy look opposite the hanging switch to see a bomb plant. Grab this and run across the L-bridge and through the now opened gate. Turn left to see a switch. Hit this with the bomb to open the nearby gate. Instead of returning straight away, continue along the hallway to the right. Here you will find a side room with two wraiths and a chest. Kill them before looting. On the wall here you can also shoot the red crystal for a stone of power. Return to the previous hallway and use the vine directly in front of you, climb up and round the corner and at the end lean back and jump to grab a Boatman’s Coin. Exit soul splitter mode. Enter the door.
$$$item 1475
$$$item 1574
$$$item 1543
Here you will be in a lengthy hallway above a pit. Jump between the walls, wallrunning as you go and make your way around the corner. Drop down at the end, walk past the two locked gates and hit the switch. Enter the door to the east. Continue across the floor here and open the door at the far end. We are back in the first bridge room again! Activate the switch here to unlock the door below. Make your way down and through the door. In this area you will have to fight off a few waves of enemies. First up you will have to take on three wraiths. Once they have been taken down an undead general will take their place. Afterwards you will have to fight a single tormentor and then two tormentors at once.
After everything is dead, grab the two chests for your trouble and enter the doorway at the far end of the area. Inside, use the death grip ring and wall run up to the beam switch above. This will activate a lift below you covered in fire and spikes. It goes without saying, but we do not want that to touch us. It’s too complicated to explain well, but as per usual you should be able to figure out the path the game needs you to take. Use the various platforming elements here –wallrunning, handholds, blocks and death grip rings to reach the top as fast as you can.
Once you are safely on the ledge, pull the switch here and head through the now open door. Climb the stairs and exit onto the balcony for a scene. Now you will have to defeat an undead stalker and some undead prowlers before you will be able to explore further.
After the fight is over, return to the entrance and look to the left. Wall run across to the chest here and open it for a dungeon map (damn! That took a while didn’t it?). From here, look to the north. You should be able to make out a tower here, towards the top you will see a crystal we can shoot for a Stone of Resistance. Return to the previous platform.
Continue up the stairs and follow the path until another scene plays. We’ll meet some new enemies – abominations. These things are annoying as they are covered in poison which will damage you if you get close. In addition to this they have some heavy melee attacks and have the ability to throw projectiles which will sit on the ground and damage you if you touch them. Once both of them are gone, continue up the stairs nearby.
Here you will be ambushed by three liches. Kill them all and then continue up the stairs and through the door here. Once inside, drop down to the floor below and cruise over to the end for a chest. Climb back up the vine wall near the start. From here, wall run along the right hand wall to reach a pole and then use the others nearby to jump over to the far platform. Enter the door.
You will find yourself in a large square room with a hanging circular platform adorning the centre. Make your way around to the opposite side of the room and enter the door here. Climb the stairs, killing the skeletons along the way and when you reach the room at the top, look to the right and wall run up to the death grip ring. Using the handholds and poles, make your way to the
balcony above.
$$$item 1562

Move around the corner and step on the pressure plate here. See how it flips the wall section over to the left? Step off the plate and enter soul splitter mode. Have clone 1 stand on the pressure plate. Have clone 2 use the deathgrip ring to jump across the gap and wallrun across to the platform that appeared when we stepped on the pressure plate. Switch back to clone 1 and get off the pressure pad to have clone 2 flip around to the inside of the building opposite. With clone 2, destroy the nearby crates for a Boatman’s Coin and proceed down the stairs. At the very end you will find a chest and a GnoMAD Gnome. Return to normal mode. This time, have Death stand on the pressure plate and enter soul splitter mode. Send the first copy over to the newly uncovered death grip ring and make your way over to the platform on the right. Activate the switch here to unlock the door. Send your second copy up the handholds to the right, go past the door and pick up the chest at the end of the hallway. Disable soul splitter mode and go through the now opened door.
$$$item 1618
Hit the switch to the left and death grip your way across to the circular platform in front. Have a look around. We just entered from the north. To the East is a locked skull door. To the west is a laser receptacle and to the south is a locked gate with yellow fumes coming up from behind a wall indicating a bomb plant. Note that the platform we are on has both some yellow crystals to destroy and a green laser! Find the handle on the platform and rotate the laser around to the west so it hits the receptacle on the wall.This will unlock the door here. Death grip across to this platform and enter the door.
Inside you will be confronted by a scarab hulk and a tonne of mini-scarabs. Eliminate the lot and another pair of scarab hulks will drop down to take you on. Kill them both. At the conclusion of the fight, the gate at the rear of the room will open, allowing you access to the bomb plant behind. Grab it with your death grip and toss it at the crystals nearby. Climb the wall vine that was hidden behind them.
Up top, you can exit onto the balcony nearby to see a flying green dragon of sorts flying around. Ignore it and grab the contents of the chest here, which just so happens to be the skeleton key. As you return inside, look up to see a Boatman’s Coin. Death grip this and death grip your way across to the other side of the room for a chest. Drop back down below and exit back out into the main room. Look at the skull door from the platform here. Just to the right, you should see some blocks and handholds leading up to it from the floor below so drop down and climb up there. Unlock the door with the skeleton key, before moving on inside.
Destroy the crates just to the left as you enter to find a Book of the Dead page. Watch out for the scarabs that spawn here! Continue along the passage until you reach the cliff. Look to the right for a handhold. Use these to go round the corner and wall run over to the next platform. Here when you reach the railings, look up to the right for more hand holds. Jump to the top one and wall run over and around the corner. Jump when you reach the end. From this handhold, you can wallrun back to the left and cruise all the way around to find a chest. Return to the corner here and this time hang a right. Wallrun over to the pole and slide down onto the platform below.
Drop down to the ledge below to find two pressure pads here. Step on one and enter soul splitter mode. Get copy 1 to climb up the wall and enter the now open gate. Look to the wall to the right as you enter for a Soul Arbiter’s Sacred Scroll scrawled on the wall here. Bring the crate out to the balcony area and exit soul splitter mode.
As with the last puzzle like this get death to stand on top of the block and re-enter soul splitter mode. Get copy 1 to drop back down to the pressure plates and step on the first one to open the gate. Get copy 2 to push the block back into the room. Once inside, switch back to copy 2 and step on the second pressure plate to open the next gate. Switch to copy 1 and push the block through the gate and onto the pressure pad to the left. Exit soul splitter mode and return to normal. Enter the door.
You will emerge on the Southern balcony! Hit the switch to the left to lower the gate. Now grab a bomb plant and toss it over to the crystal on the circular platform in the middle of the room. Once it is destroyed, death grip back to the centre and press in the golden switch to lower the platform back to near the beginning of the level. Rotate the statue on the platform to the left once to unlock the northern door.
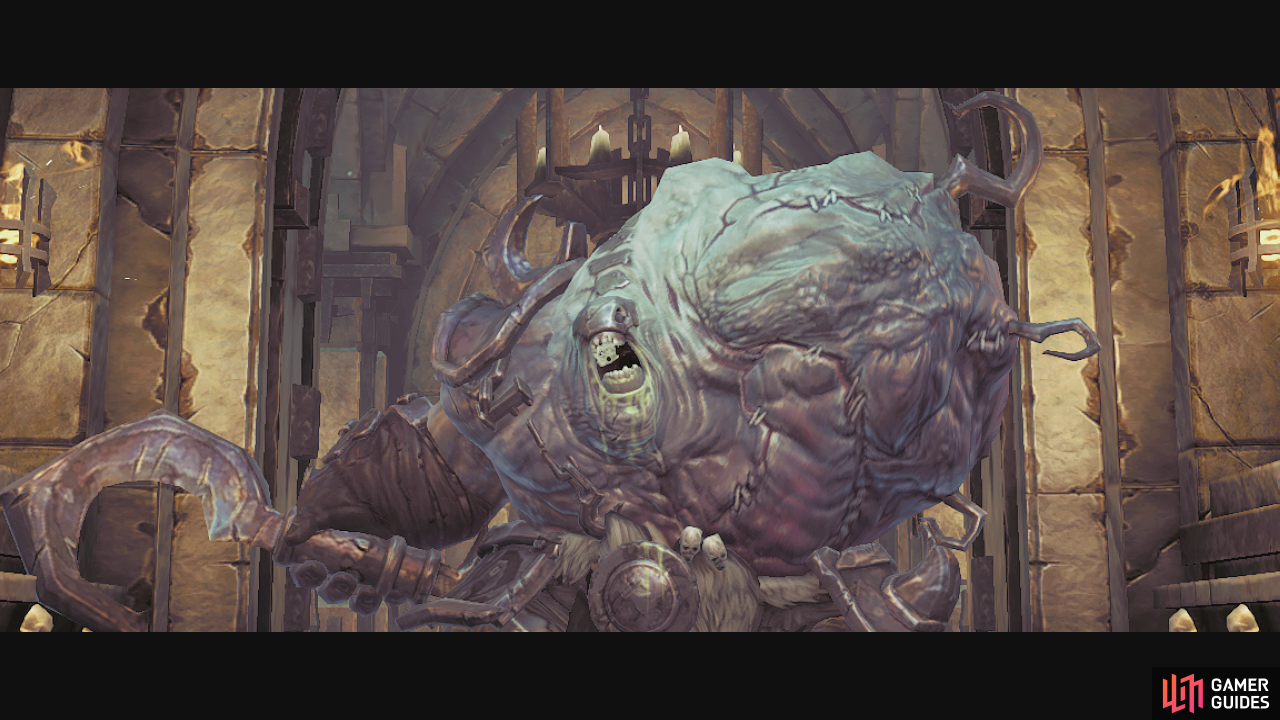
Cruise through the hallway here and into the large circular room behind it for the next boss encounter.
$$$item 1606

Head through the door at the far end of the room and continue forward until a scene plays.
Congratulations! You have completed The City of the Dead!
Now to continue the story we will need to fast travel back to the tree of the Death for another scene. Afterwards, head through the newly opened portal to the Angel’s realm of Lostlight.

No Comments