The Pinnacle
Once you’ve loaded up the DLC and entered the game, you’ll find yourself in an icy citadel reminiscent of the prologue. Let’s get started. Move forward across the bridge and continue to the right. Move forward to see a short scene in which Ostegoth will outline what you’ll be in for the rest of the DLC. After the chat, you can use the serpent tome here if you wish. When you are ready to proceed, continue past Ostegoth to the south and enter the unlocked door.
Frostbone Crypt
As you enter, you’ll see an inactive laser statue and locked skull door behind it opposite the entry point. Ignore these for now and head around the corner to the right. You’ll see a voidwalker pad on the wall above a raised gate in front. Ignore this for now and then continue through the unlocked door on the left.
Climb the stairs and kill the mummys here. Look down the passage to the left opposite the door in the first small room to note the presence of a second voidwalker pad (we’ll come back for this later). Again, ignore this and then continue down the stairs opposite the entry.
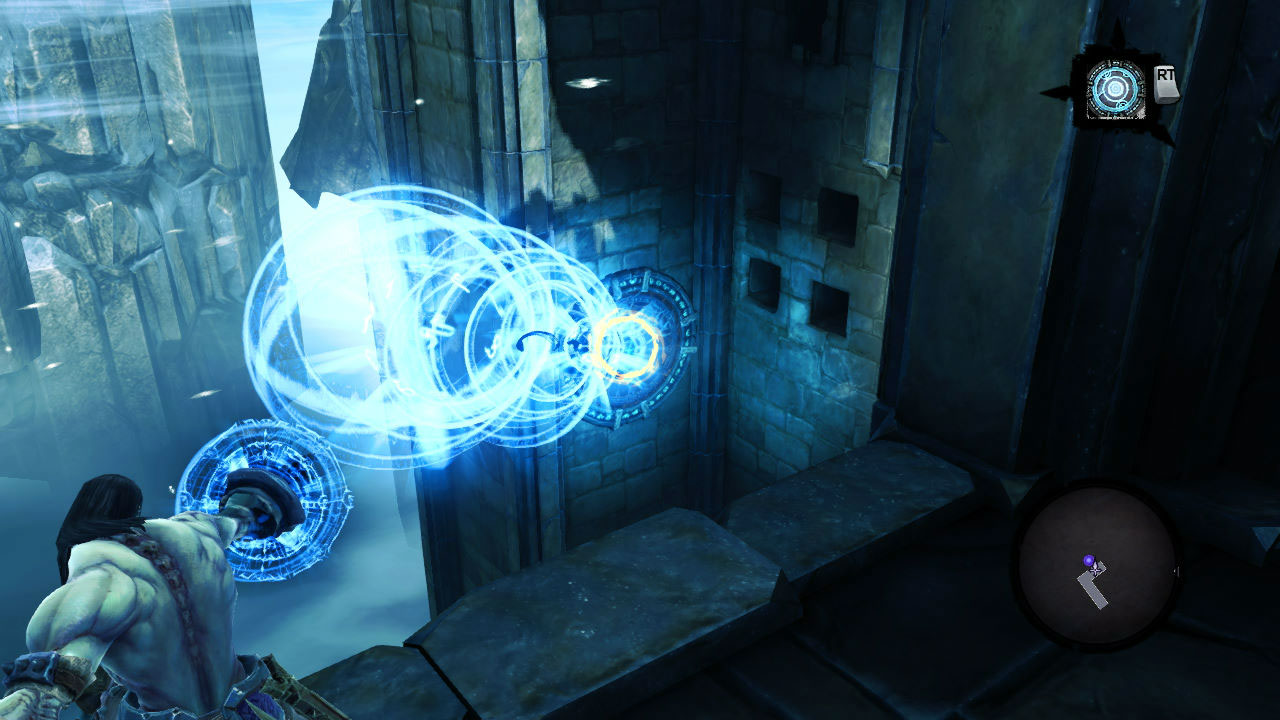
In this room, look in the alcove to the left of the yellow crystals and activate the portal pad here. Continue past the crystals until you reach a dead end and activate the voidwalker pad you can see across the gap. Return to the first portal you activated and use deathgrip to climb through to the other side. Climb a short way down the broken stairs here and look to the left. Across the gap you’ll see another portal pad. Fire a charged up portal onto this and then retreat back up the stairs and re-enter the portal.
After landing on the next platform, look up and to the right to see a chest on a higher platform, shoot the portal pad up here and wallrun through the portal we just entered to land above. Grab the chest and return to the lower platform.
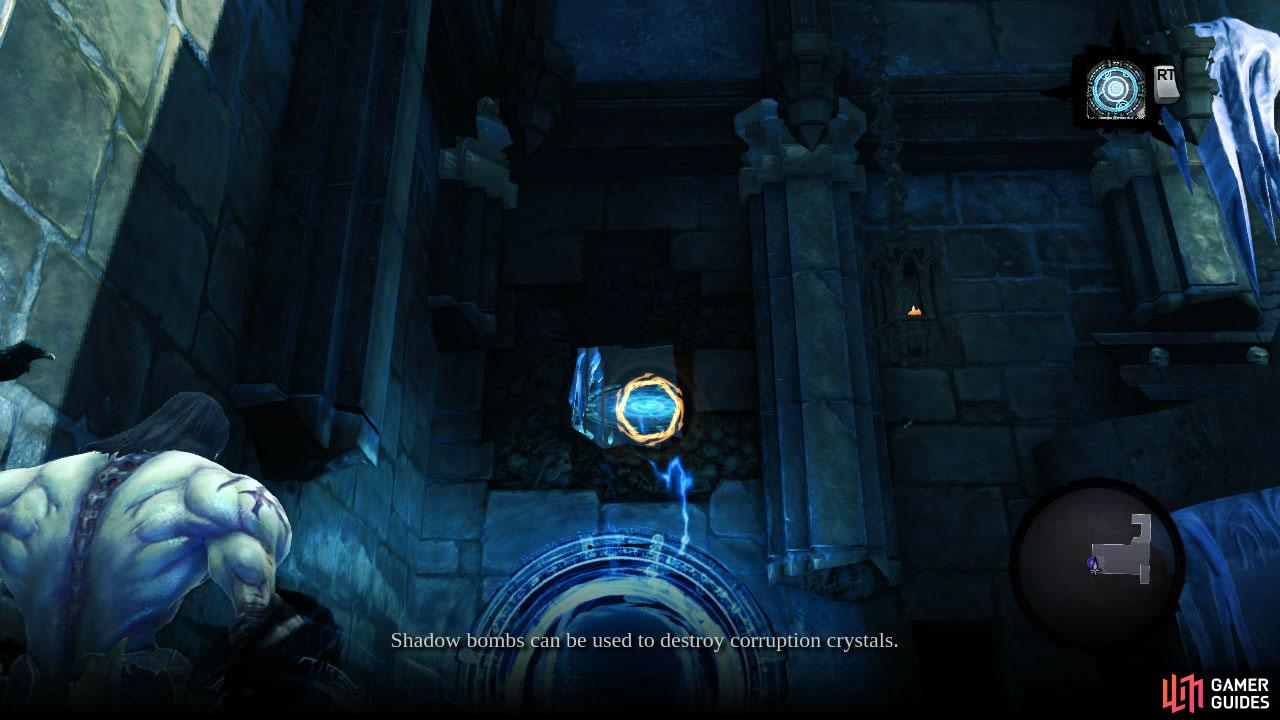
As you do; immediately turn around and look above the portal you just emerged from to see another pad through a hole near the roof. Activate this. Grab the bomb plant nearby and throw it through the closest portal. It will drop down into the previous room and remove those yellow crystals we spotted earlier.
Wallrun through the portal afterwards and you’ll drop down to where the crystals were located. Enter the newly opened passage here. Use the handholds on the wall to navigate the winding corridor and exit into the circular room at the end. After a short scene you will have to kill an ice lich and a few ice skeletons and champions. Once they are all dead, continue through the next door and open the chest for a skeleton key. Pull the lever nearby to open the gate in front. We are back in the first room! Head over and unlock the skull door and cruise through to the next room.
Kill the shiver spawn here and when you reach the large pit, look on the wall behind and to the right of Death for a portal pad. Shoot this and then look across the gap to the south east for a second. Enter the first to access the platform here. Follow the passageway around the corner until you reach the cliff, look on the wall to the left on the other side to see another portal pad. Shoot this and then run back around the corner and re-enter the portal here.
On the other side, wallrun up to the ledge and climb up. Shoot the portal pad in the alcove here and then look back across the gap to see a second portal pad near the roof. Activate this with a charged portal and then enter the first portal nearby. Use the hanging poles to jump across the top of the area and access the ledge on the south side of the room.
Follow the passage around the corner and at the end, look down to the right to see yet another portal pad (wow there are a lot of these aren’t there!). Activate this with a charged up portal and return to the previous room and drop down to the portal below and enter it. Hop across the beams and then follow the passage until you enter a large square room.
Defend yourself against a sizable group of champions and ice skeletons before exiting the now accessible door to the east. Shoot the portal pad that you see in front and then turn down the passage to the right. Fire a second portal across at the voidwalker pad opposite and then grab the lantern and enter the nearby portal. Return to the lantern statue and give it the lantern.
You’ll notice that it will now become active and that its beam is hitting the portal pad we ignored earlier. Activate this now and climb up the stairs to the left of it. Open the door here and at the top of the stairs look down the hallway to the left to see the other pad we ignored earlier. Activate this to have the laser activate the receptacle above the door to opposite to unlock it. Cruise on through.
When you reach the large room, ascend the stirs to the right and at the top you can explore along the balcony to the west for a chest. From here, look to the south and you’ll spy a voidwalker pad in a door frame on the opposite balcony. Activate this and return to the top of the stairs. Look at the eastern most wall of the room for a second portal pad. Activate this and step through, check out the other doorway on the balcony here for another chest. Now drop down into the room below for a boss fight.
Boss: Frostbone Titan
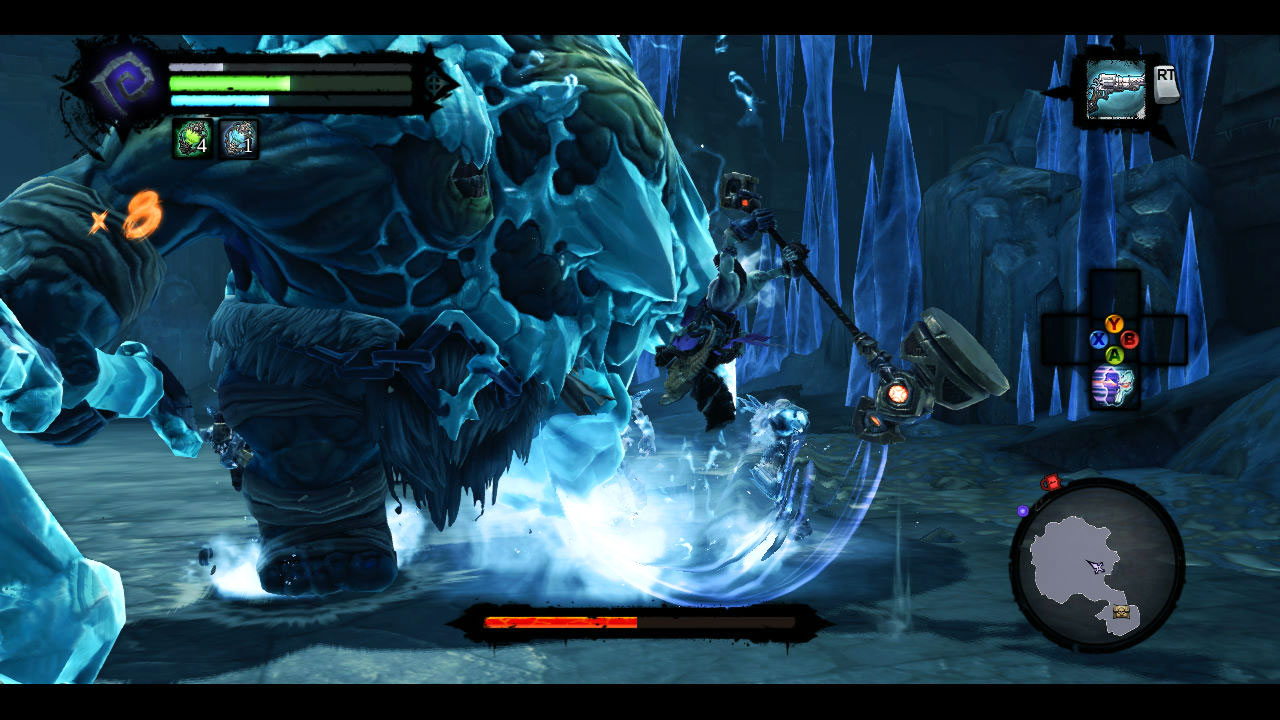
Charged power moves can prove to be really effective; but don’t chance your luck by trying more than one in a row as the boss will likely give you a good beating if you do.
Strategy
This fight plays out like any of the other fights you have undertaken against the tormentors in the main game with a couple of small changes. This guy has an ice explosion that can freeze you solid instead of a projectile vomit move like a standard tormentor and he will also throw his axe at you from quite a range.
The other big difference is the frozen skeletons scattered around the room. As you damage the boss, these guys will progressively thaw out and come to attack you. The fight itself however is quite easy, simply avoid his attacks, kill the skeletons and damage the big guy when it is safe to do so and he’ll be pushing up daisies in no time.
For killing him, you will be able to pick up the Spire key. Before stepping into the portal to return to Ostegoth, check out the room to the southwest for a chest . When you are ready, return to the portal and exit the dungeon.
No Comments