


Before you go any further with mission, let’s take some time to exploring Izuhara and try to make Jin a little stronger. At this point, you probably collected a good bit of materials, but you are lacking a Swordsmith and Armorer to help you upgrade what you have currently. To begin, let’s start off by fast travelling to Sensei Ishikawa’s dojo and going north a little bit from it, where you want to get onto the elevated area. Once you are in the right spot, head northeast until you spot a large watchtower. If you look over the edge behind the watchtower, you should see another Hot Spring, this one being the Castle Lookout Hot Spring. Take a dip to increase your health, then get ready to venture south.
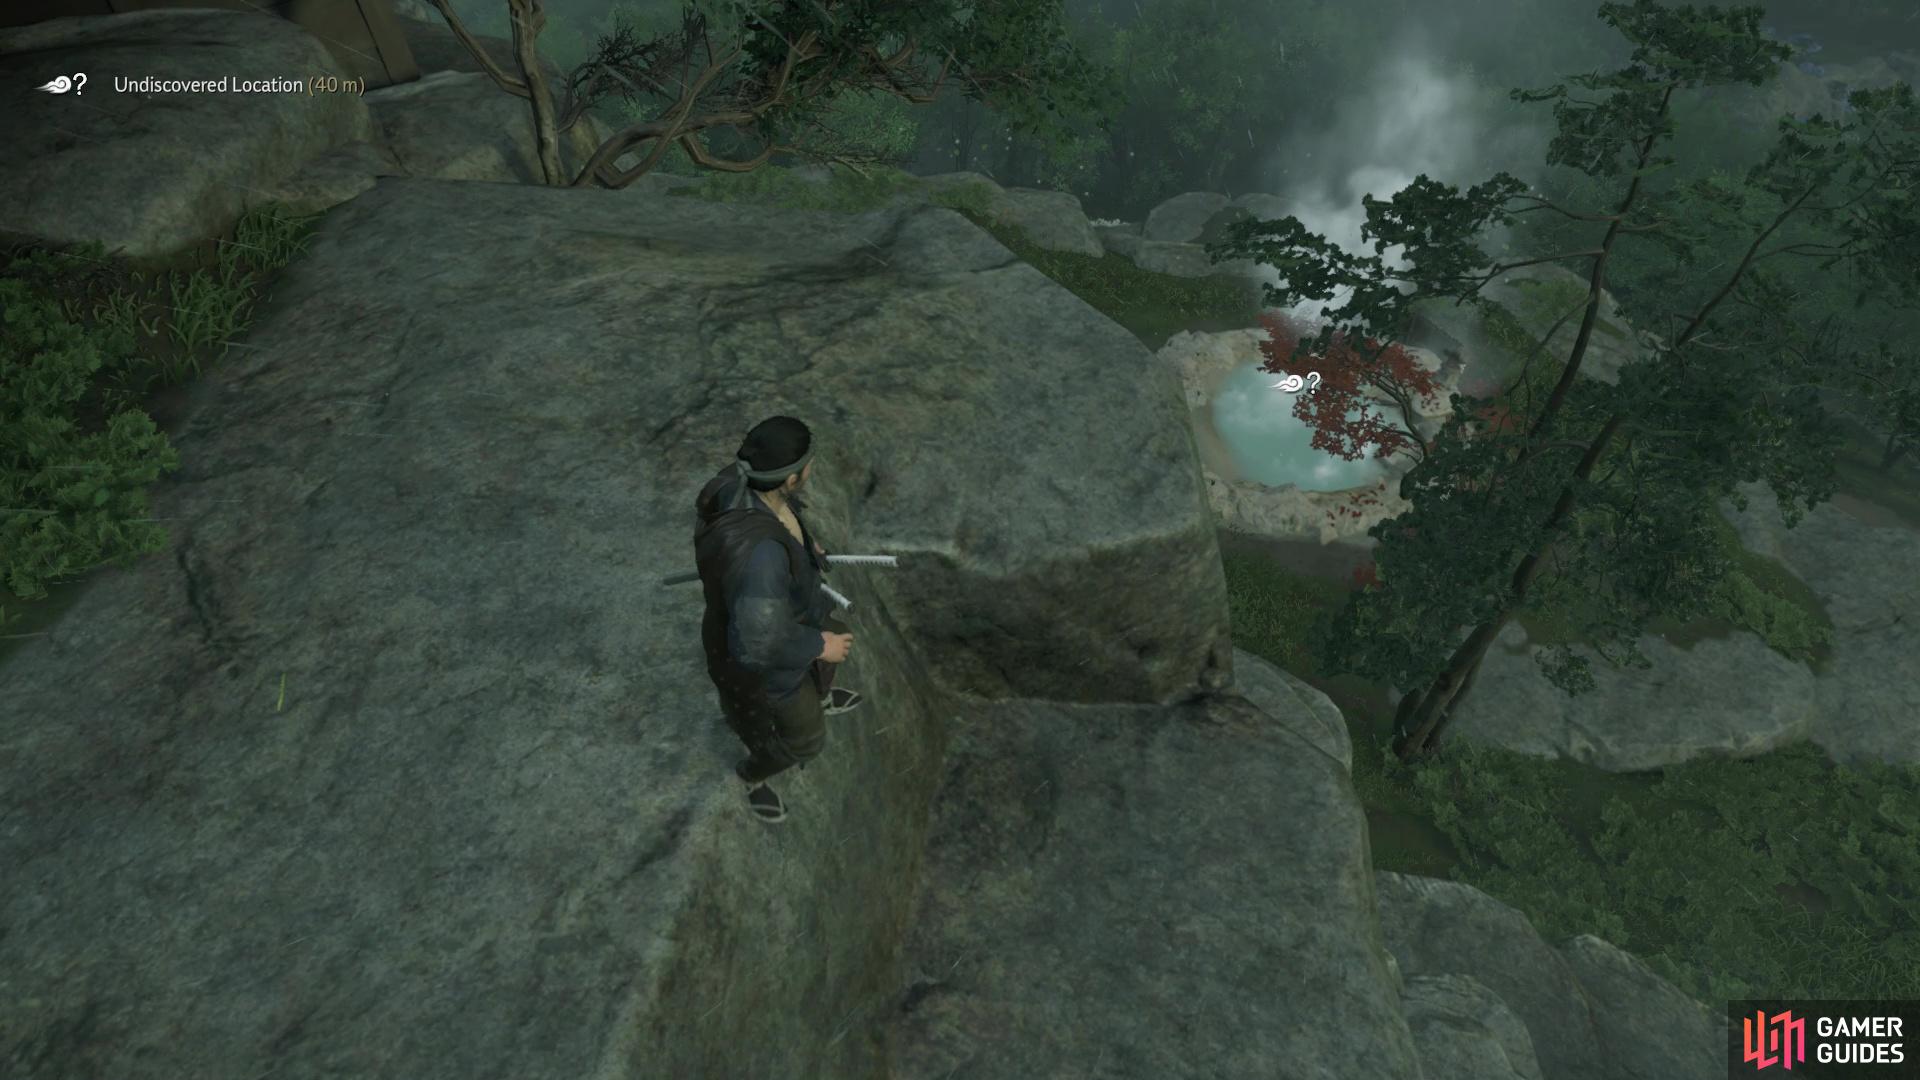
You can see the Hot Spring from the watchtower
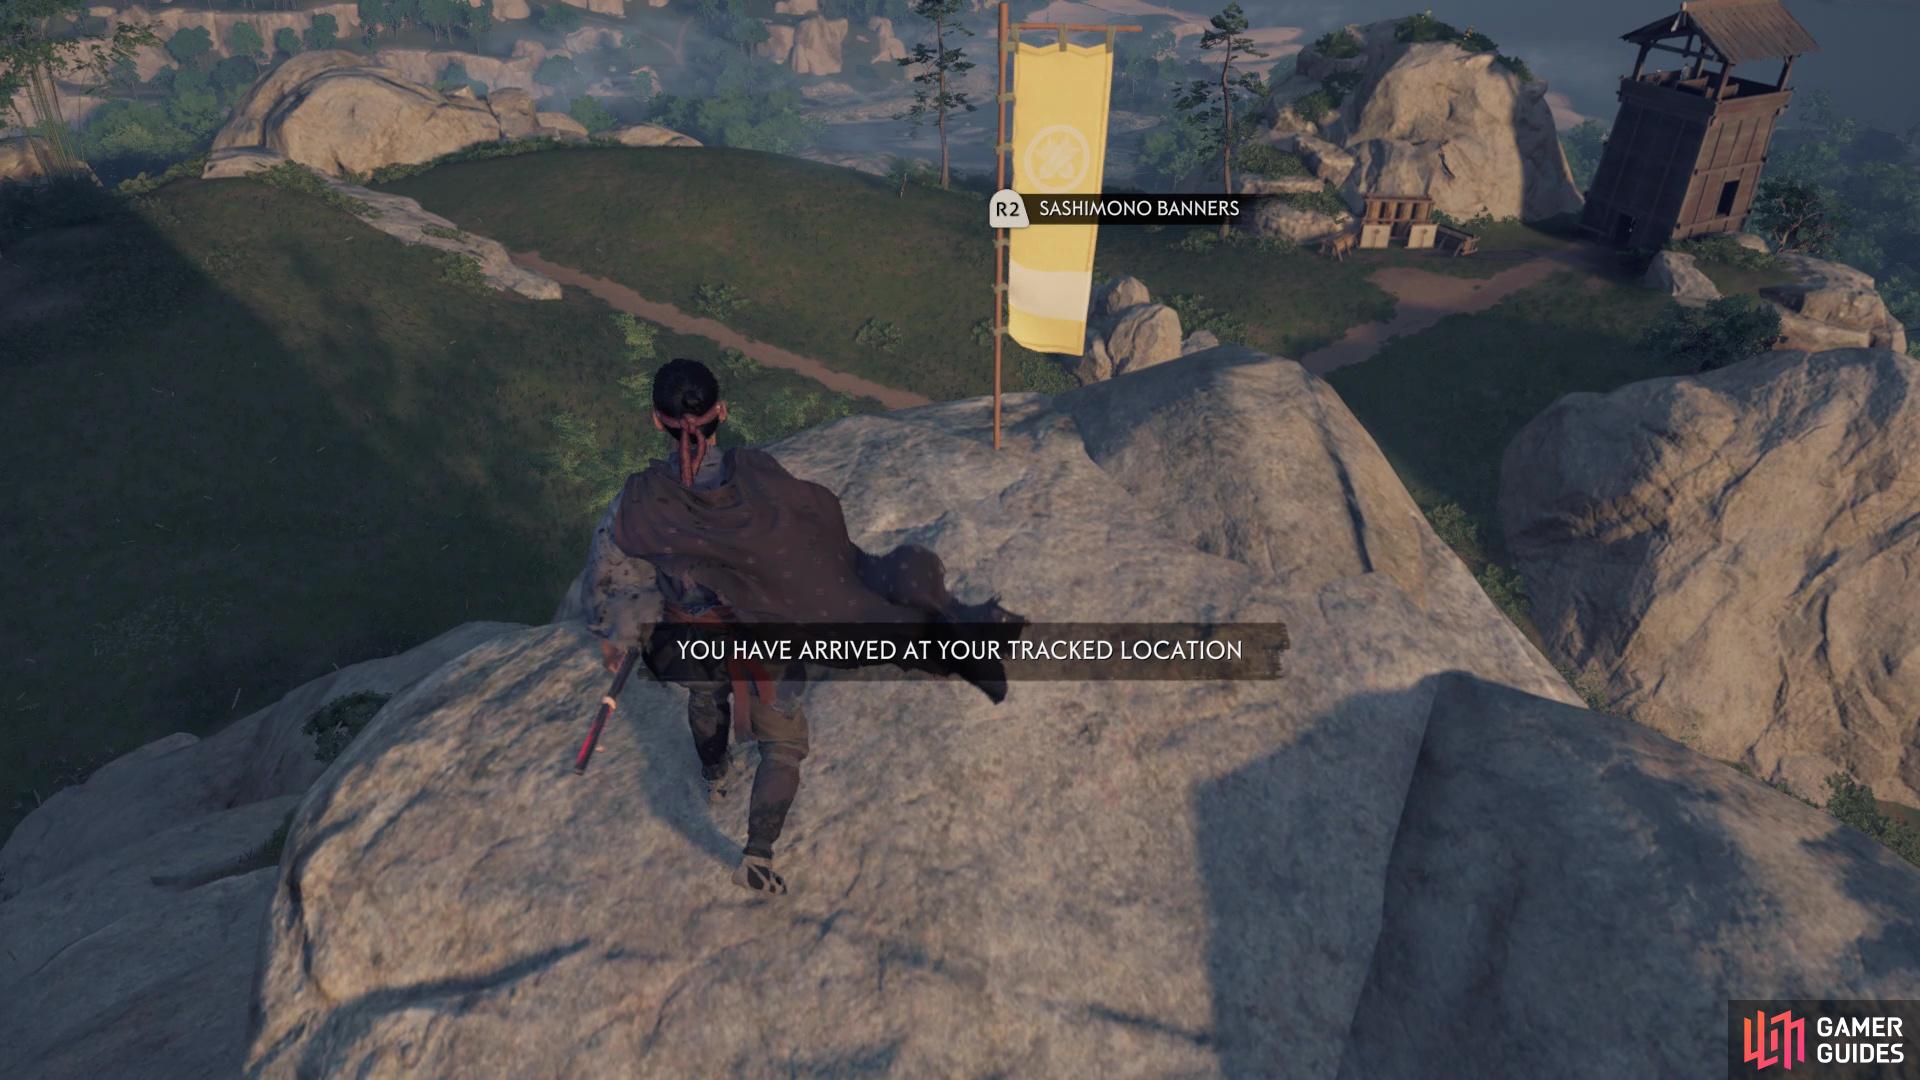
The Sashimono Banner is on top of the large rock formation south of the watchtower
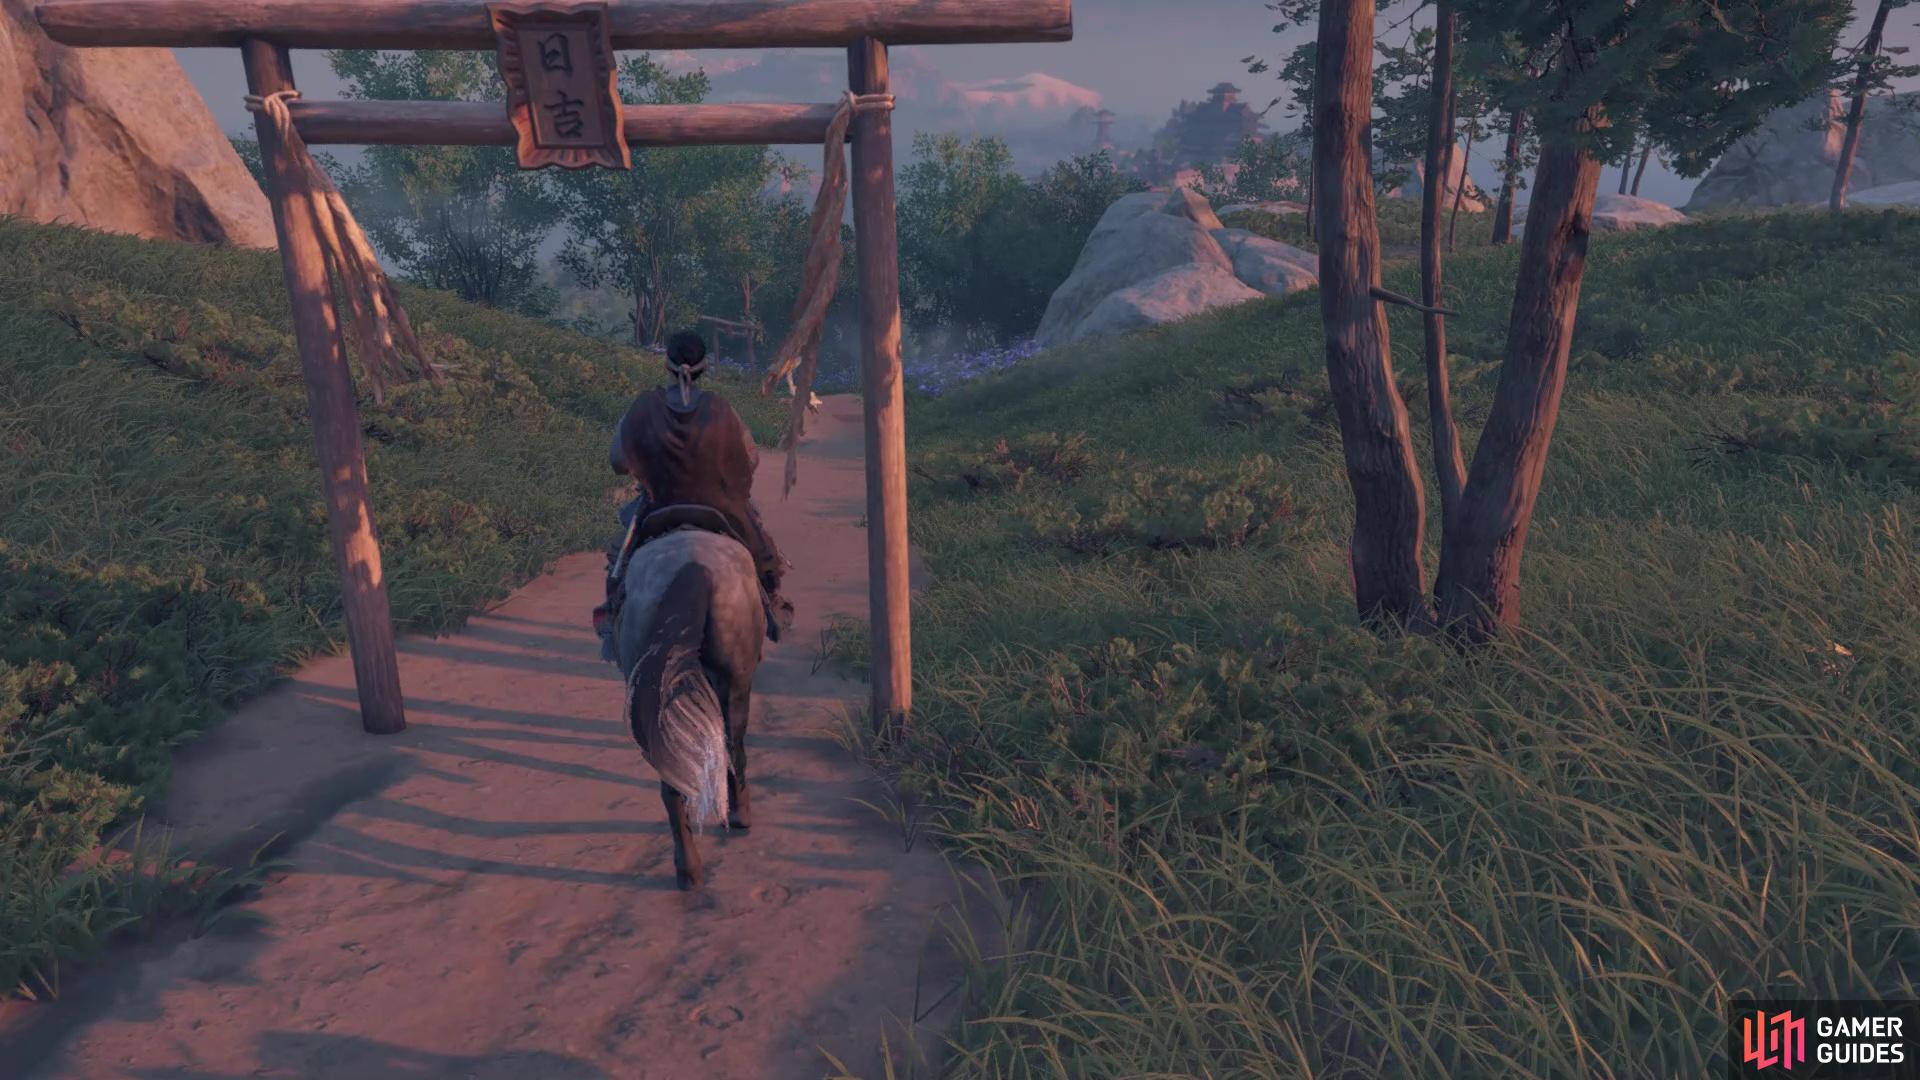
Climb back up to the watchtower, then look south from it to spot a large rocky stone structure. Your goal will be to get to the top, so look for some rocks you can jump on, then find the tree branch. From there, the rest of the way should be obvious and your reward for doing this is a Sashimono Banner. Drop down to stable ground and start heading east of the above. You want to keep an eye out for torii gates, which look like small wooden gates on the dirt paths. When you find the first one, head north and the one facing east is when you go in that direction. If this is your first one (it should be for the guide), you will meet a woman by one of the gates and she’ll introduce you to Shinto Shrines, this particular one being the Mending Rock Shrine.
Basically, finding these torii gates are the signal that a Shinto Shrine is close. A little past the woman is a stone statue of a frog nestled in the mountain, as well as a wooden sign depicting a person bowing. If you stand in front of the wooden sign and bow yourself (swipe down on the Touch Pad), then a bunch of frogs will appear near you. These wooden signs are called Hidden Altars and don’t do anything, as far as rewarding Jin, but you need to bow to ten of them for the Honor the Unseen trophy. Note that each Hidden Altar will have a different that happens upon bowing to it. Back to the Shinto Shrine, follow the path past the Hidden Altar and at the end, there will be a gap that you can squeeze through.
To further elaborate on the Shinto Shrines, all of them will involve you having to do some climbing and platforming of some kind. It is relatively straighforward once you get started, though, so you’re not bound to be stuck and have to figure out what to do next. This particular shrine is a good adventure, so it will take some time to get to the end. Once you do, pray at the shrine with the R2 button to receive the Charm of Okuninushi and some Wax Wood. The Charm of Okuninushi allows you to slowly recover health while out of combat, which might be pretty good at the early stages of the game. At the bridge, there will be a button prompt that basically teleports you back on the main path at the beginning of the trek to the shrine.
Fast travel back to Hiyoshi Springs and begin the journey to the southeast. If you continue straight southeast, you should happen upon a road that leads to the cliff, as well as a stone pillar. This is a Pillar of Honor and you will find a Sword Kit on it, allowing you to customize the appearance of your katana. The particular Sword Kit you found is called Yasha’s Embers and if you want to equip it, go to Gear, then click on Sakai Katana and you will see all of the Sword Kits you have gathered.
Yoichi’s Crossroads
It’s time to finally tackle one of the enemy camps in the game, which will be located southwest of Hiyoshi Springs. It should be pretty easy to spot, as there is a giant fire blazing in the camp. As you approach it, you get the name of the camp and some objectives will appear in the upper left corner of the screen. The main objective will be to kill all the Mongols, but there are two bonuses. If you complete these, then you will gain extra Legend. The first bonus is random, but the second one seems to be set in stone, where you have to find and observe the Mongol Leader.
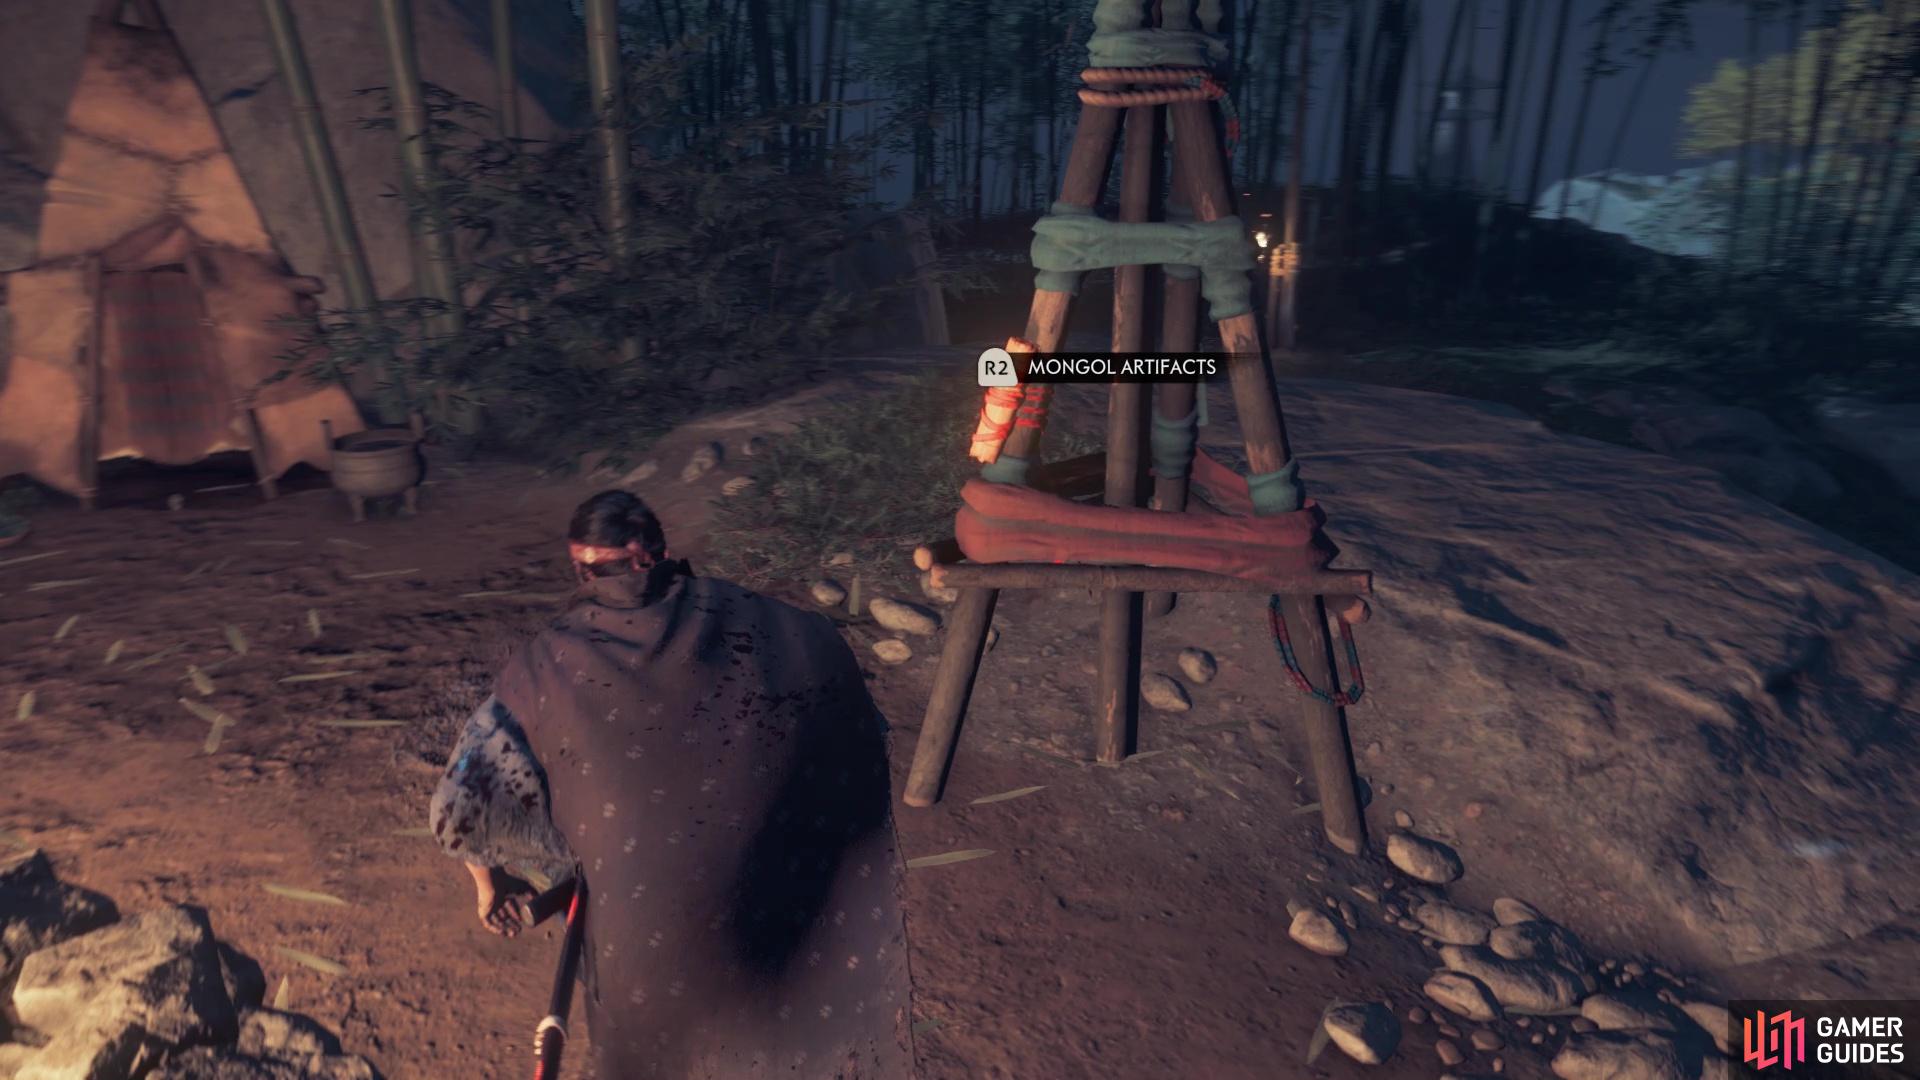
You can find the Mongol Artifact attached to the wooden structure
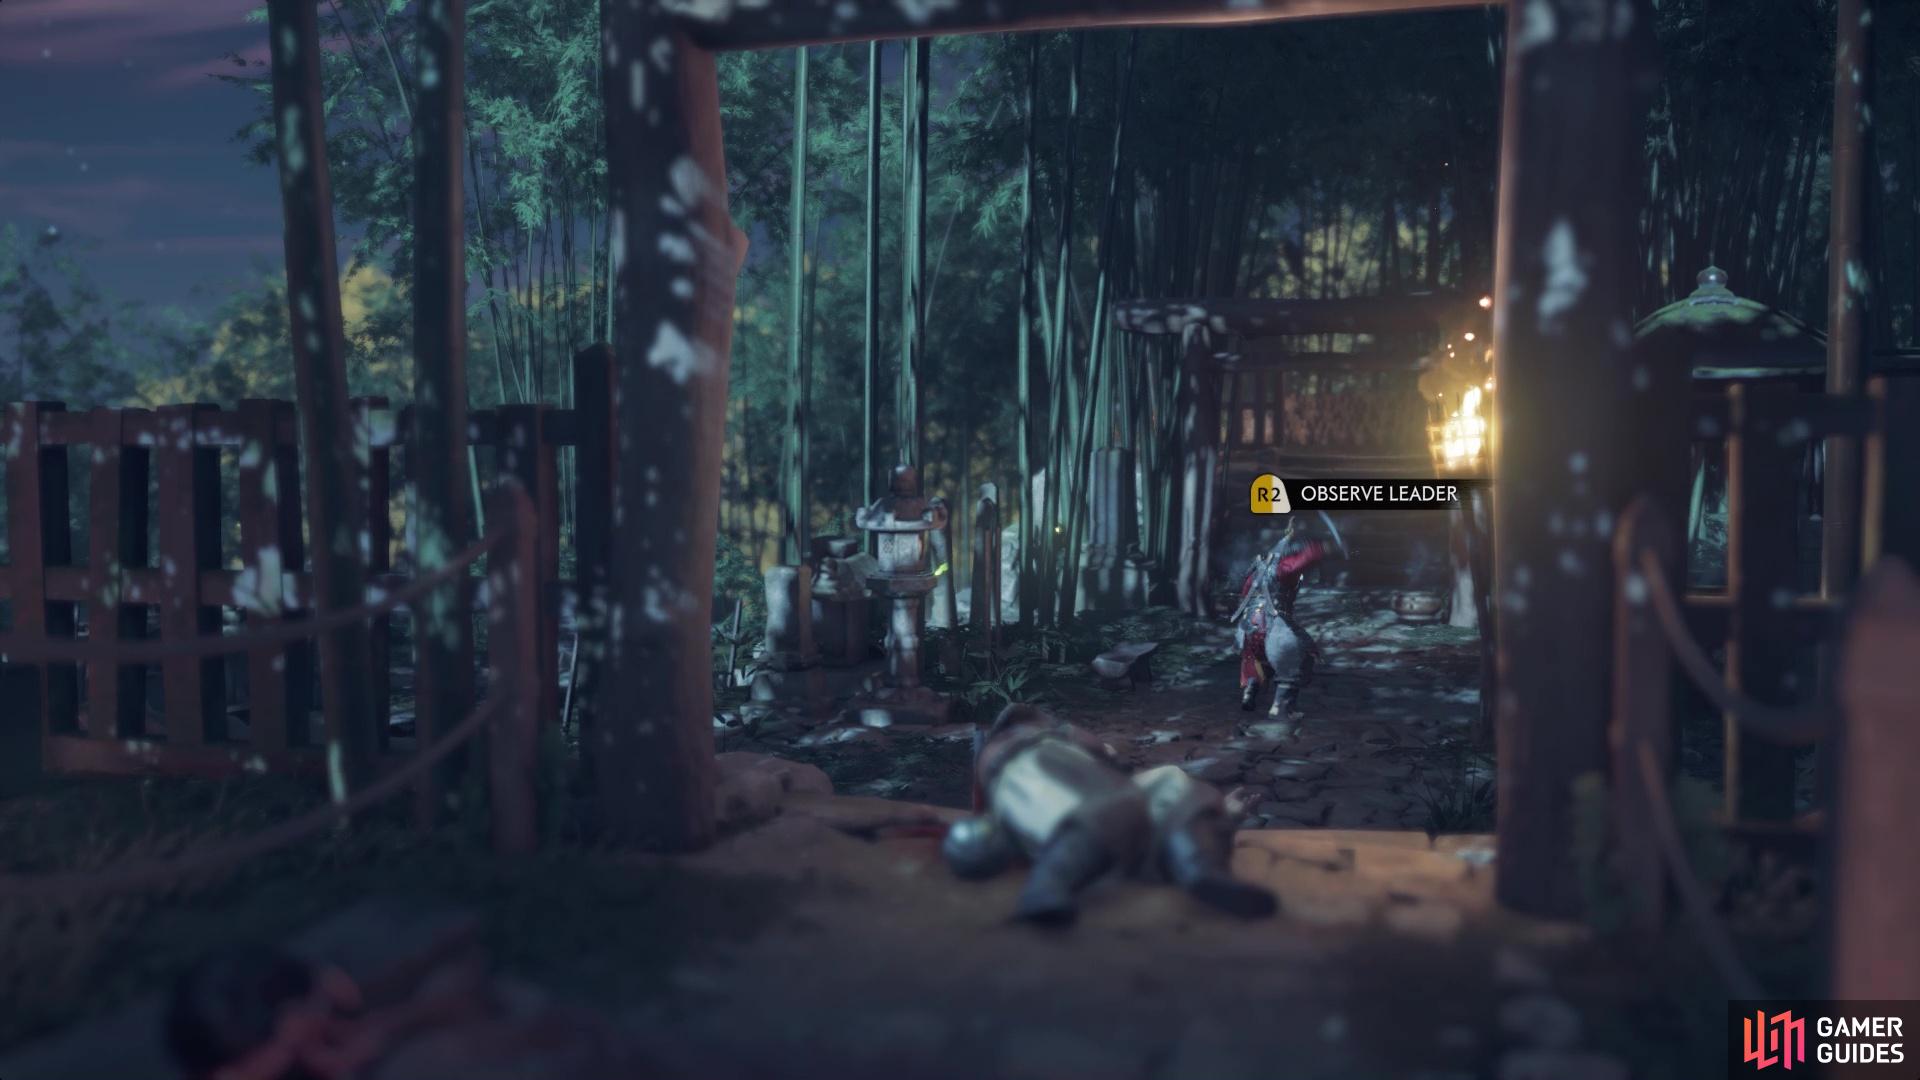
Observing the leader allows you to double up on points towards the next stance
If you recall earlier, when you killed the Mongol Leader during The Tale of Sensei Ishikawa, you received progress towards the next stance for Jin. Well, the bonus objective to observe a leader will also earn you that same progress. In fact, if you observe the Mongol Leader, then kill him, you will receive double the progress. So, if you ever get an option to observe a leader, then you want to do it to unlock the stances faster. Back to the enemy camp, it might be best to do things stealthily, as you don’t want to disturb the leader so you can observe him. At this point, you should have Kunai, as well as the bow, so headshots will kill all of the enemies here, except maybe the leader.
Once the coast is clear of the enemies (hopefully you cleared that one bonus objective) and if the leader isn’t disturbed, get close enough until you see the button prompt to observe him; you need to hold the button down. Upon observing him, you are free to kill him however you want. With all of the enemies out of the way, let’s get gathering the goodies. By the large fire, there is a Mongol Artifact on the triangular-shaped wooden structure. Near where the leader was practicing, there is a Singing Cricket, another of the game’s many collectibles. Singing Crickets are usually found in graveyards, sometimes with Mongols and sometimes not with them.
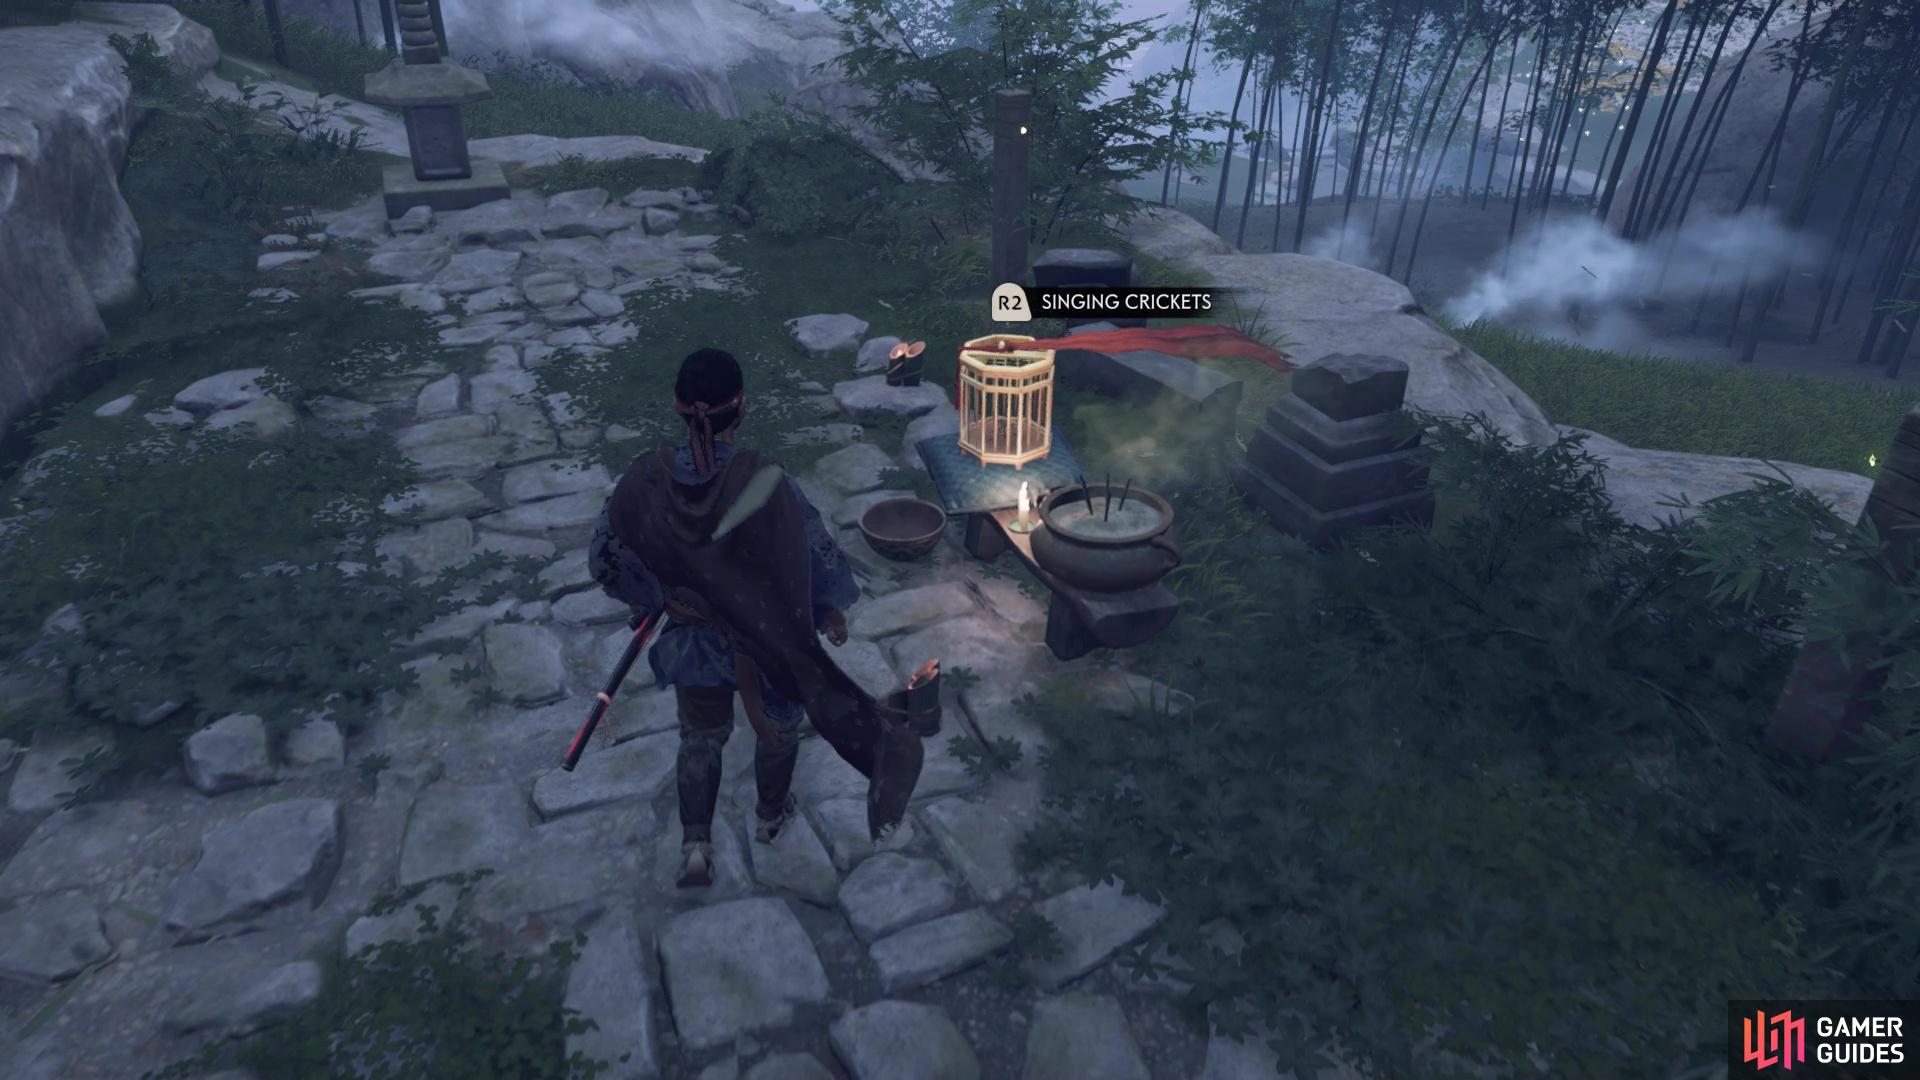
The location of the Hidden Cricket at Yoichi’s Crossroads
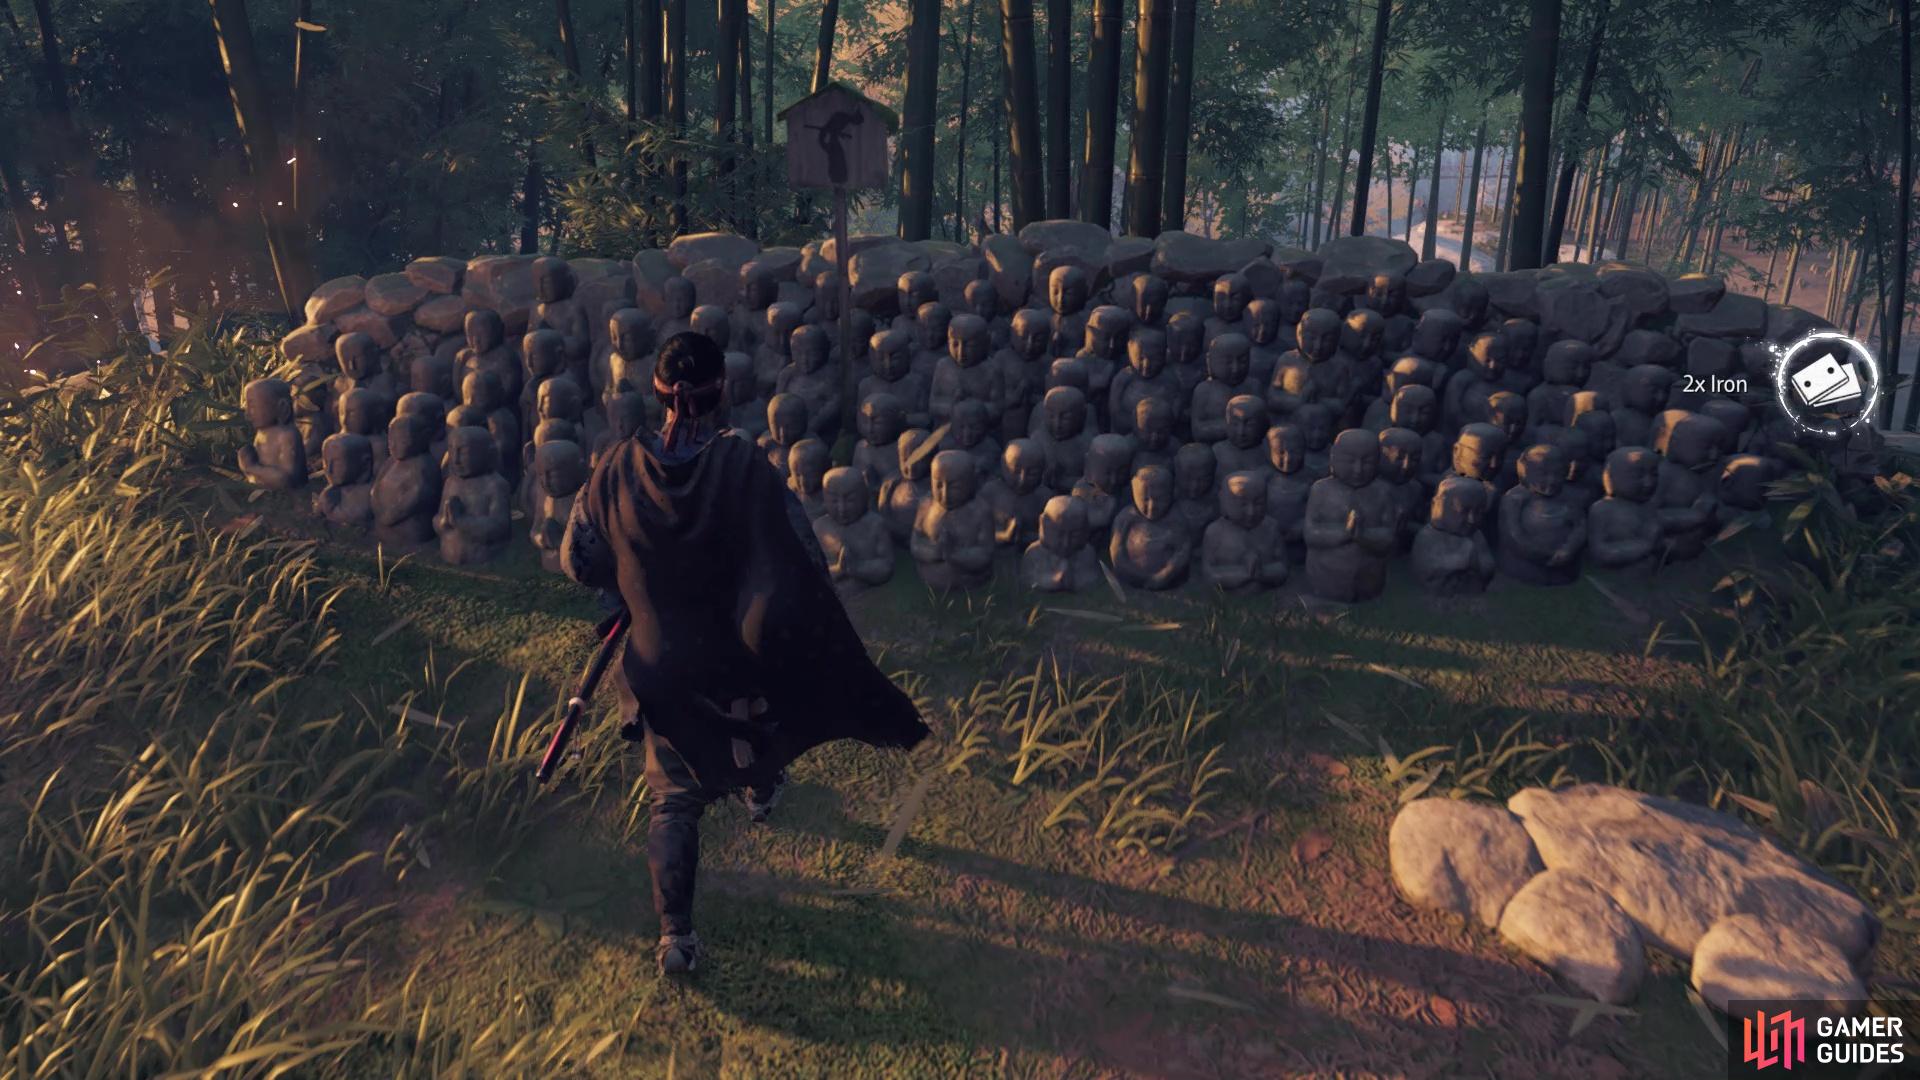
Another Hidden Altar can be found at Yoichi’s Crossroads
The last thing here at Yoichi’s Crossroads is another collectible, but one that isn’t marked on the map at all. If you remember the Hidden Altar from the path leading to the Shinto Shrine earlier, there’s another of those here. It’s located at the end of the path that the leader was on and if you did it right, you should see some green bugs flying around Jin. That wraps up Yoichi’s Crossroads, so it’s time to tackle another enemy camp, this one being a lot bigger in scope.
Liberate Ogawa Dojo
This enemy camp is definitely a lot bigger than the previous one, as you can from the limited view on the world map. Note going through the front gate is probably not a good idea, but there is a fallen tree that acts like a bridge along the northern wall. Before diving into the camp, though, there is a watchtower in that corner by the tree and you should probably take care of the archer on it, if there is one there. Once he is out of the way, you can begin heading into the camp. As already mentioned, this place is a lot bigger than the previous camp above, so there is going to be a lot of enemies here. It will also, most likely, be your introduction to the Mongolian dogs.
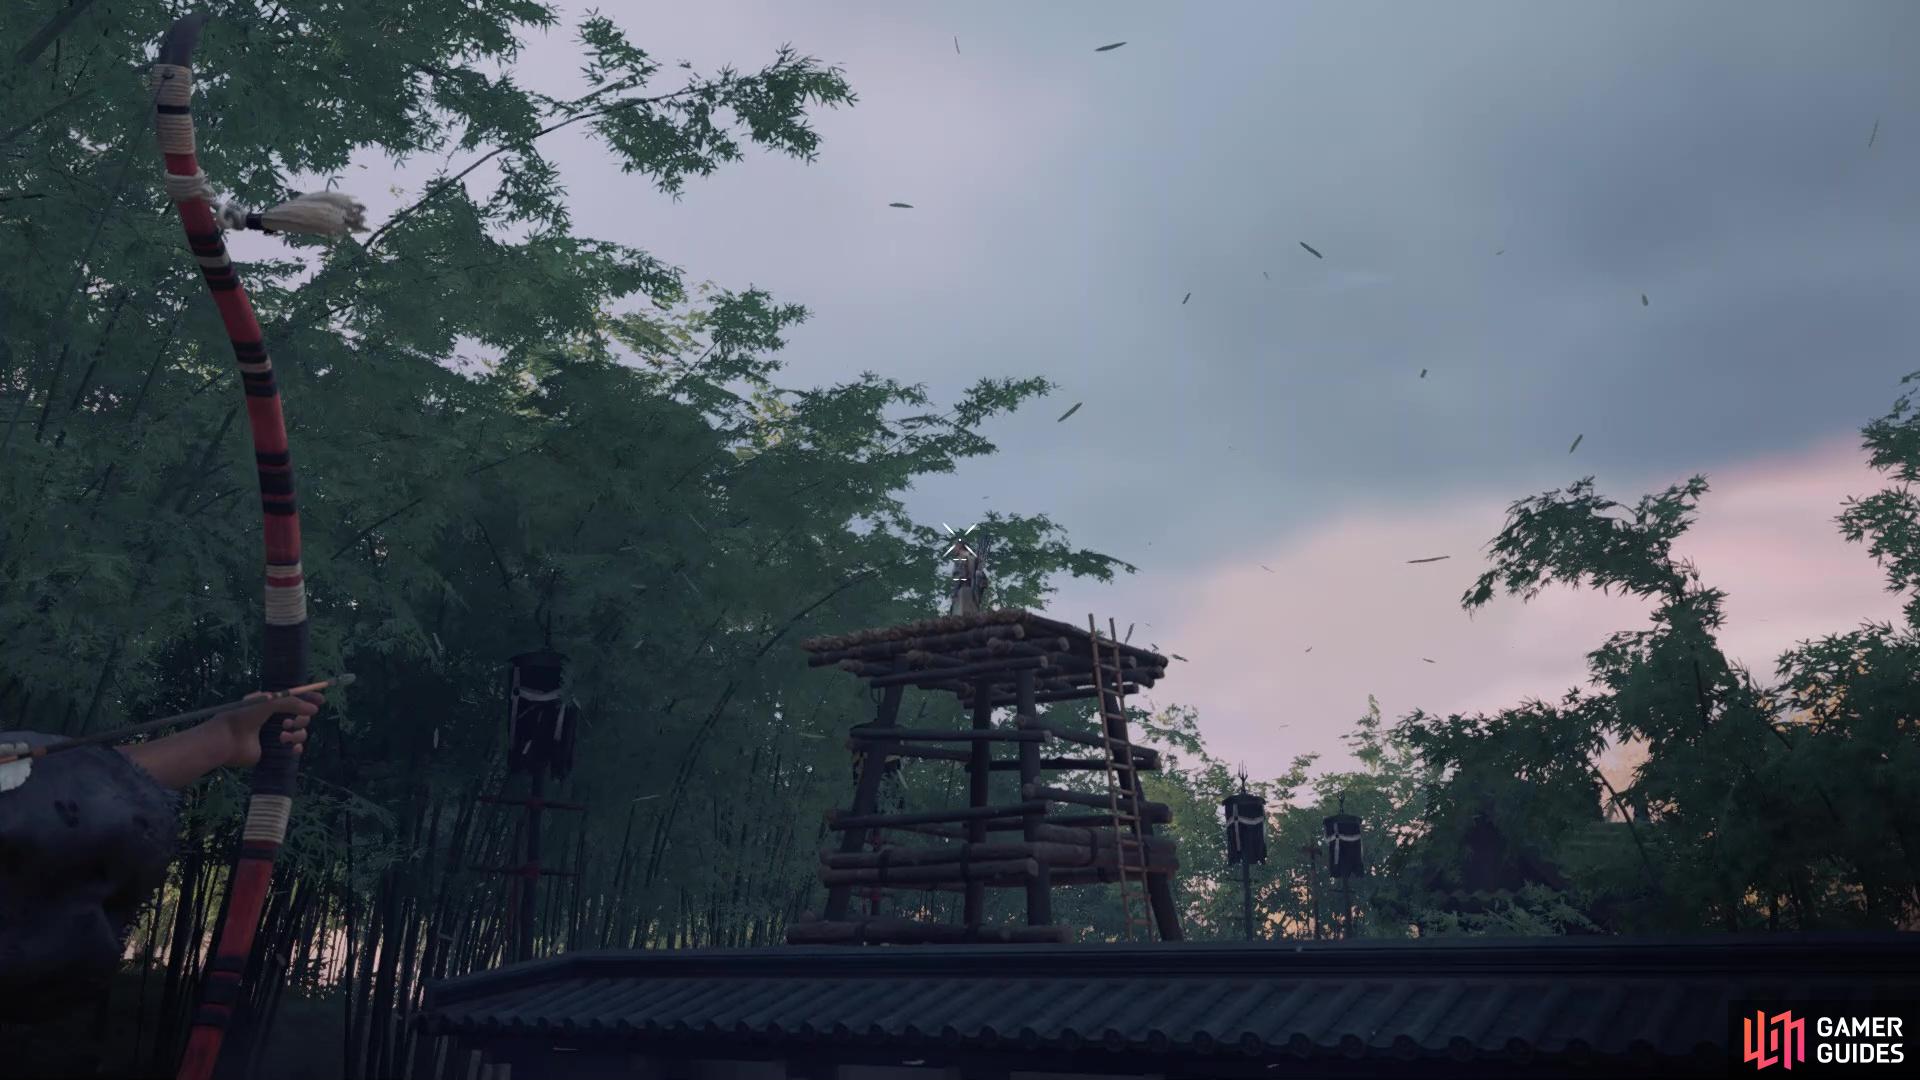
Be mindful of the archer in the tower by the fallen tree
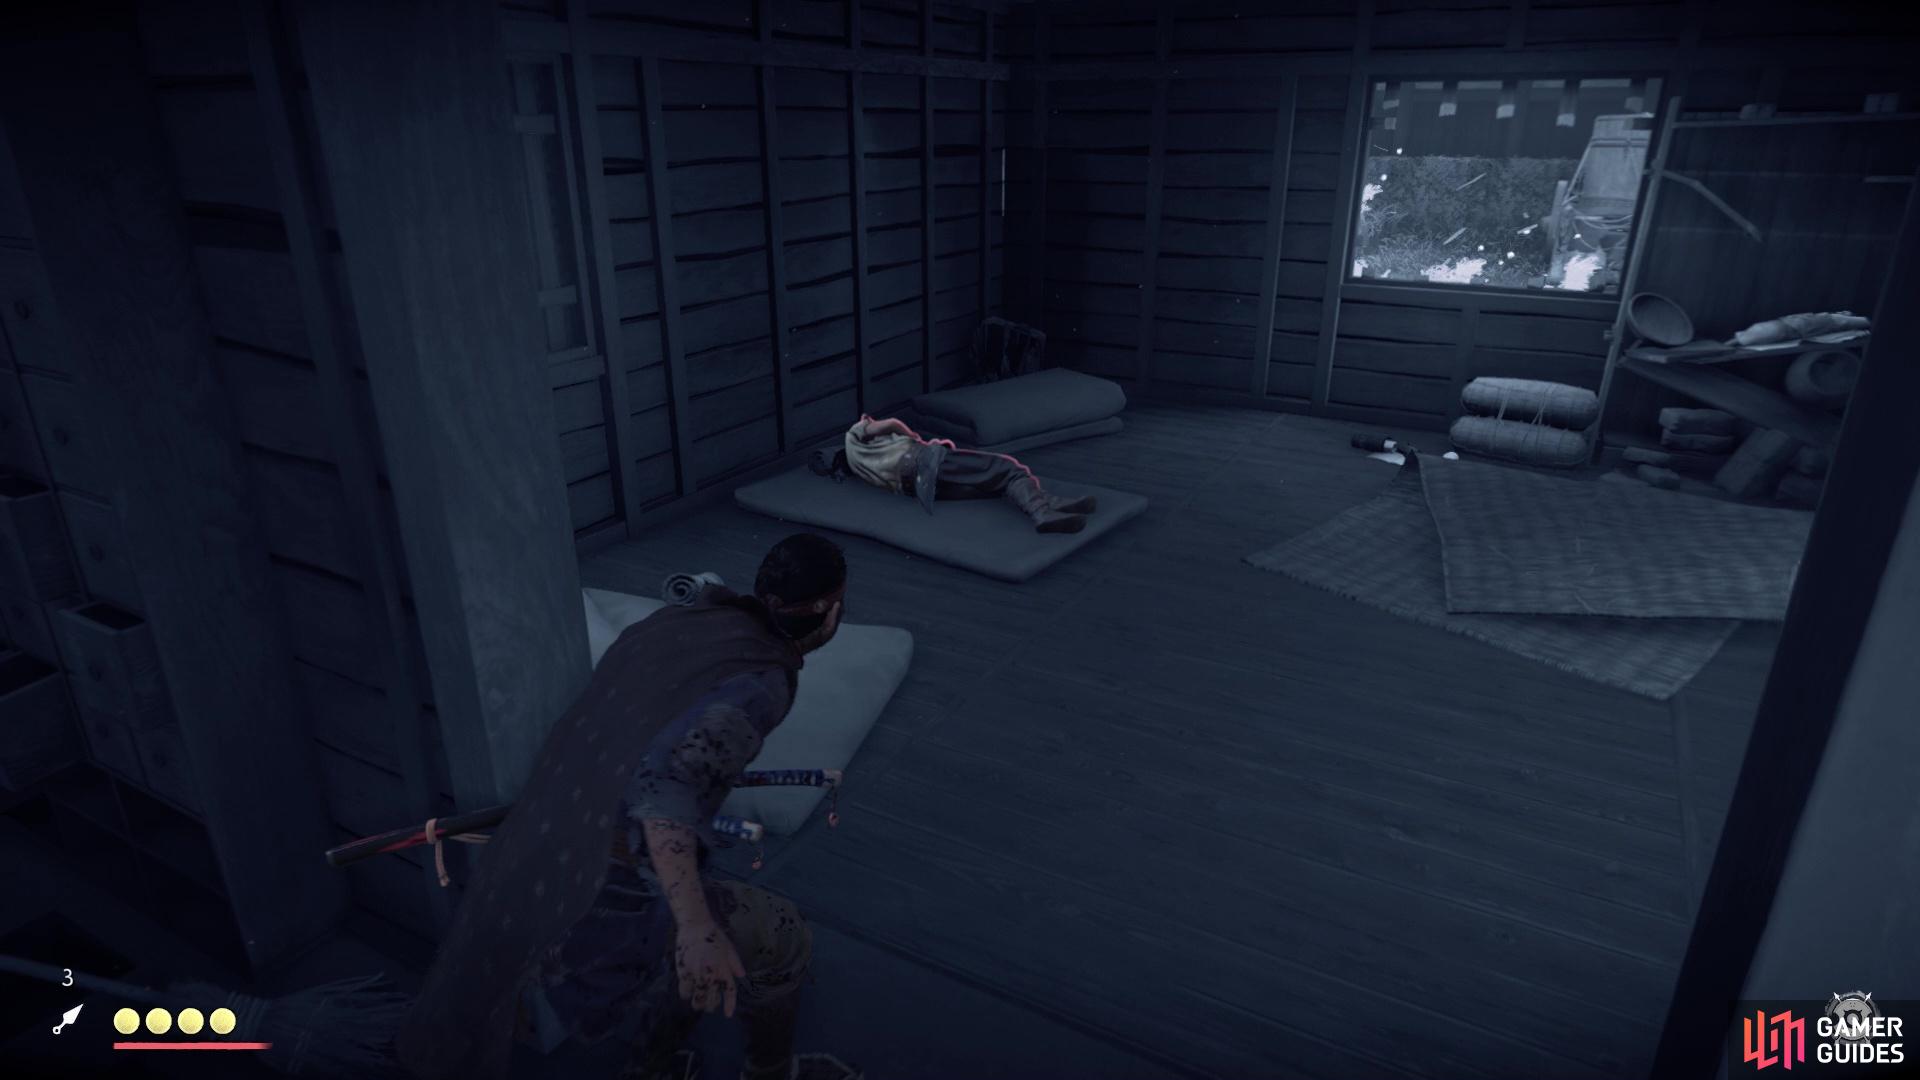
Some enemies might be sleeping, making them easy prey
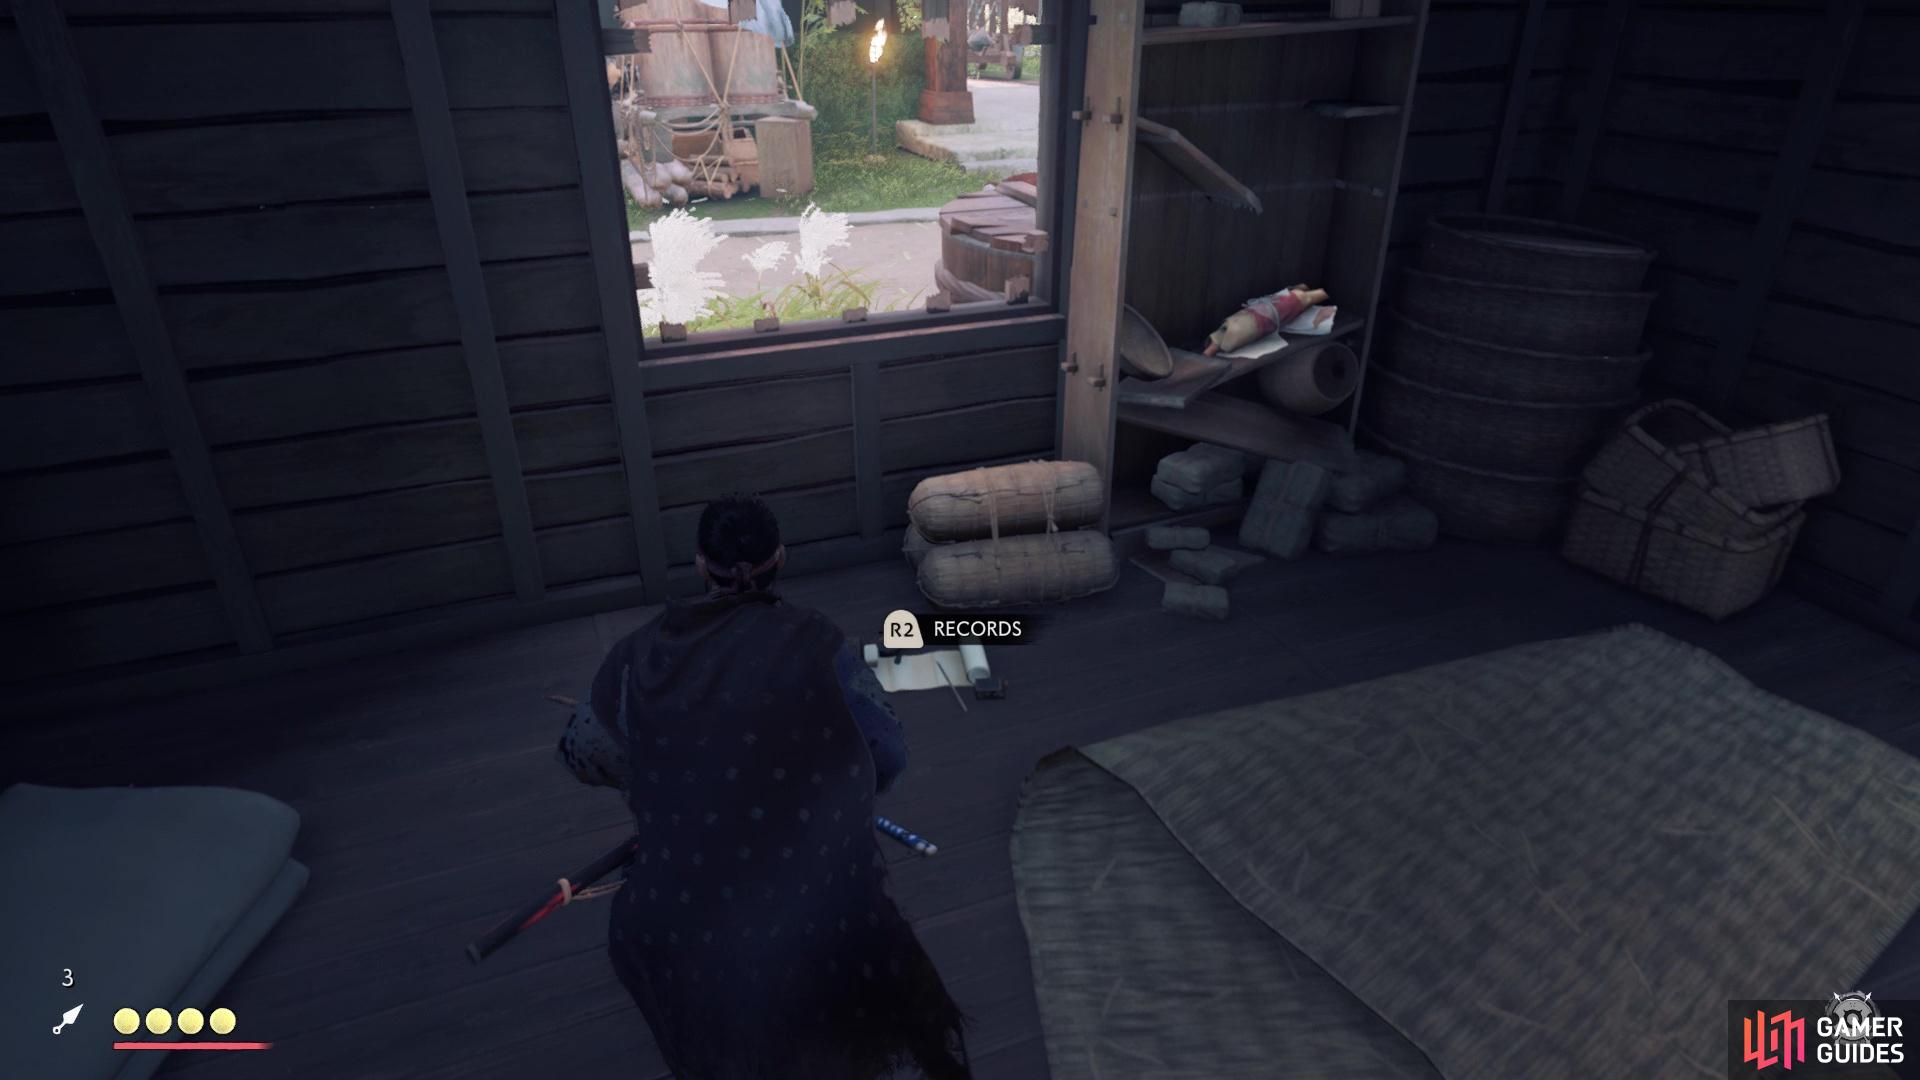
They are pretty easy to kill (yes, you have to kill them unless you want your face chewed off), at least for now, as they can be shot with one or two arrows. You could also wait for them to lunge at you (it’s unblockable), dodge out of the way and slice at them with your sword; they can drop Predator Hides, which are needed to upgrade some things. Your goal in this camp is to collect three Sashimono Banners. They are already marked and you should be able to see their markers while running around. Your initial focus, though, should be clearing the place of Mongols, so concentrate on doing that for right now. In the building straight ahead from where you likely entered via the fallen tree, there is a Record.
Grab it, then continue your clearing of the camp, making sure to keep an eye out for the various materials you will come across. If you’re doing things stealthily, take your time and use the abundance of pampas grass to hide. Outside of the hole in the southern wall of the compound, you will find a Mongol Artifact sitting on a crate. When you’ve cleared the enemies and collected all three Sashimono Banners, then you will be asked to destroy the black powder cache. Find it, move to the back of it and hold down R2 until the meter fills up. Get away from it as it blows up, then you’ll be forced to face off against a Mongol Leader in a duel.
Duels are special fights that are one-on-one between you and your opponent, complete with a visible health at the top of the screen. Some of them will be part of the various tales and main story, but there are some duels that are out there to be found in the open world. Your duel here is against Warlord Dogar, a Mongol decked out in full armor and using a shield. If you’ve unlocked the Water Stance, then that will work in helping to break his guard. In fact, his guard is represented by the thin, white line above his health. The catch with Warlord Dogar is that he has two unblockable attacks, one being a third hit of a sword combo and the other being him using his shield. Overall, it’s not a hard fight and if you have the Perfect Parry ability, then a counter after one of those can deal huge damage. Upon killing him, you will finally liberate Ogawa Dojo.
It’s time to get back to Sensei Ishikawa and finish up the available missions from him.
No Comments