


This mission and the next one, A New Horizon, will be back to back. Start this mission by meeting up with Yuna at Komatsu Forge and speaking with her. It’s finally time to free Lord Shimura from Castle Kaneda. After a few scenes, you and the rest of your group you’ve helped throughout the first act will be at Castle Kaneda. When you regain control, you will need to speak with Yuna to begin the assault, but there is an optional objective to speak with your allies. Masako and Ishikawa will be right there in front of you, while Taka and Kenji will be a little further ahead.
Approach Yuna by the fire to officially begin the mission, so head to the marker you can see and use your grappling hook to get on the path to infiltrate the castle. The path is straightforward and really short, with you squeeze through a gap in the fence, putting you in some pampas grass. First and foremost, this is a pure stealth mission at first, so raising the alarm at all will have you fail. Upon first arriving on the scene, wait a few moments to let the Mongols scatter, then you should be able to sneak up on the lone one by the building. When he’s dead, use your grapple on the side of the building to get to the roof. There should be a latch on top of this building, allowing you to get inside.
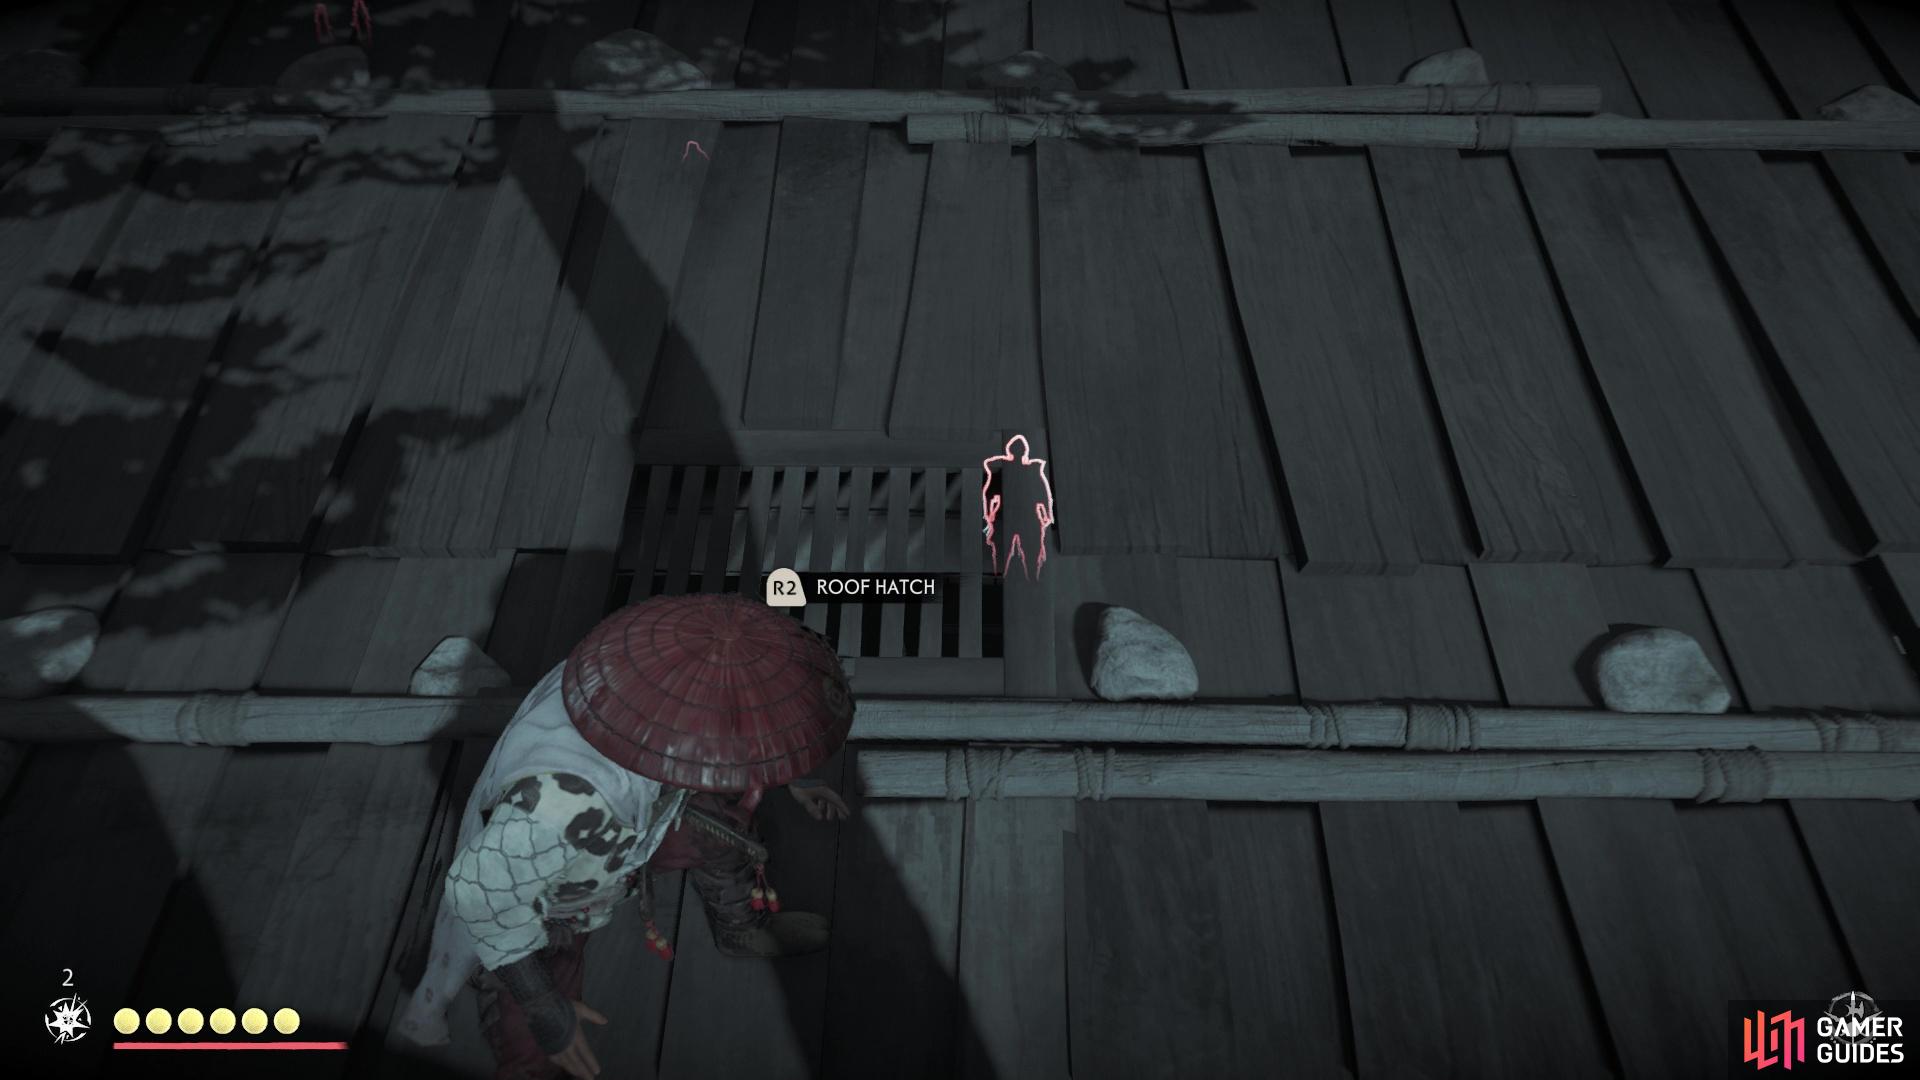
Use the hatch on the roof to slip inside the building

then take out the sleeping guard
If the guard in there is sleeping, take him out, then go after the next one right outside, although you may need to wait until he’s walking in the other direction before opening the door. Approach the next building and look for the broken window on the cliffside, where you can sneak in and assassinate the enemy inside. All that will be left is the two guards by the alarm, who should move away from one another once you get them in your sights. This makes it a lot easier to kill them stealthily, so do that and Jin will automatically take care of the alarm, as well as letting his friends inside the compound.
The Courtyard
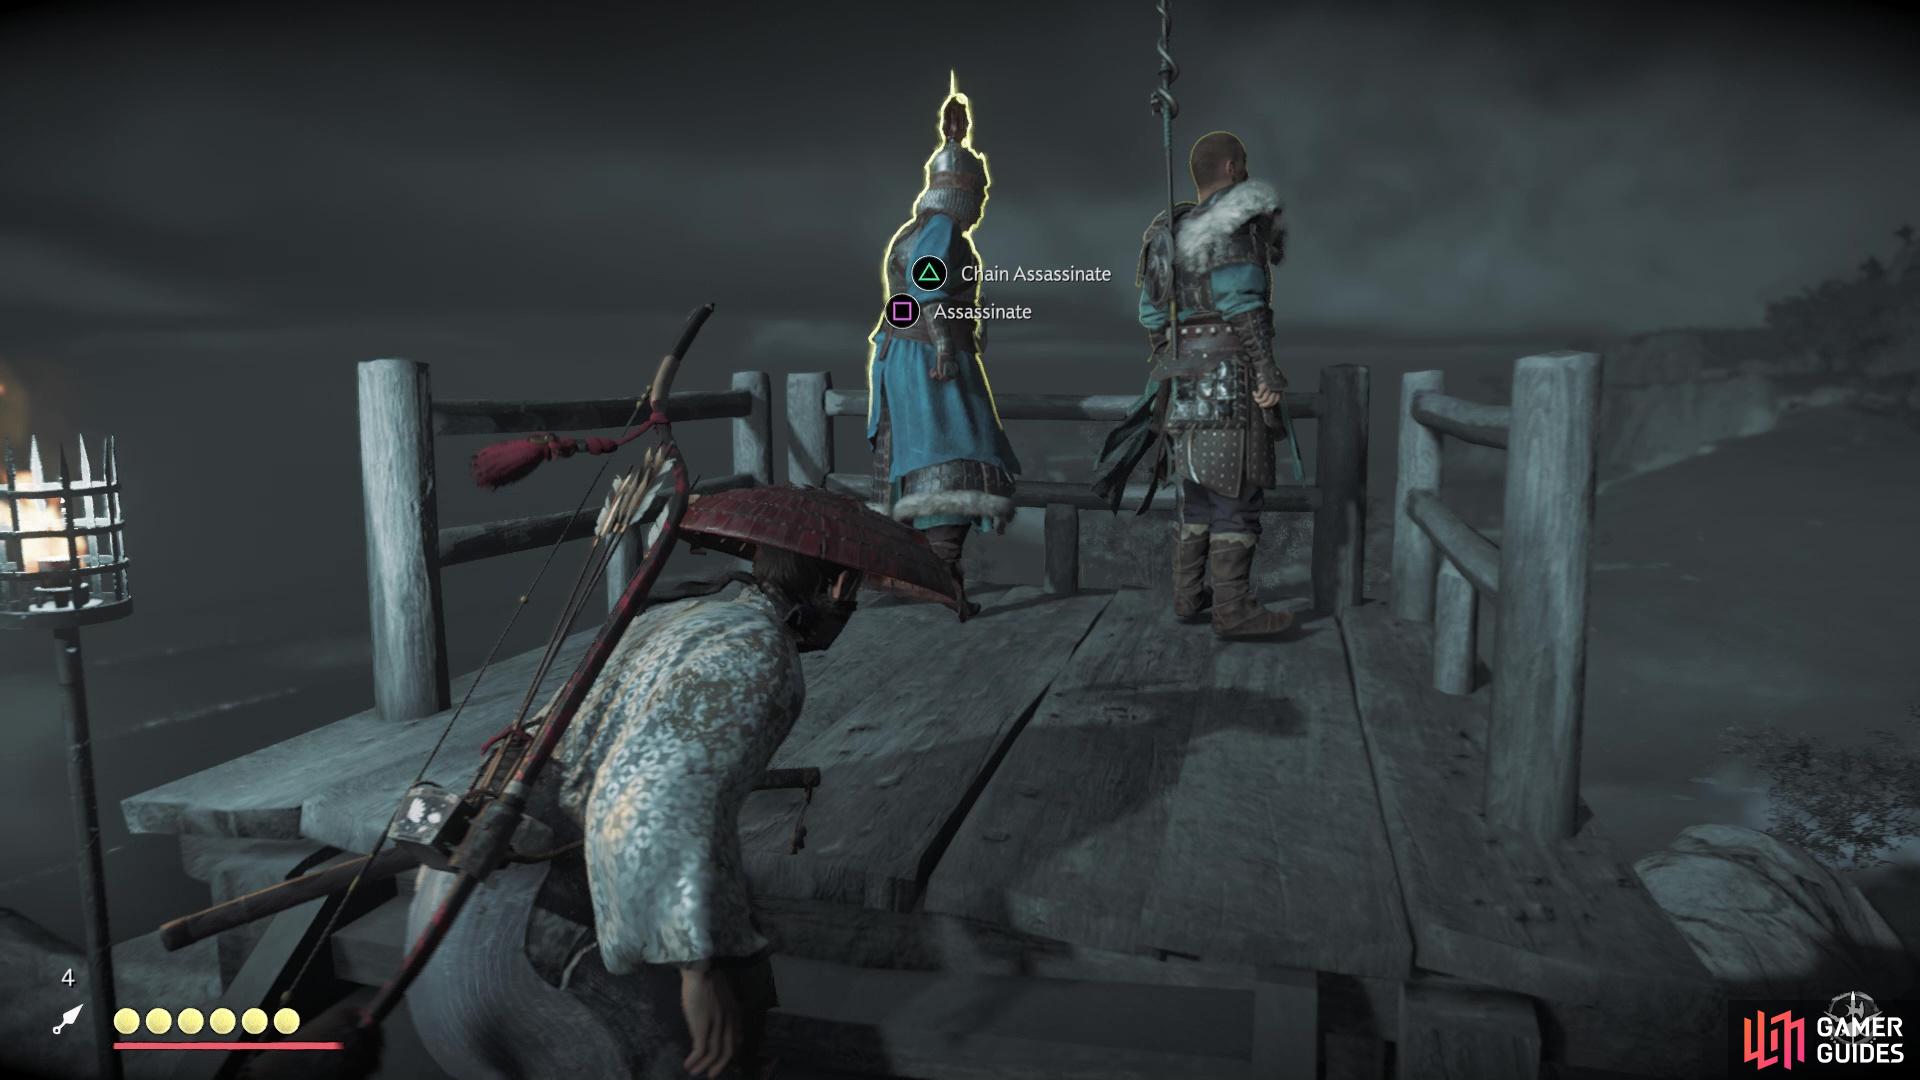
With Masako by your side, the next stop is the courtyard, where you can either approach things silently, or go head-on, meaning the objective to not raise the alarm is gone now. There are definitely a lot of enemies inside, so unless you’re 100% confident in your sword fighting skills, it might be better to thin the numbers a little bit with stealth. Remember that you have the Longbow in your arsenal, so you have both Heavy Arrows and Explosive ones, too. If you can manage to group up the Mongols, an Explosive Arrow can do wonders in not only dropping their health considerably, but also bring down a couple of the Mongols.
If you decide to fight head-on, then you need to worry about Masako going down in combat, meaning you will have to revive her before the timer dissipates. Should you choose this option, though, concentrate on the archers and enemies with the bombs first, as they can make things much more annoying. It is still heavily suggested that you use stealth to take out some of the enemies before diving head first against them. A successful Chain Assassination might make an enemy run off in terror, which definitely helps with things. Once you’re finished, speak with Masako, then cross the bridge and meet up with Yuna.
Take out the archer on top of the gate first
allowing you to assassinate some of the other Mongols
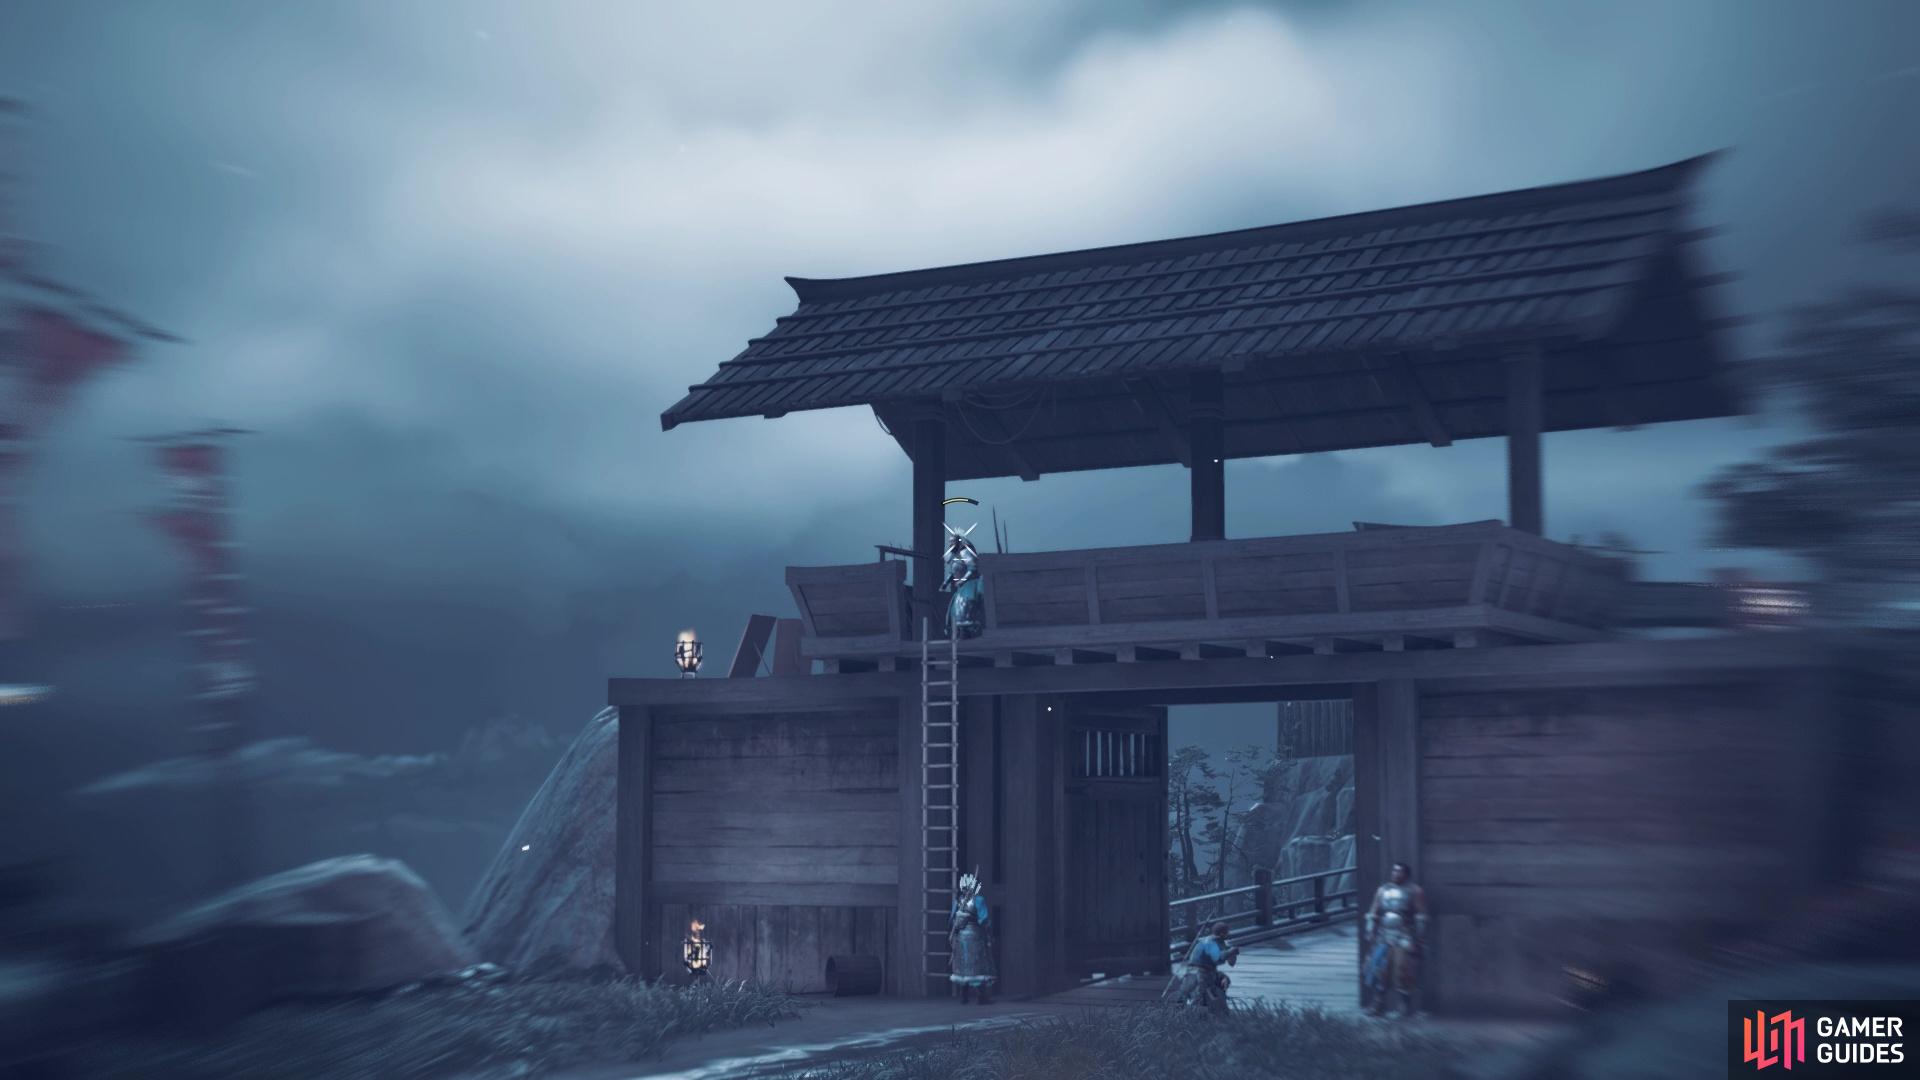
The next gate is guarded by a handful of Mongols and you need to take them out before you can proceed. Once again, you can either do things the stealth way or just fight them head-on. There’s not too many here, so it might save some time to just do some straight-up fighting. Note that there is one Mongol on the walkway, above the gate itself, so be wary of his position if doing things the sneaky way. In fact, sniping him with the Longbow will get him out of the way earlier, allowing you to move around a little bit more freely. Unfortunately, unless you use Wind Chimes to distract the ones by the gate, you will likely have to fight them head-on.
Continue across the next bridge, where the gate will be locked, meaning you have to find a way around it. When facing the gate, look to the right and you should be able to make out some footholds. Use those to drop down below, then you can hop across the beams underneath the bridge. A couple of grapple hooks later, you will squeeze through another gap in the fence to arrive in the next area. Wait a few moments, then you have a choice to either take out the Mongols yourself, or open the gate and let Yuna inside. It should be noted that there are a couple of new enemy types in this area, so let’s go over them real quick.
One of the new types is a shielded foe that lights their sword on fire. Naturally, if you’re struck by this sword, you will be set on fire, so if that happens, roll to put it out. Also, the archers have been upgraded, as they can shoot fire arrows at you now. Other than that, you’re dealing with the blue-tiered enemies from before, so you should be somewhat familiar with them. You should definitely approach the archers first, so you don’t have to worry about ranged attacks. There is also a Mongol leader amongst the enemies; he will be a shieldman. Upon killing all enemies, approach the next gate and use the gap in the wall to the left of it, triggering a cutscene and a duel.
DUEL - An Old Friend
This duel can be quite challenging, especially if you’re playing on Hard, as your opponent has a number of unblockable moves, some of which come out really quickly. The one to watch out for is when he does a spinning attack, with his sword being low to the ground. This move is a bit deceptive, as he will kick up some dirt, which has a slightly bigger hitbox and can still hurt you. He can follow this up with a high spinning slash, but you can parry this one. Outside of that, he has the stabbing move you do in your Stone Stance, something he will do multiple times in a row. If you have the skill that makes some unblockable sword attacks guardable, then you can parry this one.

Whenever you see him sheath his sword, prepare for a quick one-two combo, consisting of two unblockables. Staying at a distance can also be a problem, as your opponent can perform a dashing sword strike, that once again, is unblockable. He can also do some kicking attacks, which cannot be parried, but can be blocked. The important part about this duel is recognizing the unblockable attacks and dodging them, so you can try to counter them. In fact, there is a bit of luck involved, as he can just spam the unblockable attacks, if he wanted. Wearing your Ronin Attire or Samurai Clan Armor is best for this fight, either for the extra attack power or the extra health/defense.
Before he runs off, your opponent will yell and alert the Mongols, so a couple will be coming at you. There will be two archers in the back, so if you can get to them first, it’ll make things easier. The second wave of enemies will appear as you cross the next bridge, consisting of two more archers and two brutes with large shields. If you have access to the Moon Stance already, then that should help with the brutes. Otherwise, just dodge their shield smash attack and counter with your own attacks.
Rescuing Lord Shimura
It’s time to finally enter the keep where Lord Shimura is being held. Once you open the doors, you will see some Mongols before you, which triggers an automatic Standoff with them. If you can manage to kill some, that’s good; otherwise, you have to deal with some sword-users, a spearman, and a brute with an axe. Find the ladder to the next floor and use your Focused Hearing to see an enemy behind the door. If you approach him, you see that you finally have an option to assassinate him with the door still closed. Go ahead and do that (the game calls it a shoji assassination and they’re unlocked), then climb the ladder to the next floor.
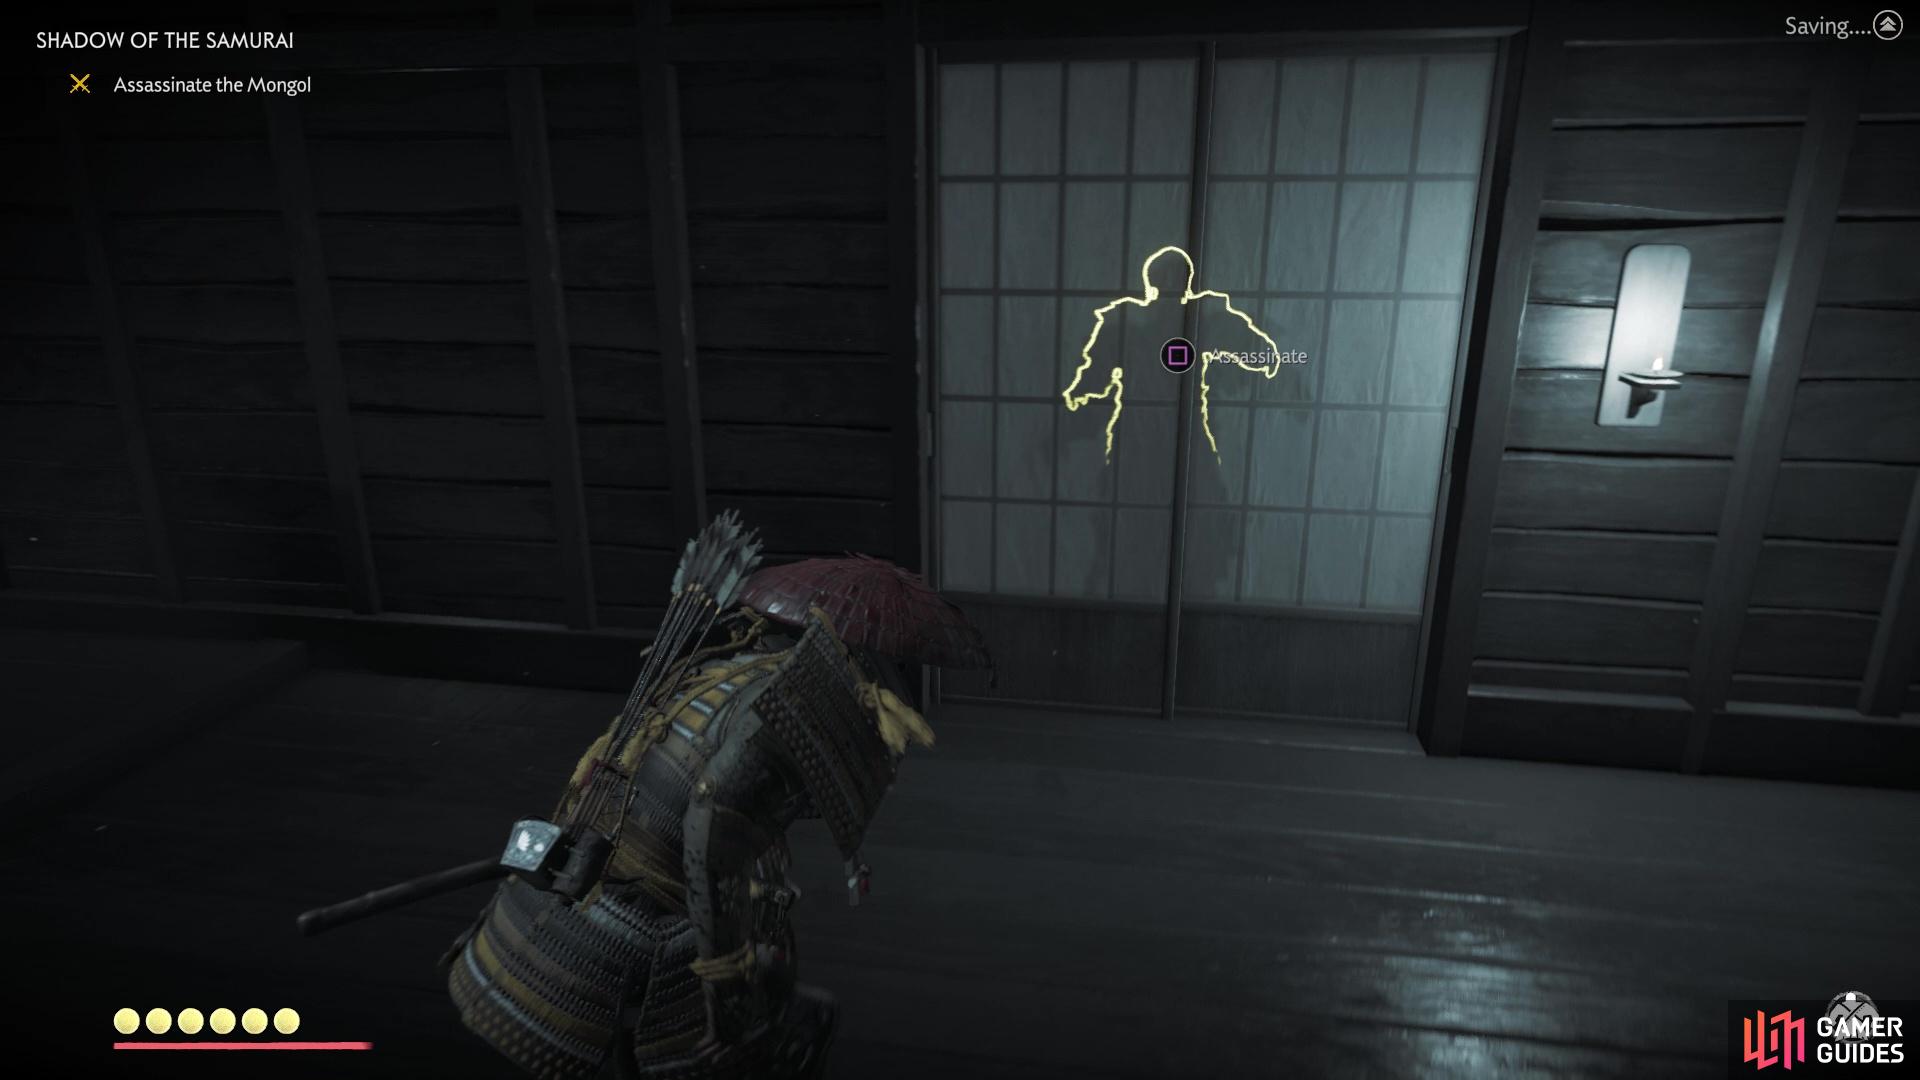
Approach the one guard behind the door to see an assassination prompt
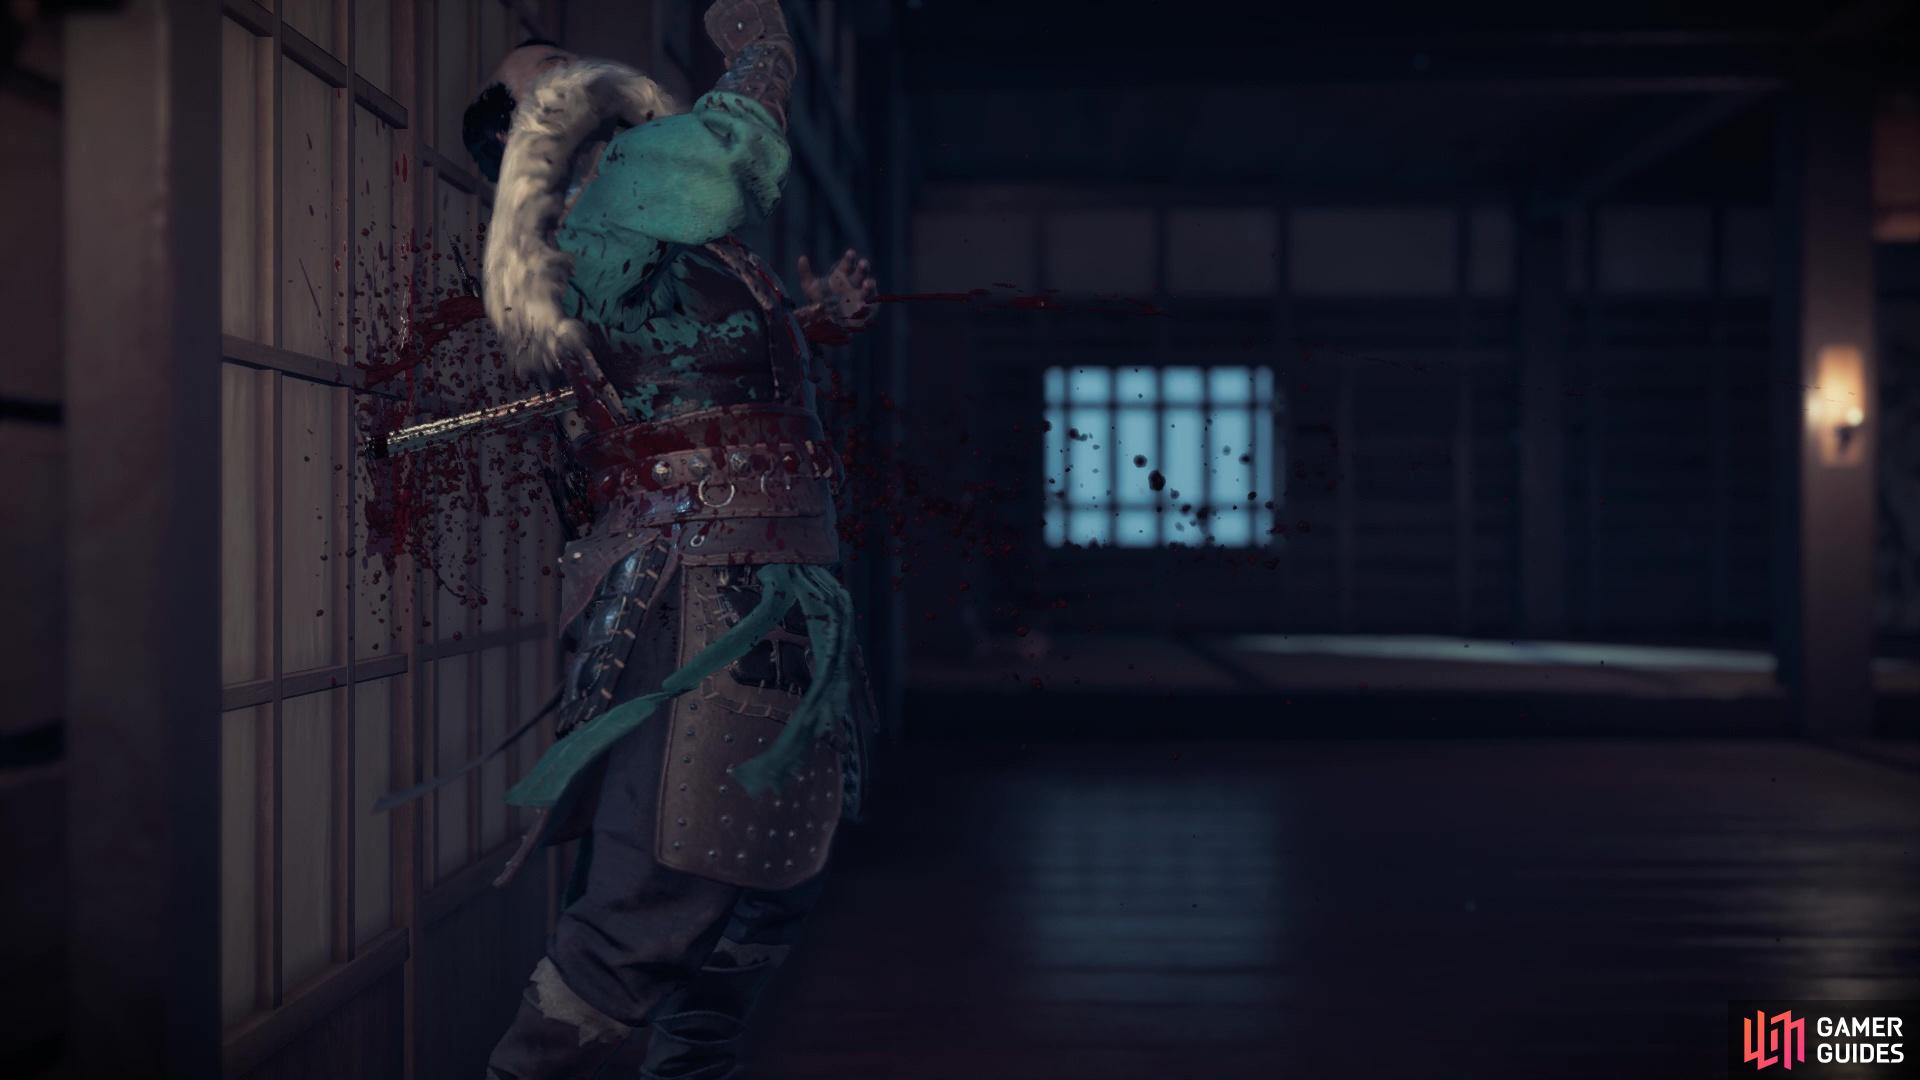
unlock the shoji assassination for the rest of the game
Two more Mongols await you, so take them out and advance to the top floor. Perform another assassination on the guard behind the door, then there will be one more enemy guarding Shimura. Approach your lord to finally rescue him, but you’re not out of the woods yet. The game will put you back outside, but you’re fighting alongside Lord Shimura. Take out all of the Mongols, then there will be one final wave, which has you fighting alongside every friend you’ve brought along. There will be quite a few yellow-tiered Mongols here, but with all of your allies, they should down rather quickly. The mission will finally be over and after a few cutscenes, the game will automatically begin the next mission.
No Comments