


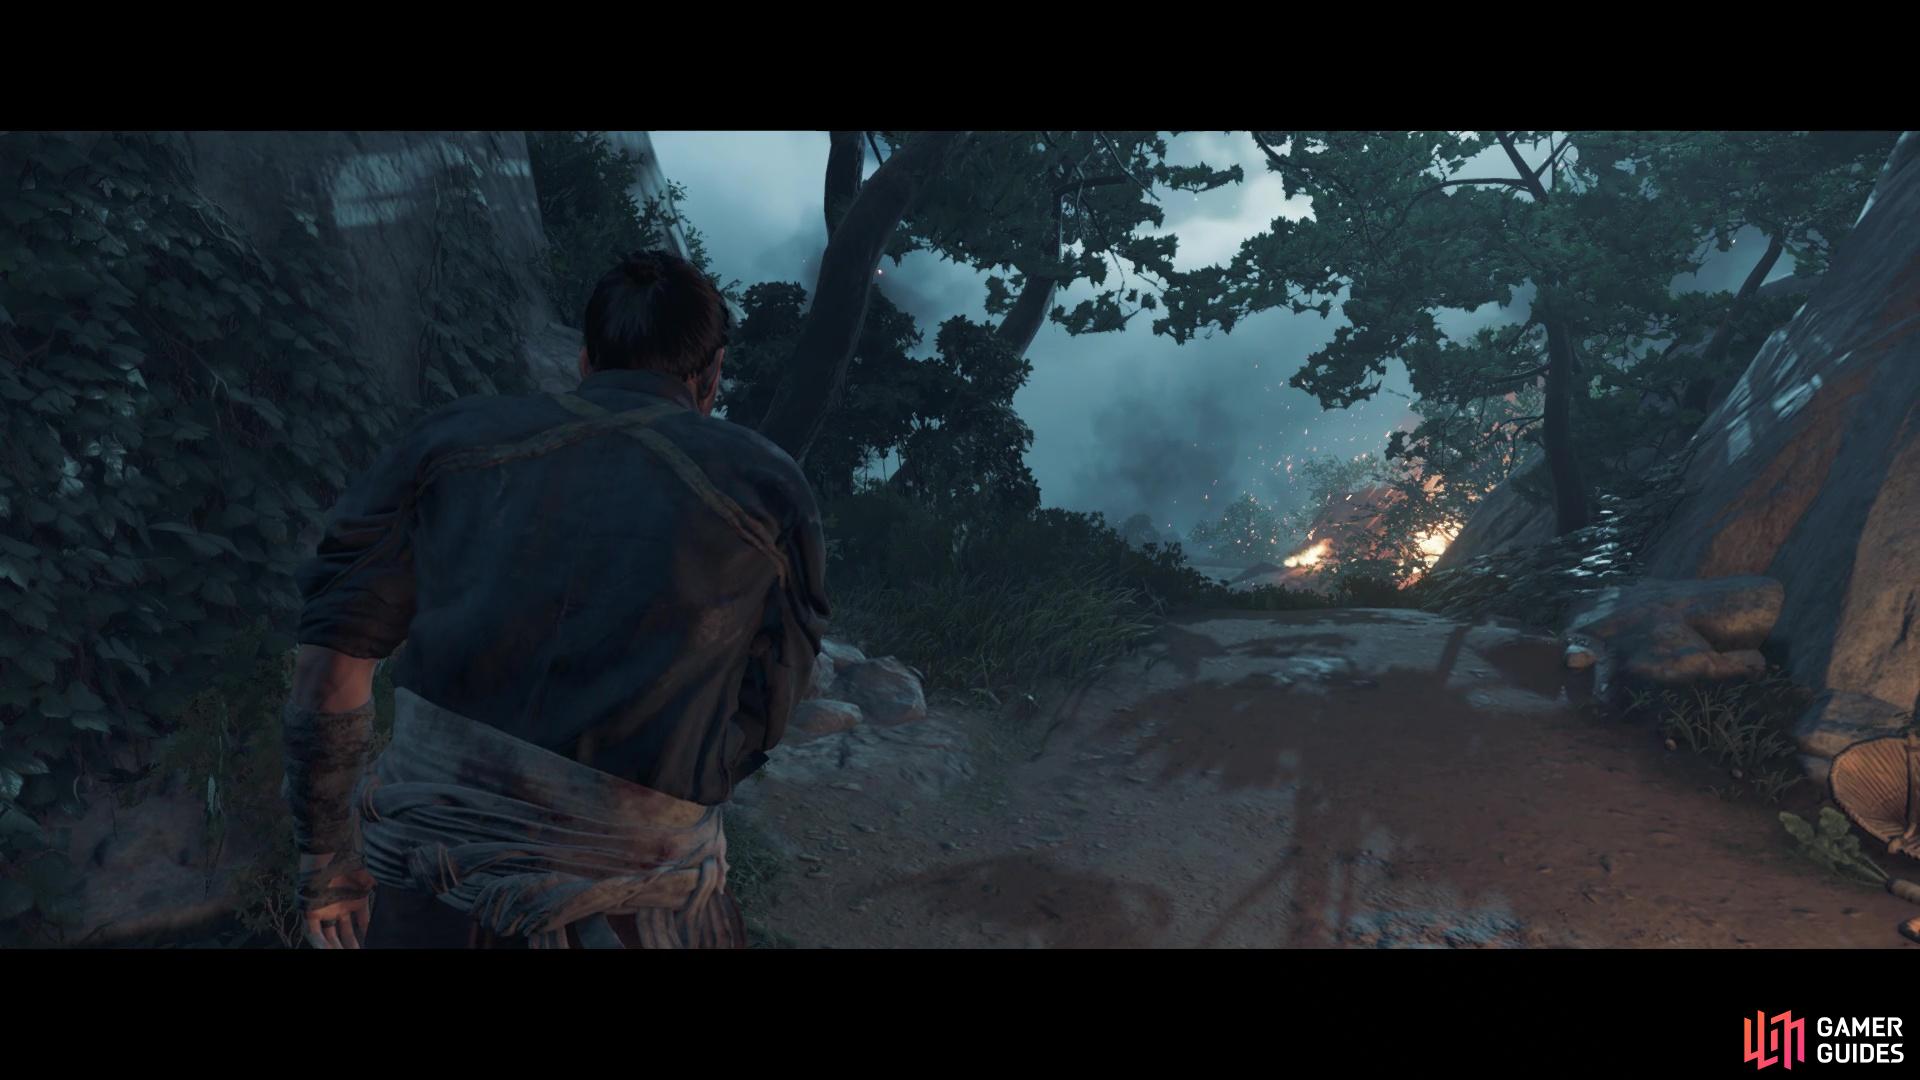
Waking up, you find yourself in unfamiliar surroundings and with your injuries all bandaged. When you can move on your own, check out the area for two points of interest, then follow the trail overlooking the village being ransacked and pillaged by the Mongols. You will come upon a small gap on the trail, which you can squeeze through with the R2 button. Your primary goal right now is to search for your katana, but you also need to not raise the alarm. Considering you’re unarmed, that’s a good thing to not do, as you will likely be dead within seconds.
At the bottom of the trail, you will notice some Mongols stationed around the area. As mentioned above, avoid being sighted by them at all costs. Your first objective is to get to the house straight ahead, and it’s better to do this while crouched, which can be done with the R3 button. Right before the door, you can examine the ground to spot some footprints in the mud. Enter the building now and turn right to find another object you can investigate, which is a sword-sharpening stone. Opposite of that will be your old armor, so press the button when close enough to collect it.
Of course, the armor is broken, but it is better than nothing. Try to exit the building via the nearby door for a cutscene, where you’re introduced to Yuna. She says she will bring you to your sword, so you have no choice but to follow her. Start by following her to the window and pressing both the left analog stick forward and the X button to jump through it. The same rule of not raising the alarm will hold true here, so follow Yuna’s actions by crouching and around the corner, you’ll need to hide behind some barrels to avoid being discovered by a Mongol.
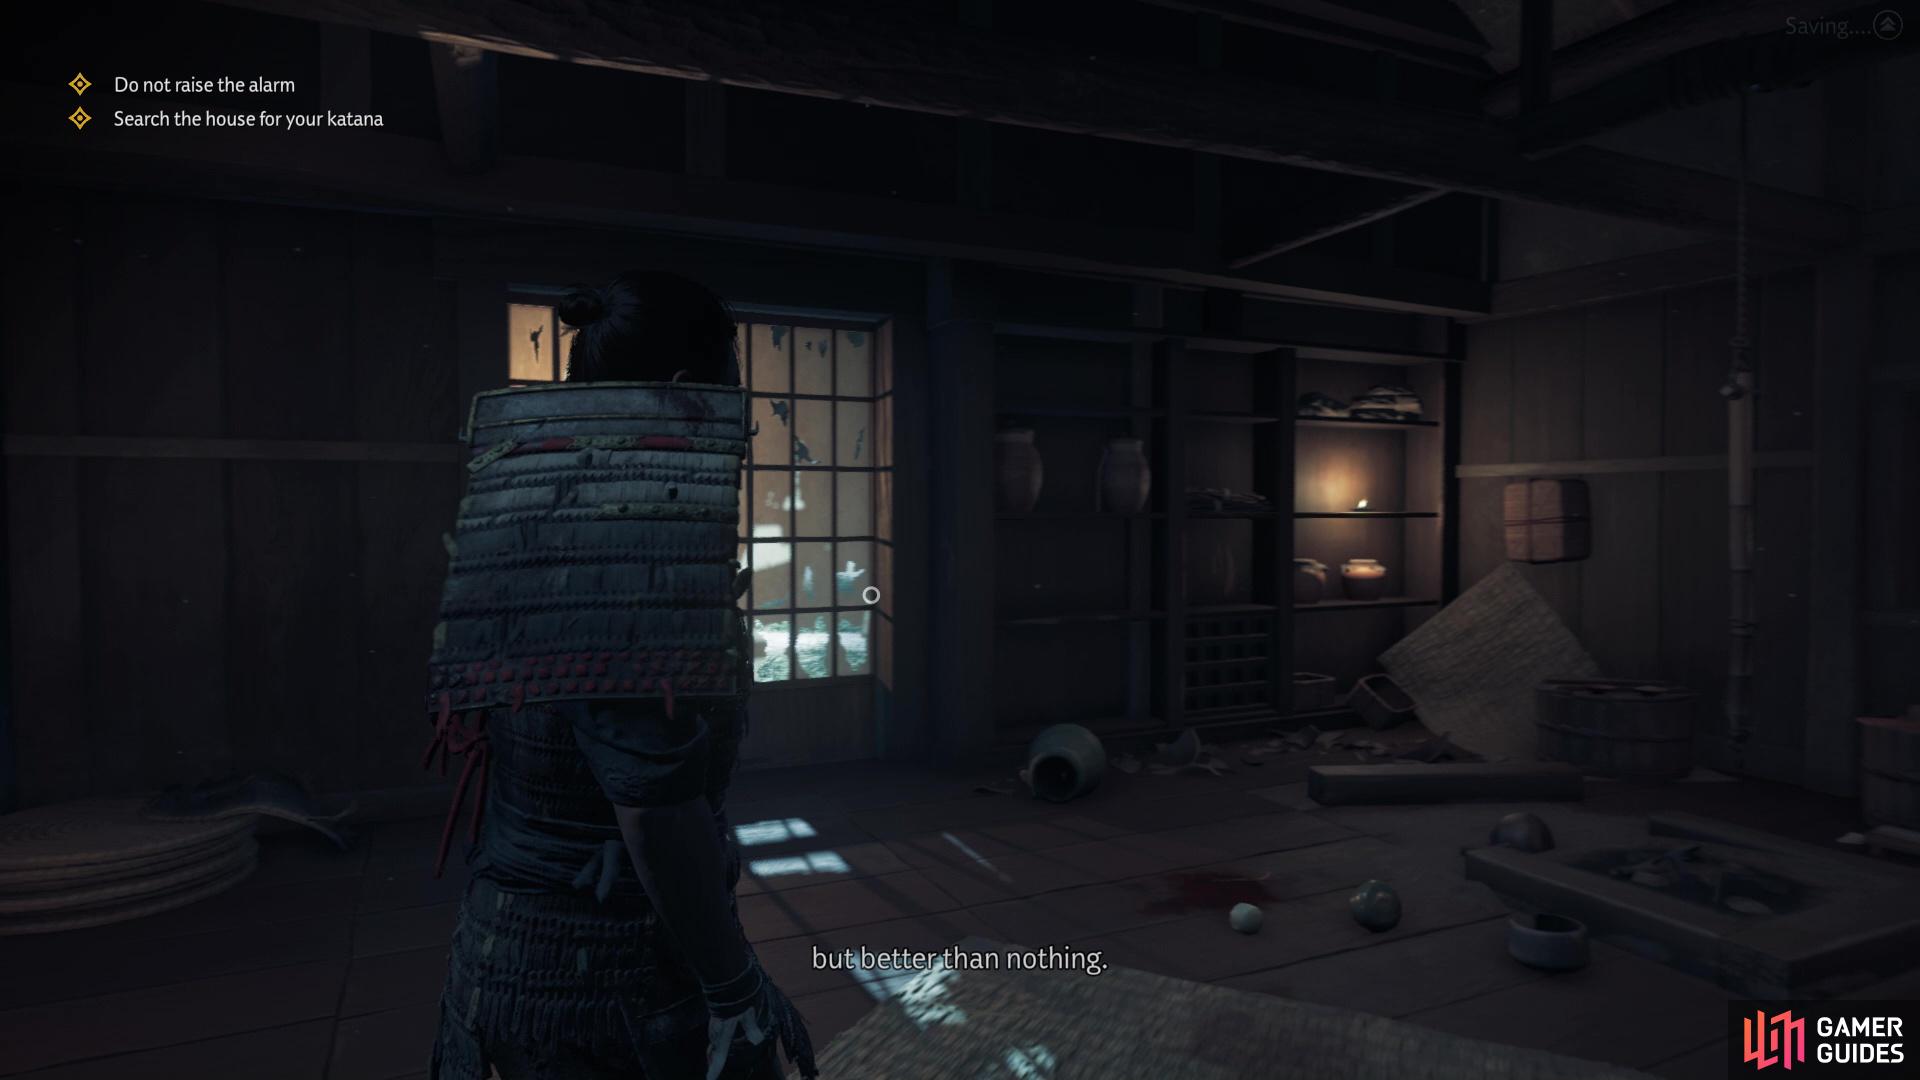
Your armor is a little broken, but it’s better than nothing
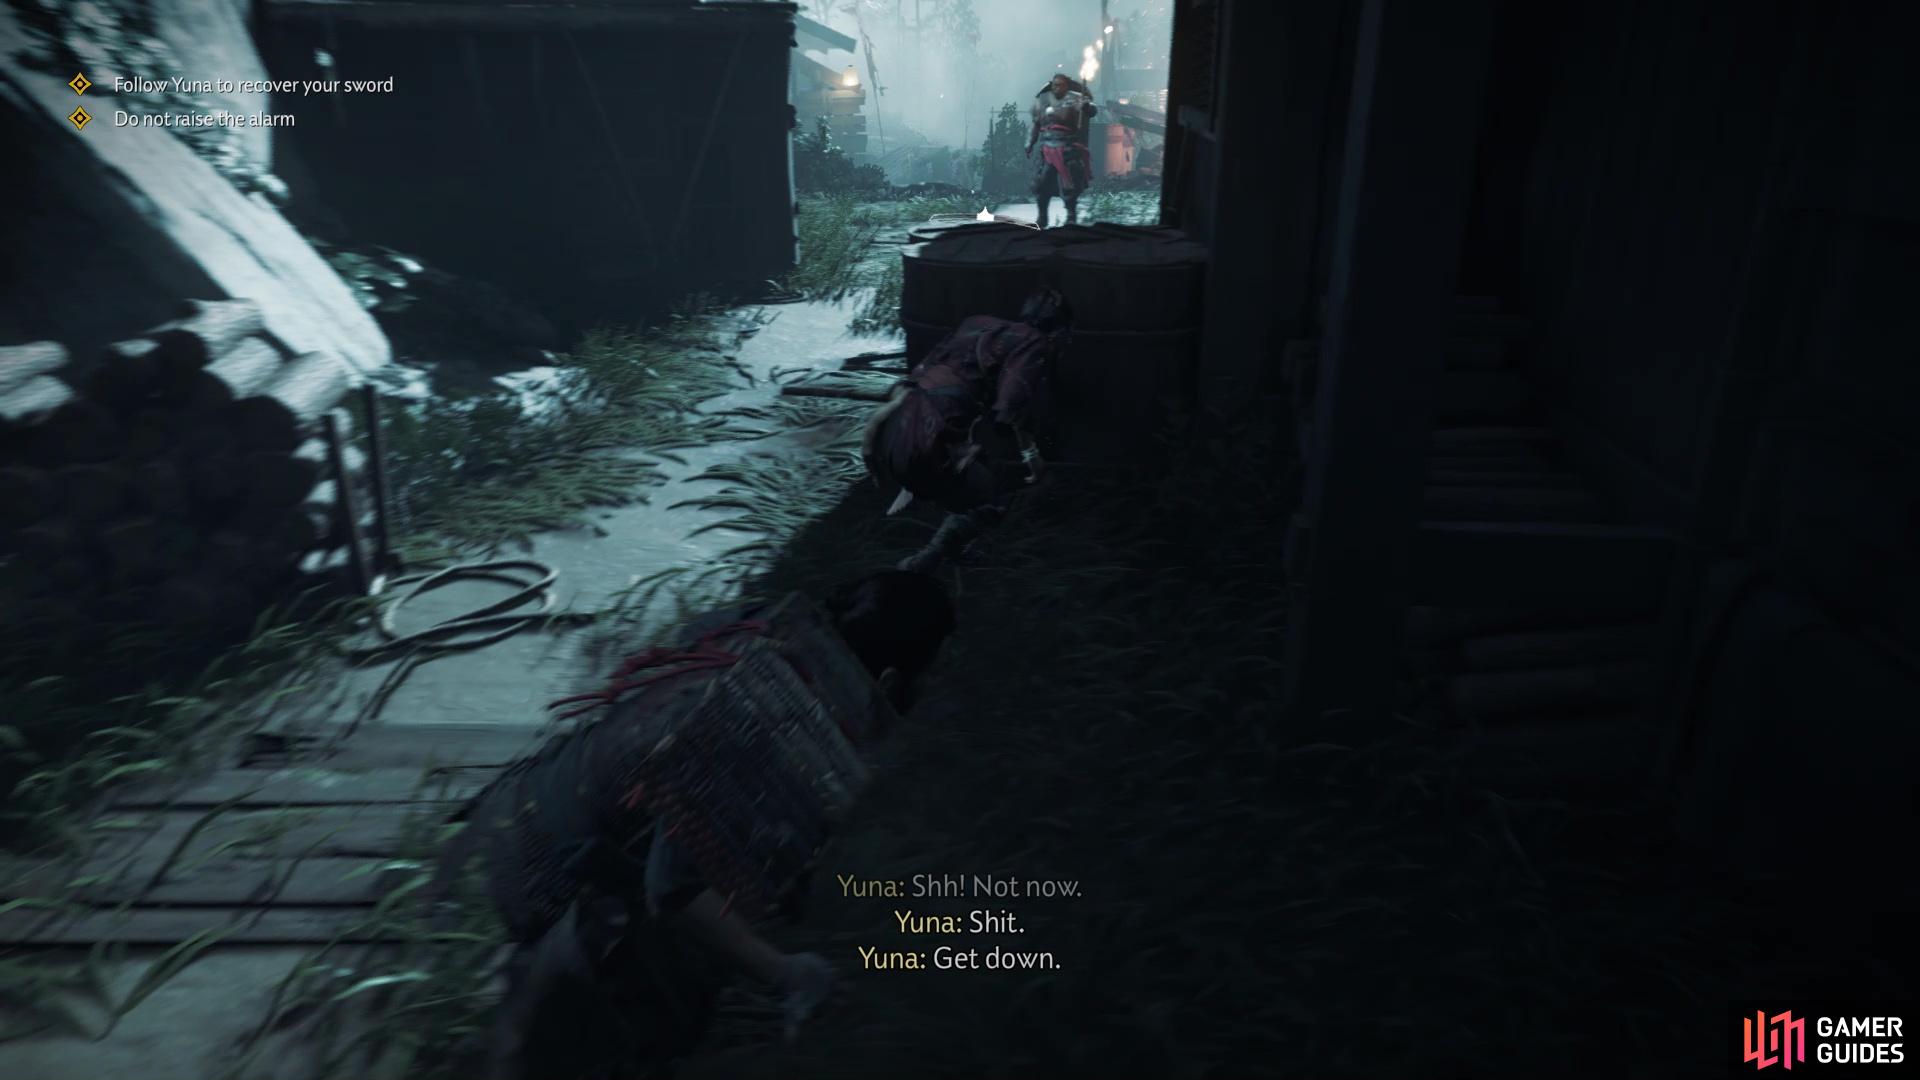
Quickly hide before the enemy’s detection meter fills
When the coast is clear, continue following Yuna to the next spot, where you have to hide once more. After that, you will reach another building, but you’ll be crawling underneath it. Get close enough and when the button prompt appears, press the R2 button to crawl under the structure. On the other side, you will be treated to another cutscene, then you will continue the following of Yuna. Down a little hill, you will have to squeeze through another opening. Eventually, you will reach the main road of the village, but it appears the Mongols have it well-covered. Thanks to a distraction, you will be able to sneak by the Mongols (including a possibly blind one).
Not long after that, you will have to move to the rooftops, so do the same thing as before with climbing out of a window to climb onto the rooftops. You learn a little bit up here about Yuna and once you climb back through a window, you will come upon the game’s main currency, Supplies. The various materials you can loot across the game’s world will glow slightly, so you want to always keep a lookout for the glowing objects; this also extends to other things a little later in the game. Collect the Supplies upstairs, then head downstairs to get two more sets of Supplies.
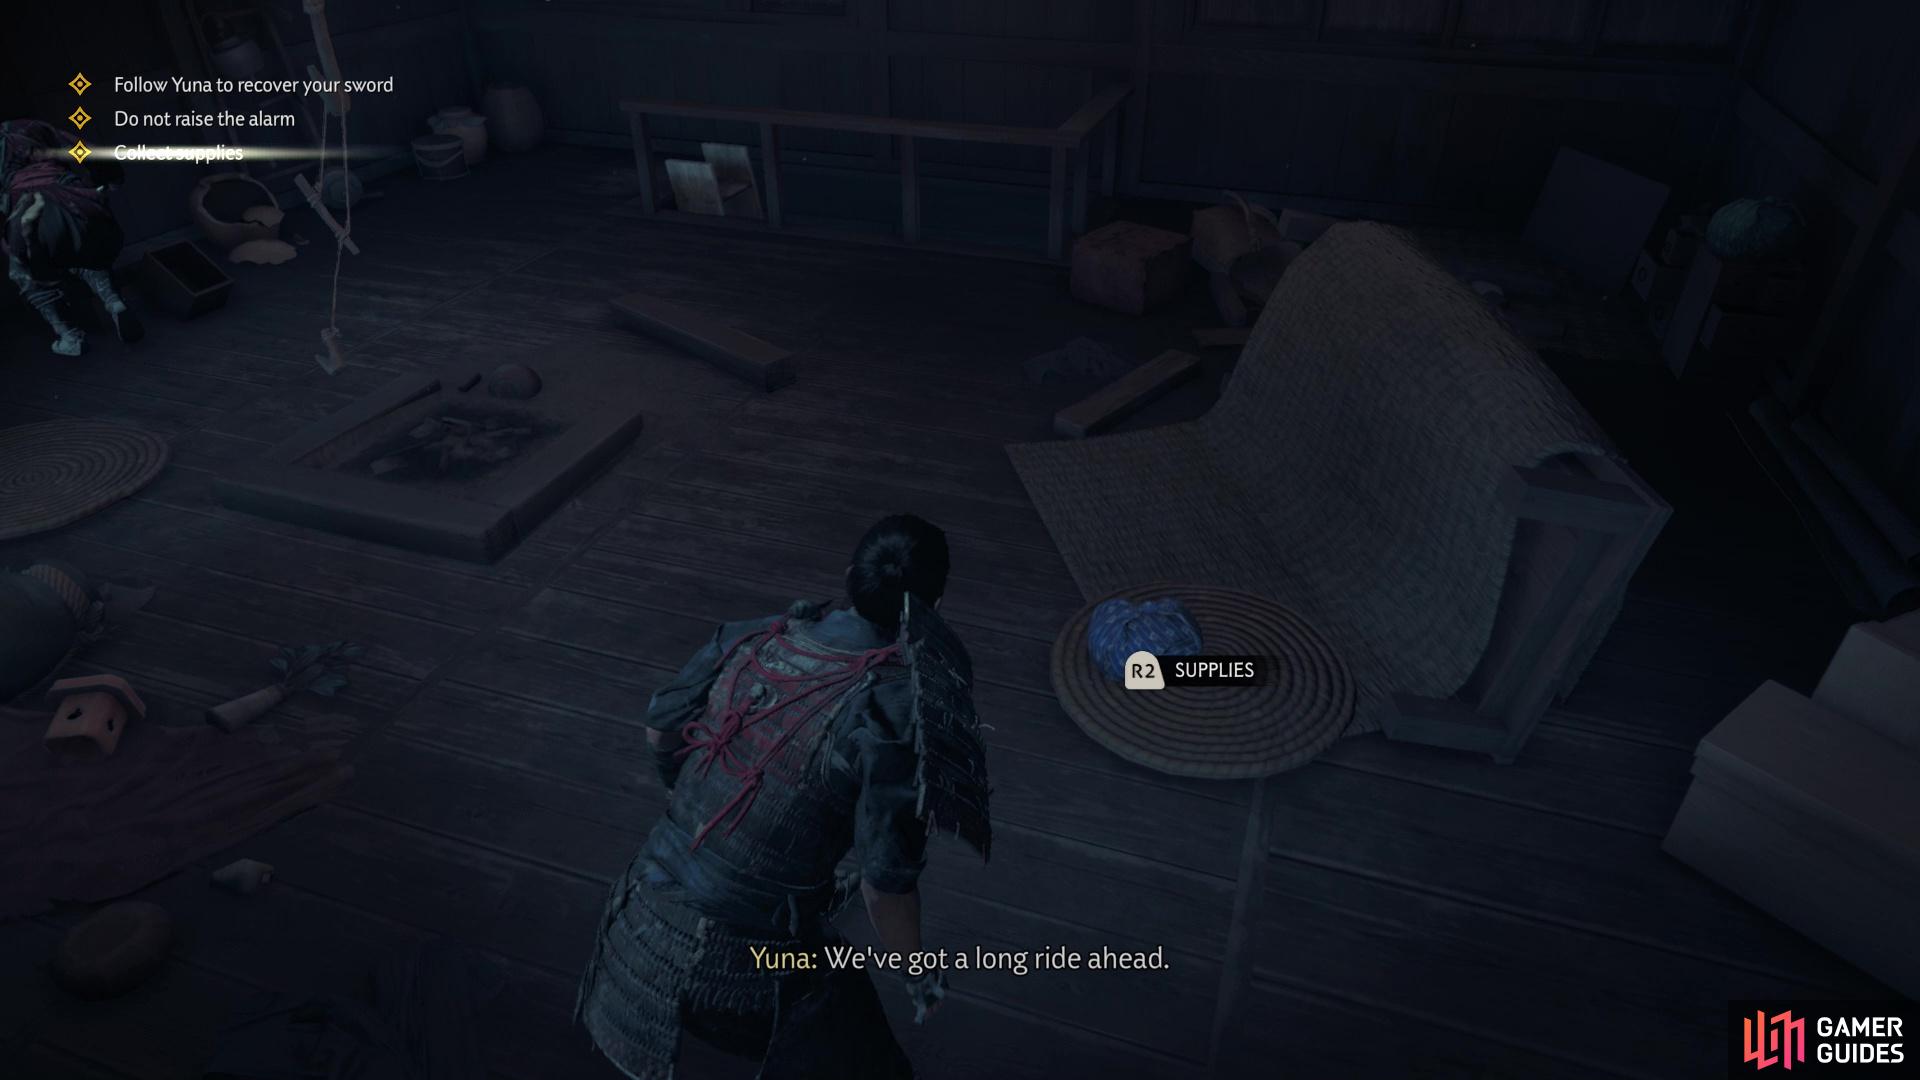
Always keep a lookout for Supplies on your journey, as you’ll be needing them
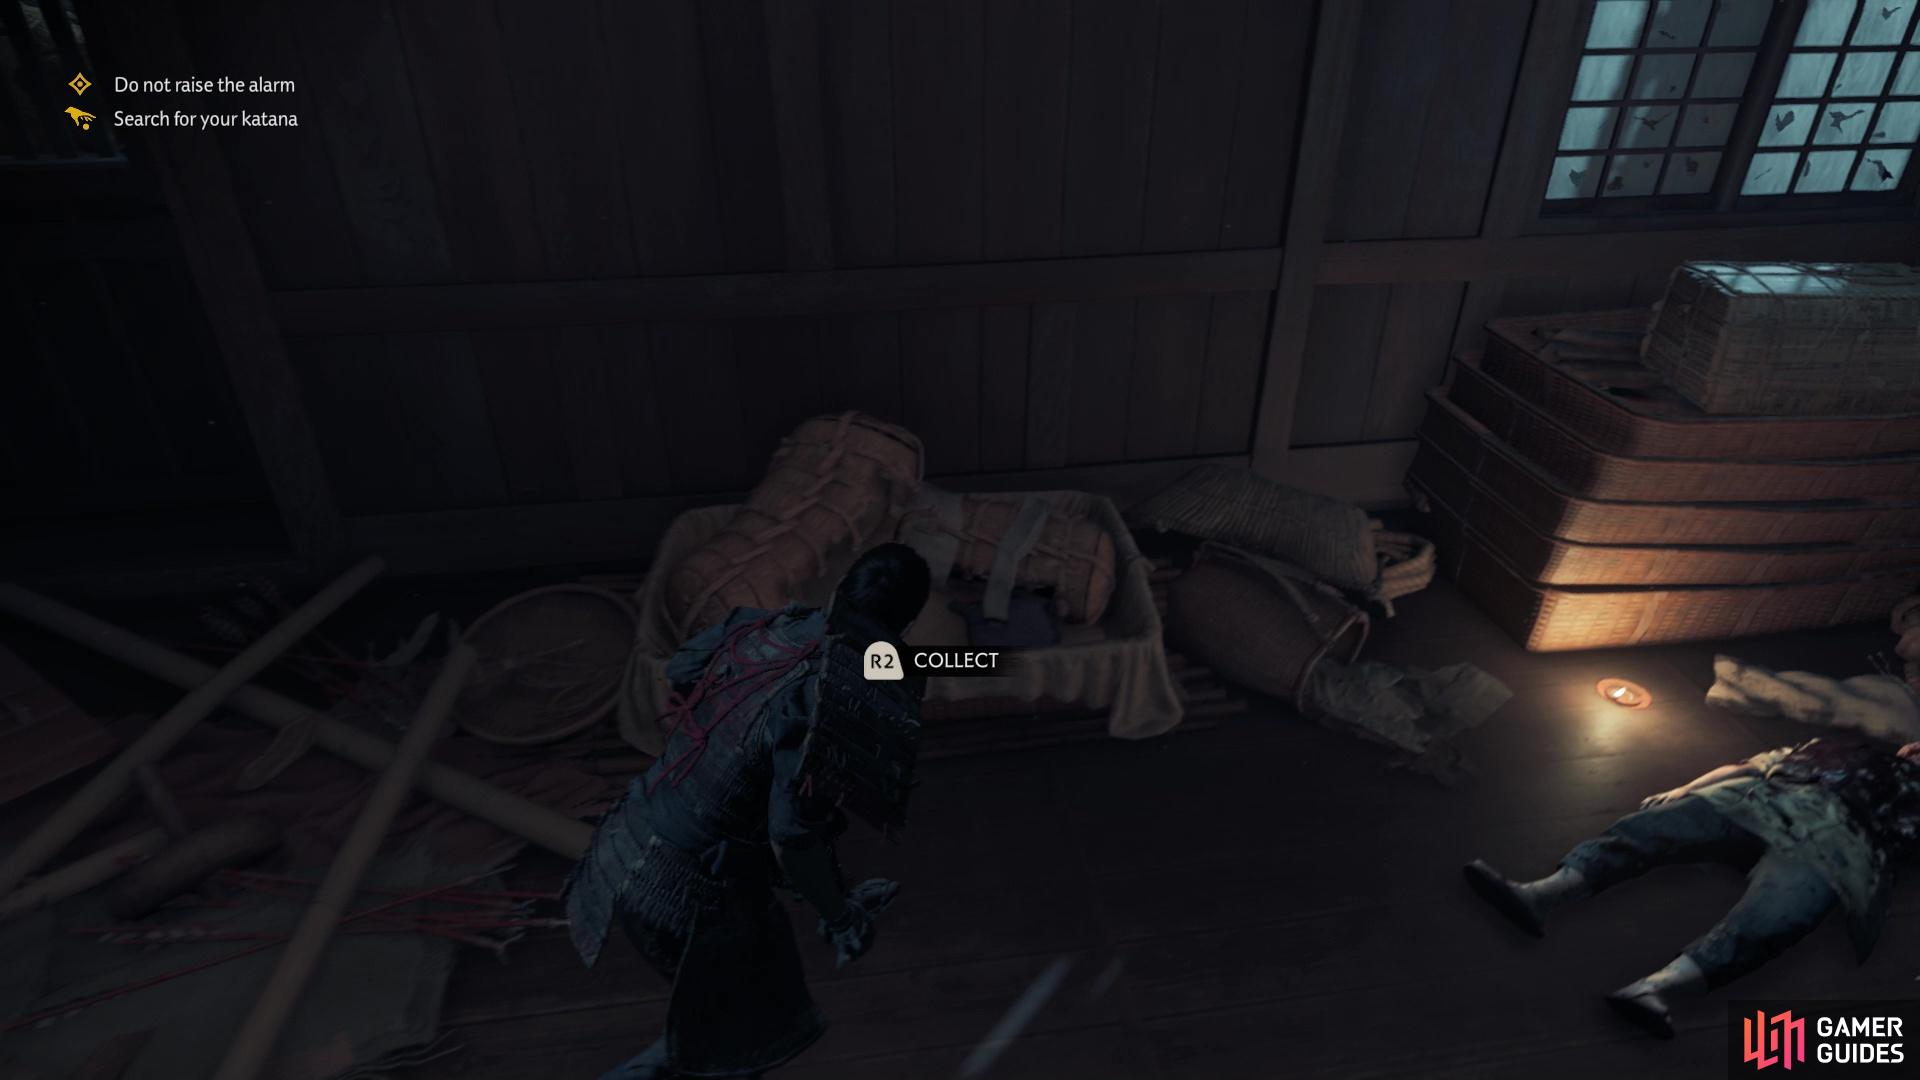
Jin’s sword is in the one bin shown in the screenshot
Follow Yuna through the trap door and to the next building, which is where she says your sword is being stashed. Climb through the window and there will be some more Supplies here, as well as your sword at the far end of the room. As soon as you do grab the katana, a short scene will commence, leading to a flashback…
Learning to Fight
You see a young Jin Sakai, practicing with his father’s sword, and his uncle, Lord Shimura watching over him. Noticing the bruise on his cheek, Lord Shimura offers to teach Jin some helpful advice in fighting. Thus, the training section of the game begins. The first lesson teaches about the very basics, with Square being quick attacks and Triangle being heavy attacks. If you hold down the Triangle button, then you hold your sword towards your opponent and perform a stab attack with the same button press. You have to land a specific number of attacks on Lord Shimura before you can advance to the next lesson, all of which is on the bottom of the screen.
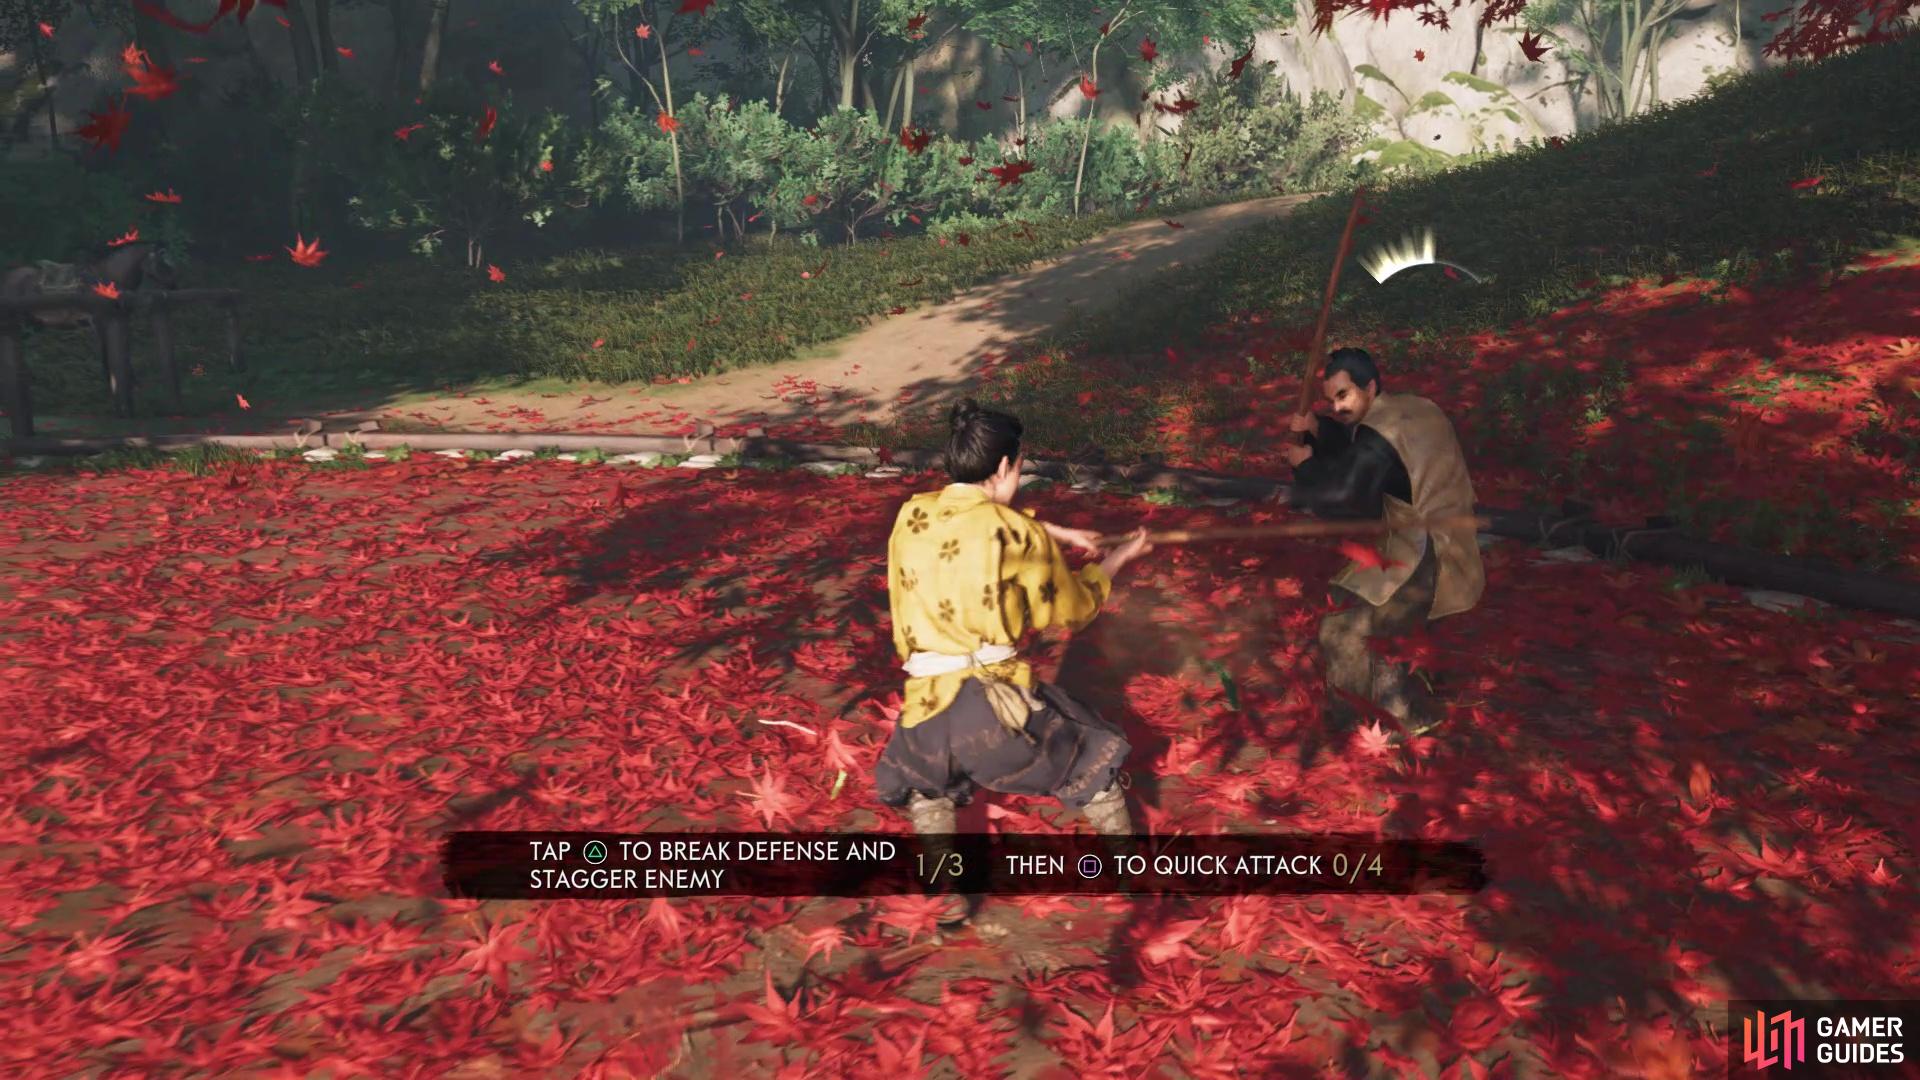
After the first lesson is over, Lord Shimura will ask you a question. This really has no bearing on anything, but the correct answer is Lure him in. The second lesson by your uncle will have you learn how to break enemy guards. Heavy attacks are what is used to break enemy guards (there are some caveats to this, but that comes later in the game), so attack with heavy attacks to fill a meter above the enemy’s head. The meter will have a “shattering” effect when the guard is broken, leaving them vulnerable to attacks. So, to complete this lesson, break your uncle’s guard, then follow up with quick attacks.
The last lessons will revolve around the defensive measures you can take during combat. Holding down the L1 button will cause Jin to block incoming attacks. You will also learn about Resolve, which is represented by the three dots above your health bar in the lower left corner of the screen. If you are hurt and have one of these circles filled, then you can press down on the directional pad to heal. Resolve is also used to perform other special abilities, but you don’t have any right now. You gain Resolve by killing enemies, parrying attacks, or using other advanced skills.
The next defensive measure you will learn about in this flashback is parrying. Whenever you are attacked, if you wait until the last moment before it reaches you, press the L1 button to parry the attack, giving yourself a small window of opportunity to land some attacks on your opponent. When you’ve successfully parried three attacks, Lord Shimura will move onto spear attacks. Enemies with spears, until you learn otherwise, have attacks that are unblockable. These are signified by a red marker on the attack itself, so you will have to dodge out of the way. Press the left analog stick in a direction, in conjunction with the Circle button to dodge. To pass this test, you need to dodge and use a few quick attacks.
As one would expect, the last little bit you have to do before getting back to the real world is a sparring match with Lord Shimura. In order to win, you only have to hit him five times, so gather everything you learned from the lessons taught to win. There will be a little more conversation with Lord Shimura before you’re put back in the real world.
Back to the Real World
Once the flashback is over, you will be returned to the real world, where you can put that practice into some real experience, as a Mongol has found you. This will be a spear user, so remember that you can’t parry his attacks and will need to dodge. Other than the unblockable pokes, this enemy only really has one other attack, which is a shove. Just dodge the poke attacks, then counter with some quick attacks of your own to swiftly bring him down. After that short battle, follow Yuna outside and when you get to the rock, Jin will call out to the enemies to begin another battle.
This will be your first instance of fighting multiple enemies and it should be said right here and now, there is no lock-on at all in this game. In order to “target” an enemy, you point towards them with the left analog stick. Basically, you’re directing your attacks with the left analog stick and this little encounter will give you a tutorial about fighting multiple opponents. If you’re playing on Hard (or the newly added Lethal), then enemies are a bit more aggressive than on the lower difficulties.
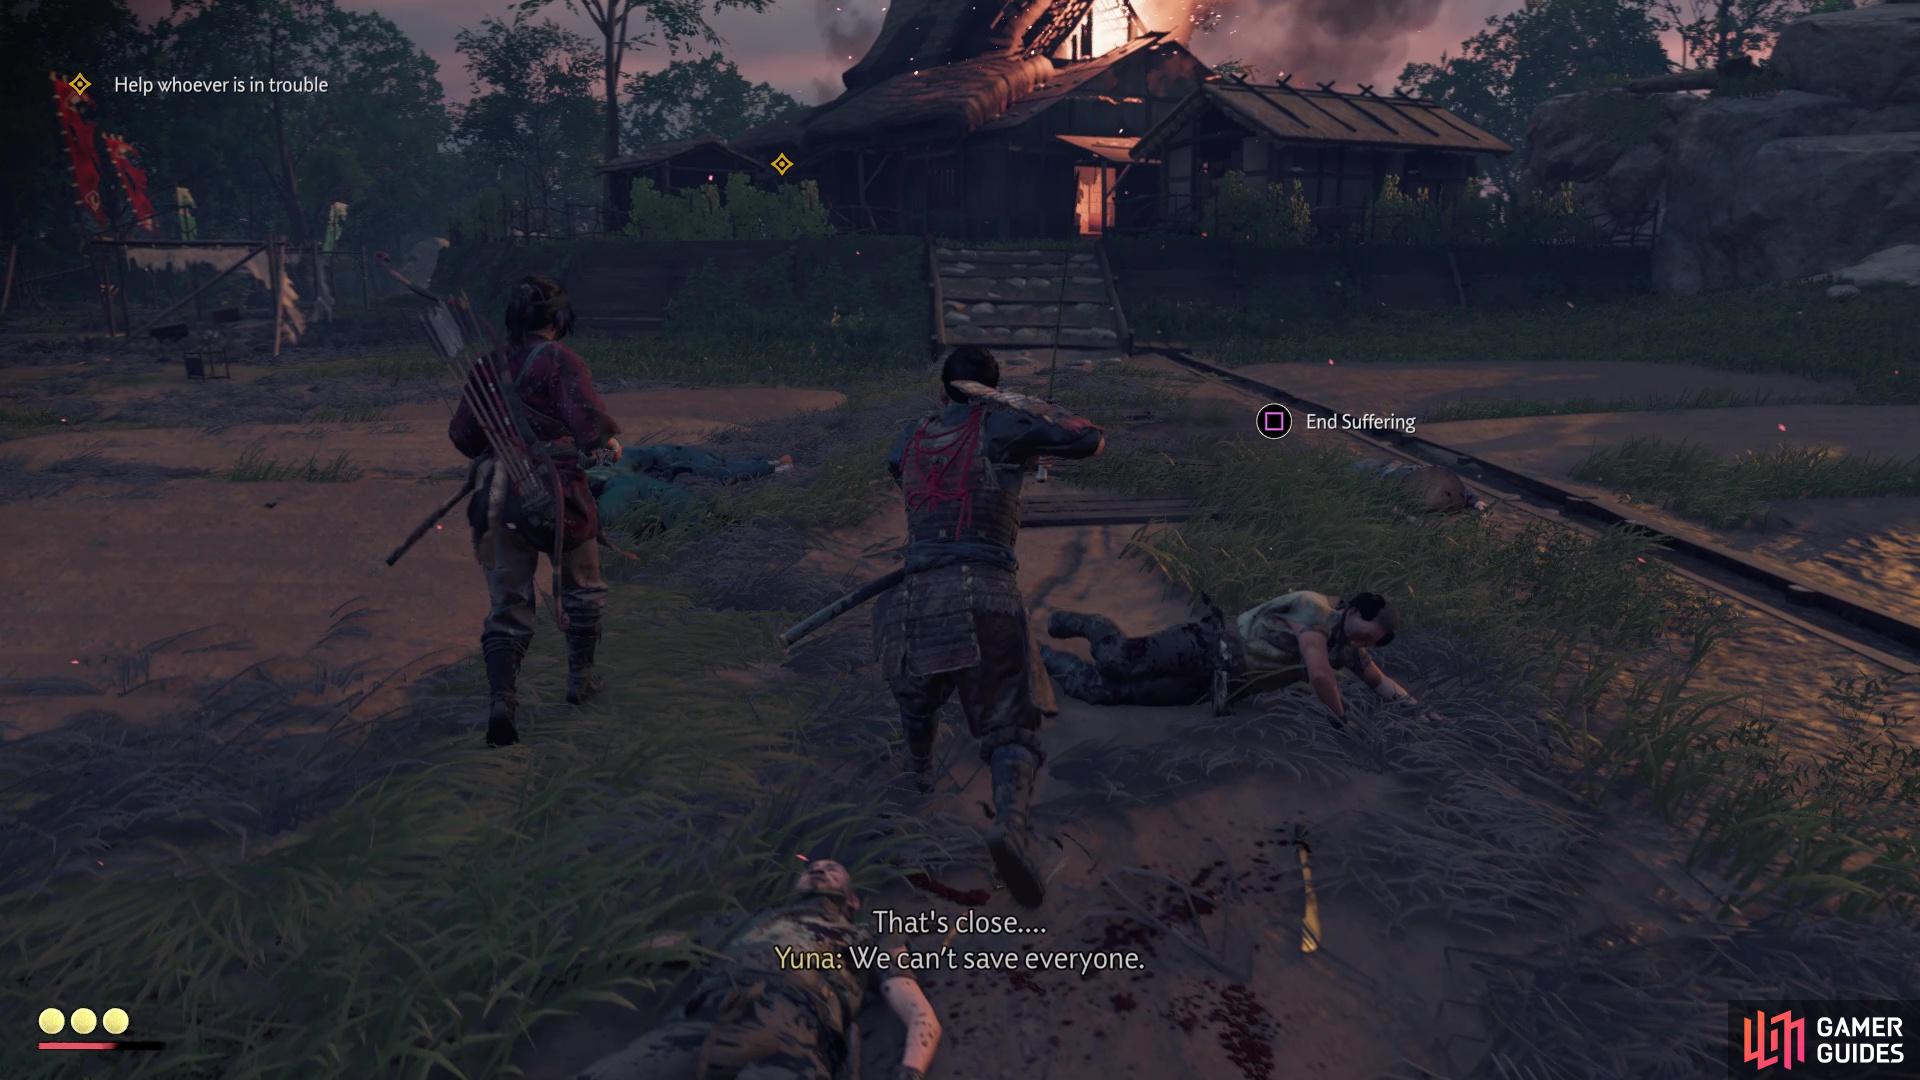
Some enemies might be crawling on the ground after being defeated
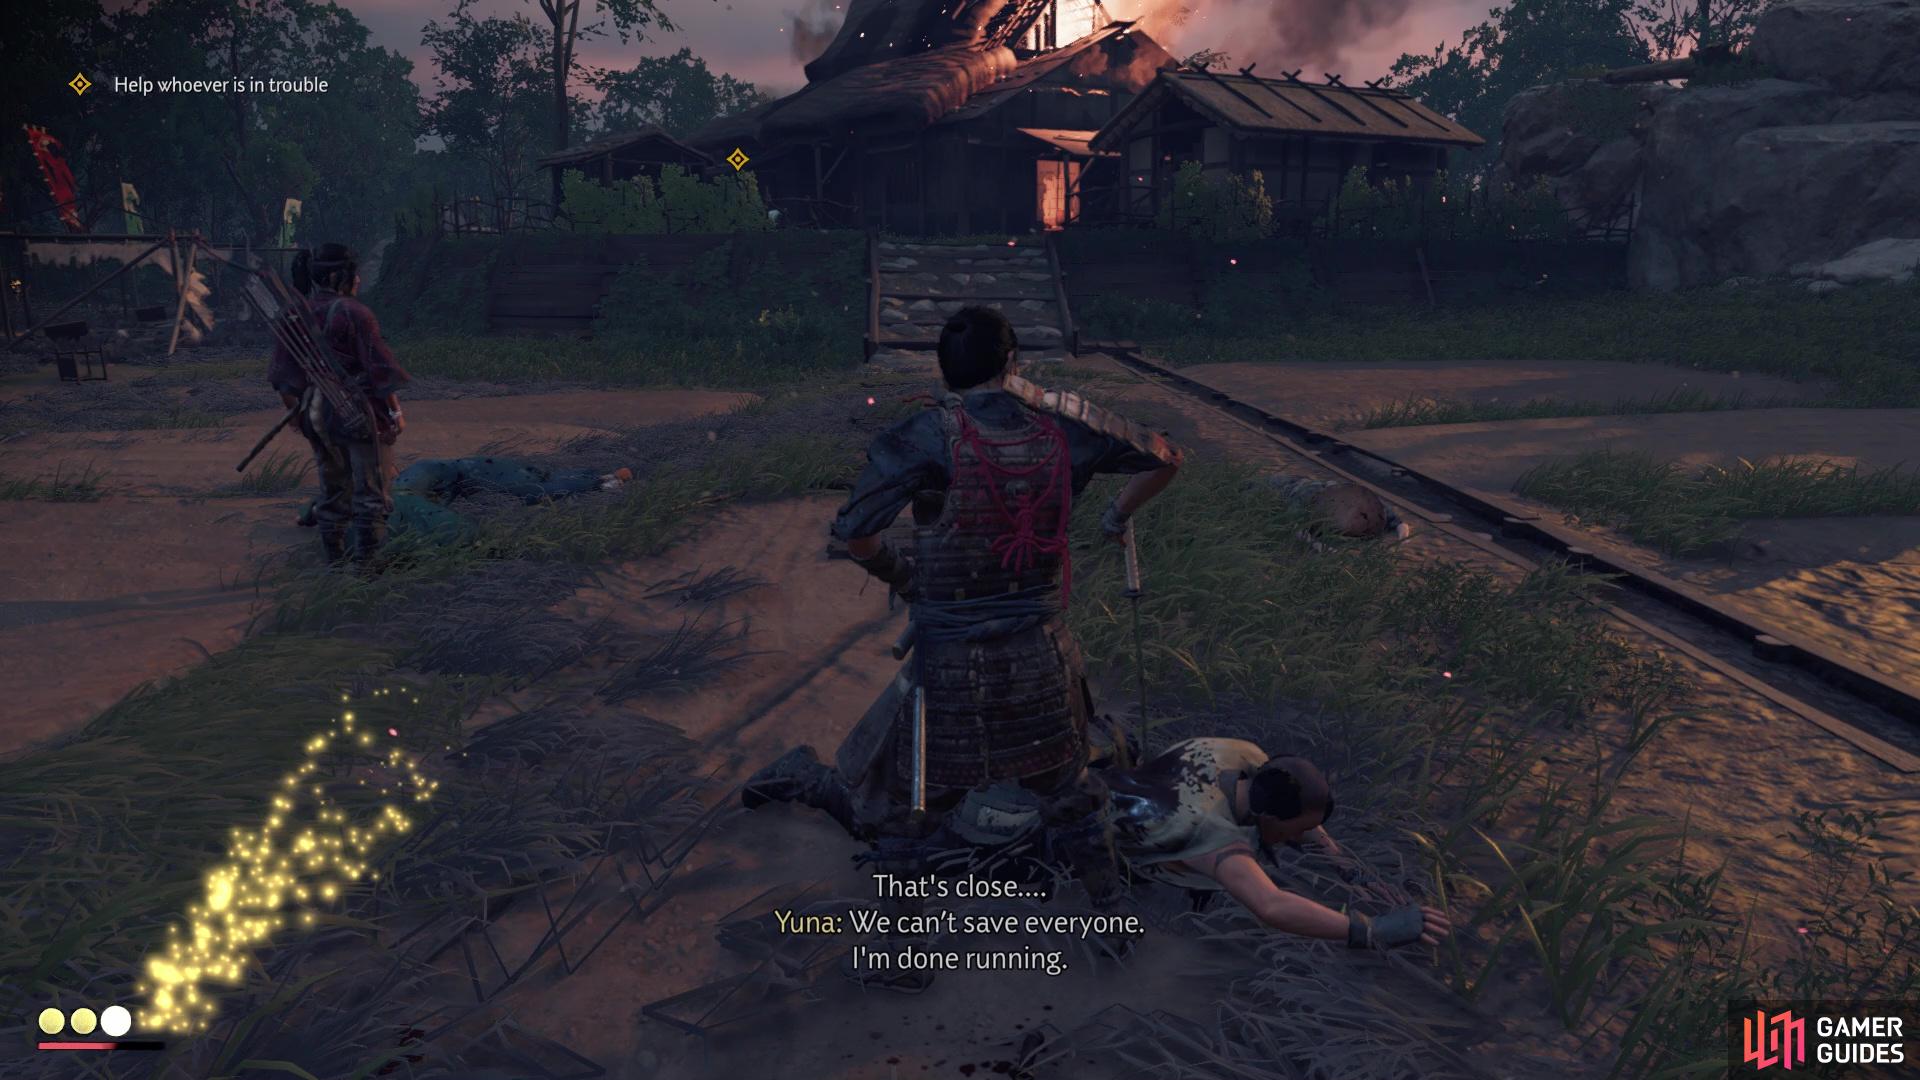
You can end their suffering to recover some Resolve
Continue following Yuna, who is a little bit annoyed you didn’t just up and abandoned your honor and code, until you have to fight some more enemies. Note that Yuna will likely be taking potshots at the enemies, so she will be helping you out during battles during this section. There will be a cutscene after this fight, where you learn why Yuna saved you, then another battle will follow this. Be mindful of the spear user here and take out all of the enemies to secure the stables. Approach the horses after to see you get to choose one of them for your journey, noting that you won’t be able to switch. You not only get to choose the color of your horse, but the name as well.
Assault on Castle Kaneda
The game will now cut to Castle Kaneda, with Jin charging in head first. Move forward and when prompted, challenge the enemy to a Standoff. These are basically little duels with enemies, where it will be one-on-one to kind of a quick-time event. You will hold the Triangle button down and when the enemy lunges at you to attack, release it to attack before you get hit. Other enemies in the vicinity will not attack you during Standoffs and while you may only get to kill a single enemy towards the beginning of the game with these, it is a pretty easy (and free) kill.
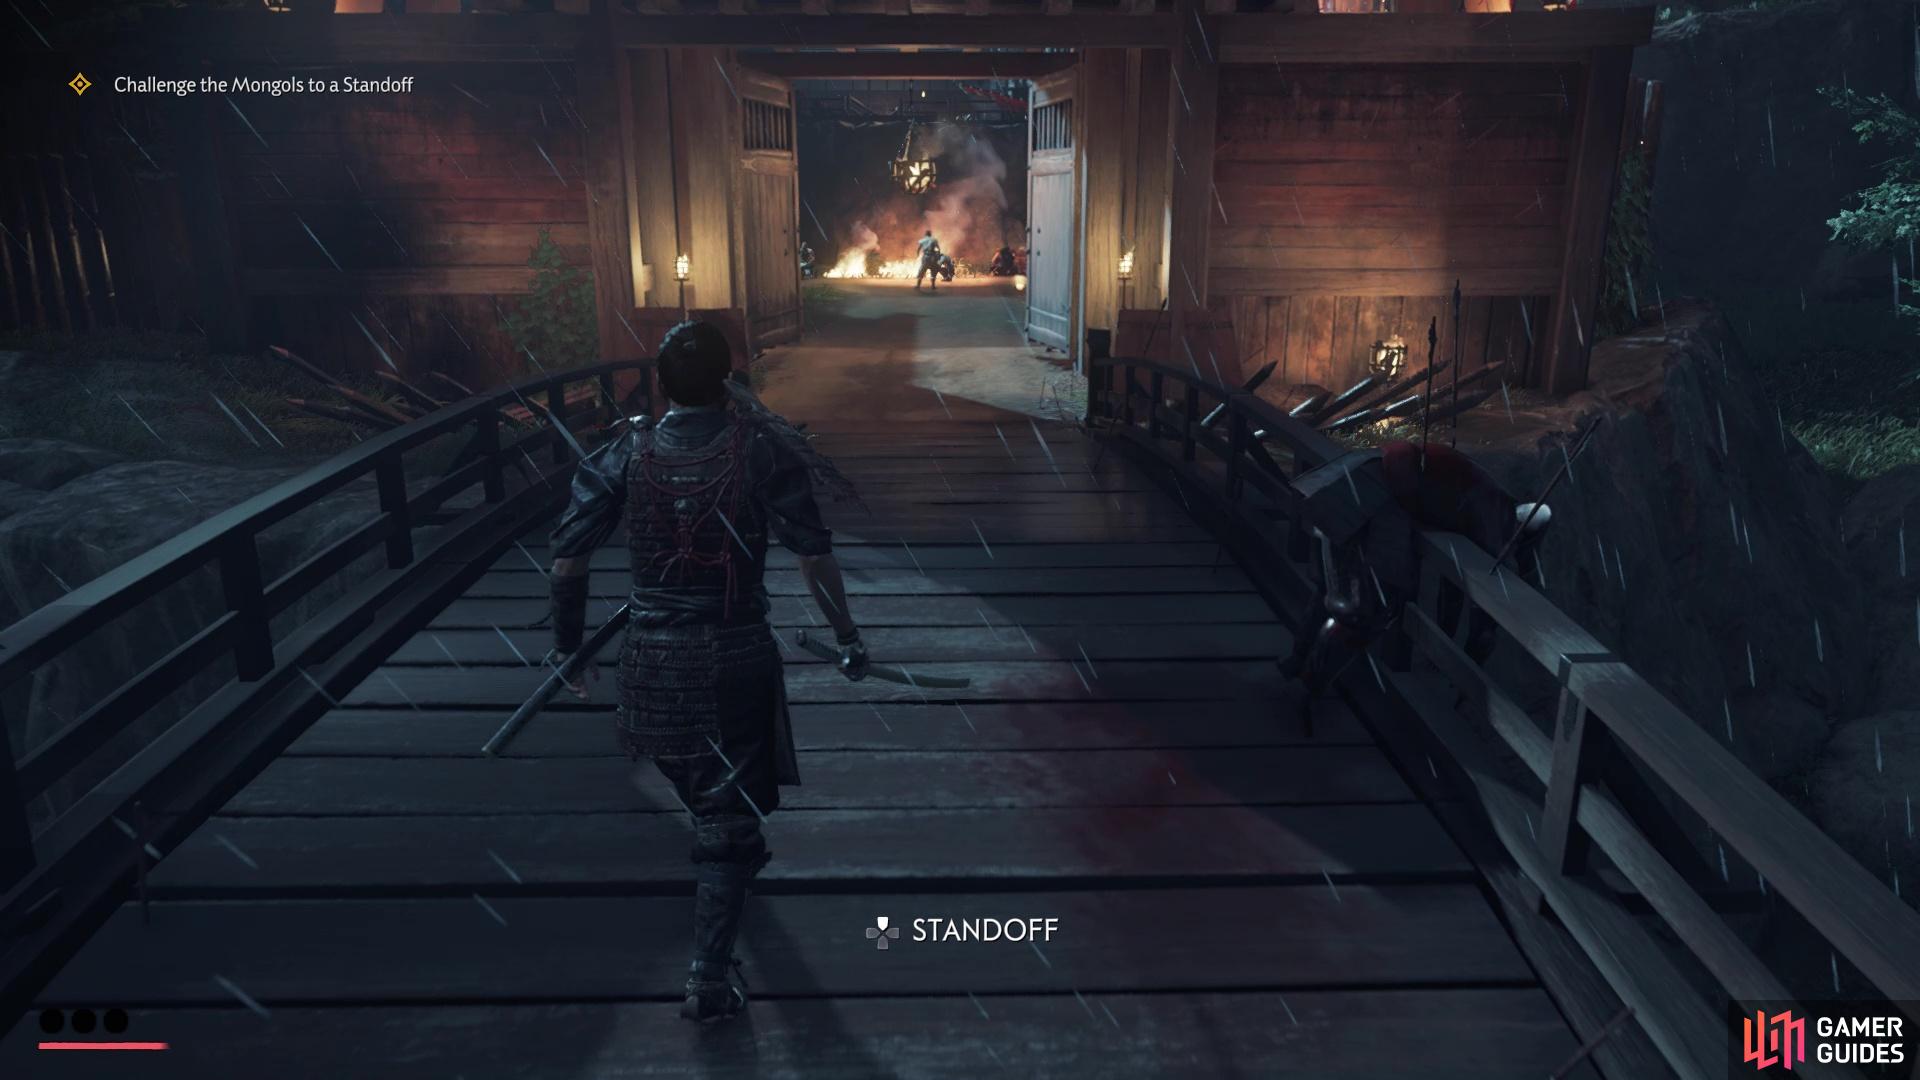
You will see a button prompt on the bottom when you can do a Standoff
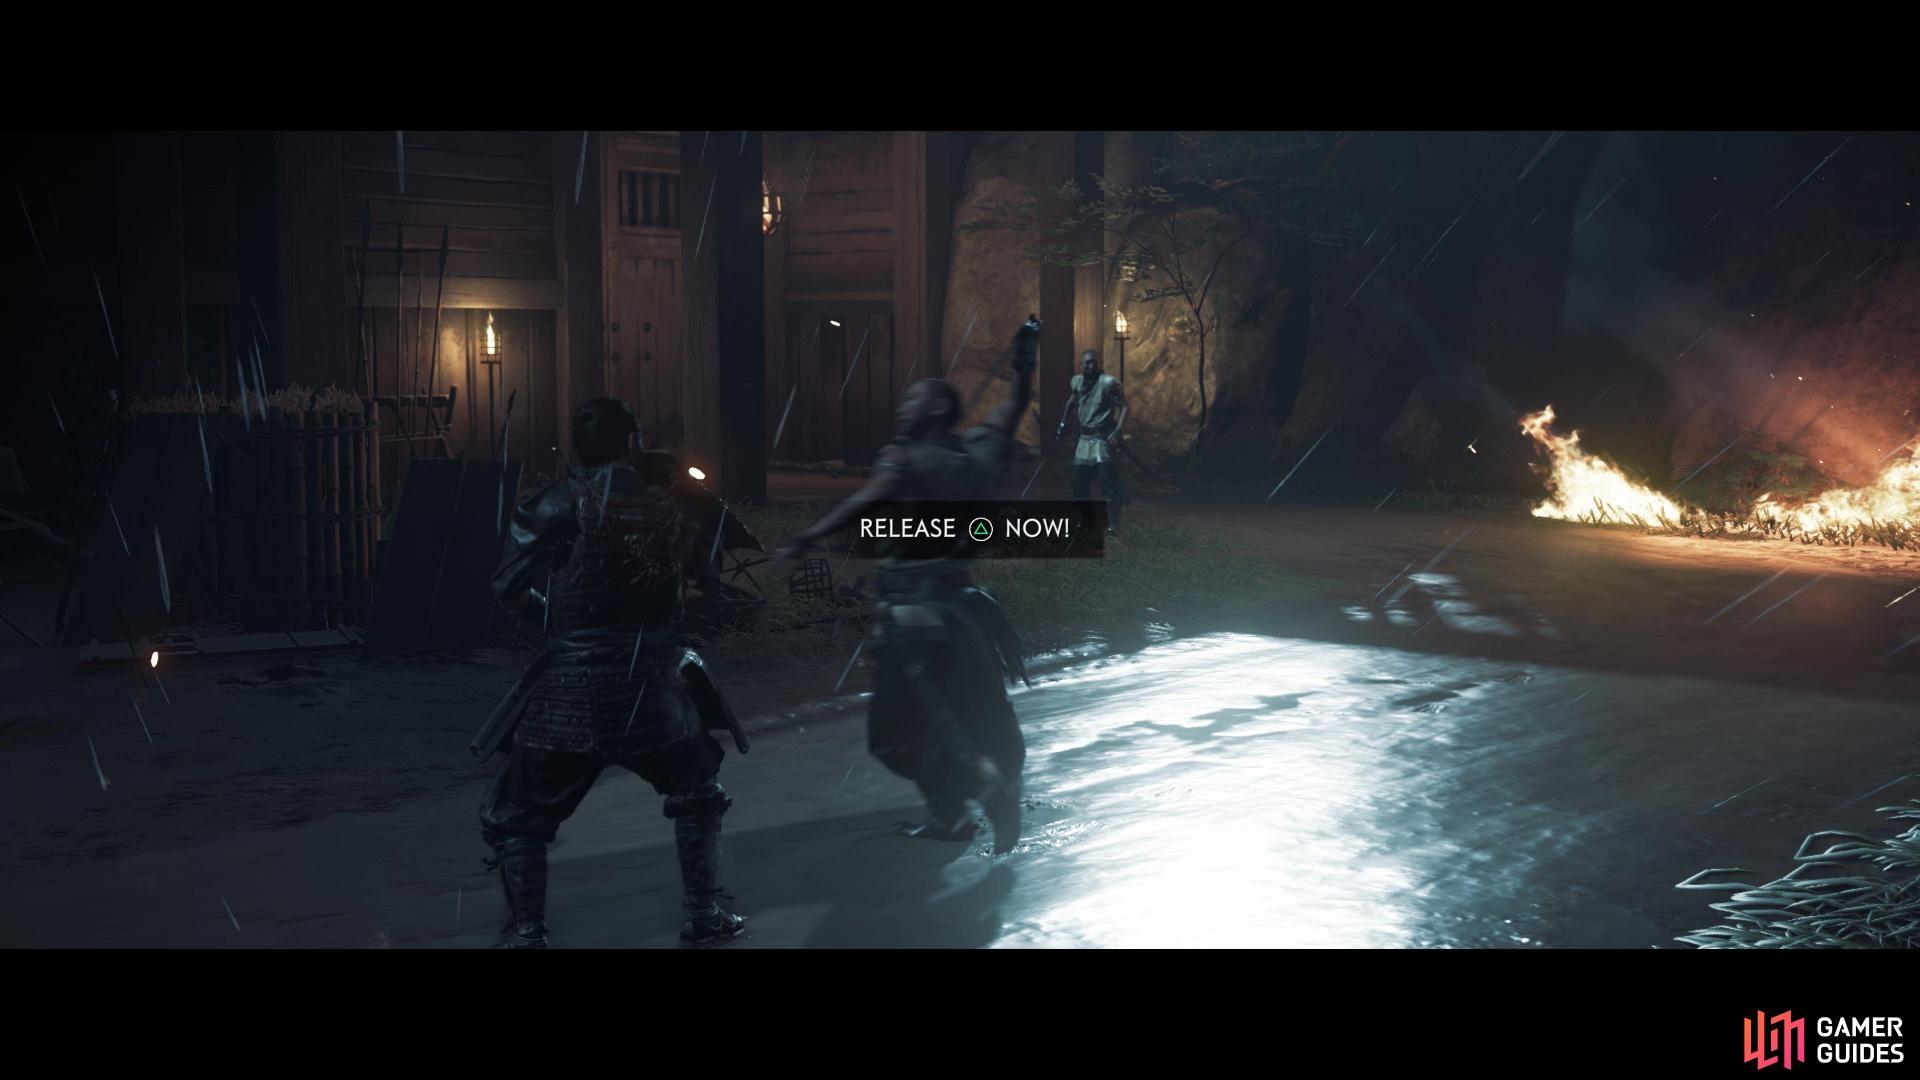
Release the button as your opponent attacks to instantly kill them
There will be a few more enemies after the Standoff is finished, then another wave will come shortly after that. If enemies are blocking your quick attacks, don’t forget that heavy ones can eventually break their guard. You might also want to play a little more defensively, parrying their attacks, then quickly getting a few hits in, especially on the harder difficulties. After going up a hill and dispatching another wave, some fire arrow barrages will be shot at you, so watch out for those as you continue fighting. There is a side path you can use to avoid the fire arrows, if you want.
Once you make it to the end, a cutscene will occur and Yuna will leave, so you will be by yourself right now. You will immediately come upon your first Shieldman enemy, who will block a lot of your attack. Using your heavy attacks here will be the best thing to do, especially if he does block a lot, since it will break their guard, leaving them defenseless for a short period of time. Note that the shieldman’s attacks can be parried, so that’s another way to create another opening. Right after the shieldman will be another one, grouped together with a spearman. Continue along and you will have a small tutorial pop up for archers. Before firing arrows, the Mongol archers will always call out, so keep an ear open and start dodging after you hear them.
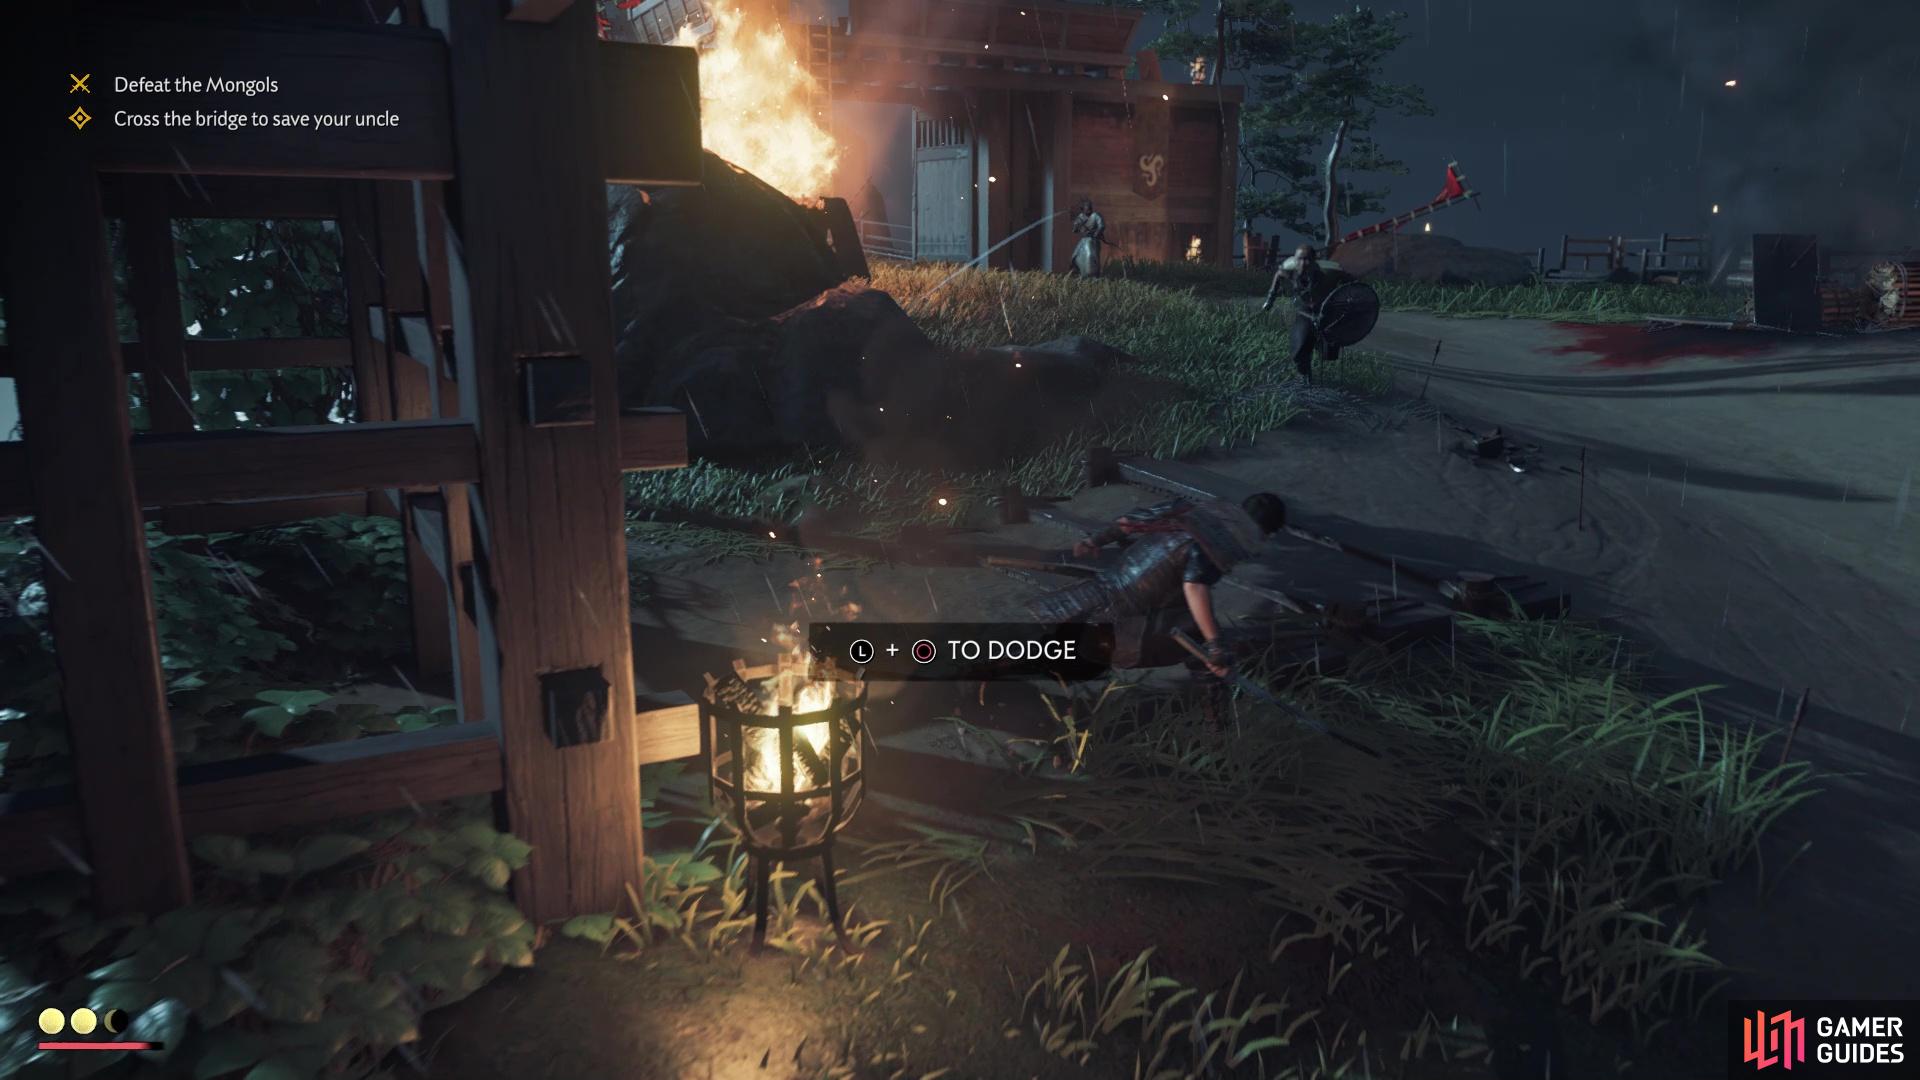
When you hear archers shout, they will fire so get ready to dodge
At the gate, you will see a ladder, but it leads to nothing, so ignore it and start crossing the bridge. There will be another Standoff opportunity here, so take it to thin the numbers by one, then take care of the remaining enemies on the bridge. When all enemies have been killed, it’s time for a boss battle with Khotun Khan.
DUEL - Khotun Khan
Well, this isn’t so much of a boss battle, as you can’t win against Khotun here. You could try to avoid/parry his attacks and retaliate whenever there’s an opening, but even if you reduce his health to nothing, you still have to have your health reduced to nothing to continue with the story. So, it’s best to just sit there and let Khotun hit you until a cutscene triggers.
As the previous cutscene ends, another one will begin, but this time showing another flashback. Upon gaining control, follow the old woman outside and this will basically be a straight path. At the top, another scene will occur with Lord Shimura, your uncle. When that is over, you will wake up on a beach, back in the present, and be introduced to the wind mechanic. While the full scope of the wind’s functionality isn’t introduced just yet, it is your guide for this game. Follow the wind until you find Yuna, then approach her for another scene. Of course, while having a conversation with her about what to do, some Mongols will come close, but you won’t be fighting them.
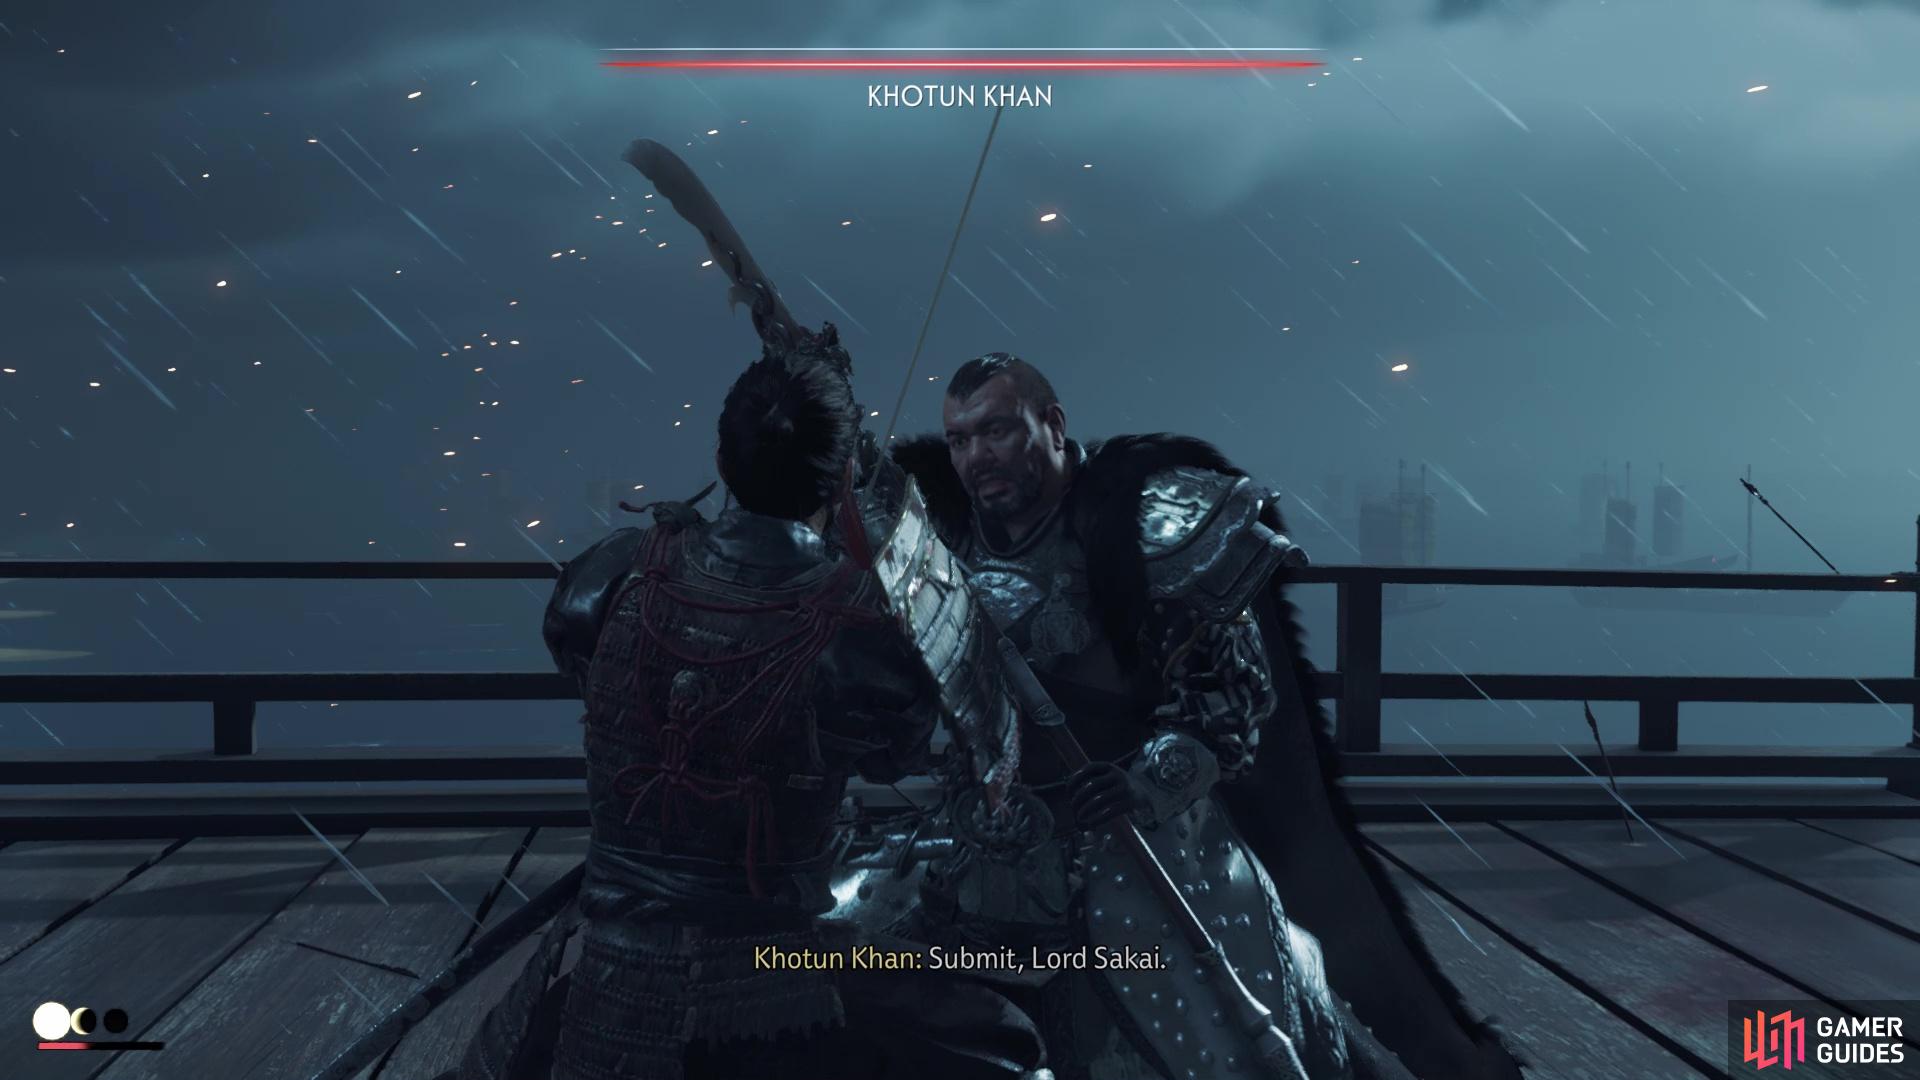
Khotun is quite a challenging opponent

but you are meant to lose here
Instead, you will have to hide in the pampas grass with Yuna, which is the taller grass with white on top. Crouch in the grass and once Yuna moves, you can freely move as well. Call your horse with the left direction on the D-Pad. There will be one final cutscene, then the Prologue will come to a close.
No Comments